Get those videos off your phone and into your home movie collection to store forever! How to burn your iphone videos to a DVD
After a certain point, all those baby videos, school concerts and Halloween clips need to be put somewhere. I mean, didn’t you make the videos to be enjoyed at some later date. Well today is that date! After many hours and tutorials and trips to Office Depot for the right DVDs, I figured it out. Here is how to burn your iPhone videos to DVD.
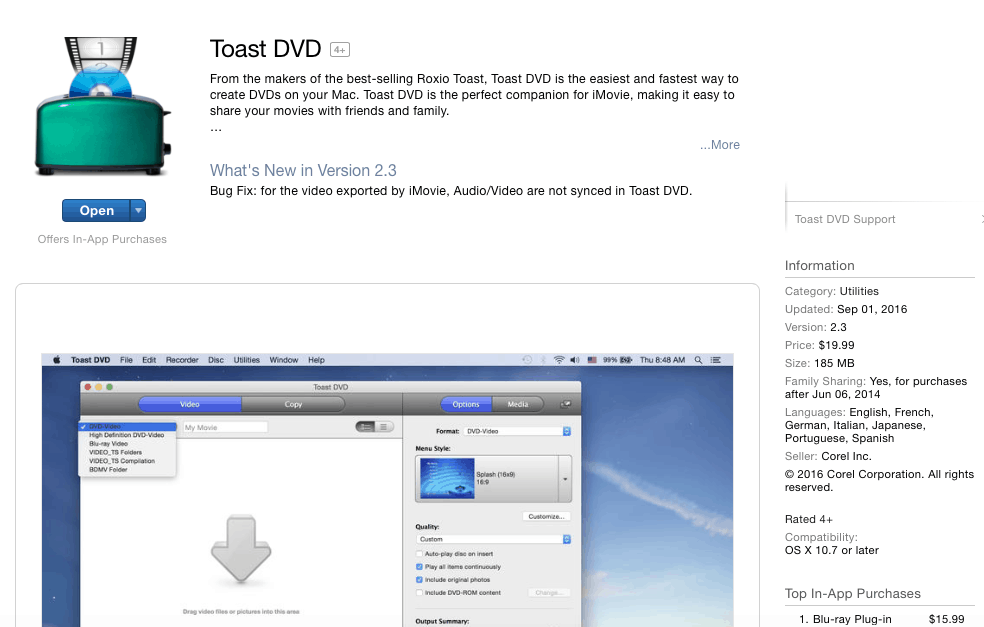
First: download an app onto your Macbook or iMac called Toast DVD. No, it isn’t free. Sorry. But it is no-fuss and it works. To me, that is worth the a trip on the Family Memories Express. You are looking at $19.99 for the app.
Second: head to Office Depot or whatever computerish store you have near you and buy a pack of blank DVD+R discs. These are cheap. I got a box of 10 for $7.99. You will see that there are DVD-R, but we want the DVD+R. We want the plus sign.
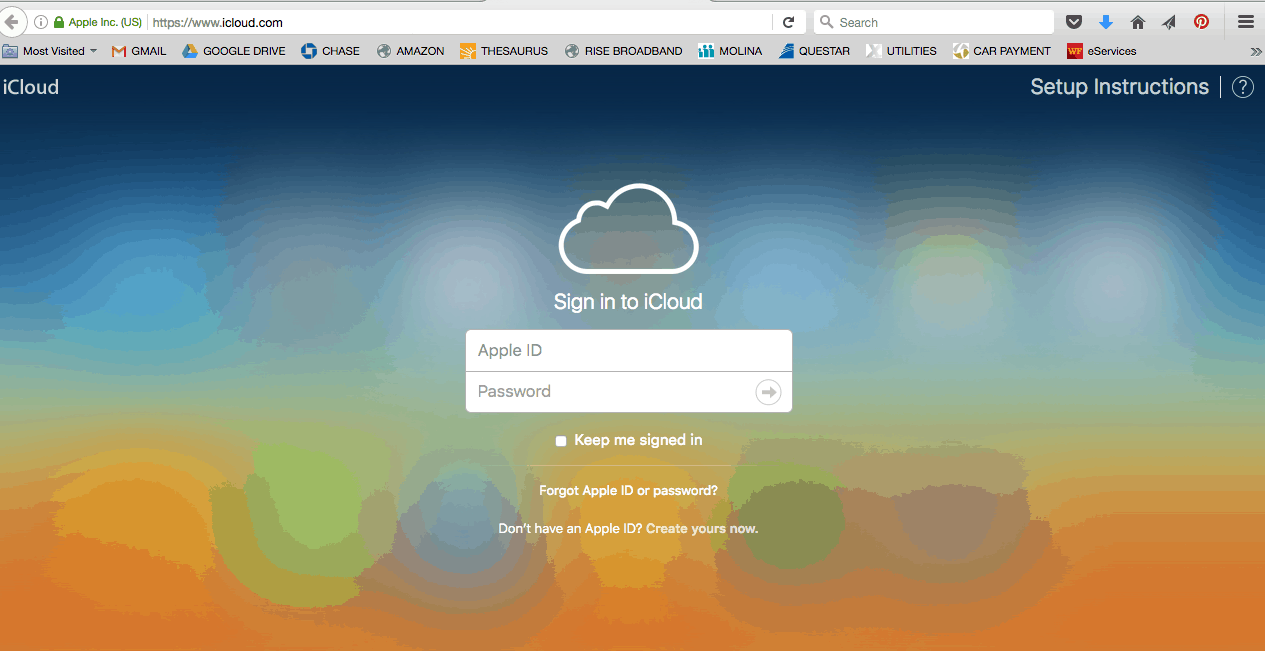
Now you are ready! Log into your iCloud account by going to iCloud.com. It is organized just like your iPhone photos app is. Go to Albums and look for Videos. Click on a video and click the Download icon.
At the bottom of your screen, you should have an icon that is where all your downloads end up. Or it wil be next to the search bar on your browser. Click on that and you will see your video. Open it up and save it to your desktop. At this point, you can rename it if you want. Save it and move on to the next video. Keep letting them pile up on your desktop.

Once you have all the videos you want to burn to a disk, compile all of them in iMovie. That is a free app that most computers come with. If you can’t find it in your Launchpad, you can download it from the App Store.
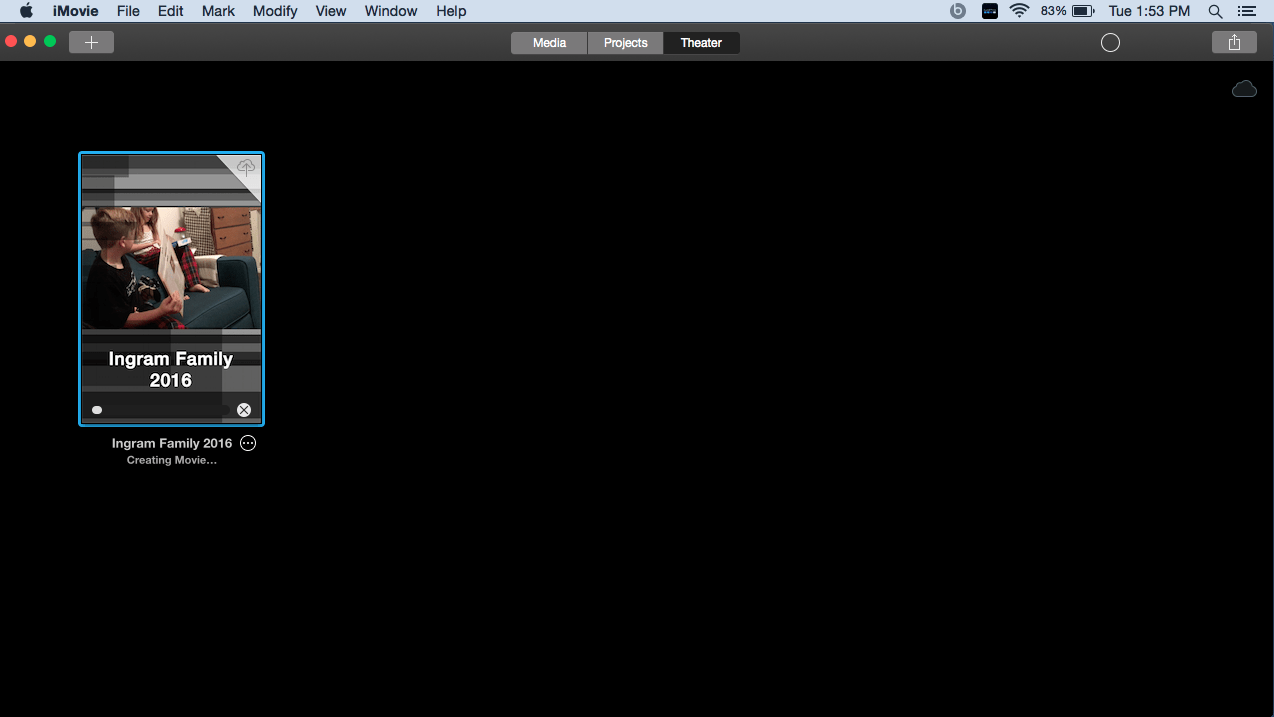
Open iMovie and click on New. Name your project whatever you would like. I found that I can fit a year’s worth of videos on one disk, so my project was named Ingram Family 2016.
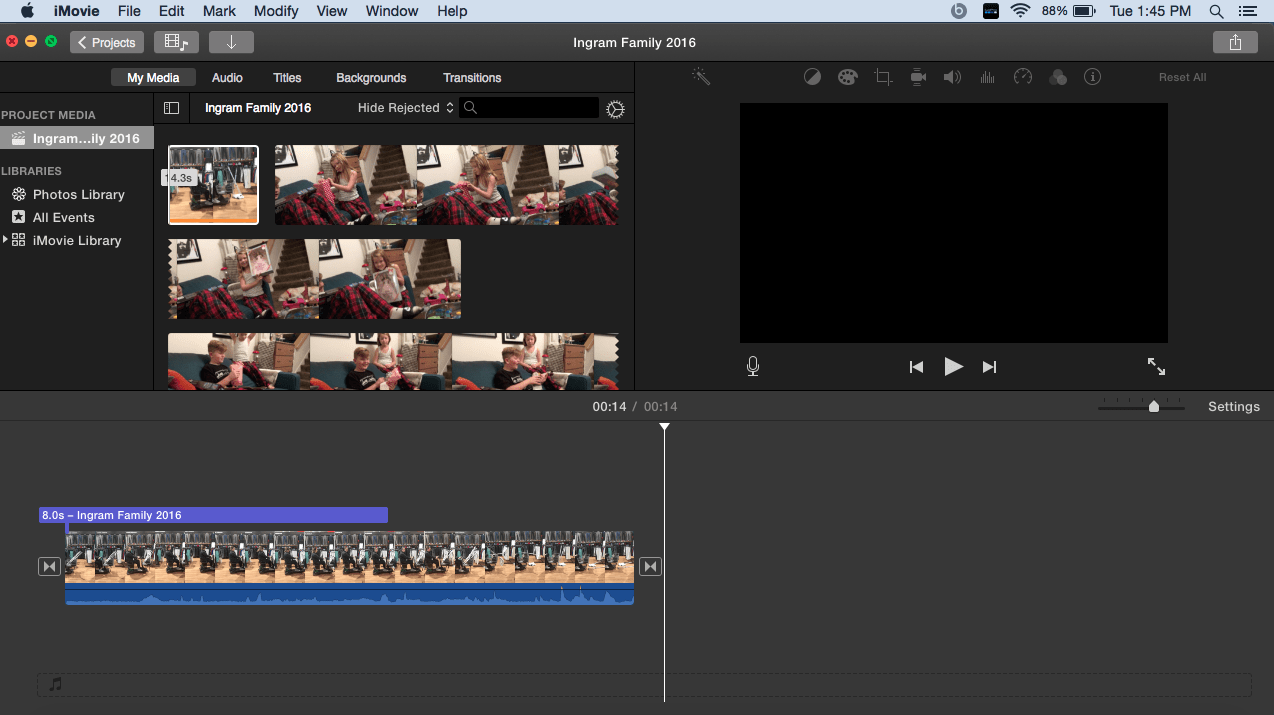
Begin dragging videos from your desktop and dropping them into your iMovie project. Or you can import them from your desktop. With each video that you add, they will show up in the top left quadrant of your iMovie screen.
Hover over the video and there will be a little yellow box icon that pops up. Use that to go left and right to select the amount of time you want added of that video. I always do the whole thing.
Once you choose the time to add, a small plus sign will automatically appear. Click that and the video will be added to the lower left quadrant You can get all fancy and special and do cool transitions between each video, but I just make it easy and fast and put them together.
I don’t worry too much about what order they are put in, just as long as it seems that the seasons are going together.
Once you add all your videos to iMovie and make one long movie, click on the Share icon in the top right corner and share with Theater. Now the movie will complete in Theater. This takes a while, so plan to just set your computer aside and empty the dishwasher or paint your nails.
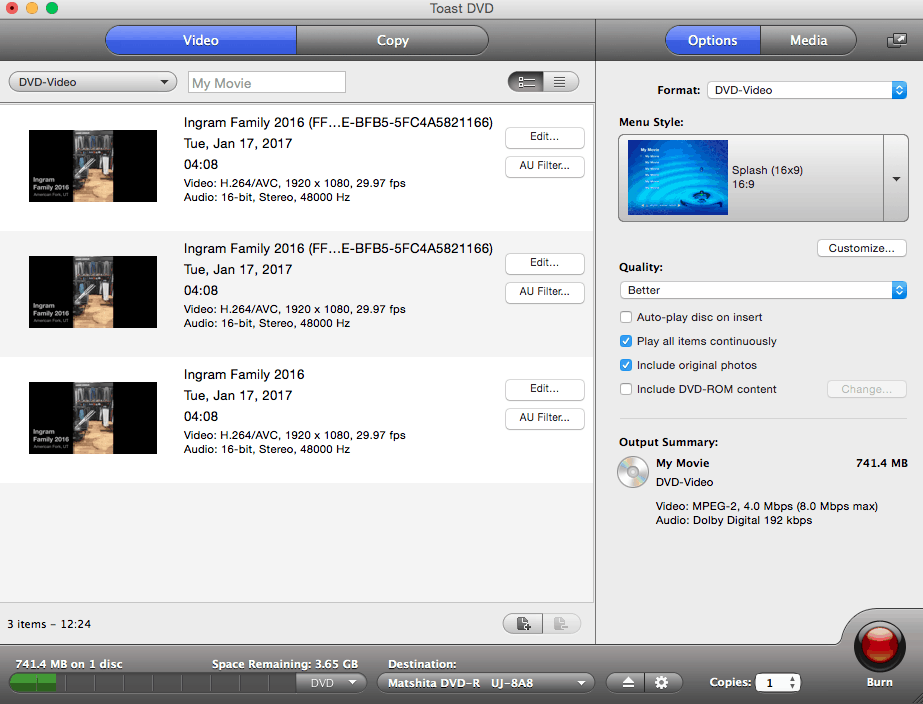
After the bar shows the movie is complete, open Toast DVD and drag the movie from iMovie Theater to Toast DVD. At this point, you will see why we spent $19.99 on this app.
It’s a piece of cake. All you have to do is click Burn in the lower right hand corner and Toast DVD does the rest. The process of burning the disc does take a while.
The app doesn’t want you to let your computer fall asleep while it is preparing and burning the disk. So go to your Setting and click on the Energy Saver icon and change both options to Never. This will ensure there is no interruption as your DVD burns. The screen can go into screensaver mode, we just don’t want it to fall asleep.
Like I said, the burning part takes a while. My last 90 minute DVD took almost 2 hours. So just plan to leave your computer alone and let it do it’s thing.
If all goes as planned, your DVD should come out filled with memories accompanied with Mom Guilt of not enjoying your little ones enough! It’s magical!