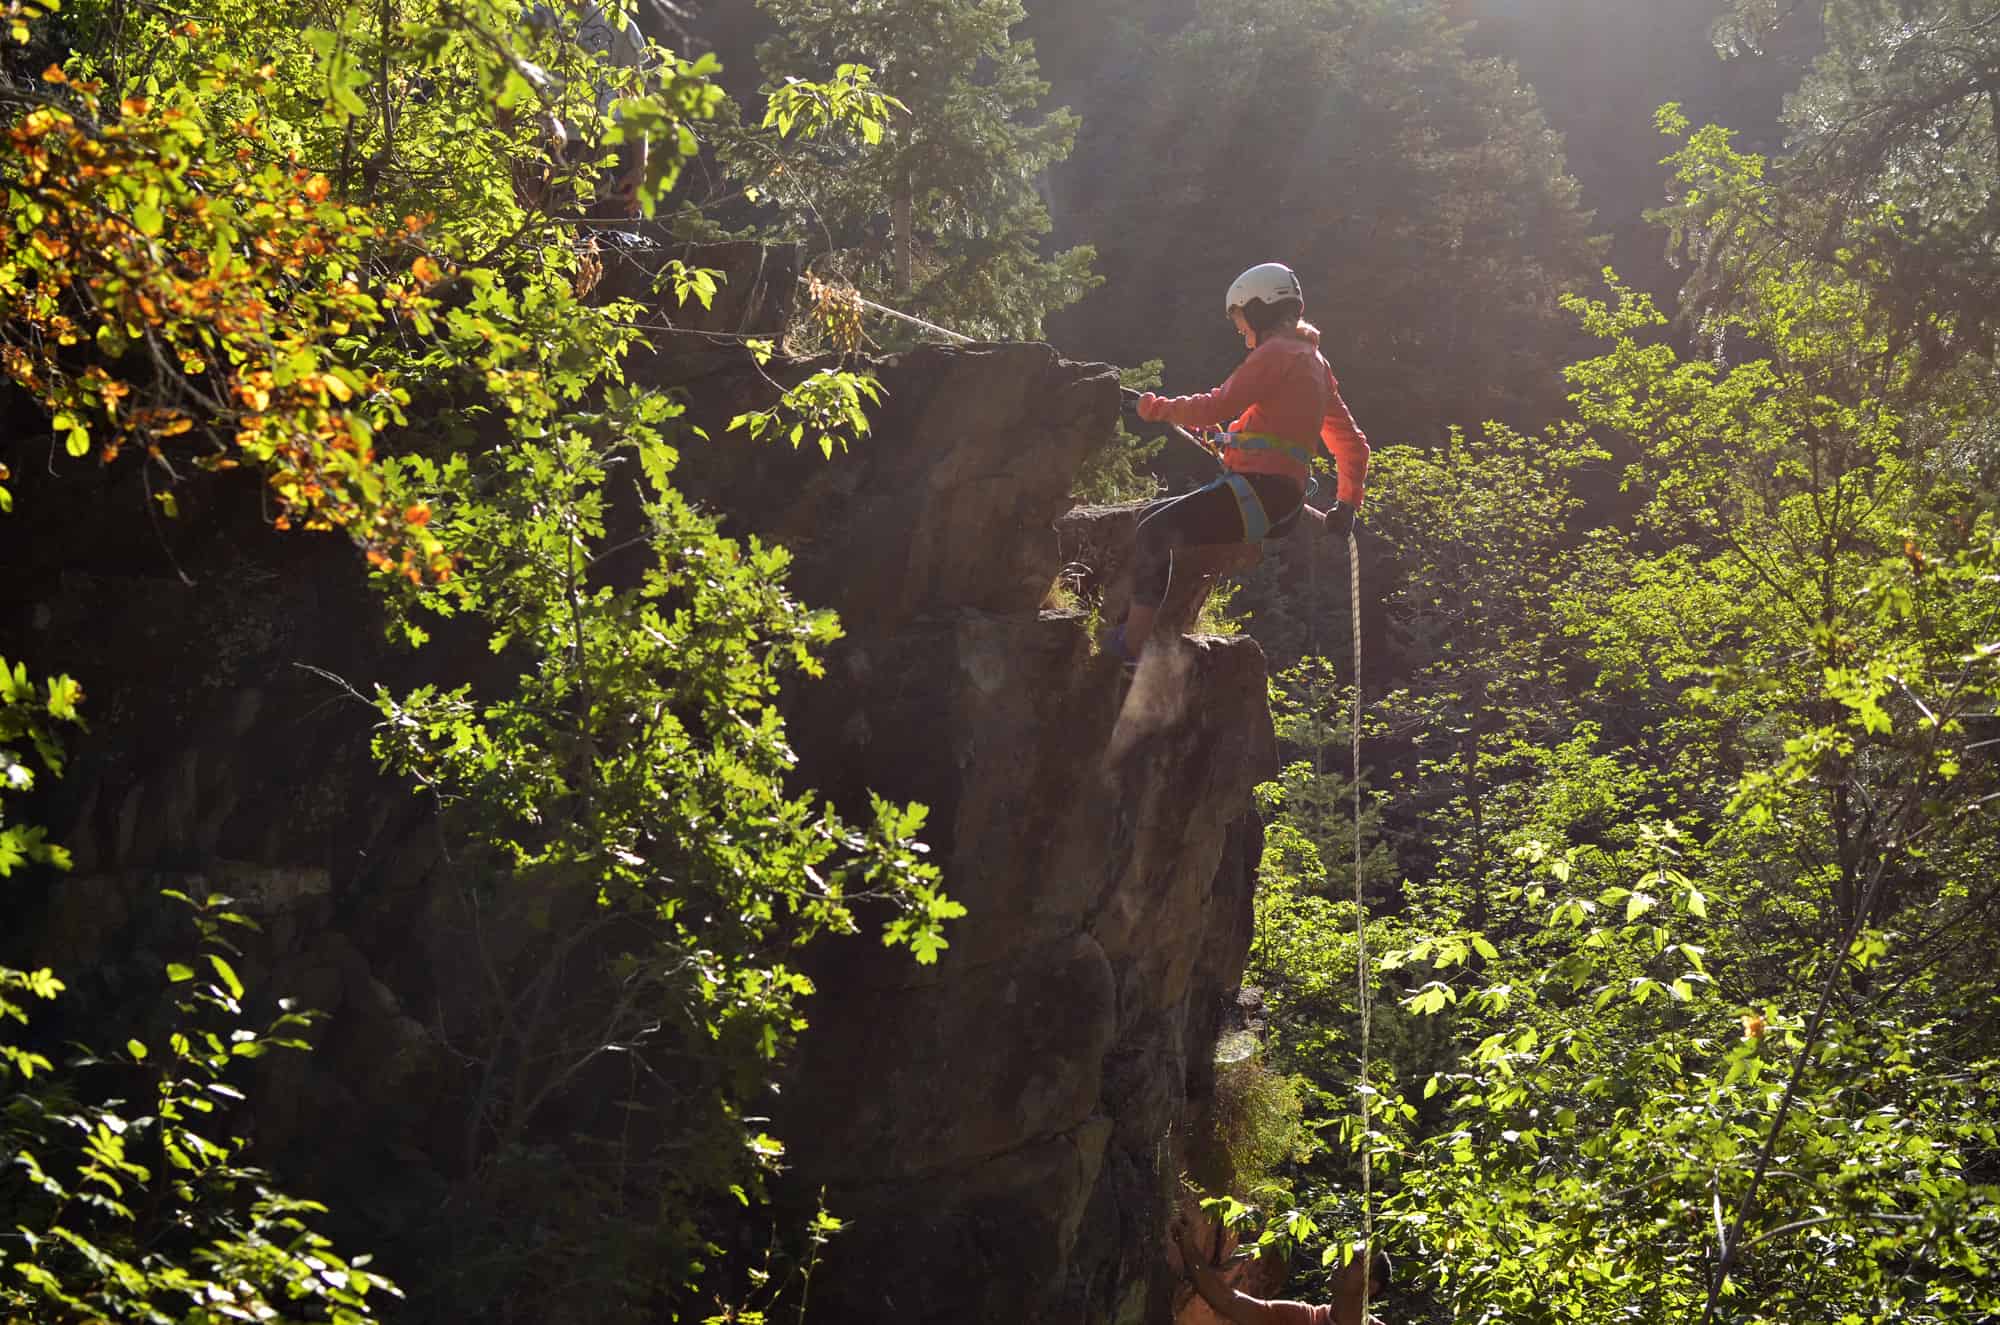
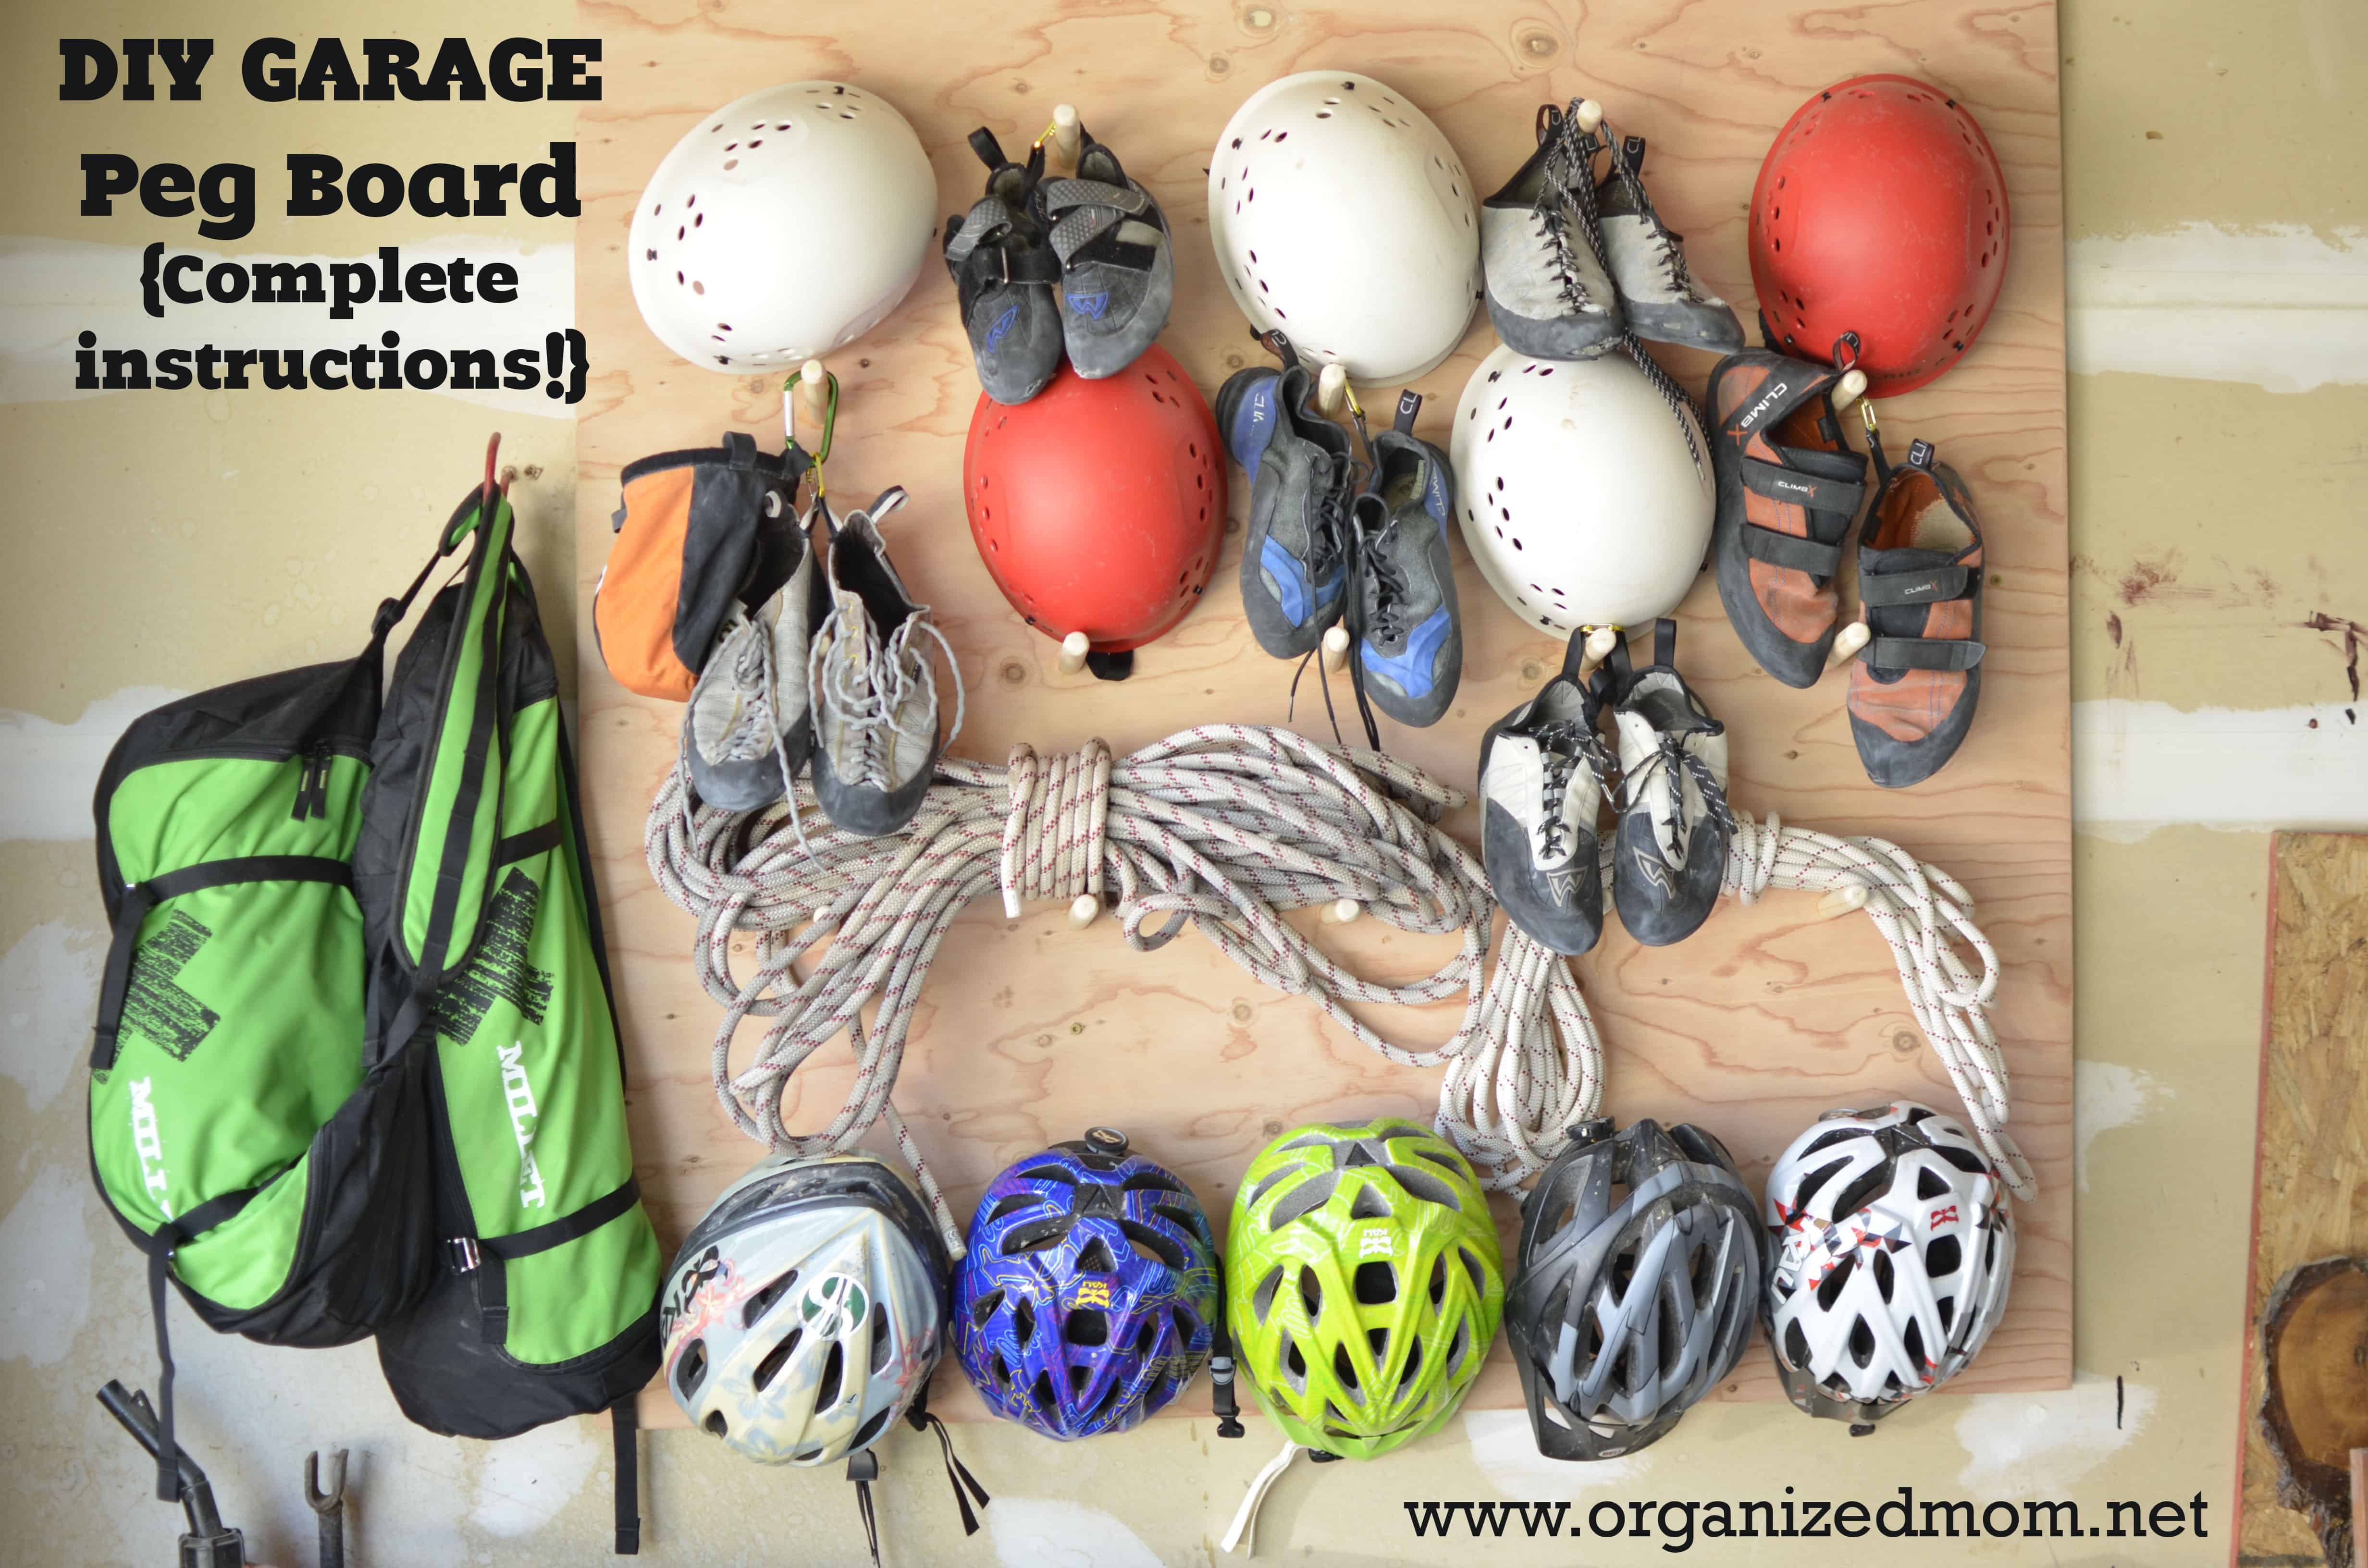
Recently, we took up the hobby of canyoneering! Living in Utah gives a literal playground of some of the best and most beautiful canyons in the world. One problem is that we have a pile of harnesses, ropes, helmets, climbing shoes and carabeeners that has evolved into a spaghetti like mound, that makes it difficult to get to gear and harder to find the gear when we are prepping to go out. I asked my husband to look at a solution to our climbing mess and so here is what he came up with;
This was cheap to make (under $50 from Home Depot or Lowes) but could be cheaper if you were to make friends with a local construction site who with their permission take some of the left over wood from site. We used
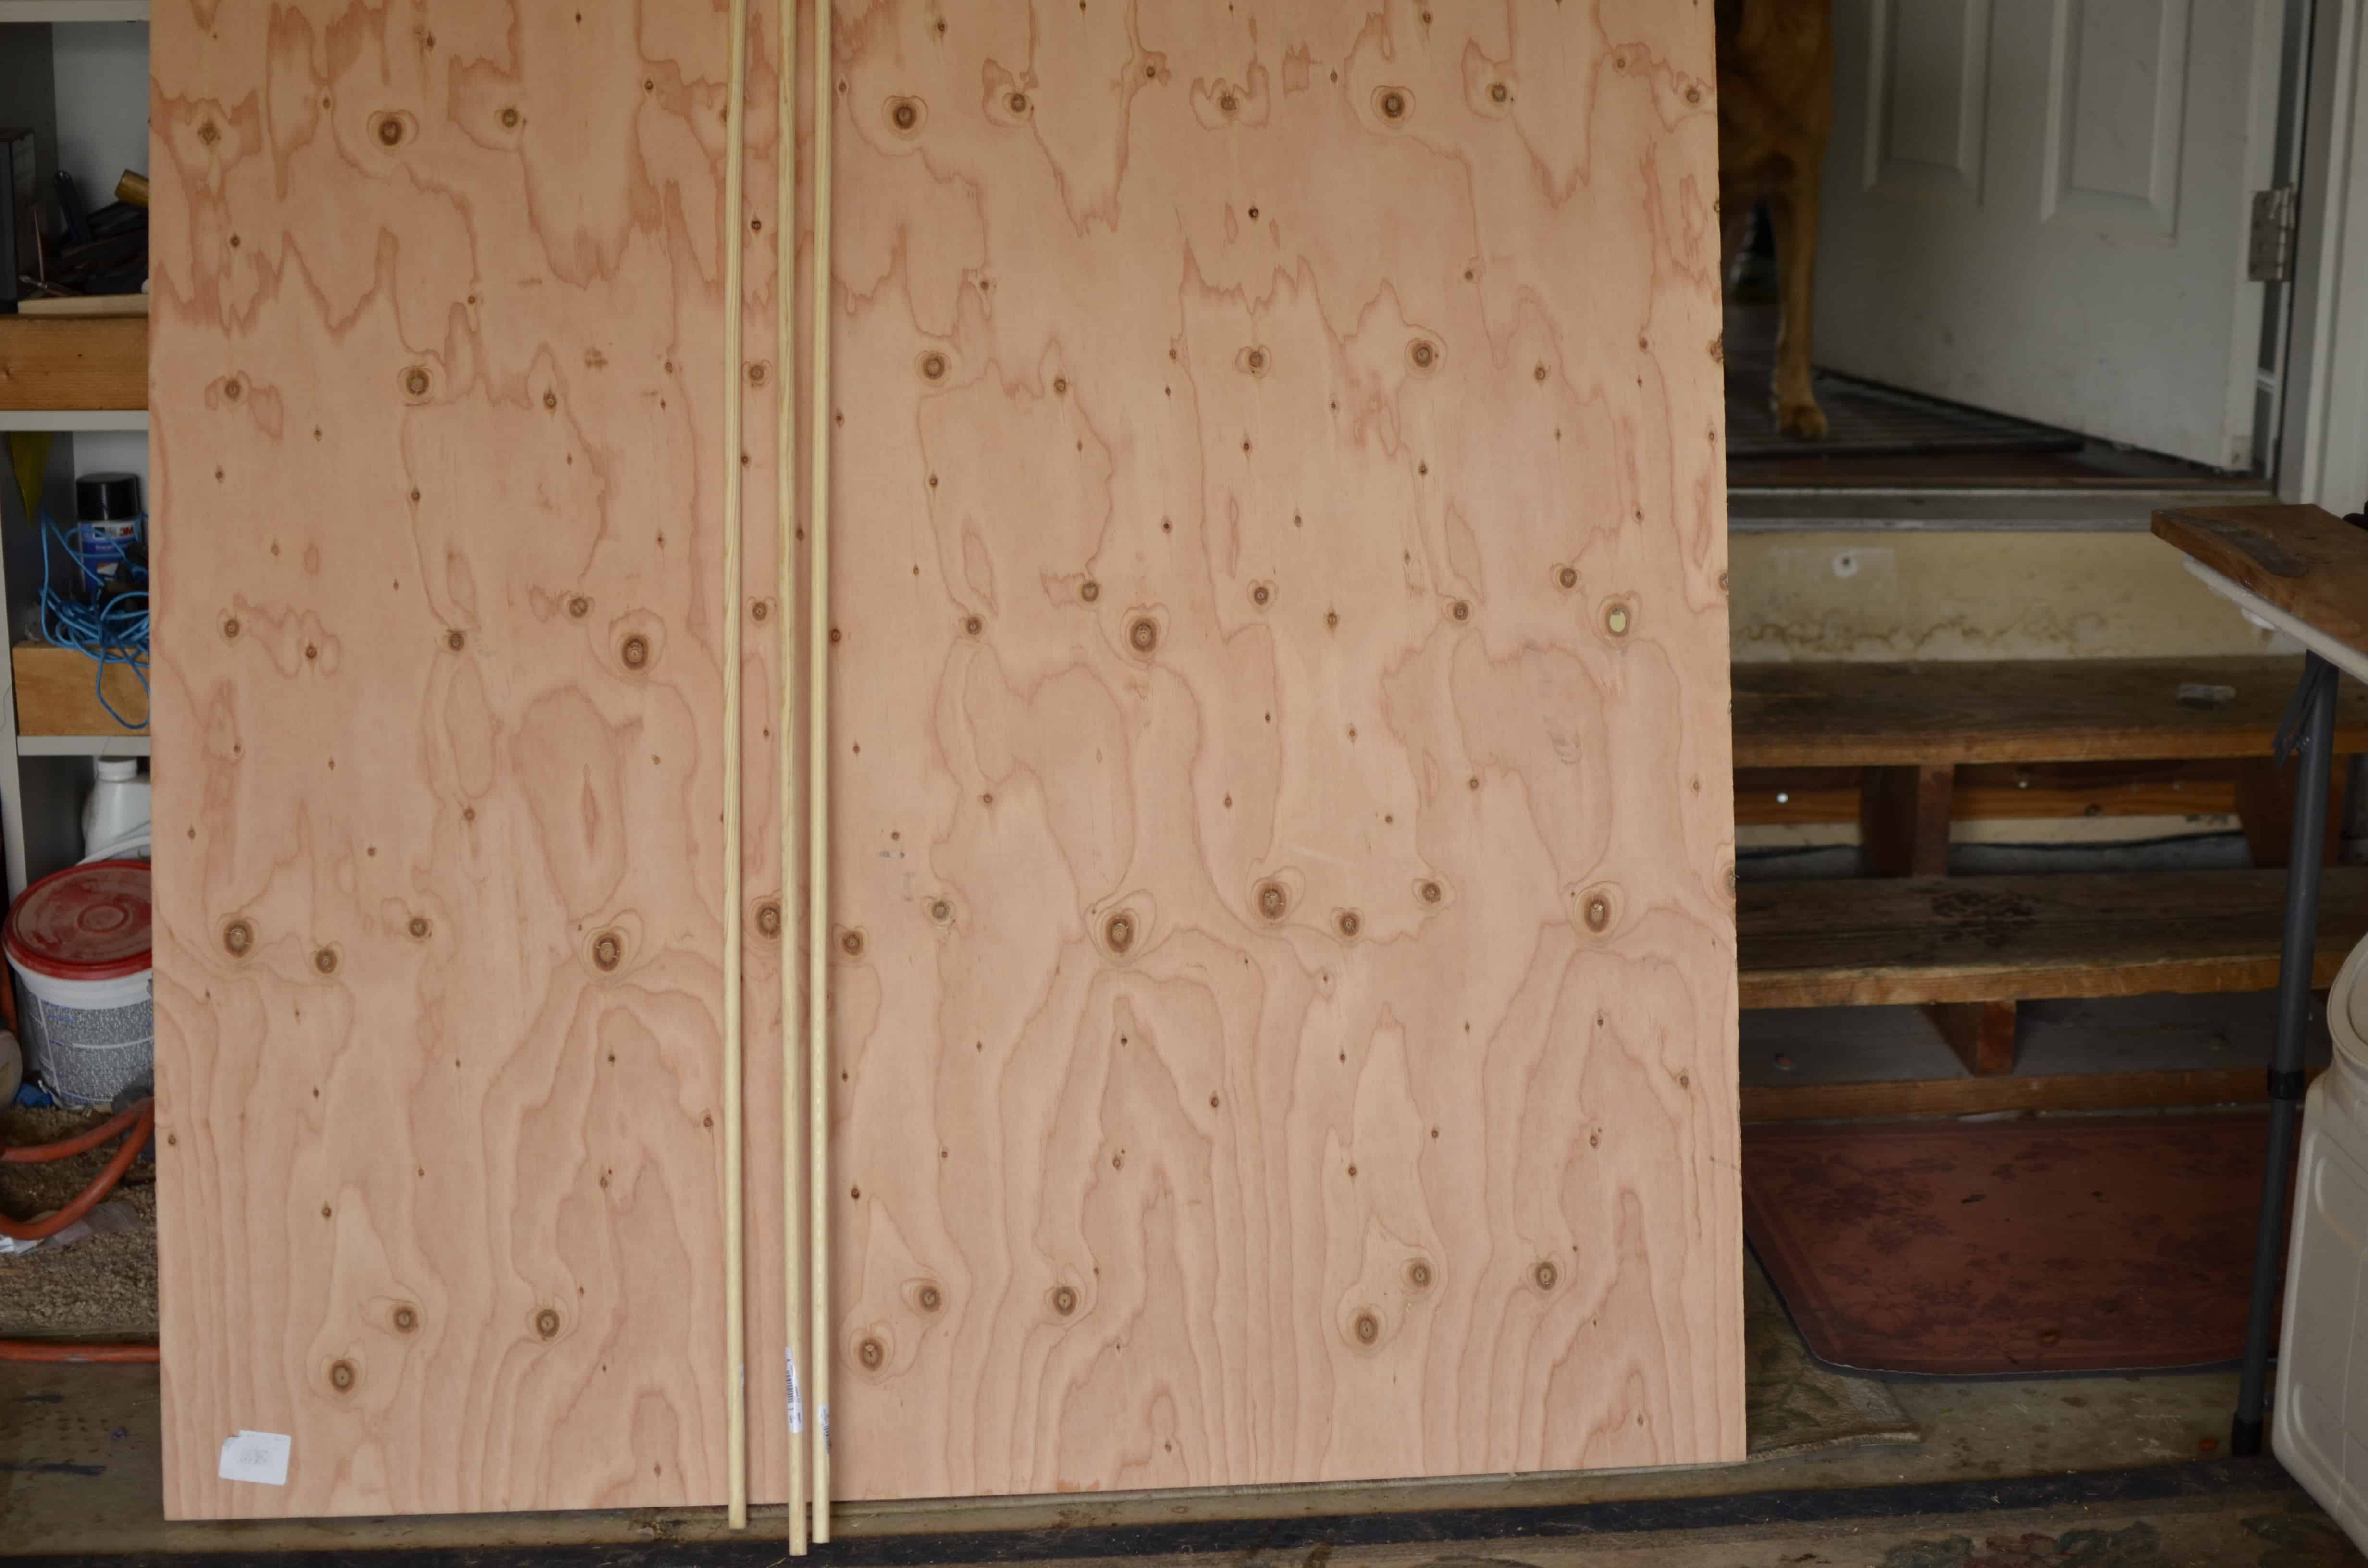
- A 4’X4′ piece of 23/32″ plywood for our backing
- 3- 5/8″ round dowels for our pegs ( you can use any sized peg, but i had a 5/8″ forstner drill bit so I chose this sized peg.)
- 2″x 4″x 8″ boards to provide a support and backing to tie the peg board to the wall of your garage or home.
- Several (like 20) 2 1/2″ wood screws
- Wood glue
I used the following tools to build the project. 1 drill, a chop saw, 1 5/8″ drill bit, tape measure, a pencil a level and a palm sander,
I first took my already cut to size 4″X 4″ piece of plywood (cut at Lowes) and I used tape measure and a pencil to lay out and mark where I was placing my pegs. for mine I thought that for a board that size I could fit around 25 pegs to be functional. This required I place the first peg 8″ from the side and every 8″ from the end. I then marked placed from the top in the same manner. Your markings should be inline from side to side and up and down,
I then took my 1″X 4″ x8′ piece of wood and I cut two pieces to 48″ and 3 pieces to 40″ to frame the piece and to provide support from the back. I also cut my 5/8″ dowels and cut them uniformly to 5″ long- 25 total.
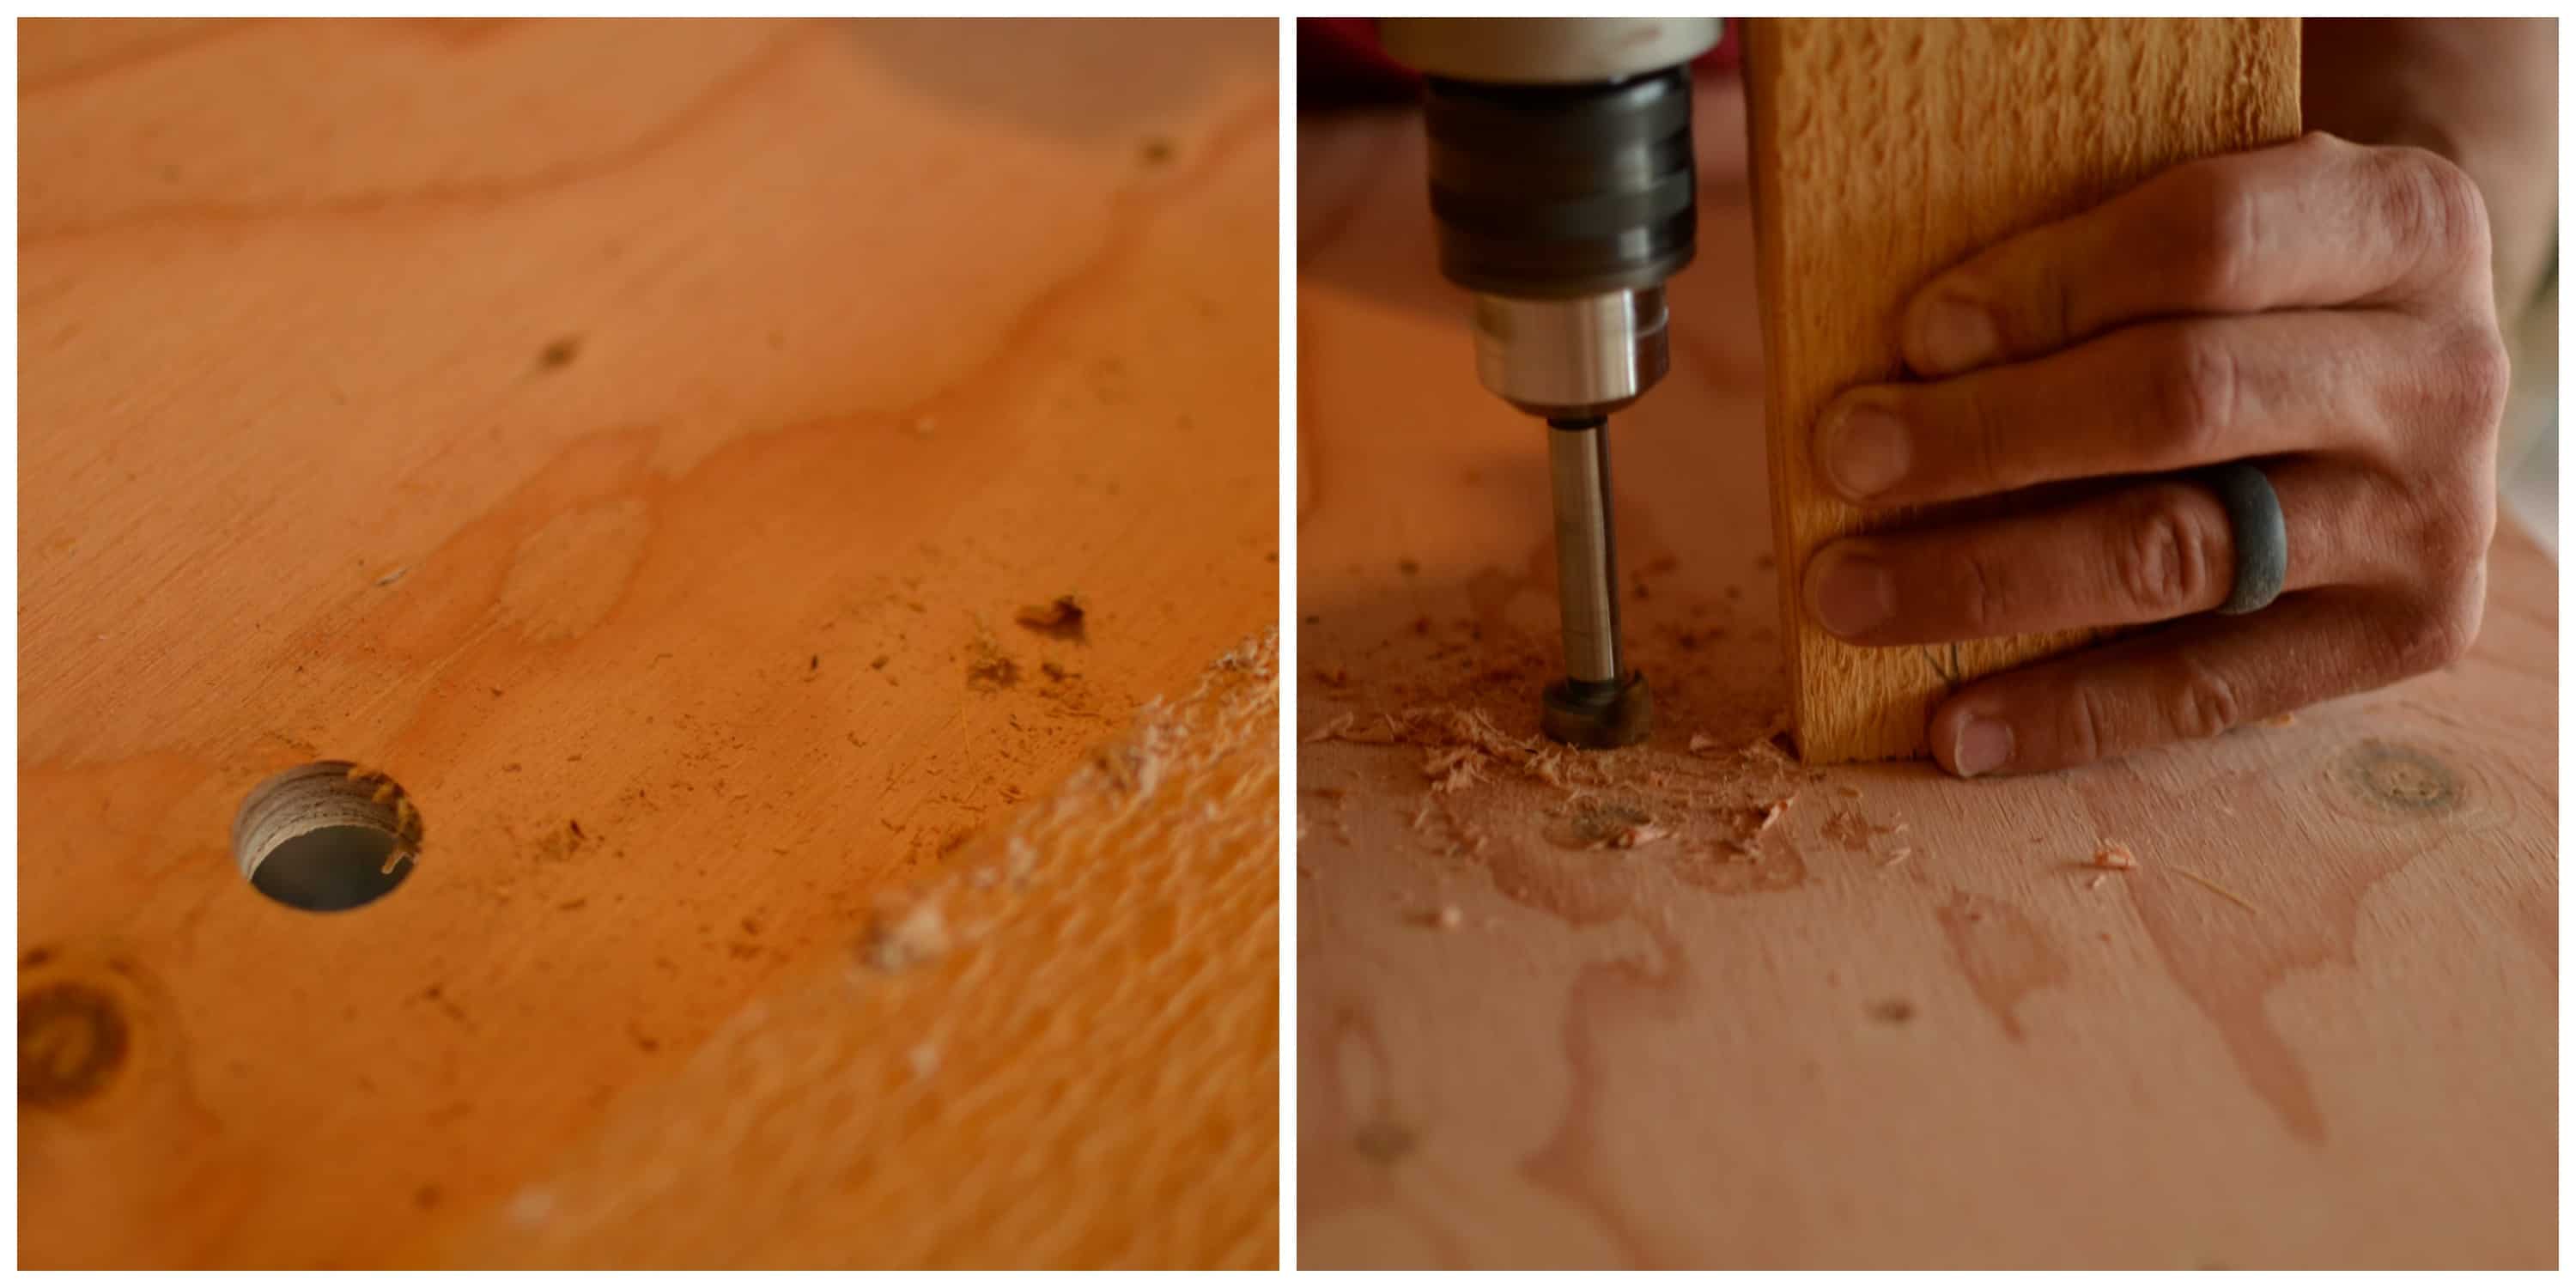
I then cut a left over piece of 1″ X 4″ piece of pine at a 5 degree angle. I used this as a guide while drilling my holes for the pegs. I did not want a 90 angle on the pegs because we want a slight slope so when we hang things they don’t slide off. (Note your angle should be oriented so that when the pegs are placed your angle is to the top of the board) I used a Forstner bit to drill my holes and I recommend that style of bit so you get a little less tear out on your plywood while drilling, but if all you have are paddle bits they will work. I drilled all 25 holes using the drill, 5/8″ Forstner bit and the piece of pine cut at 5 degrees.
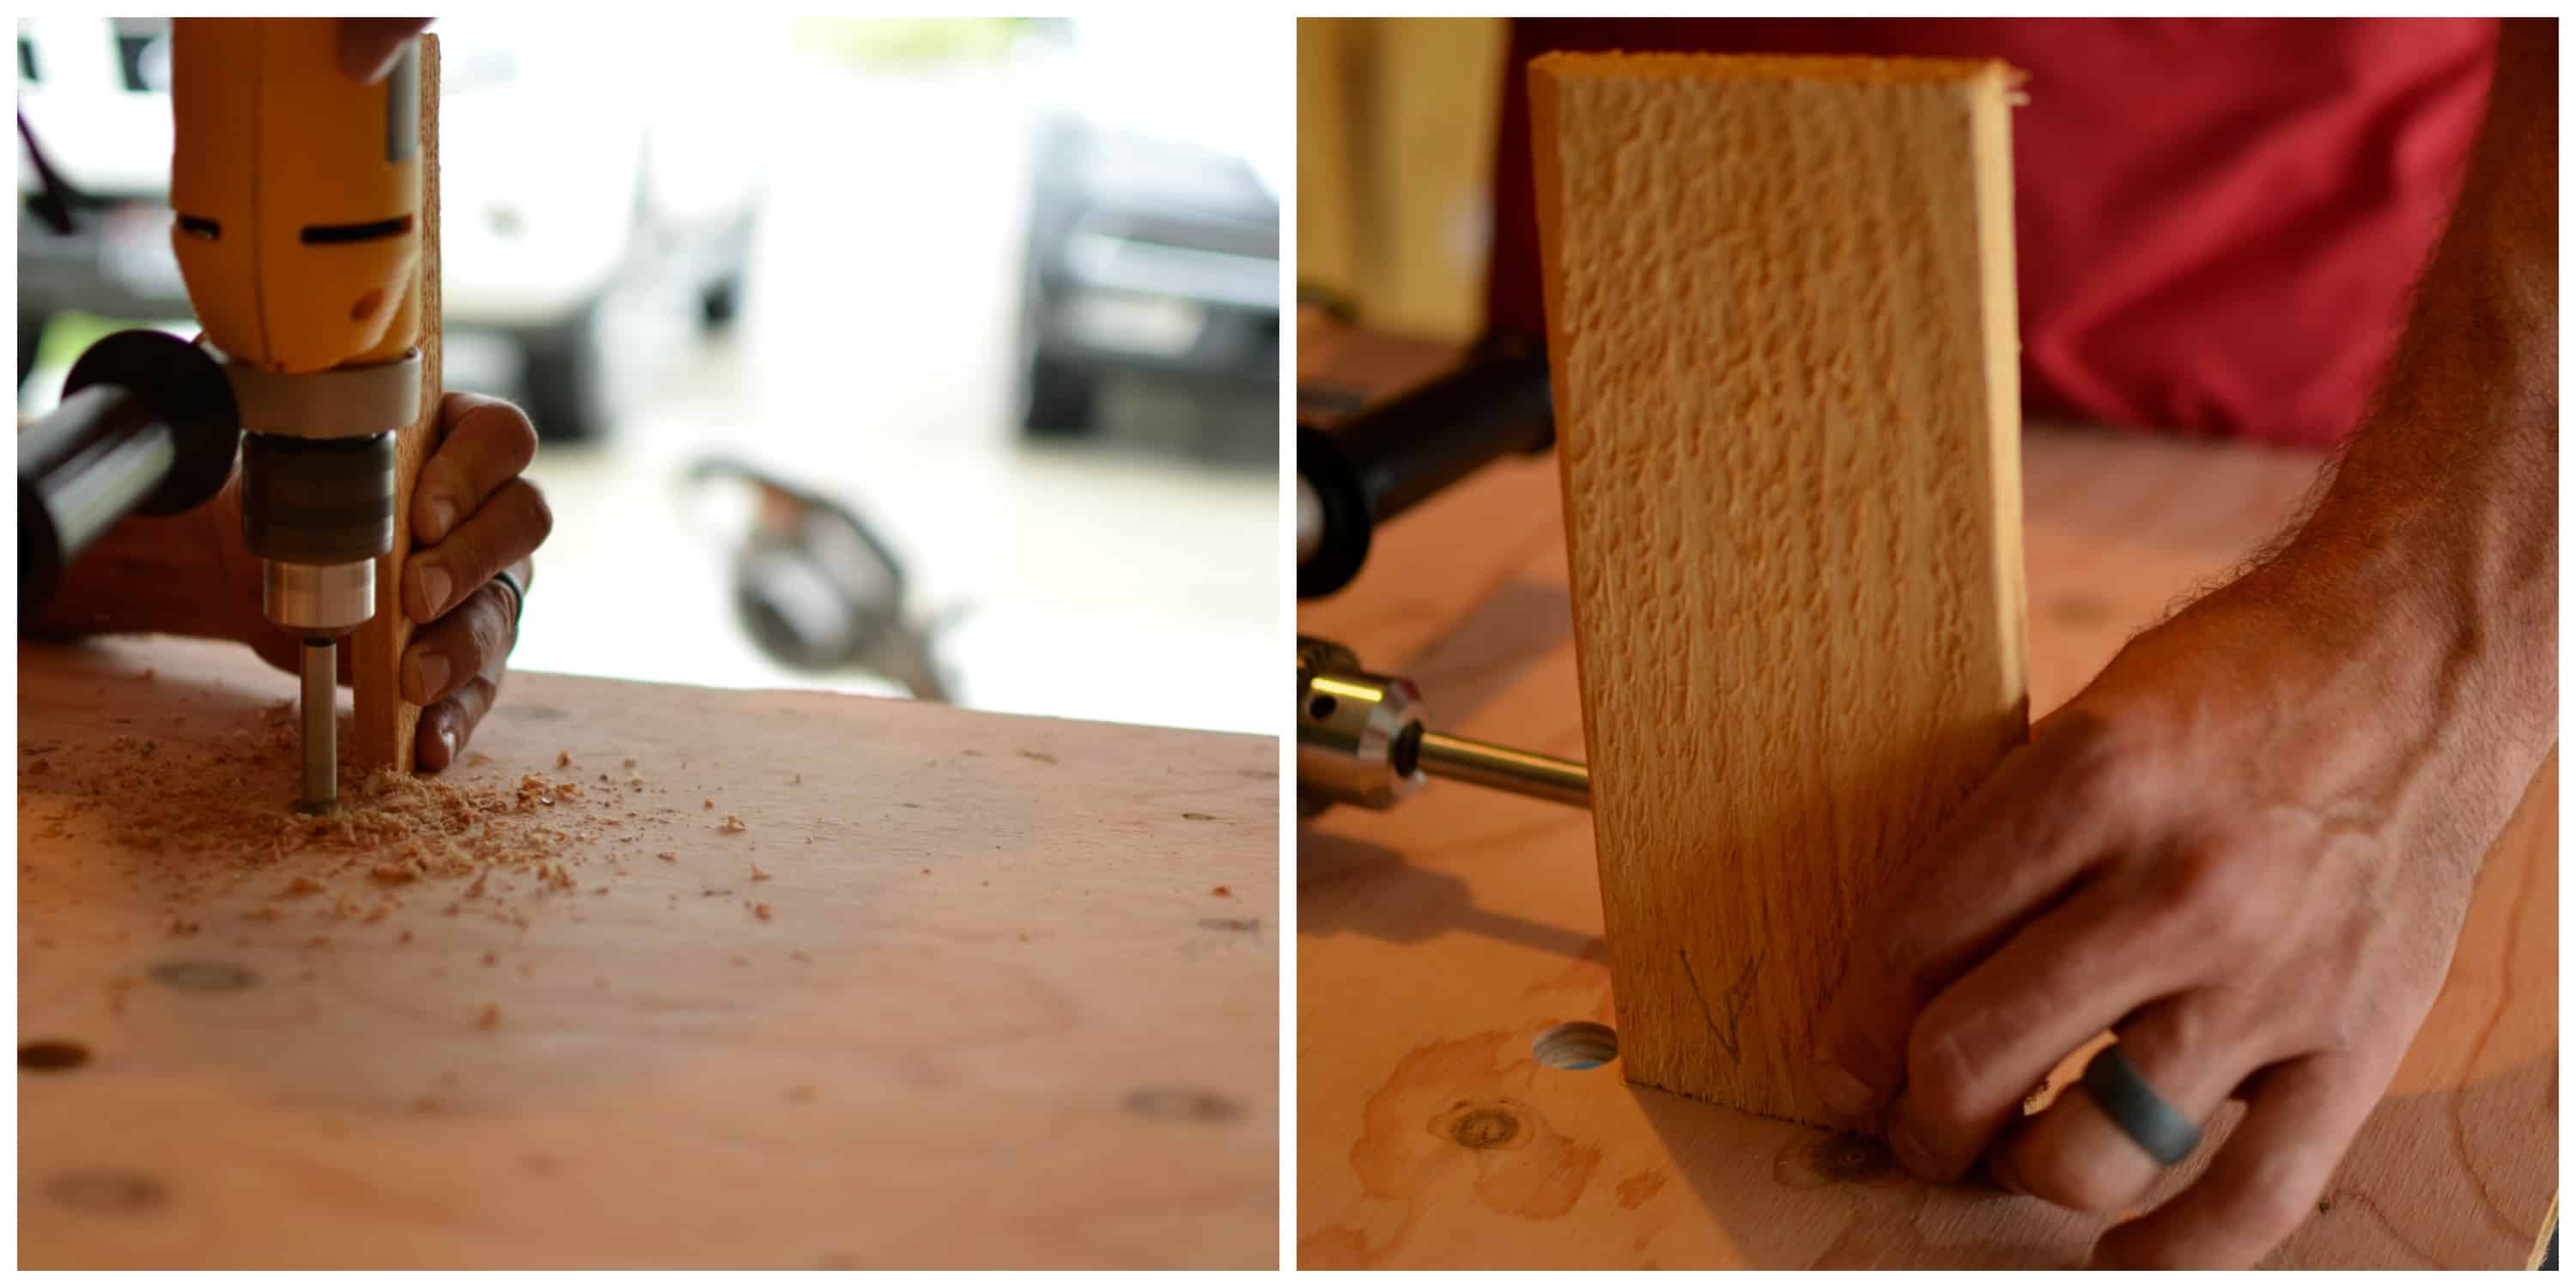
I then spent some time with the palm sander and sanded the surface with 80 grit sand paper to ease the exposed corners and clean up any markings still on the face of the peg board. I also sanded and smoothed the ends of the pegs. I think that this step is unnecessary but it does make it look so much nicer and only took me about an extra half of an hour. You will then glue the pegs in using yellow wood glue, because you used the correct drill bit to match your dowel your dowel fitting into the hole should be really tight.
Use one of your 1″x 4″ x 48″ pieces of wood that you have already cut to make sure all of your peg ends are matching up. you just want them to all be facing the same way. If you have one at 5 degrees and one at 3 degrees, it is really obvious to the naked eye, so taking the time to line them up really makes the difference in look of the piece.
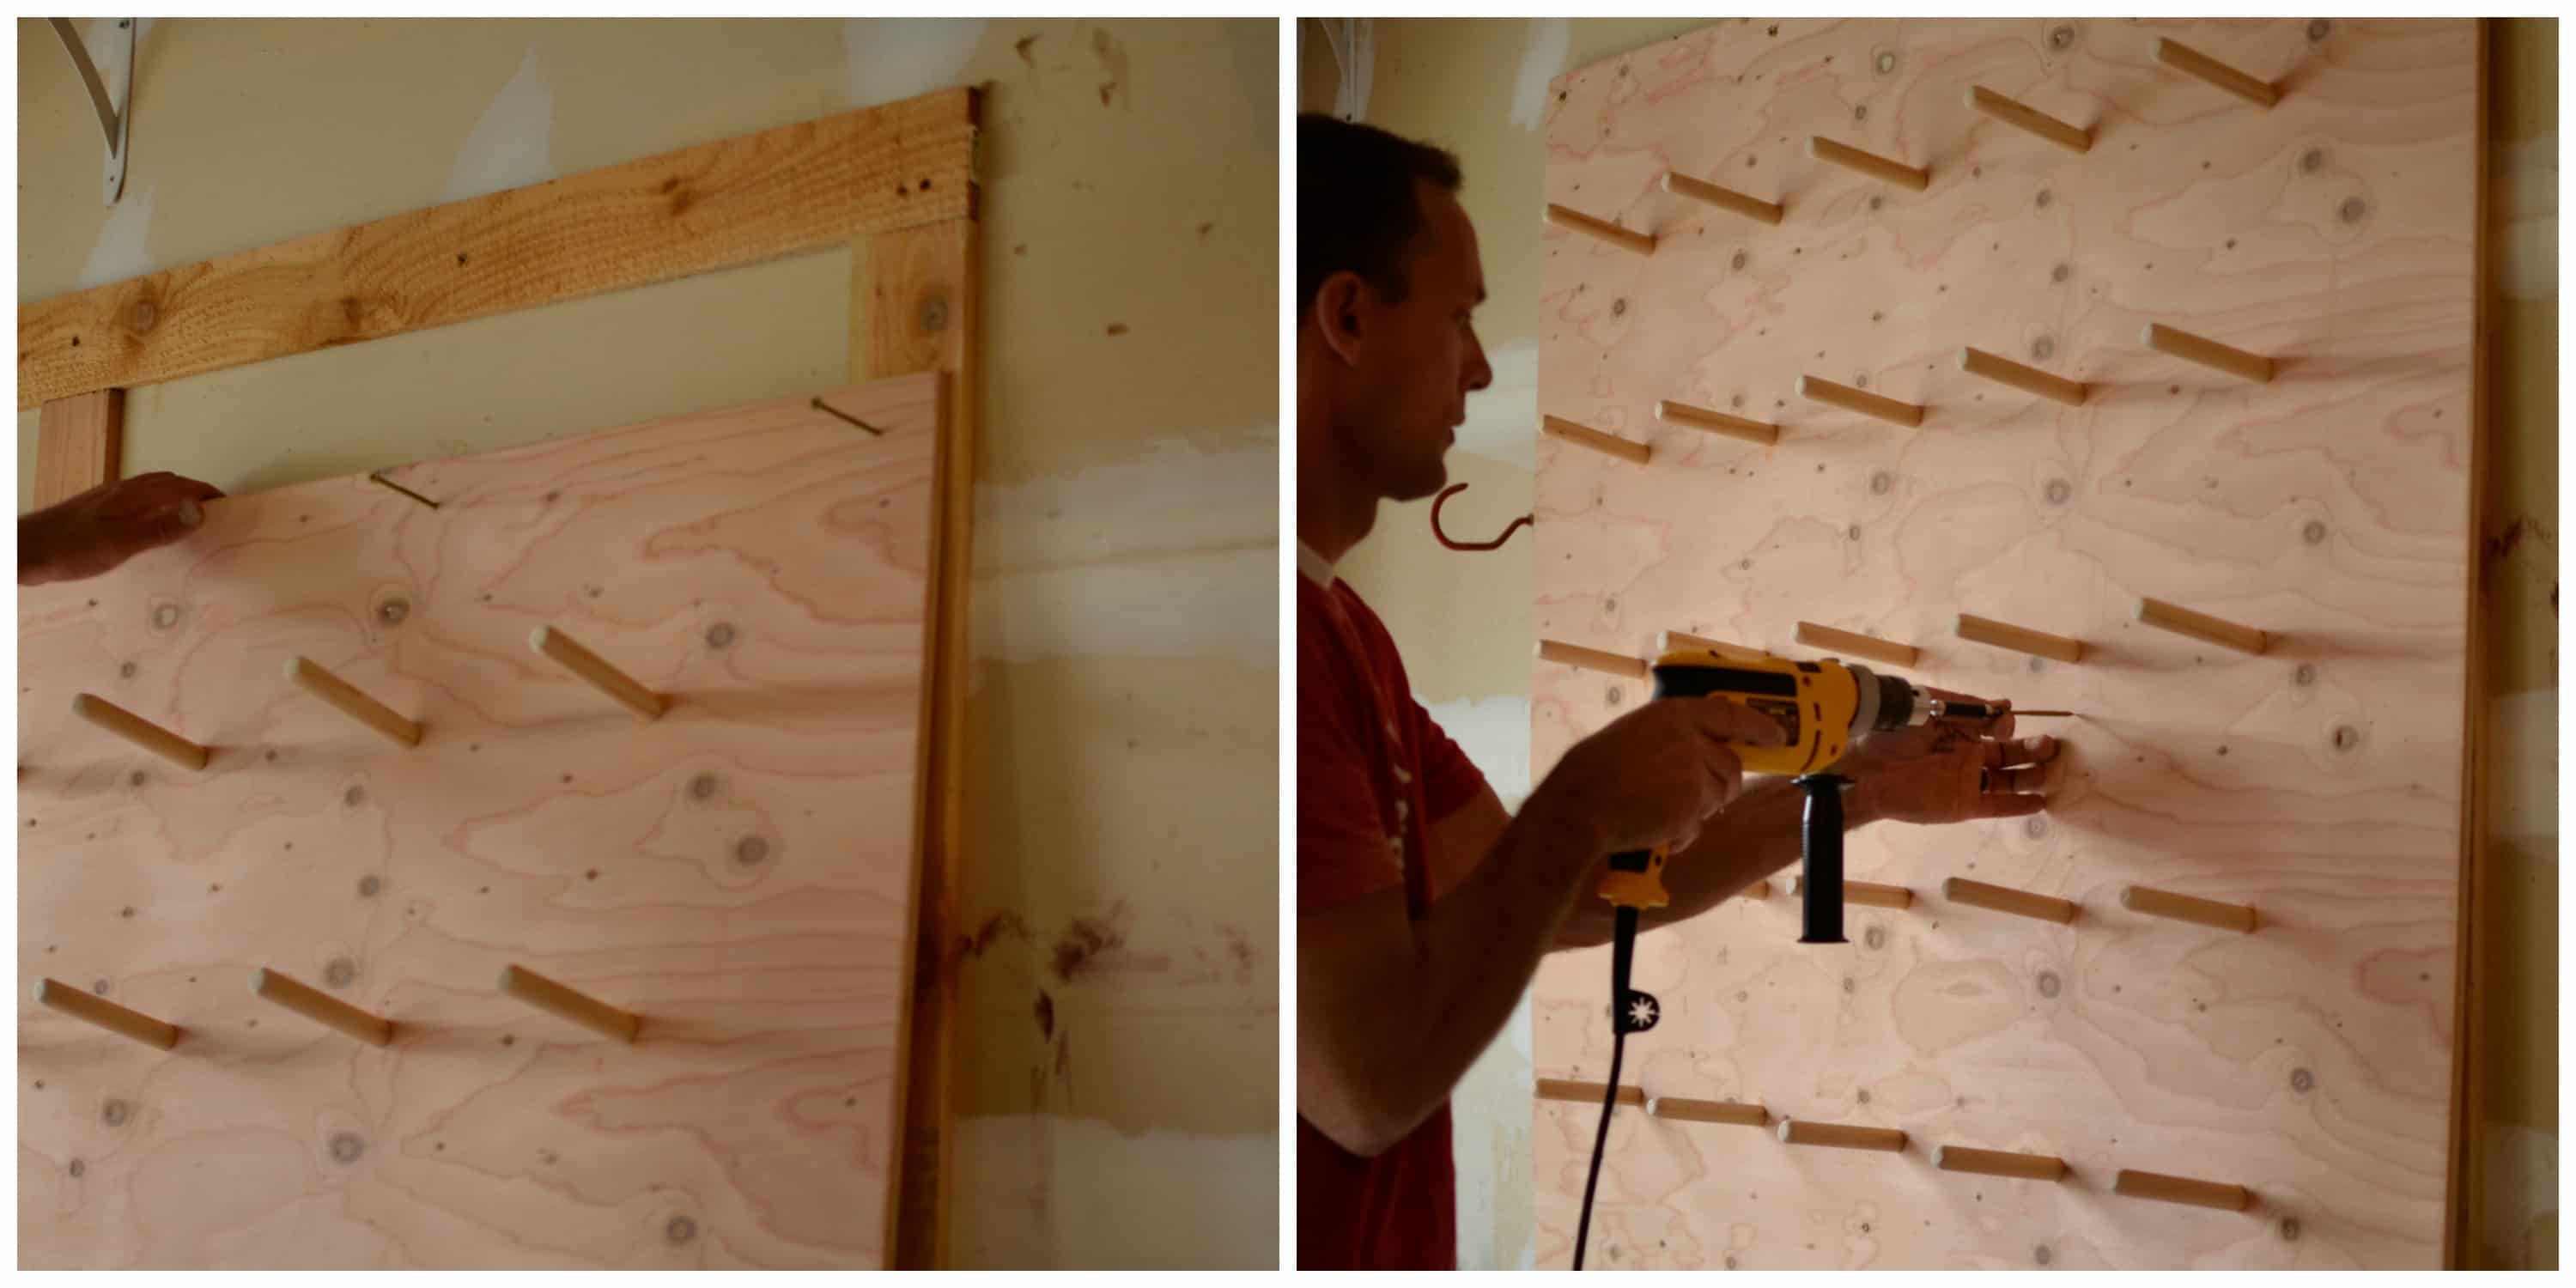
I then used the 1X4’s that we cut earlier, and a level to frame a 48″ X 48″ piece on the wall. I did it this way so that I could tie into several 2X4’s behind the sheet rock. I ran 1- 1″ X 4″ x 40″ piece down the middle to provide support in the middle of the board.
I then attached the finished peg board to the wall using more wood screws.
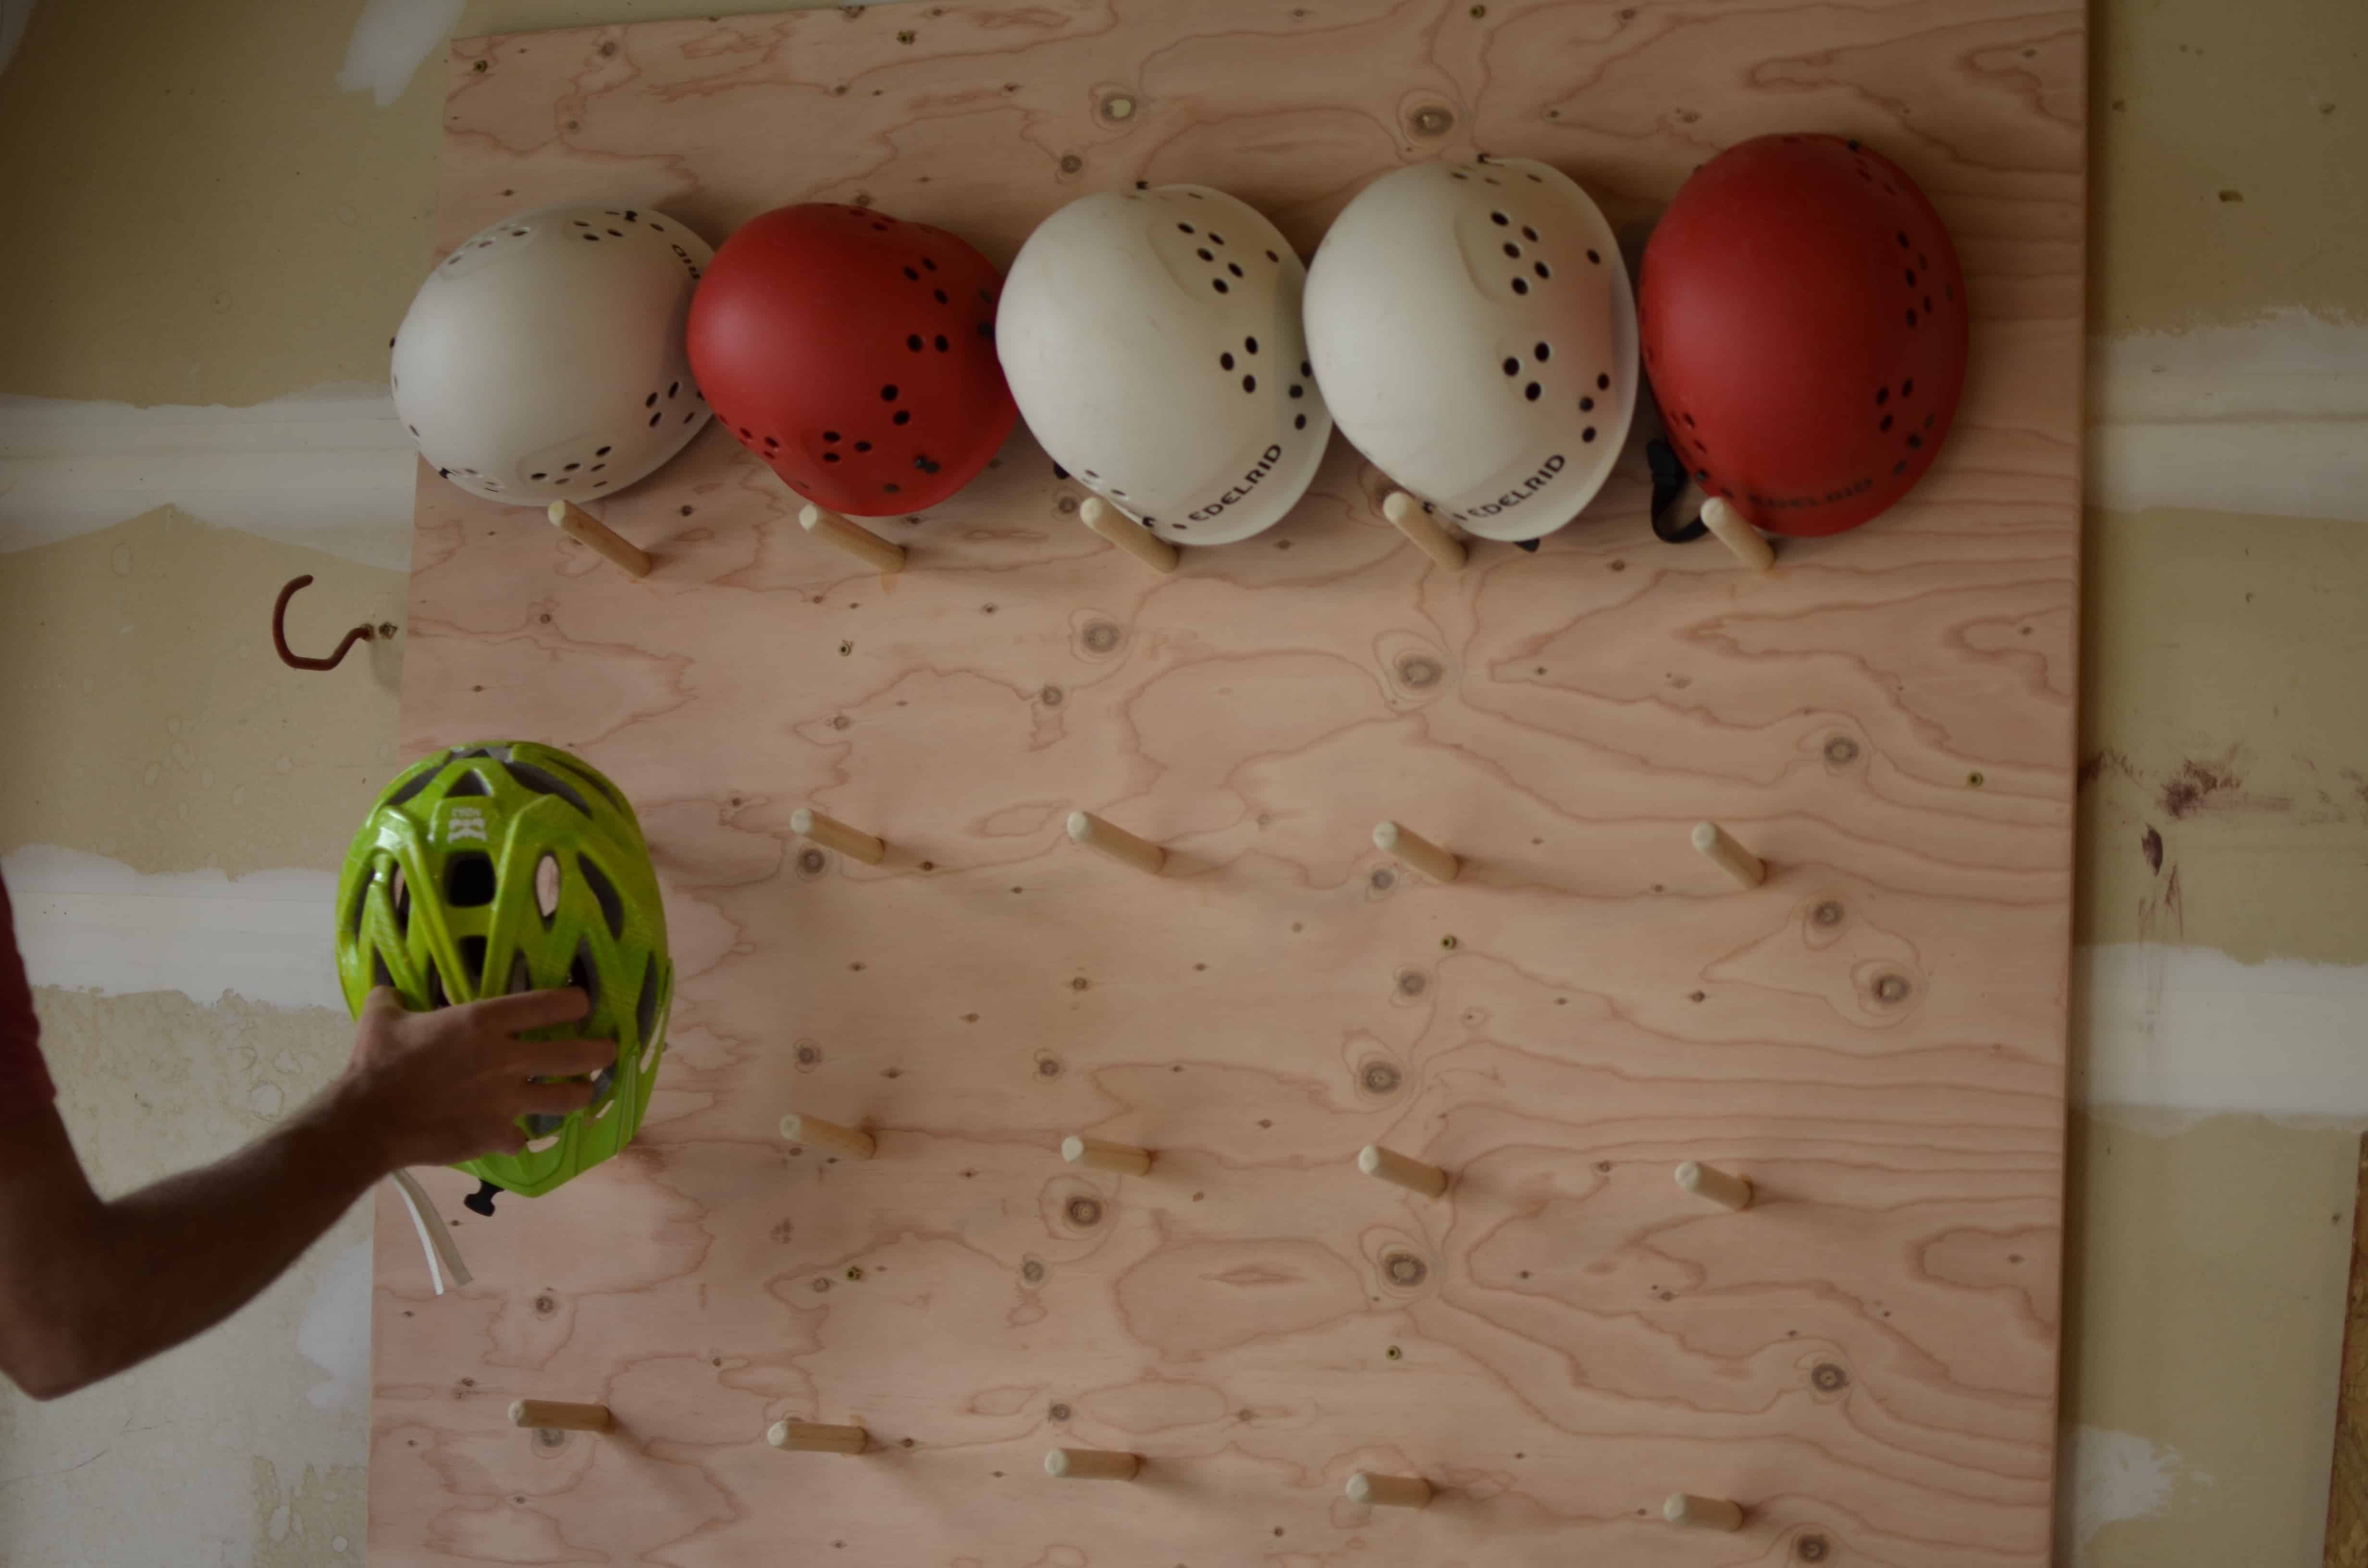
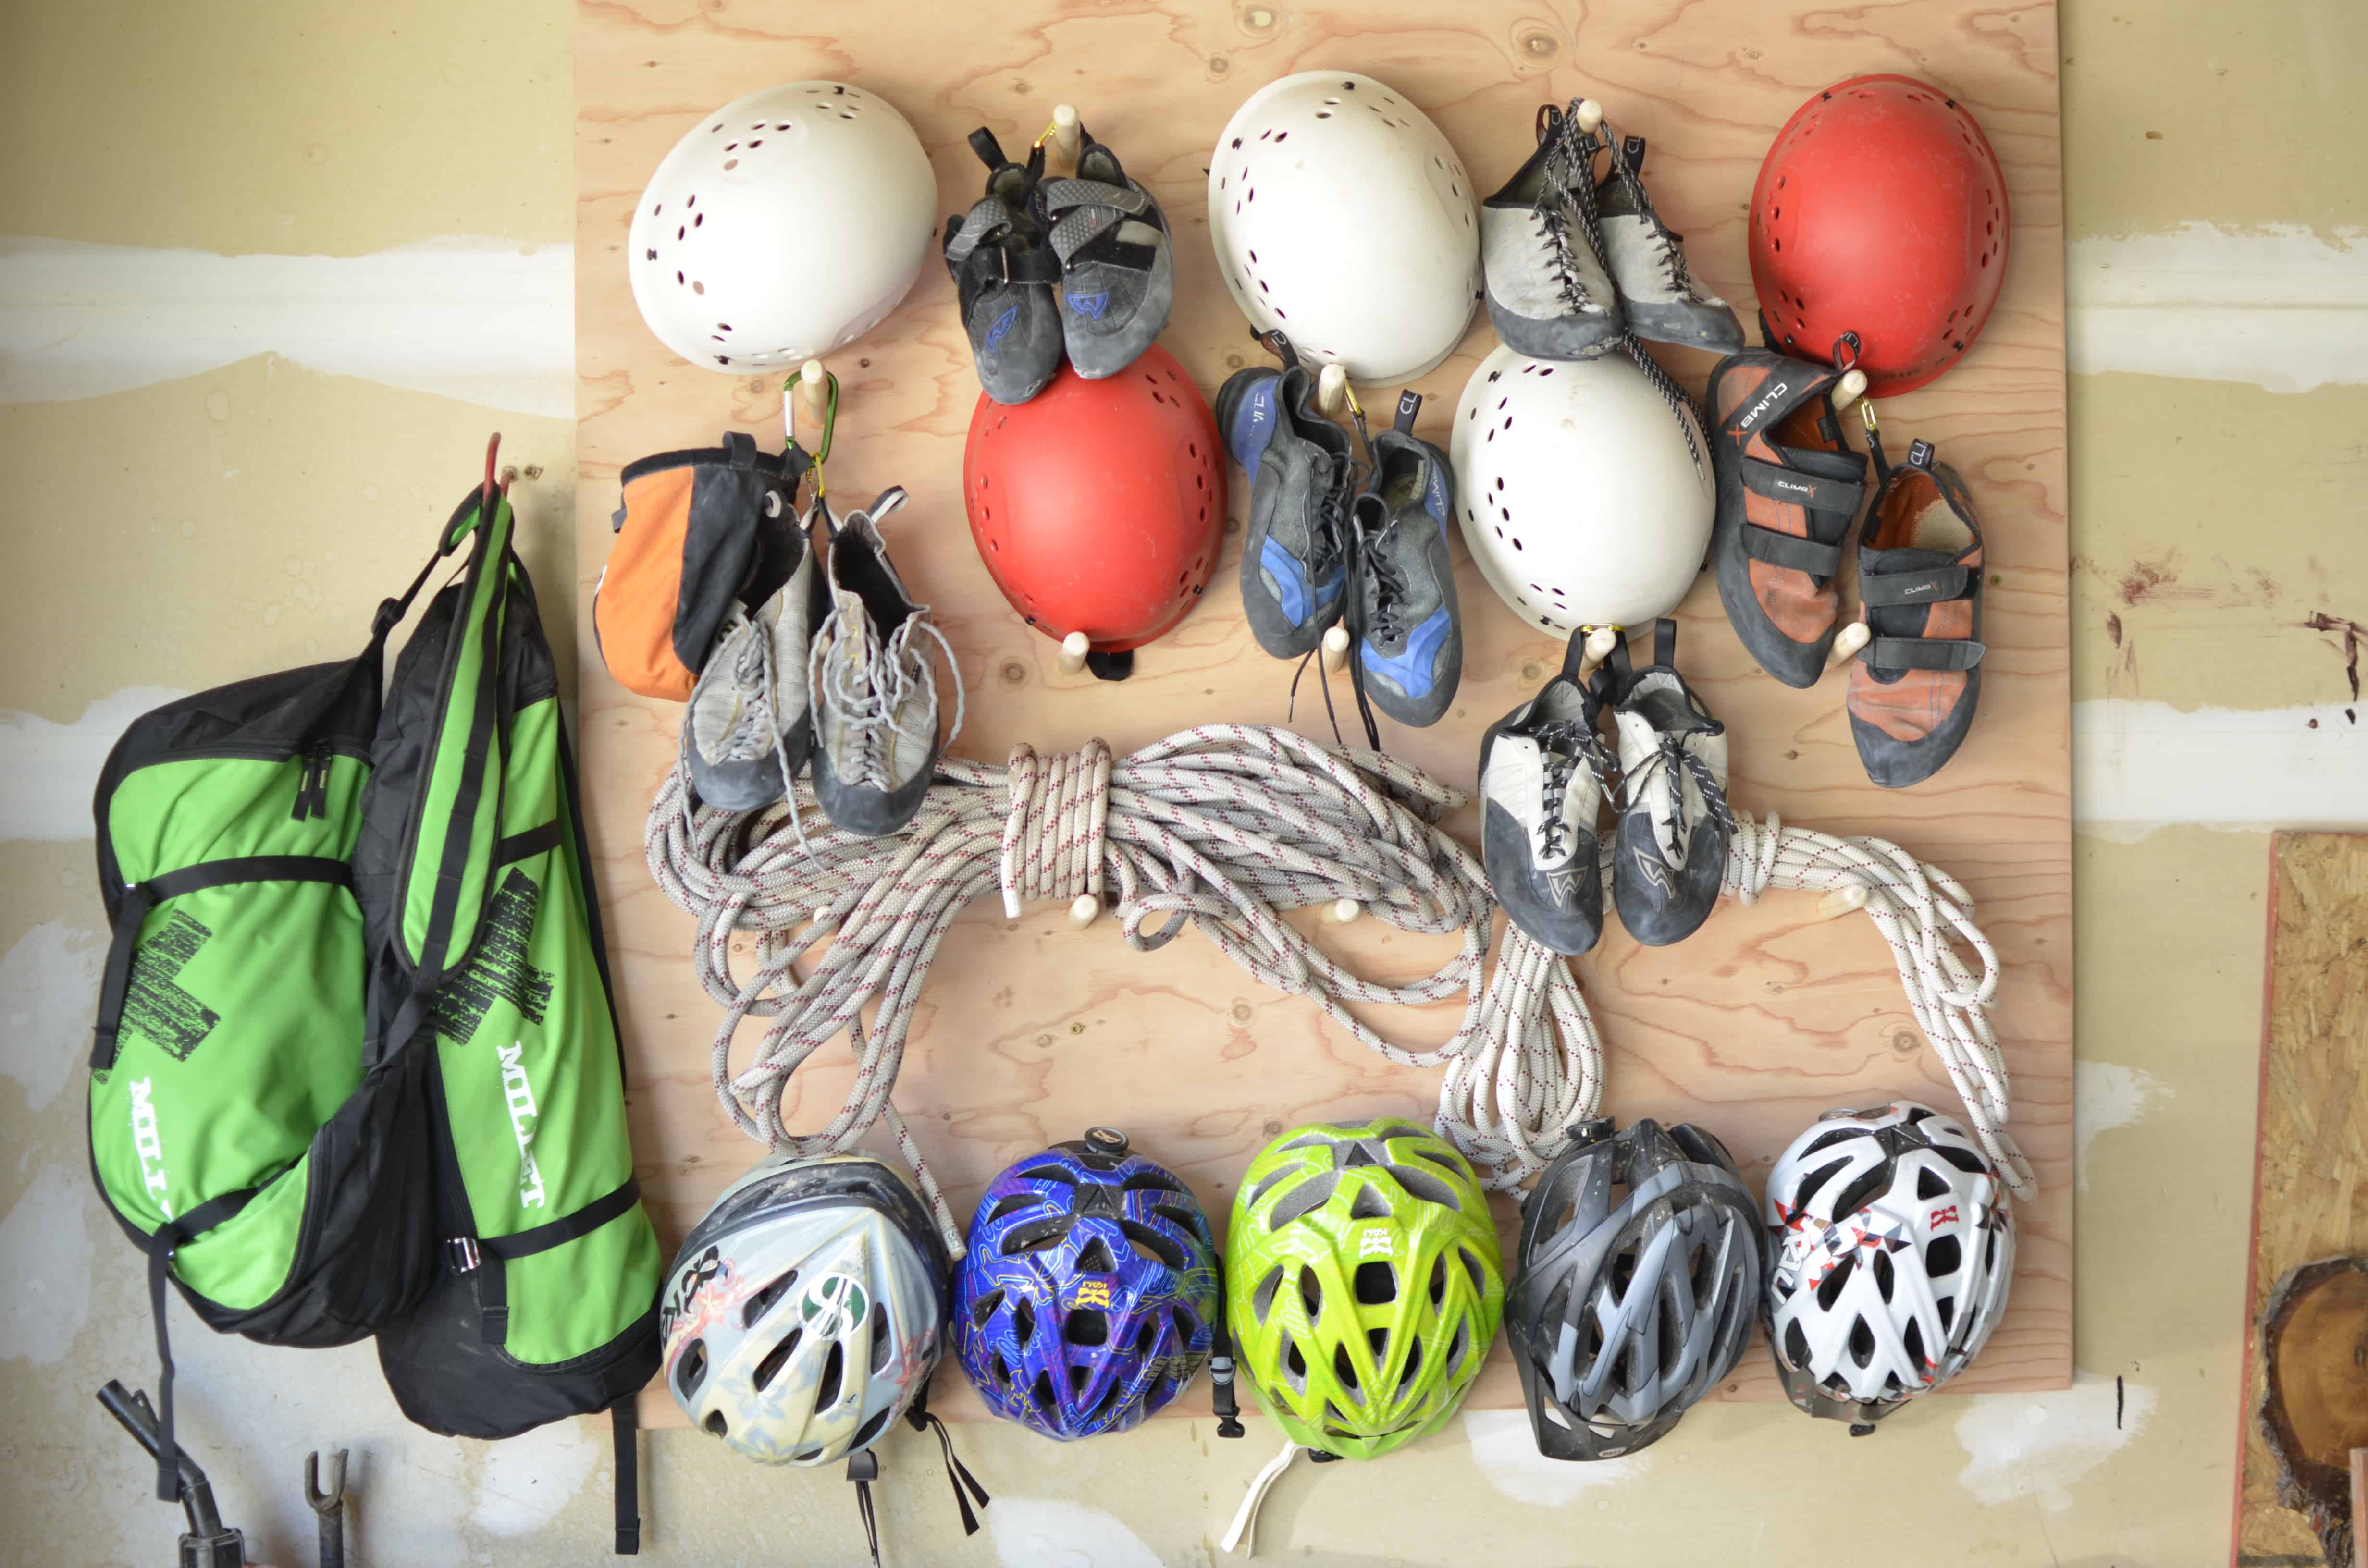
It’s been so great to enjoy Utah this way! Getting into the canyons where no one else goes is the best way to see our over crowded National Parks!