Any time is a good time for some pie. This fantastic fail proof apple pie will be your new go to for any occasion or season.
How to Make a Fail Proof Apple Pie
For starters, you are probably wondering what magical element there is that makes this pie a winner any time, any place.
There is no magic but there is a super simple crust with a crumb topping that really makes all the difference.
Then, there is the amazingly simple filling. Seriously, so easy! Yet, so yummy! The crust, crumb topping and simple filling are the ingredients to making this pie so magical.
Apple Pie Supplies
To get started you will need to gather a few supplies. First, a pie plate. I have always used a 9in. glass pie plate (pan) like this one from Amazon. Though, I am confident any pie plate/pan or tin (even disposable) should do the trick.
Second, this fantastic pie bakes inside a brown paper bag (like the kind you get from the grocery store).
Lastly, you will also need a metal clip or two to keep the brown paper bag closed during baking (so the steam doesn’t escape).
Apple Pie Crust
To get this party started we will make our crust. In the past pie crusts have not always been my friend. So when I met this crust that doesn’t have to be rolled out or blind baked it was love at first sight.
The crust ingredients are as follows:
1 1/2 cup flour
1 1/2 teaspoon sugar
1 teaspoon salt
1/2 cup oil
2 tablespoons milk
Easy enough so far. The next step is to mix the above crust ingredients together. You can use a hand mixer, a stand mixer, stirring spoon or fork. Lots of options here.
Once it is a little moist you can move onto the next step which is pressing it into the pie plate.
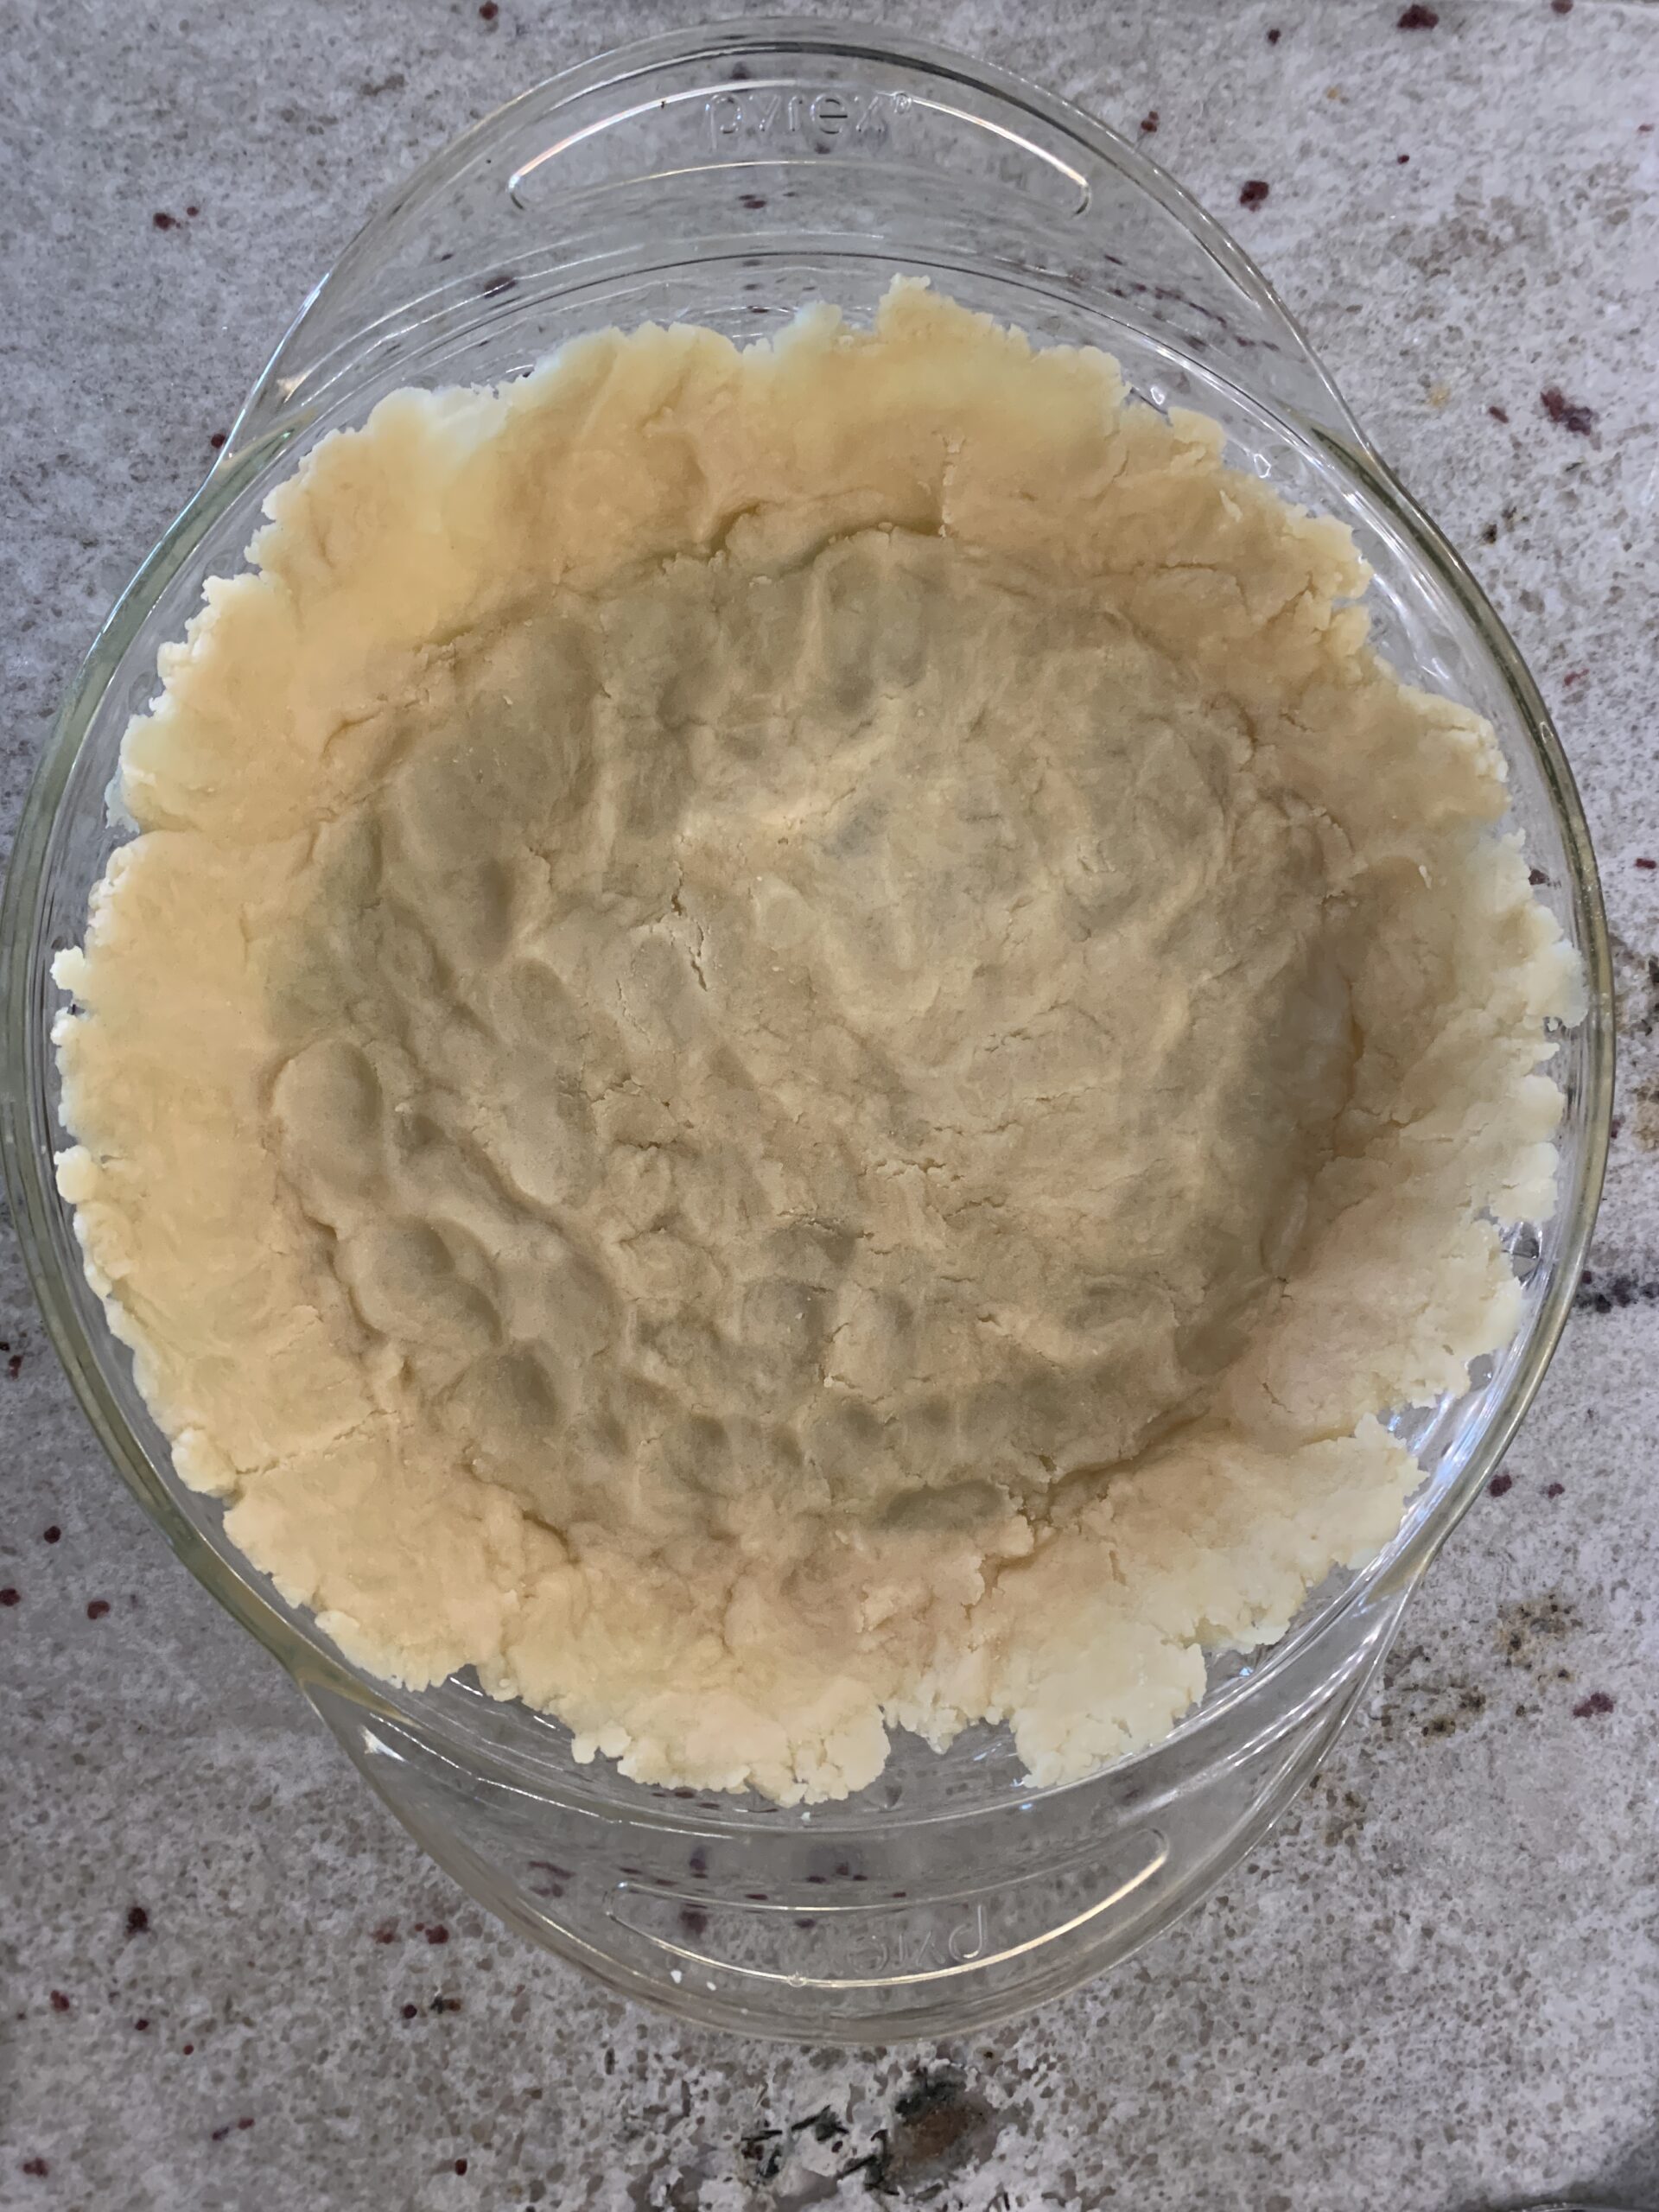
Finally, use your fingers to get the crust into all the places you want it in the plate. You can work it up the edges and into the bottom. You can go up as high as you want on the sides of the plate or keep it shallow. Want a thick bottom? Then add more crust there. The choice is yours.
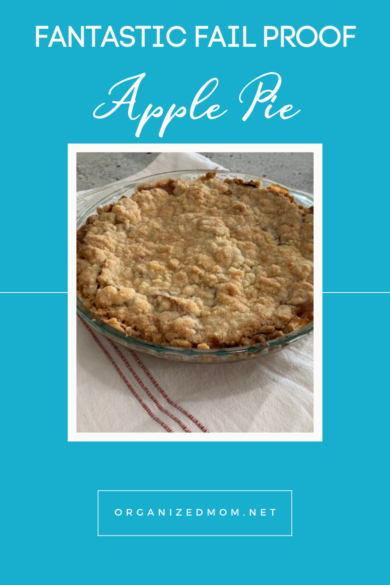
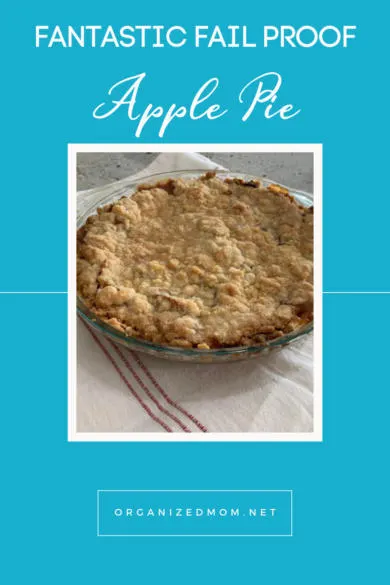
This crust is one of the greatest things about the fail proof apple pie. It’s simple to make and it doesn’t have to be perfect.
Once you have finished putting your crust into the plate you can set it aside. No need to bake it separate from the rest of the pie. It can all cook at the same time.
Apple Pie Filling
The ingredients you will need for your filling are:
4 cups peeled and sliced apples
1/2 cup sugar
2 Tablespoons flour
1/2 teaspoon nutmeg
1/2 teaspoon cinnamon
Begin the filling by combining all the filling ingredients except the apples into a bowl. Then set it aside.
The apples are the star of this show. I have used a variety of apples when making this pie and it has always turned out delicious. My favorite combo is 2 Granny Smith’s and 2 Gala or Fuji.
Most recently when I made this pie I forgot to peel the apples (oops)! It just goes to show how fail proof this pie is because the taste was still amazing and everything cooked just fine.
Once you have peeled and sliced your apples (not super thin but not too thick either) add them to your bowl with the other filling ingredients. Give them a good stir so the apples get nice and coated with all of the yummy flour mixture.
Finally, add the coated apples into your pie crust and spread them out evenly.
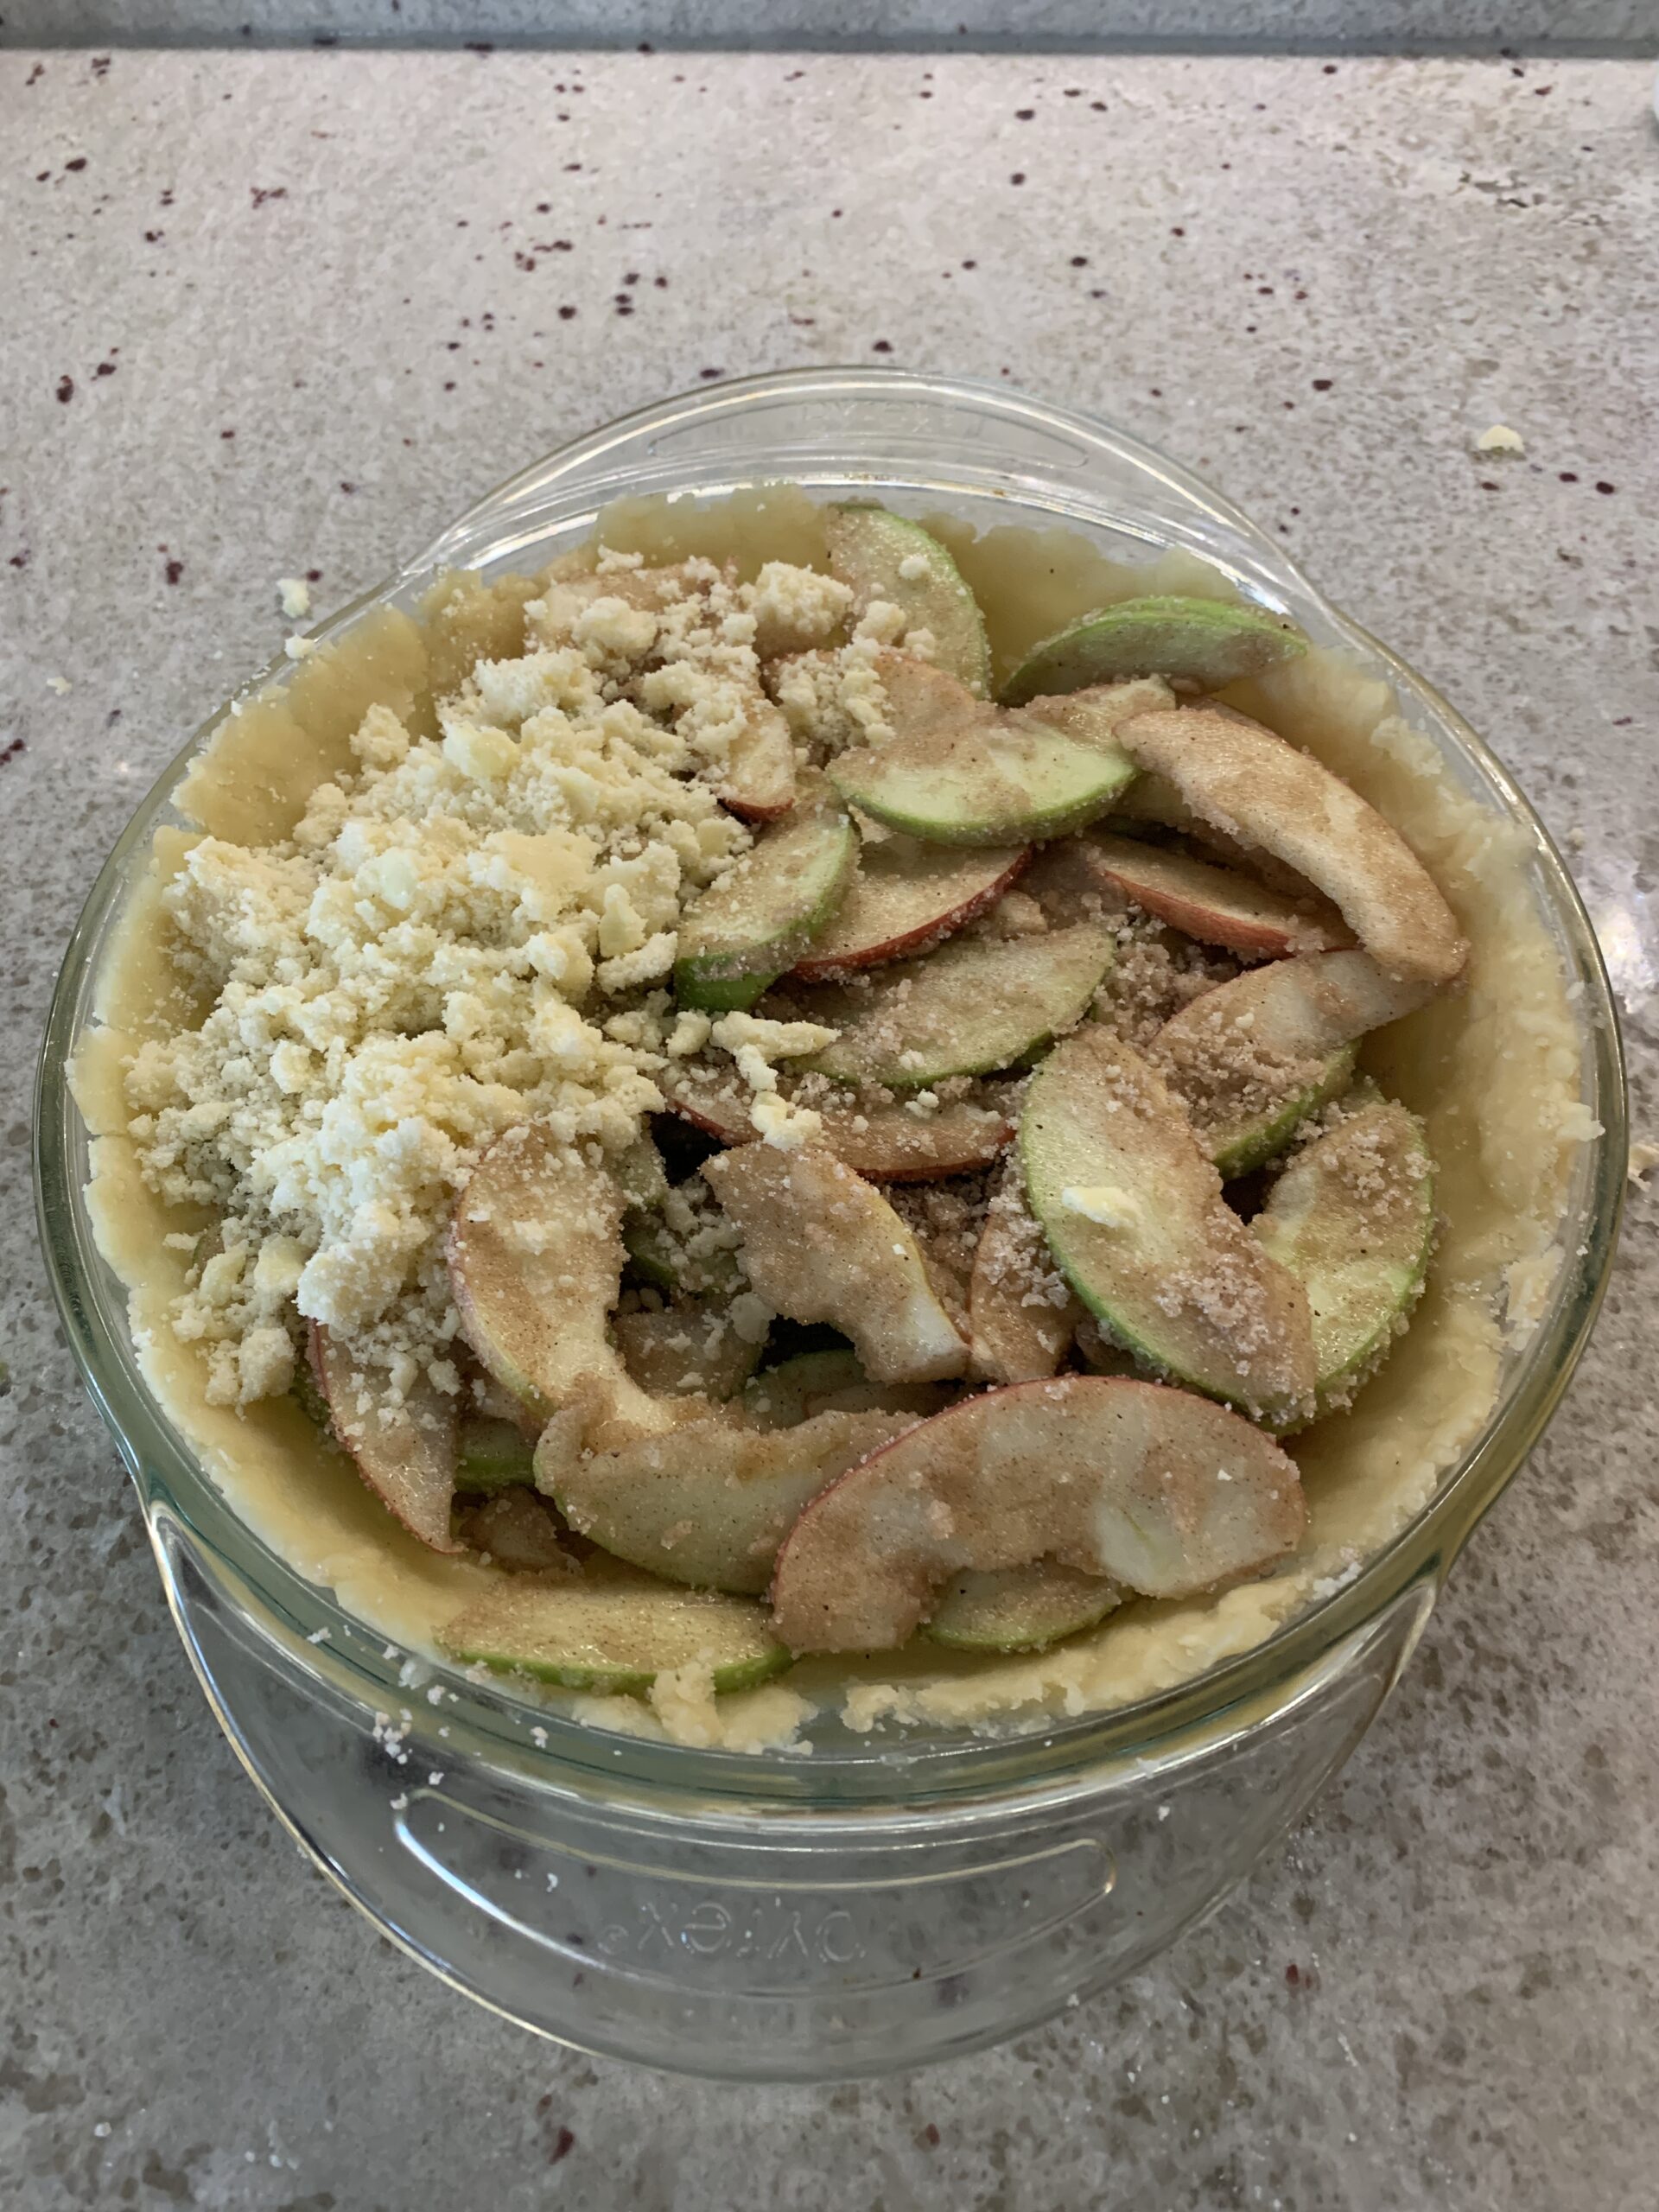
You can see in the picture where I neglected to take the skin off the apples. Though the red and green do look pretty.
Now that you have your apples all nestled inside your pie crust your next step is the crumb topping.
Apple Pie Crumb Topping
The ingredients for the crumb topping are as easy as it gets:
3/4 cup flour
3/4 cup sugar
3/4 cup butter
Begin by mixing the flour and sugar together in a bowl. Next, you are going to cut in the cold butter.
I have cut the butter in with a fork before but it is much easier if you use a dough/pastry cutter. You can find one like I used here on Amazon.
You want the topping to be crumbly so be mindful while you are cutting your butter in that it doesn’t become too stuck together.
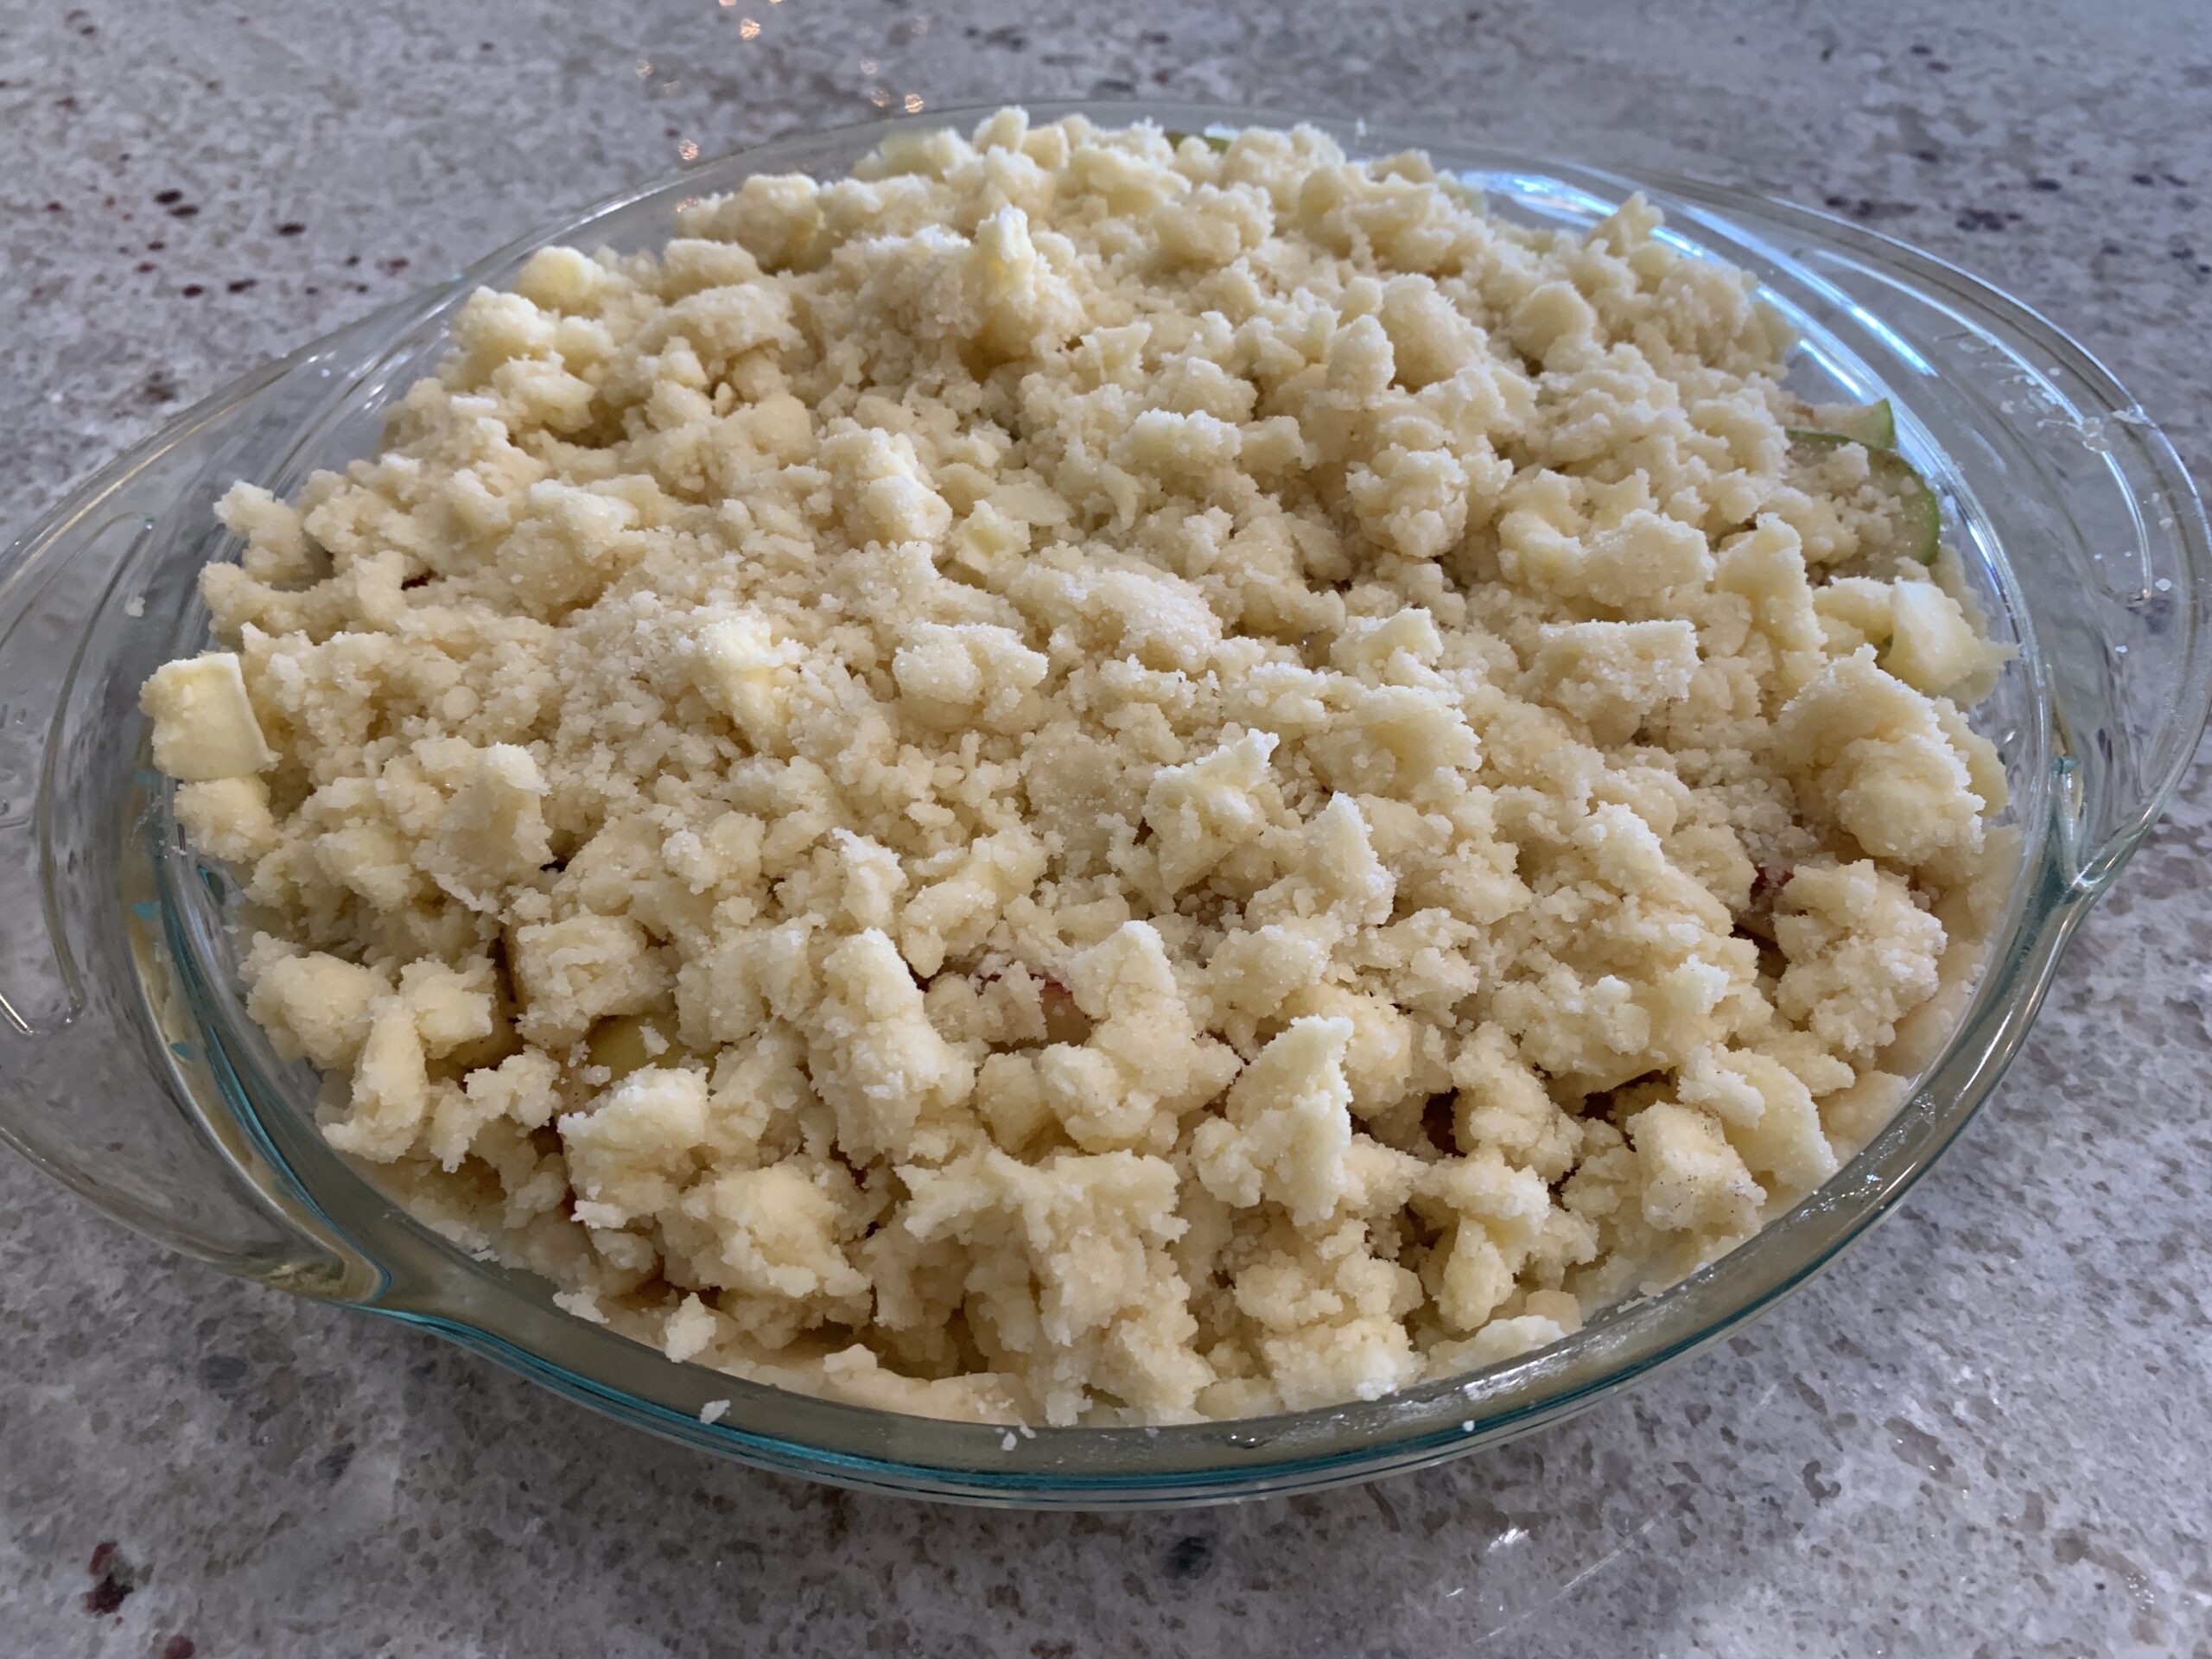
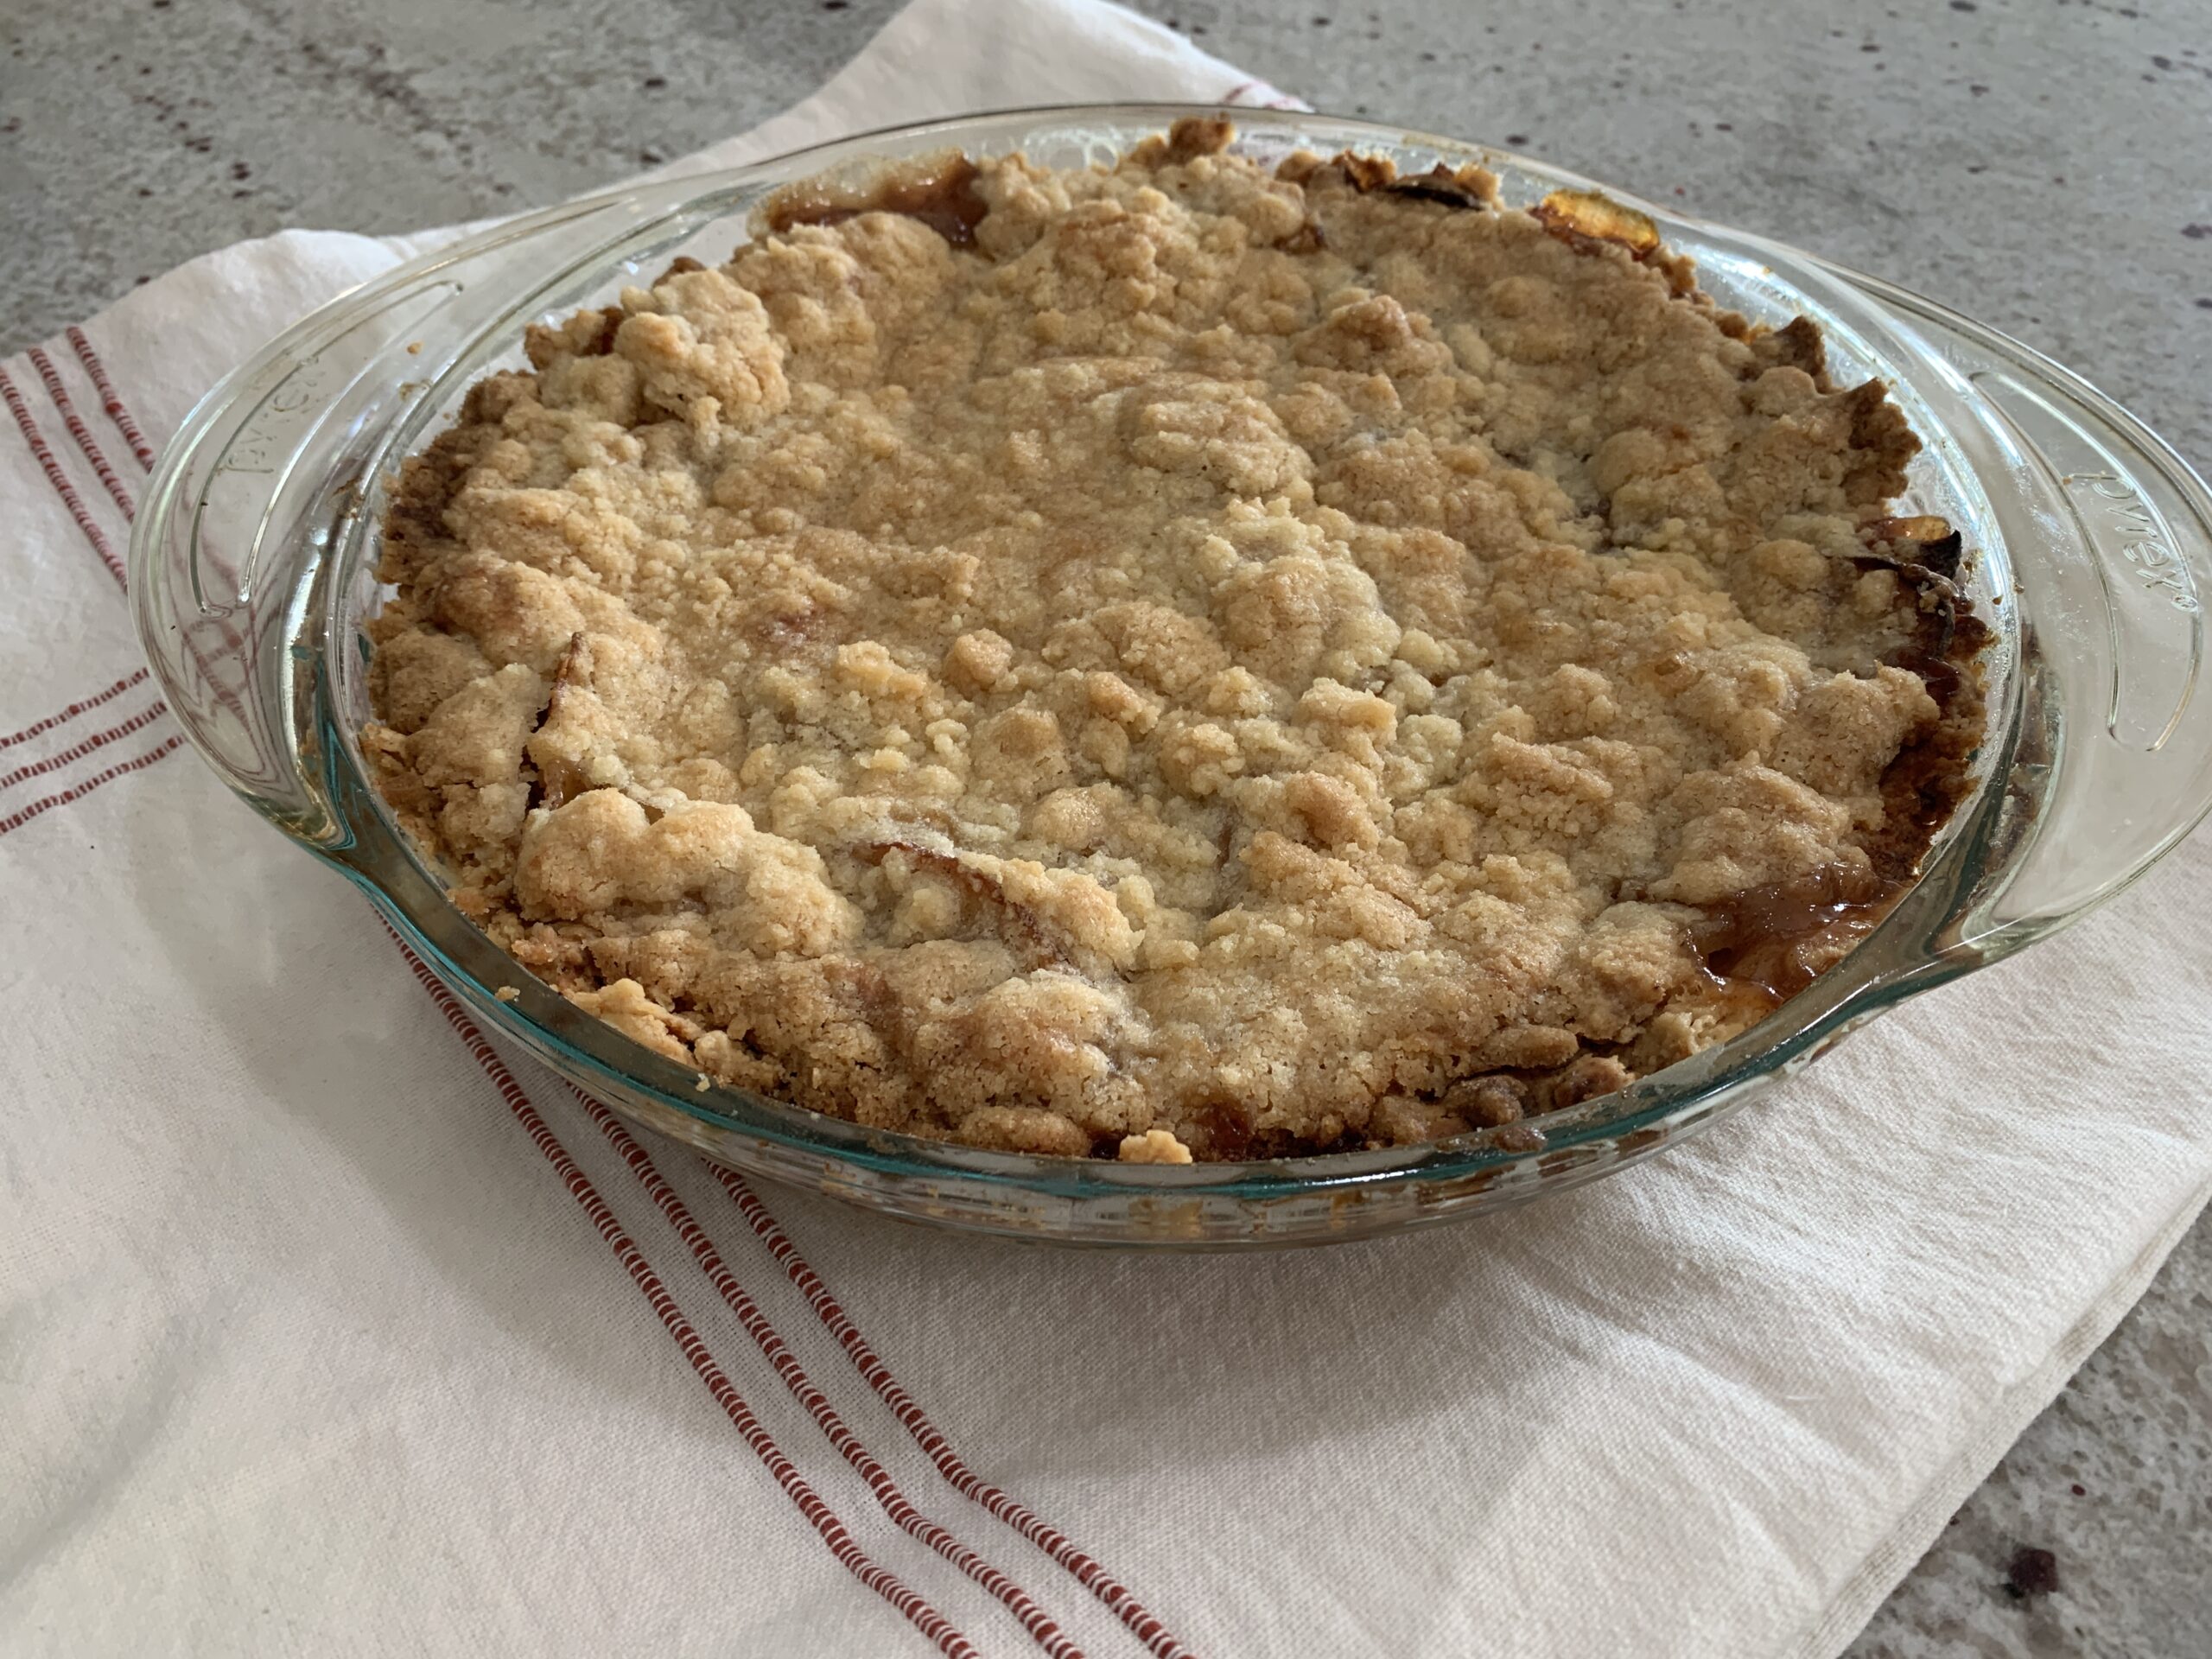
Now that you have your crumb topping sprinkled evenly all over the top of your apples your fail proof apple pie is ready for the oven.
Getting Your Apple Pie Into the Oven
Break out your brown paper bag because this is where you are going to need it. Open it all the way up and lay the bag down. Then slide your pie inside.
Next, being sure that the bag isn’t touching the top of your pie close the bag by folding over the ends. Then clip them with your metal clips. This will allow for steam to hang out with our pie and make it extra yummy.
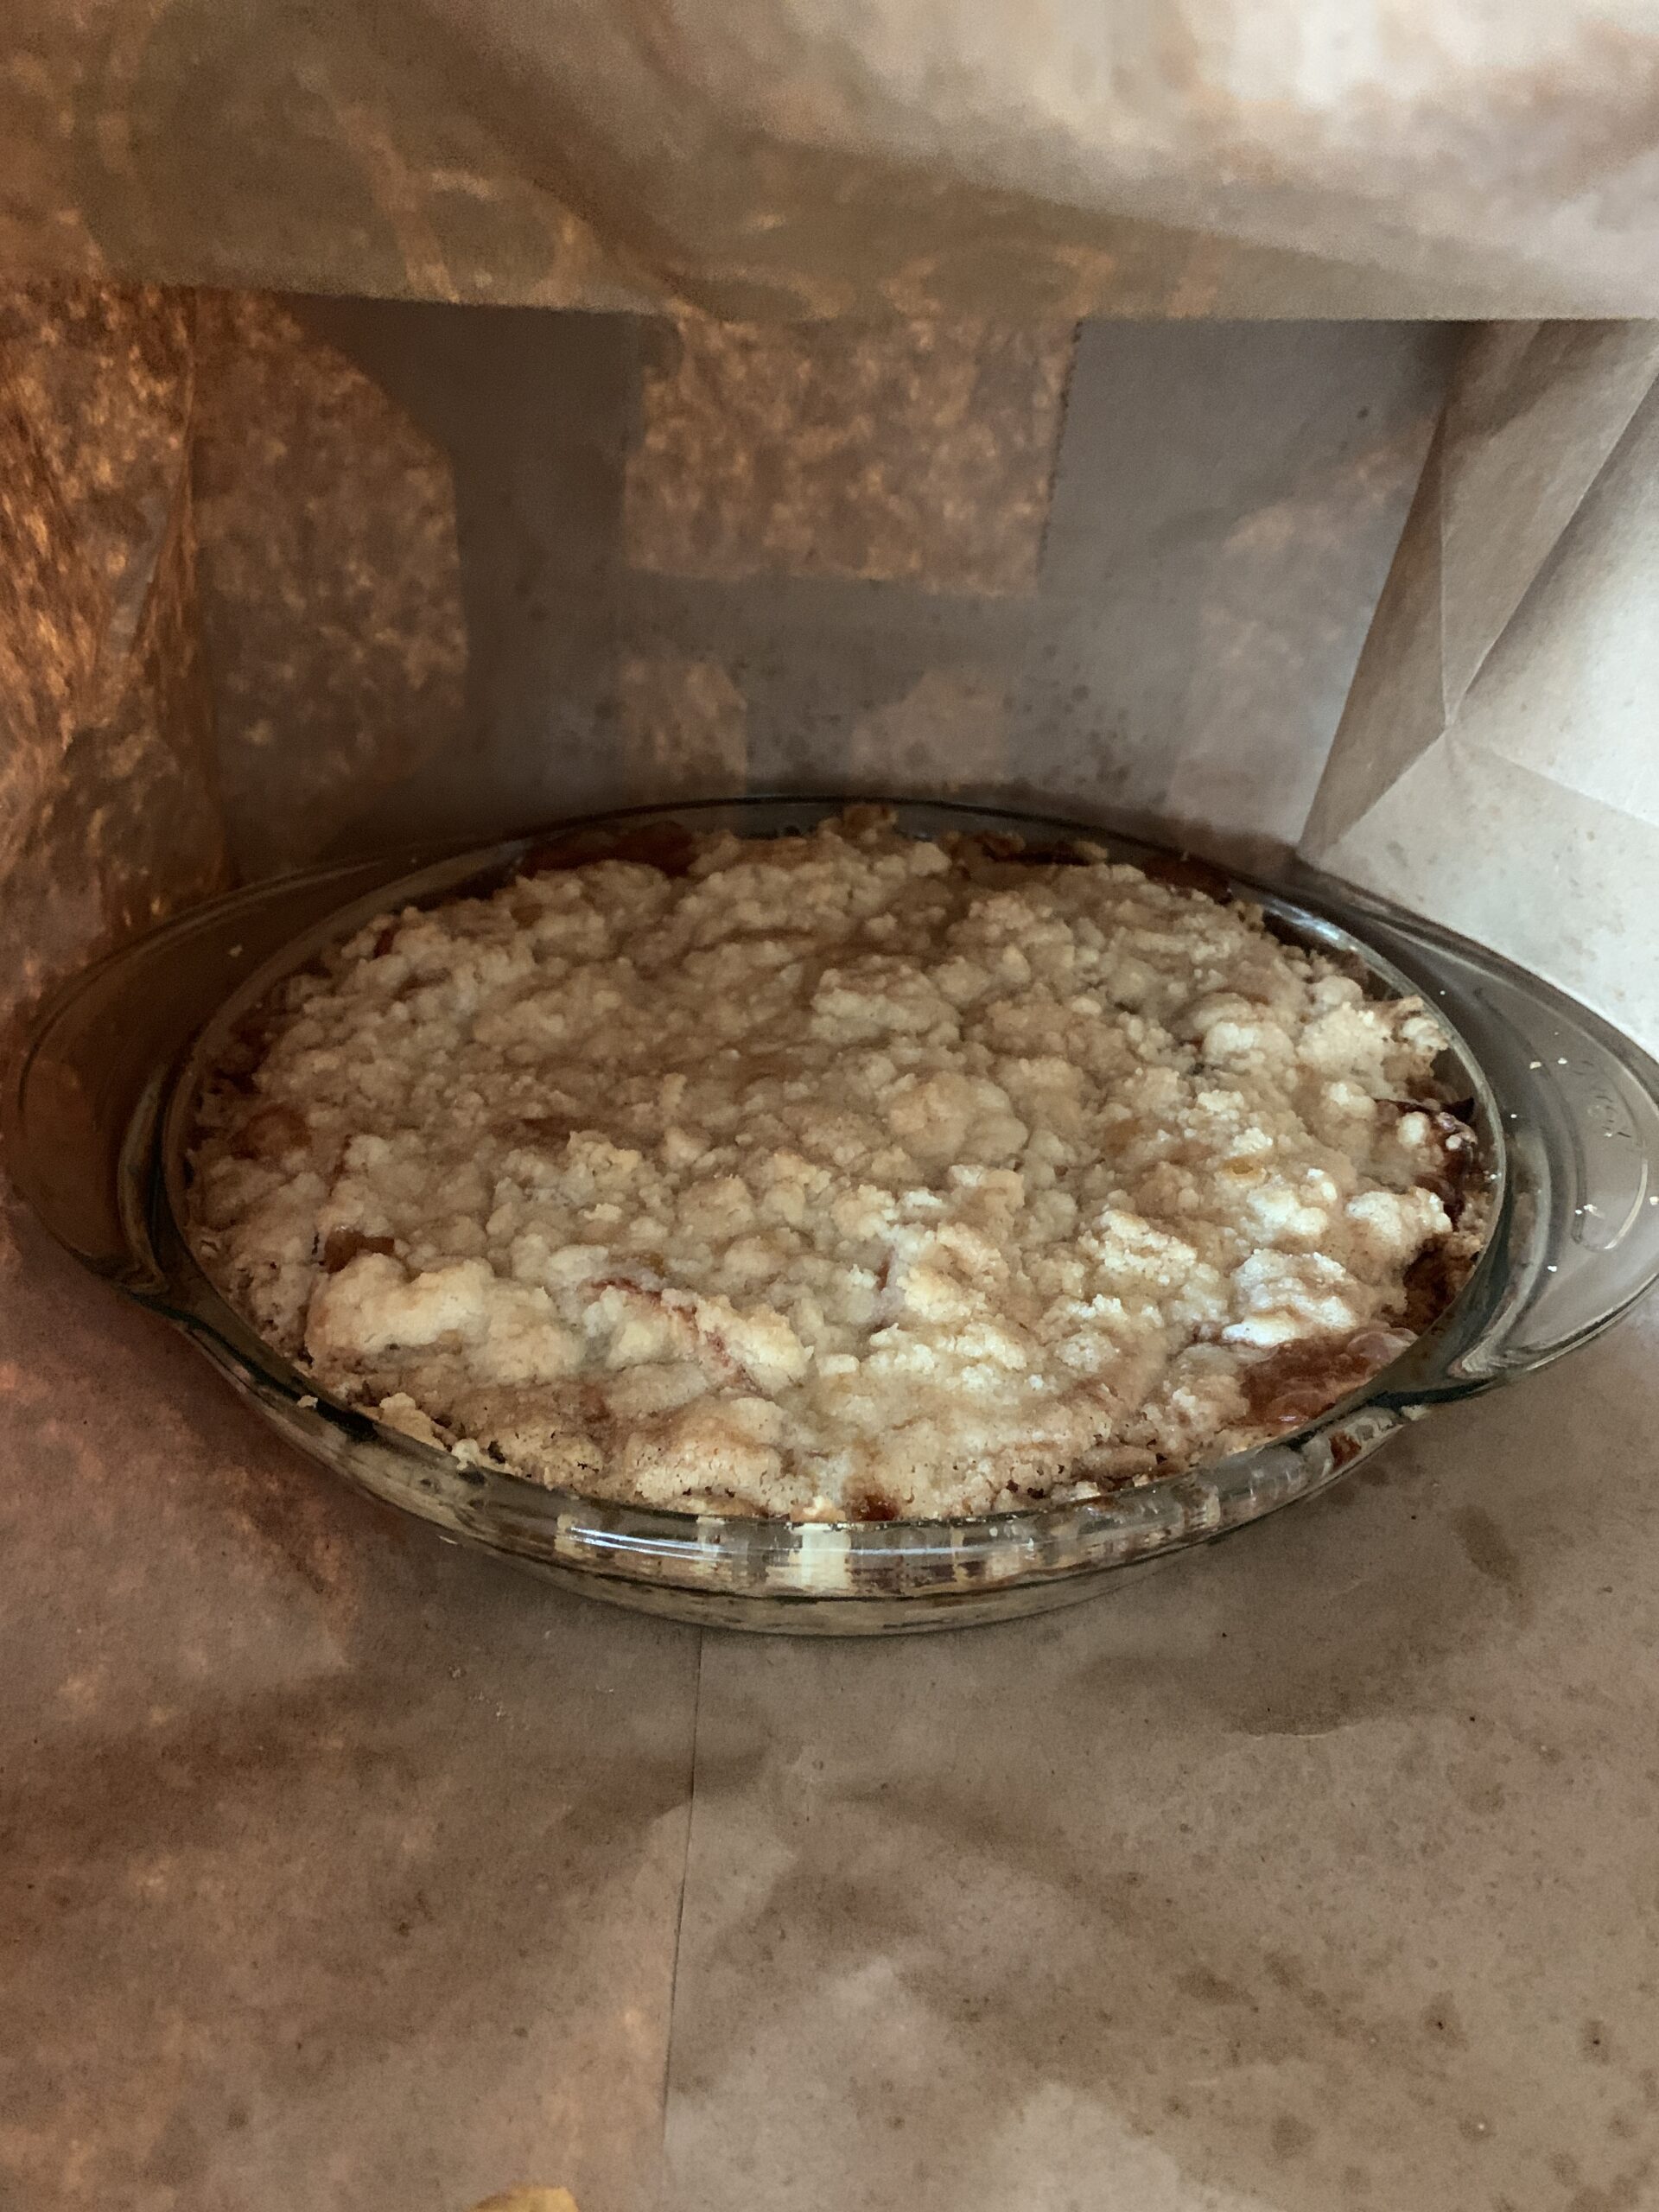
This pie will bake at 350° for a whopping one hour and 45 minutes. So get cozy and turn yourself a movie on.
Two things to be aware of when the pie is baking inside the bag. First, be sure the brown bag is not touching any of the sides of the oven. Second, in the beginning you will smell a funny smell as the brown bag is heating up. This is normal so don’t panic. Feel free though to use your oven light to check on your bag.
I do NOT check my pie during baking. I just let it do it’s thing and I do NOT open the bag until the time is up.
When time is up carefully take your pie in the bag out of the oven. Then you can remove the clips. Be aware that there is hot steam in the bag so open with caution. The pie can then be placed on a cooling rack.
Tada! You now have a super yummy and fantastic fail proof apple pie.