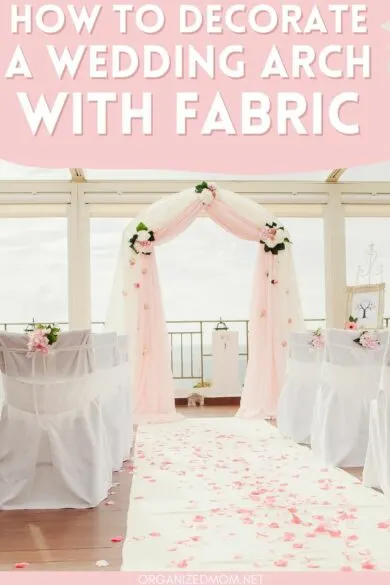
Having a guide on how to decorate a wedding arch with fabric can bring an extra level of romance to your altar.
On your special day, there’s nothing more important than the ceremony of you accepting your partner for the rest of your lives.
As such, the perfect wedding arch sets the stage for such a momentous occasion, not to mention it’s in all of the most important pictures!
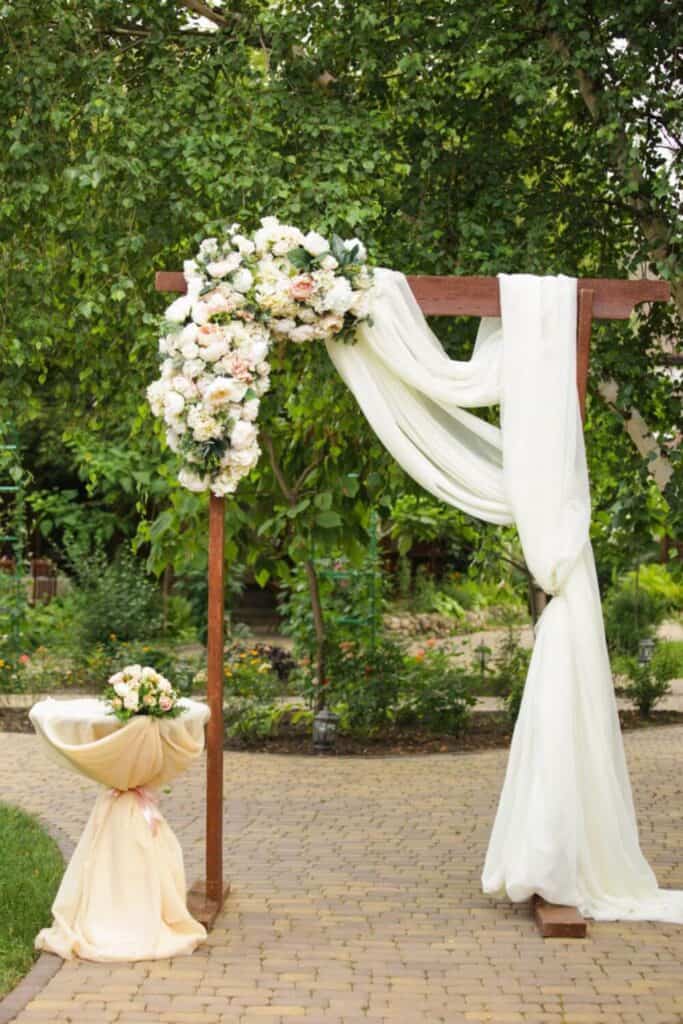
If you’re looking for an easy way to add subtle luxury to your wedding, a fabric wedding arch is your best bet.
Fortunately, it’s also one of the simpler DIYs you can handle during the wedding prep process.
Thinking about doing a balloon arch instead? Check out our guide on how much a balloon arch costs to compare!
Let’s explore some of the top tips you can use to create a fabric wedding arch and truly make it yours.
Before You Get Started: Pick a Wedding Arch
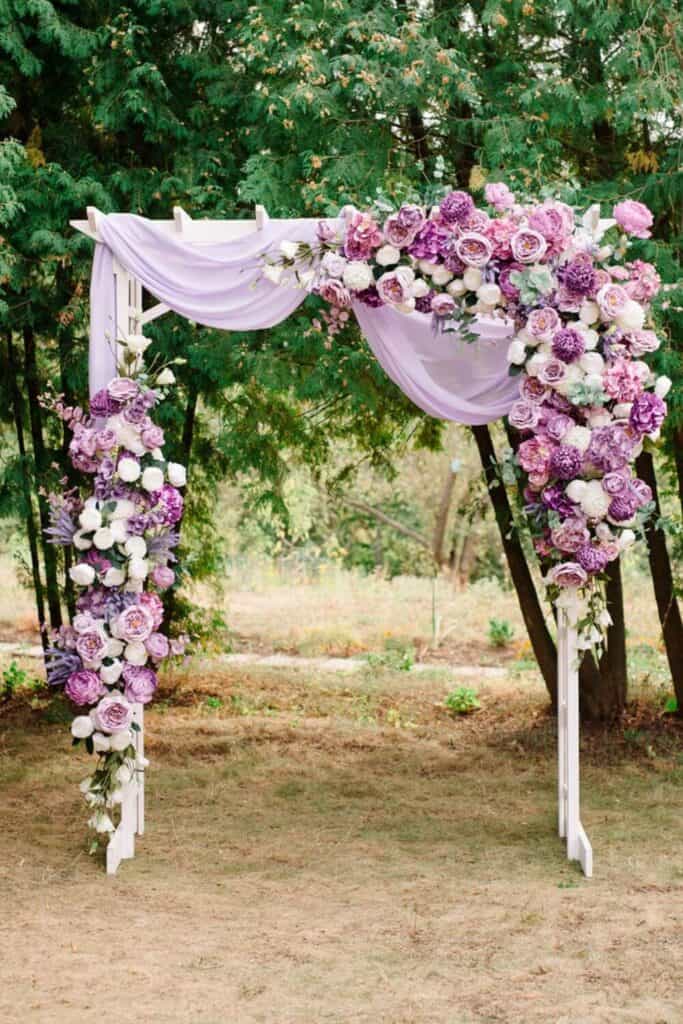
Before adding fabric and other embellishments to your wedding arch, you must first have a structure to decorate. You can build an arch in multiple ways, whether you want to DIY one or buy a pre-made fixture.
We recommend finding a pre-built arch because it will save you the most time and effort. Here are some of our recommended models you can decorate for your special day.
1. Triangular Wooden Wedding Arch
This wedding arch is modern and elegant, perfect for couples looking to make a unique display for their wedding. It has additional brackets so you can mount the structure to your yard and other soft surfaces, adding to its stability.
In the kit, you’ll get everything you need for installation, including iron brackets, base legs, ground hooks, and an instruction manual.
2. Heptagonal Wooden Wedding Arch
The Heptagonal Wooden Wedding Arch is another unique option apart from your standard wedding arbor.
With this model, you’ll have plenty of space for decorating, plus added stability for hard and soft flooring. All it takes is a few steps for assembly, and you get everything you need to put it together in its kit.
3. Adorox White Metal Arch
If you need something more lightweight and easy to transport, the Adorox White Metal Arch is our top recommendation.
The arch is delicately curved and made from flexible metal, making it easy to assemble and disassemble. Also, its general design is made to be used with flowers and draping, perfect for bringing your vision to life.
4. VINGLI Wooden Garden Arbor
Partners looking for a more traditional-styled wedding arch will love the VINGLI Wooden Garden Arbor.
It’s crafted from high-quality wood and features an ornate trellis-style design perfect for outdoor and indoor weddings. Crafted using moisture-resistant lumber, it will withstand plenty of wear and tear.
How to Decorate a Wedding Arch with Fabric: The Steps
Now that you have the perfect arch for your wedding, bachelorette party, or bridal shower, let’s consider the steps to design a dream-worthy fabric arch.
Step 1: Choose a Draping Material
First, you’ll want to decide on the material you want to drape your arch. Most couples decide on organza, an inexpensive fabric that’s easy to move and attach to different structures. With its lightweight composition, organza blows beautifully in the wind and adds a level of romance other materials don’t offer.
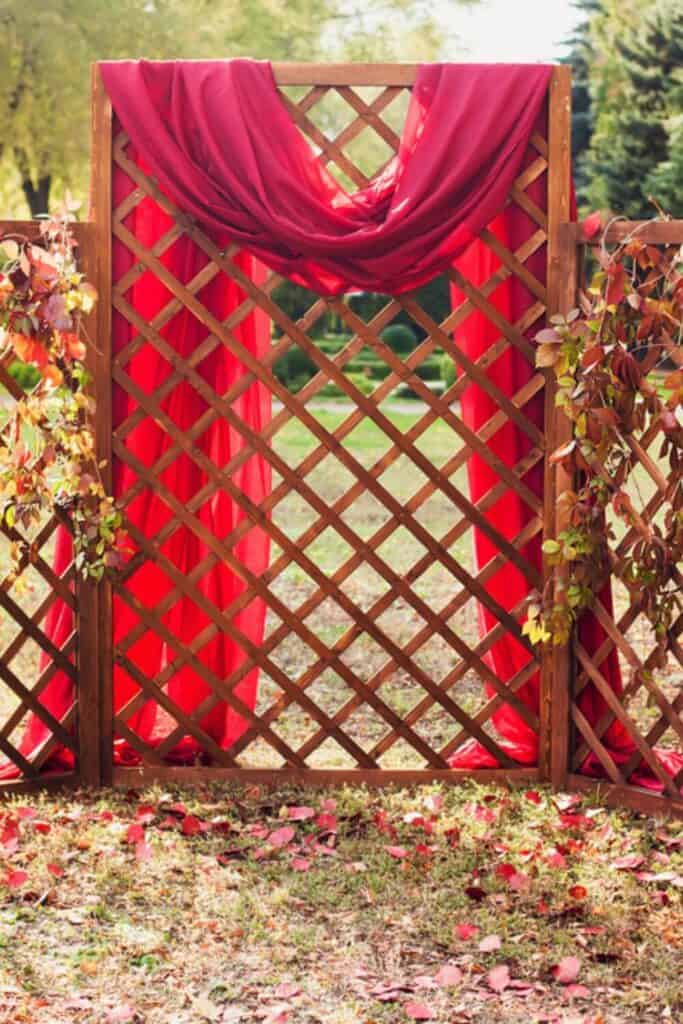
Chiffon is another popular material similar to organza, as it looks and feels the same. However, chiffon is slightly less sheer, which can be helpful when you want to hide the general structure of your arch. That said, it’s still incredibly lightweight and luxurious, perfect for any event.
Tulle is a top recommendation if you’re interested in adding more volume rather than lightweight draping. Instead of being a soft and pliable material, it has a small netted pattern. You can also find it in sheer and thicker varieties, offering plenty of decorative options.
Step 2: Design the Drapery
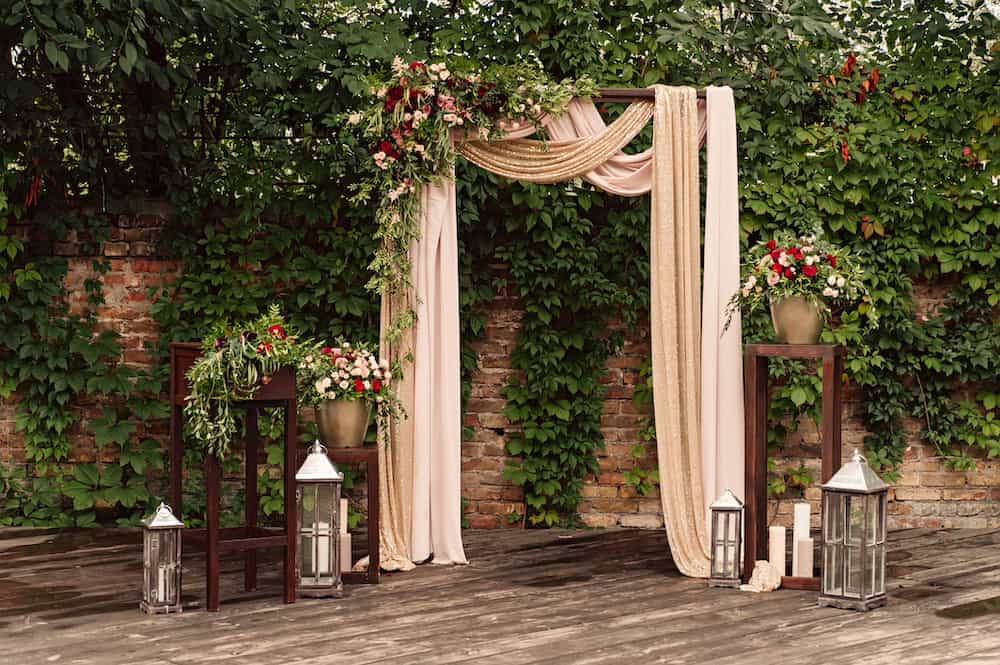
Before you get into the hands-on part of decorating your wedding arch, you’ll want to figure out what the final result will look like. Do you want the material to lie flat along the edges of the arch? Or would you prefer to have it casually draped across the top and sides, adding volume and luxury to your altar?
Finding inspiration pictures can be a great idea, as this can make a world of difference when designing. Once you have a general idea of what you want the end result to be, you can move on to measuring and purchasing your materials.
Step 3: Measure the Arch and Buy Materials
Once you’ve decided on a material you want to use, now is the time to measure your arch. You’ll need relatively precise measurements to know the minimum amount of material you need. You can always overestimate, as organza, tulle, and chiffon are easy to trim at home.
Decide whether you want extra material cascading along the floor and how tightly you want the material draped through your arch.
We recommend overestimating your material purchase by one to two feet to ensure you have enough fabric for the job. When it comes time to buy your chosen material, visiting your local fabric store can be best.
Organza, tulle, and chiffon are often on sale, especially if you’re looking for colored varieties rather than white. Always check the clearance section first, as you’re bound to save a ton of money. These three materials are relatively affordable on their own compared to heavier linens and fabrics.
Step 3: Thread or Attach the Fabric
How you attach the fabric to your wedding arch is dependent on the style you’re going for and the arch’s structure. If there are small holes, such as a trellis, you can drape the fabric easily through the entire arch. Alternatively, if you want to tie the material on, you will need a few extra items.
Pipe cleaners and some invisible thread will surely become your two best friends when attaching fabric to an arch. You can use pipe cleaners to hold the material in place before permanently securing it with invisible thread.
This is undoubtedly one of the most time-consuming steps of the process, but planning how it’s going to drape is well worth the time investment.
Once you’ve designed the perfect flowy style for your wedding arch, you can secure it in place using invisible thread. Fishing line is also a great idea, as it has a high tensile strength to withstand transport, wind, and storing your arch after the ceremony is finished.
Step 4: Decide on Extra Embellishments
Some couples prefer to have a simple arch covered in flowy fabric for their special day. Others are looking to take it a step further by adding extra embellishments to make their altar pop. Once the base structure is designed, you can decide if you want to add anything extra.
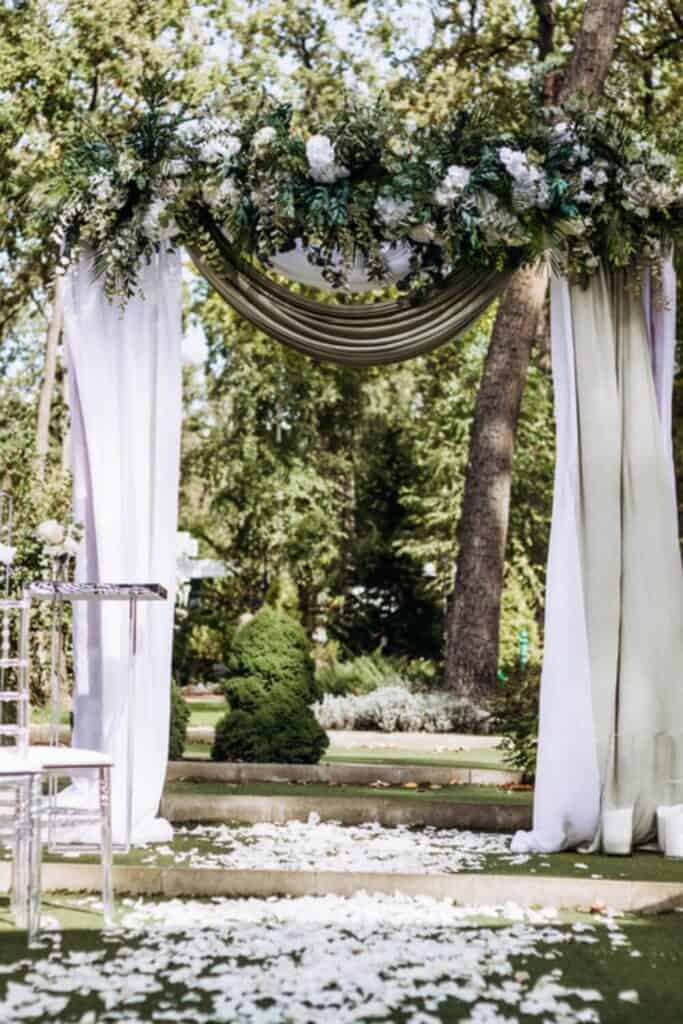
Lights are a great addition to wedding arches, as they can add a romantic glow to the altar. You can either string the lights through your organza or underneath, illuminating the fabric gently. Another great idea is to consider adding some flowers from your centerpieces and floral arrangements to the arch.
With this extra embellishment, you’ll be pulling the arch into the decor of your ceremony, making it all come together. Remember, your wedding arch will be the focal point of your photos and videos. You’ll want to make sure it looks specifically designed for your special day.
Final Thoughts
Learning how to decorate a wedding arch with fabric is a straightforward process that anyone can do. With limitless creativity, you can drape the material any which way and add extra embellishments to make it pop.
As the focal point of your ceremony, take special care to ensure it’s something you and your partner love.
