

With the holidays right around the corner, soon holiday lights and holiday decorations will start making their appearance throughout the neighborhood. Included in the many traditional holiday decorations are wreaths that are hung outside on front doors or porches.
Typically, we have wreaths made out of tree boughs, ornaments, and other baubles. But you can keep your front door decorated all year long with this DIY holiday wreath project, because you won’t be using those traditional wreath making supplies. Instead, you will be using something found in the laundry section of your favorite store. Clothespins!
Here are step-by-step instructions for a DIY holiday wreath.
Supplies needed:
- Round wire wreath (you can use a 12-inch or 18-inch size)
- Spray paint and/or acrylic craft paint
- Wooden clothespins (approximately 60 for a 12-inch wreath or 100 for 18-inch)
- Hot glue
- Ribbon
- Themed decorations (optional)
- Scissors
- Cardboard
- Gloves
Step 1: Decide on the style of wreath.
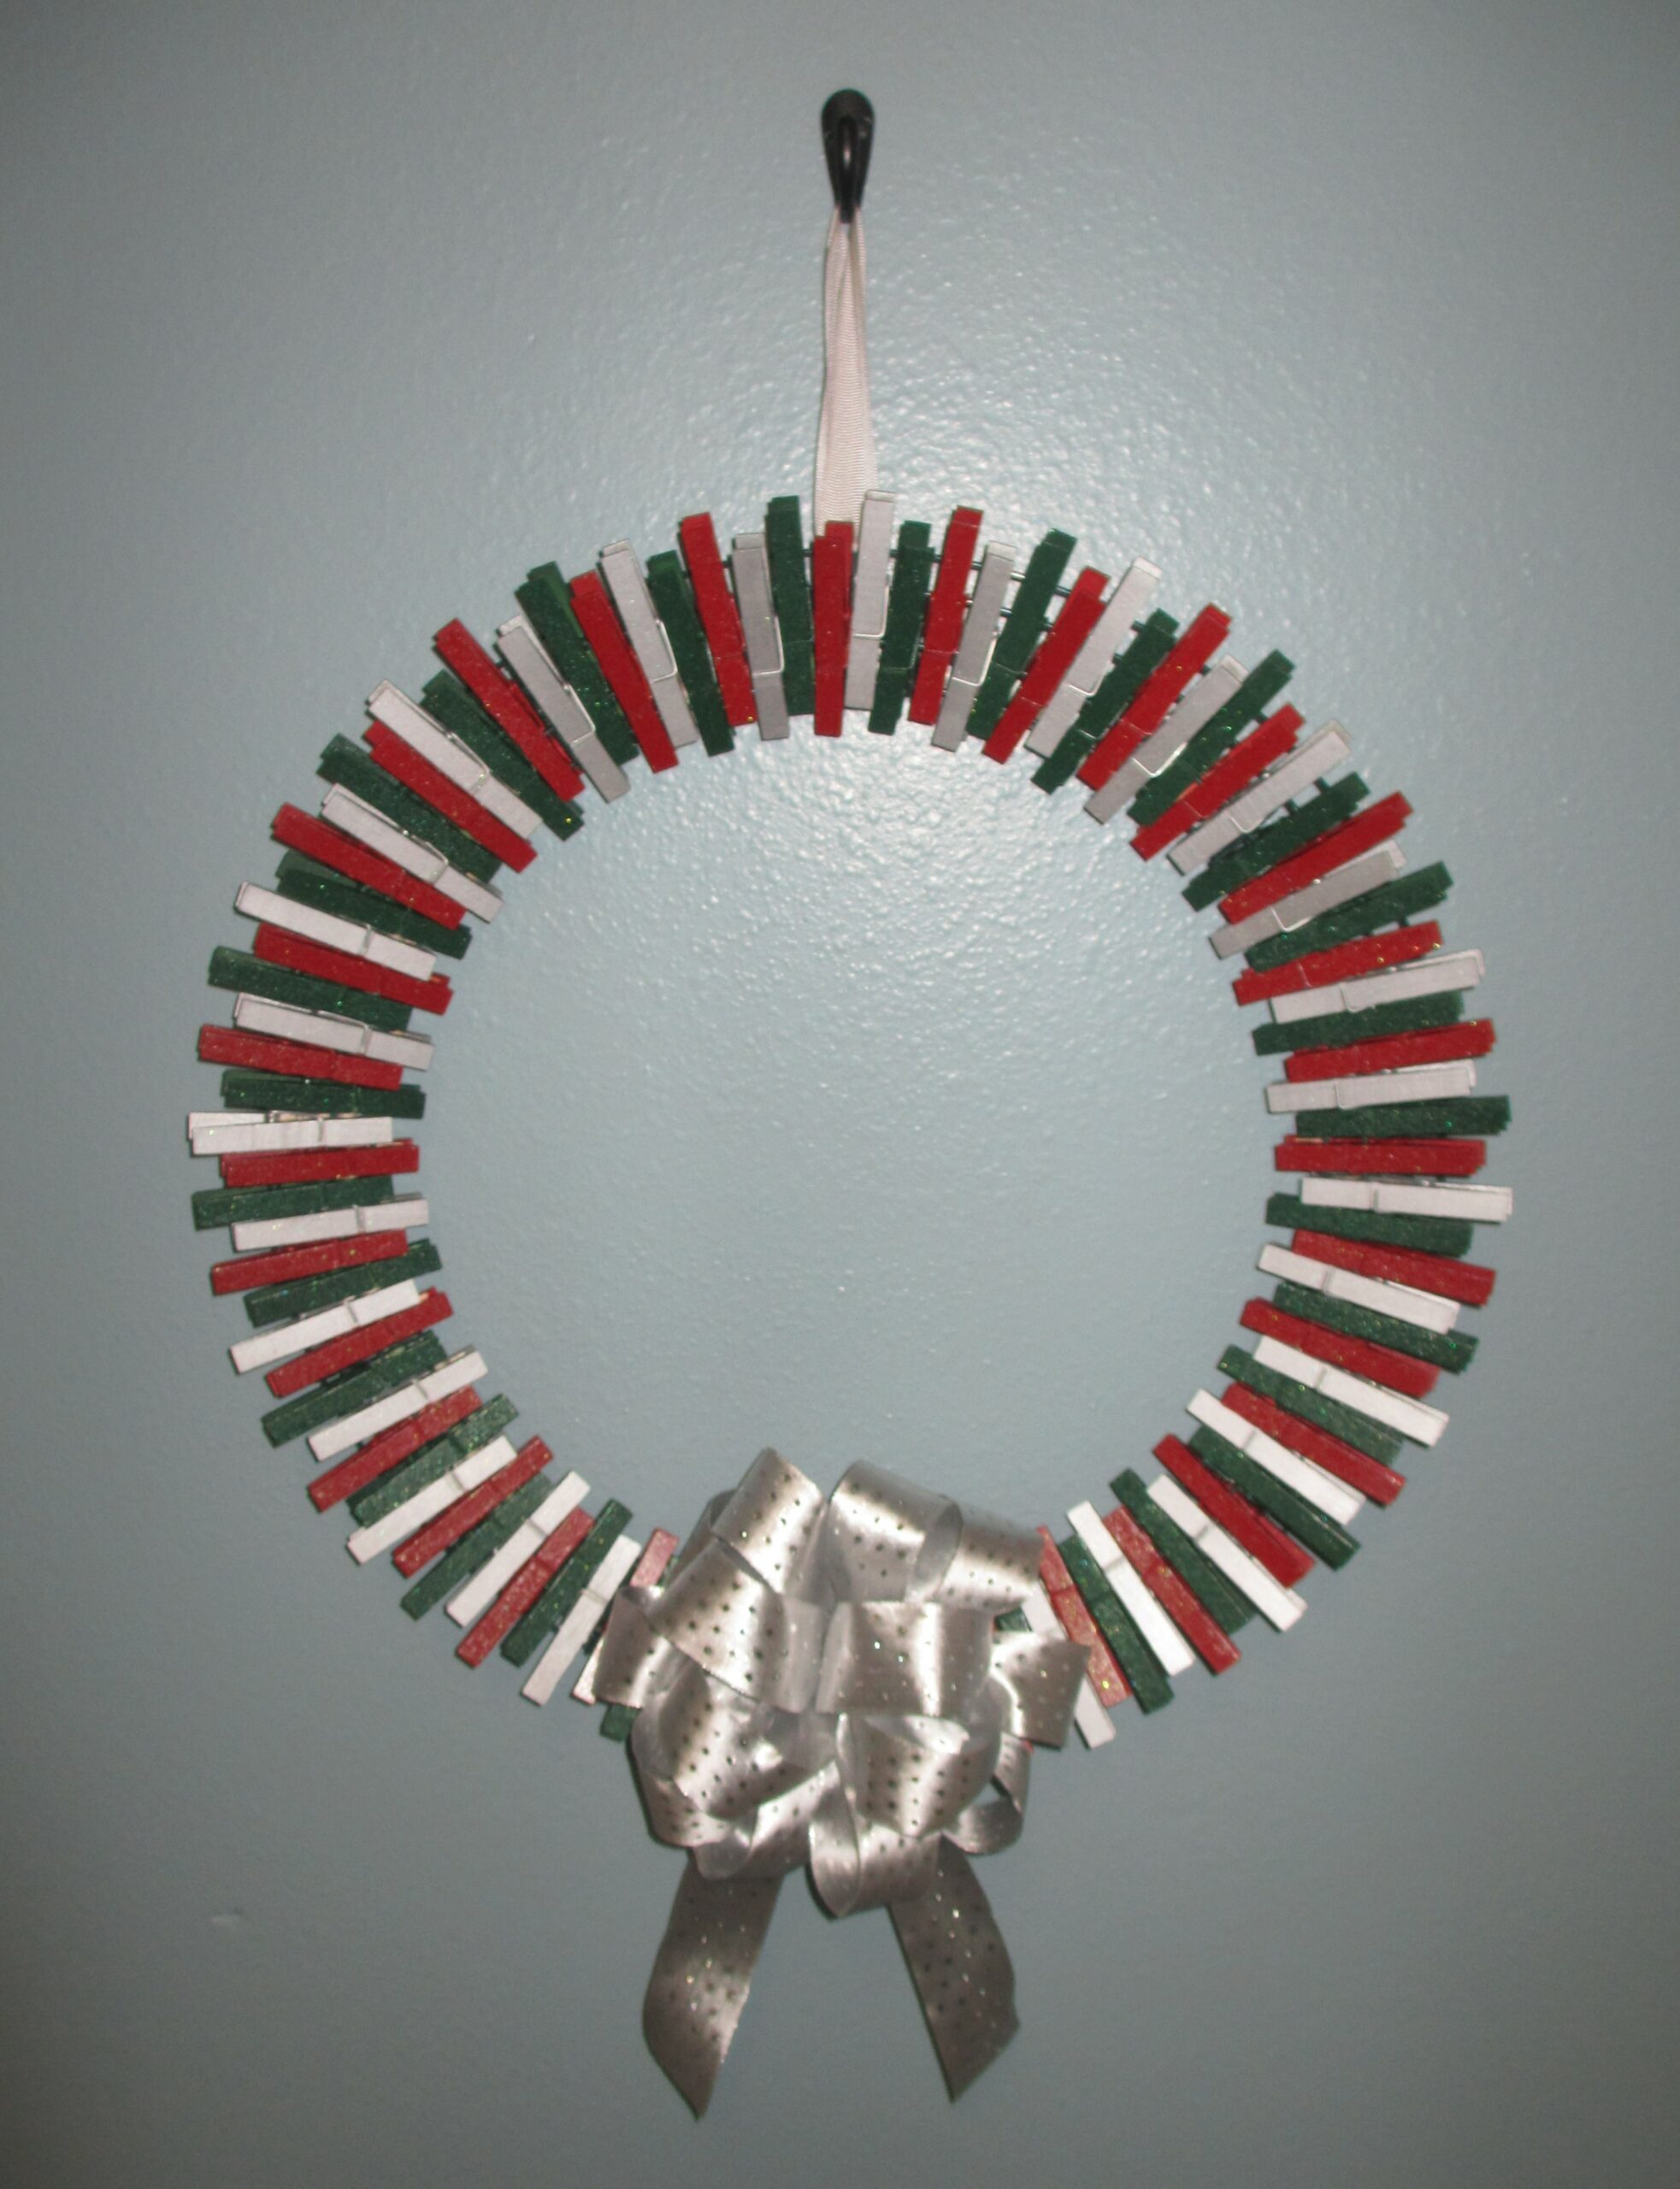
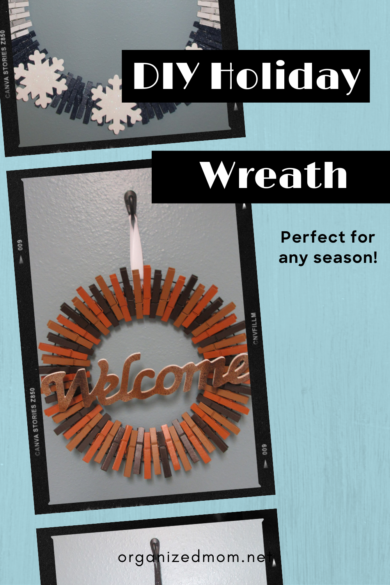
The great thing about using clothespins is they aren’t associated with a specific holiday. This means you can make wreaths that you can have to hang year-round. You can make holiday-themed wreaths for Easter, Christmas, Halloween, 4th of July, etc.
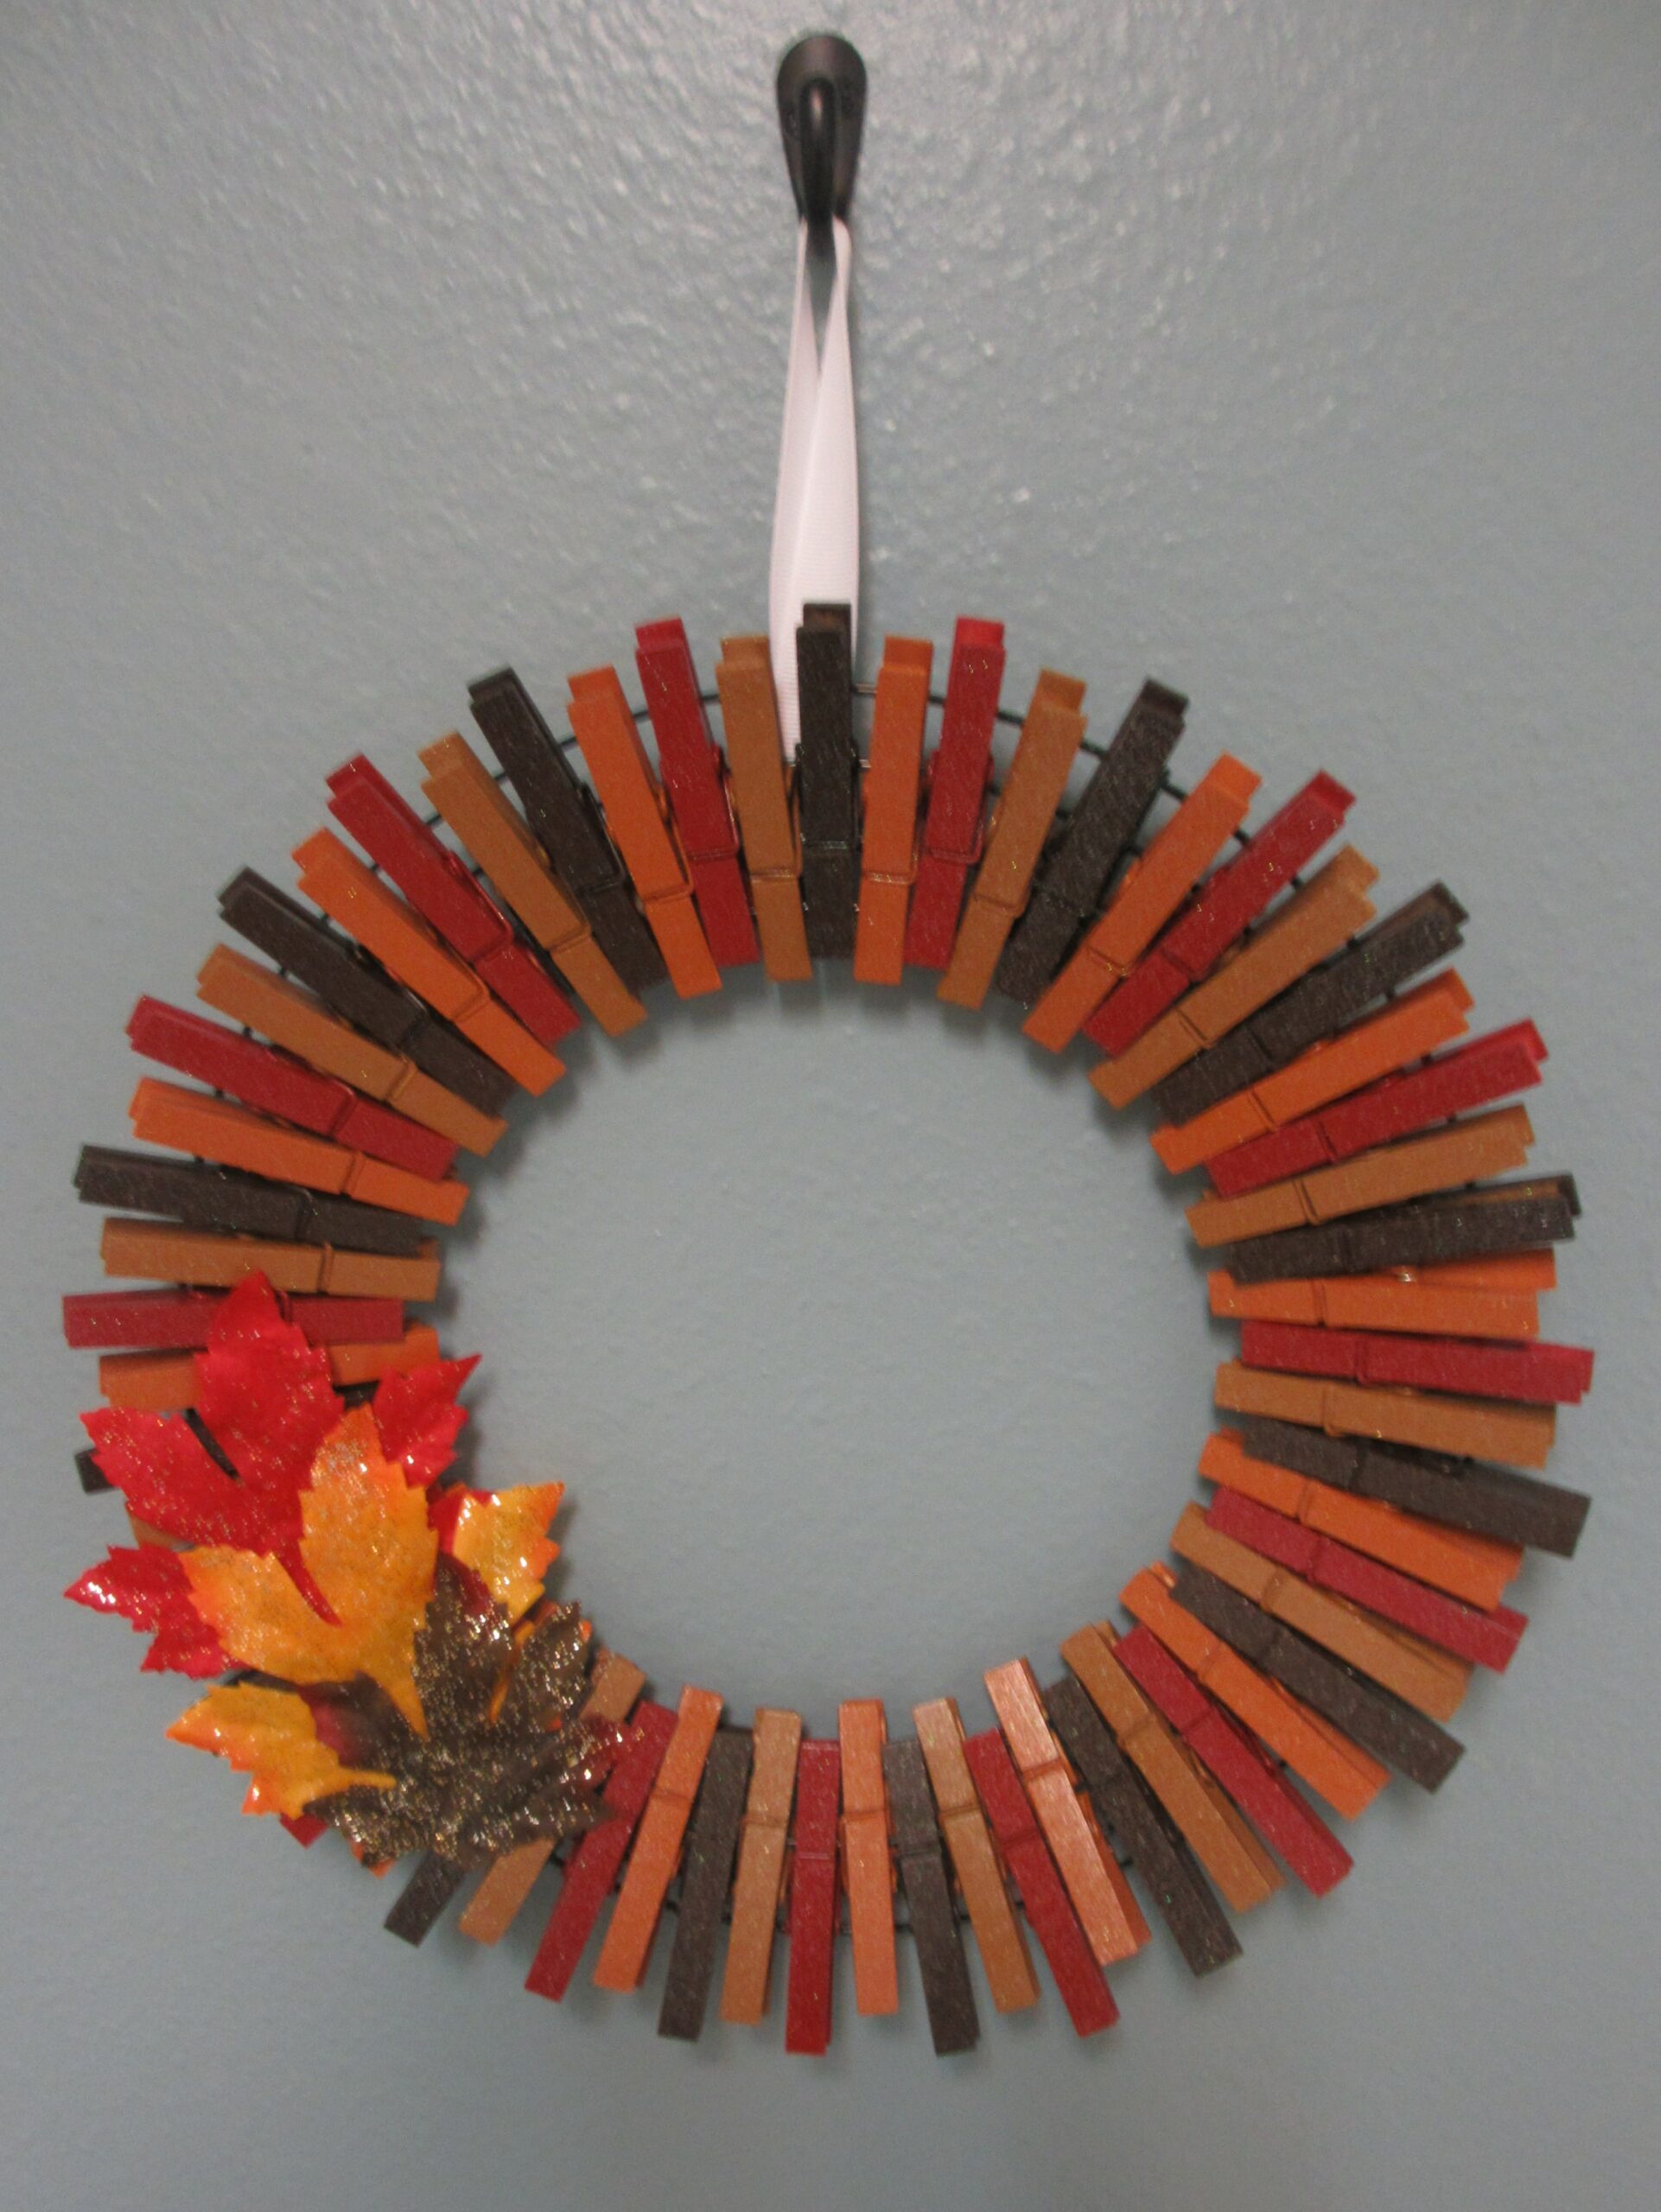
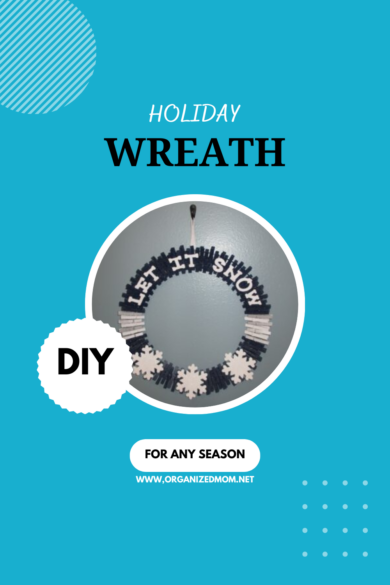
Seasonal wreaths are also fun–bright colors for spring and summer, leaves and autumn colors for fall, and snow decor for a winter themed wreath. Another idea is to make a wreath that represents your favorite college or professional team to hang on your house or even at work throughout the sports season.
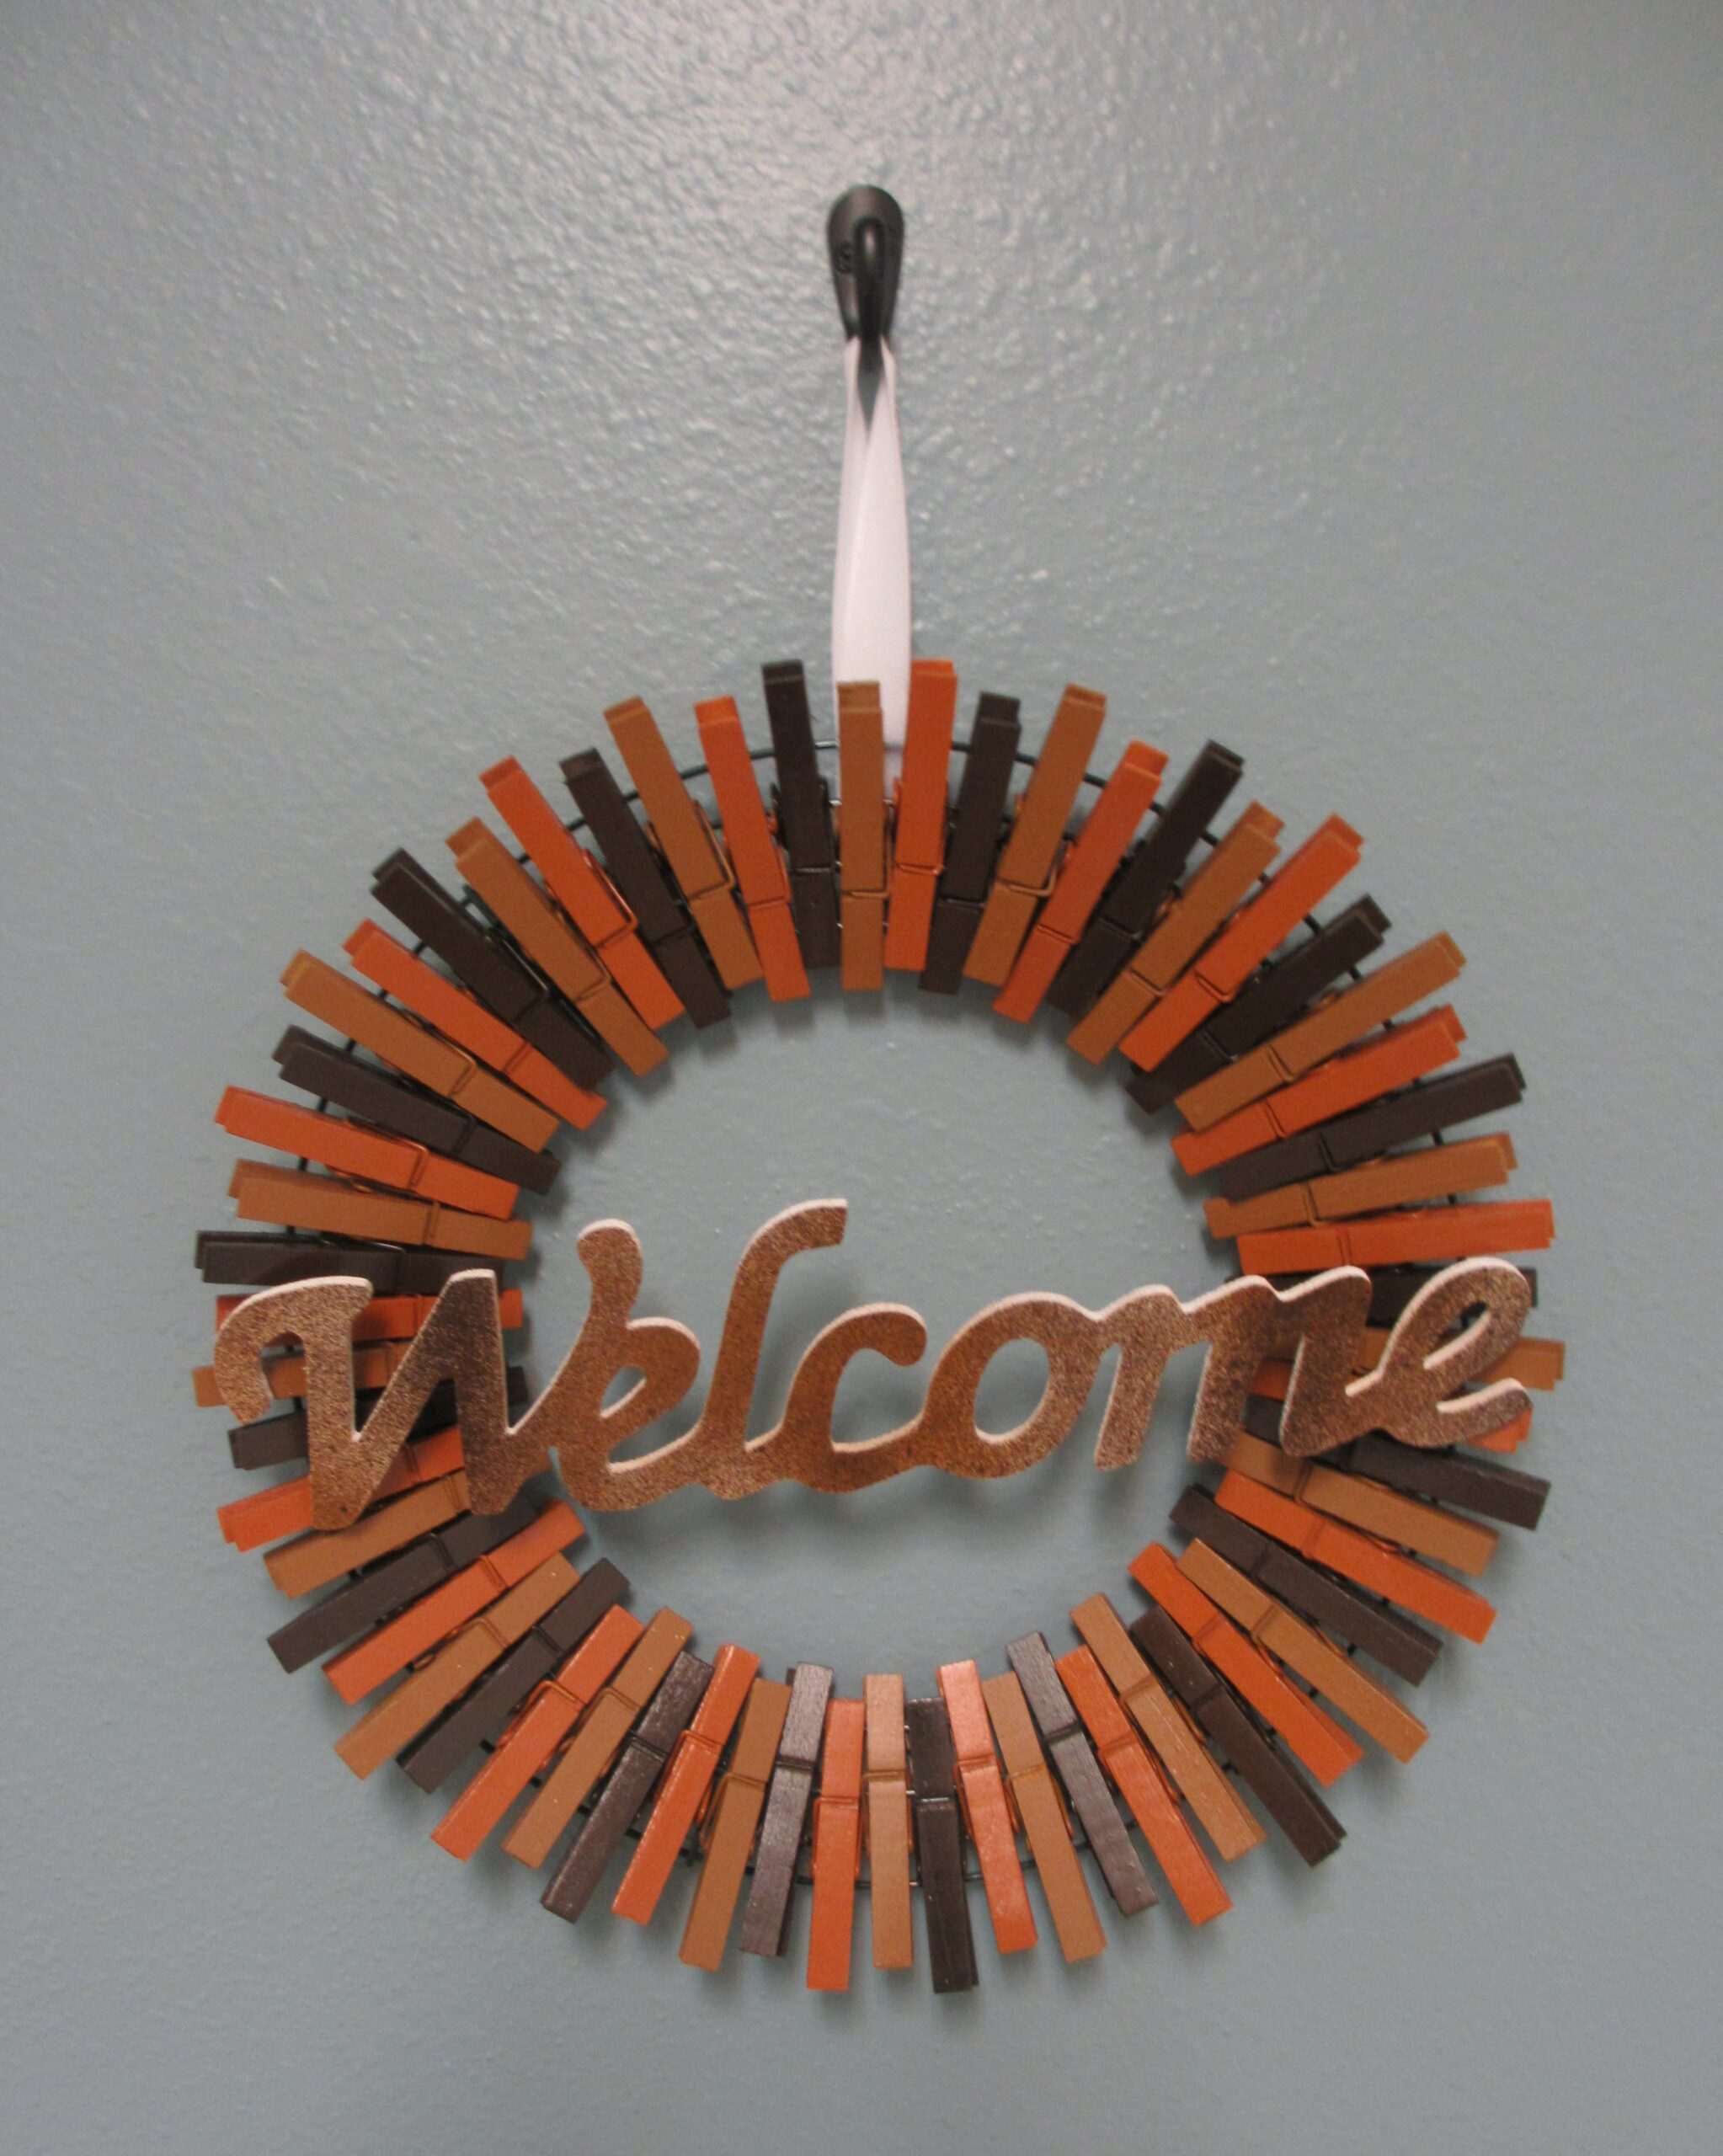
You can keep it simple by just using clothespins. Or you can add other decorations, like ribbon, wooden letters, wooden shapes, and fake leaves or flowers. The possibilities are endless. (See bottom of this article for some DIY holiday wreath examples.)
Step 2: Decide on your pattern.
There are approximately 60 clothespins in a 12-inch wreath, and 100 clothespins in an 18-inch wreath. Before you decide on your pattern, figure out the exact count you need.
Place unpainted clothespins around your wreath in a staggered position until it is completely full. This number will help determine your pattern. (Side note: you want the clothespins to be fairly close to each other, so they don’t slide around the wire frame.)
When you come up with an odd number and you only want to use two colors, you will end up with two like colors next to each other. If that doesn’t bother you, then no biggie! But if it does, you can also add in a 3rd color, or use multiples of 3. Personally, this would bug me a bit, so I try to have my pattern be consistent all the way around.
There is always the option to hide any inconsistencies under a decoration. Sketch out different ideas and see which one you like best. Then record the number of clothespins you will need for each color.
Step 3: Paint the clothespins.
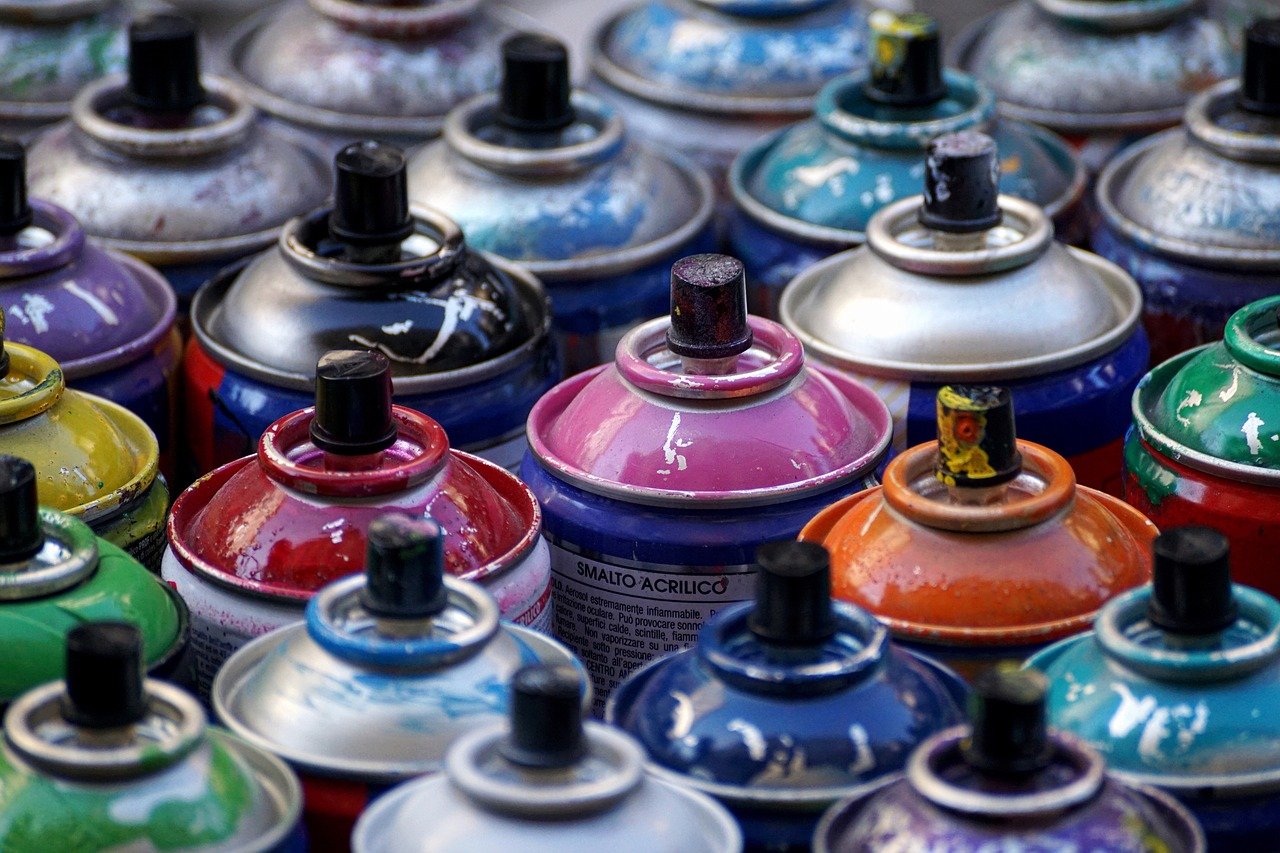
Once you have figured out which pattern you want to use, organize your clothespins into piles for each color. If you are using spray paint, place down large pieces of cardboard wherever you are applying the paint. I live in a windy area, so I like to paint inside my garage, but I always leave the door open for plenty of ventilation. A mask is also recommended as spray paint has quite an odor.
If you want to avoid using spray paint, you can always use acrylic craft paint. Keep in mind, this process will add a quite a bit of extra time to your project. The nice thing about spray paint is that you can cover several clothespins in a short amount of time.
You will need to cover the entire clothespin with paint which means you will need to hit all 4 sides. You don’t want to paint to go on too thick, so I recommend doing two light coats on each side.
Tips for spray painting:
- Make sure the weather is warm enough. Look at the side of the bottle, and it should tell you a minimum temperature in which to use the paint. If the air is not warm enough, your paint won’t dry properly and it will be a sticky mess. (With really cold weather, you might need to switch to using acrylic paint.)
- Wear gloves. You can buy cheap rubber gloves at the dollar store or use latex gloves. Unlike acrylic paint, spray paint is hard to remove and will stain your hands.
- Be sure to shake the spray paint before painting and during painting to get an even coat. Hold the bottle at least 6 to 8 inches from the clothespins so you don’t spray too much paint on at once.
- Attach a row of clothespins next to each other on a small piece of cardboard. After you have spray painted one side and it has dried, simply flip over the cardboard and paint the other side. This can save a lot of time from flipping over individual clothespins. Use this trick for both coats for the top and bottom of the clothespins.
Once the two coats on the top and bottom have thoroughly dried, remove the clothespins from the small piece cardboard. Spread them out on a larger piece of cardboard with the sides facing up. Spray these sides twice and then once thoroughly dry, flip them over and spray the other side twice. Now the most time-consuming part of your DIY holiday wreath is done!

Step 4: Attach clothespins to wire wreath.
Gather up your clothespins and move them onto a table, along with your wire wreath frame. Attach your clothespins in an alternating pattern, with one being pushed all the way down on the inner ring of the frame, and one a little bit higher up. Repeat this step around the entire frame.
Step 5: Attach additional decor.
If you buy unfinished letters or wooden shapes, you can paint these either using spray paint or acrylic paint. I have found acrylic paint works easiest because they are usually pretty thin and flat, and it’s harder to spray paint these edges. And acrylic paint is just easier to use when you are painting something very small.
An easy way to attach additional decor is by using a hot glue gun. It dries pretty quickly, so you do have to be fast with your placement. The upside is that if you do mess up or want to change something, it peels off pretty easily as well.
Step 6: Attach a ribbon.
Figure out how long you want your hanger to be, double that measurement and cut off a piece of ribbon that length. Then simple fold it in half and loop it around the outdoor wire ring of your wreath. Bring the cut ends together and secure with more hot glue. Pull the loop to the top so your glued edges are hidden behind your wreath.
You are done!!