
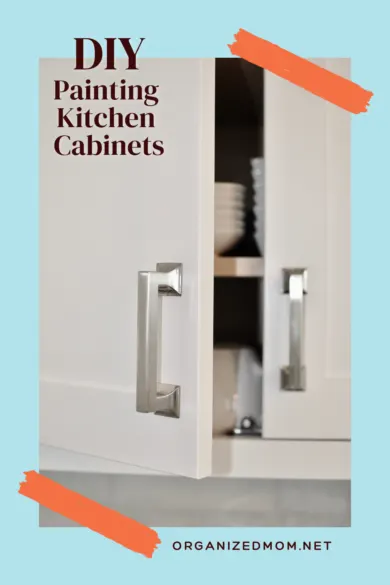
Do you have outdated cabinets? Are you wanting a new look in your kitchen? Painting your kitchen cabinets might seem intimidating, but with the right steps and tools, you can tackle this project yourself.
In this article, I list all the steps for painting kitchen cabinets.
Remove kitchen cabinet doors and drawer faces.
Before you remove any doors or drawer faces, use painter’s tape to mark where each one is located so you know exactly where they go when you rehang them. This simple step can save you a lot of headaches. Once they are marked, remove all hardware—screws, hinges, and handles— and place these all in a ziploc for safekeeping.
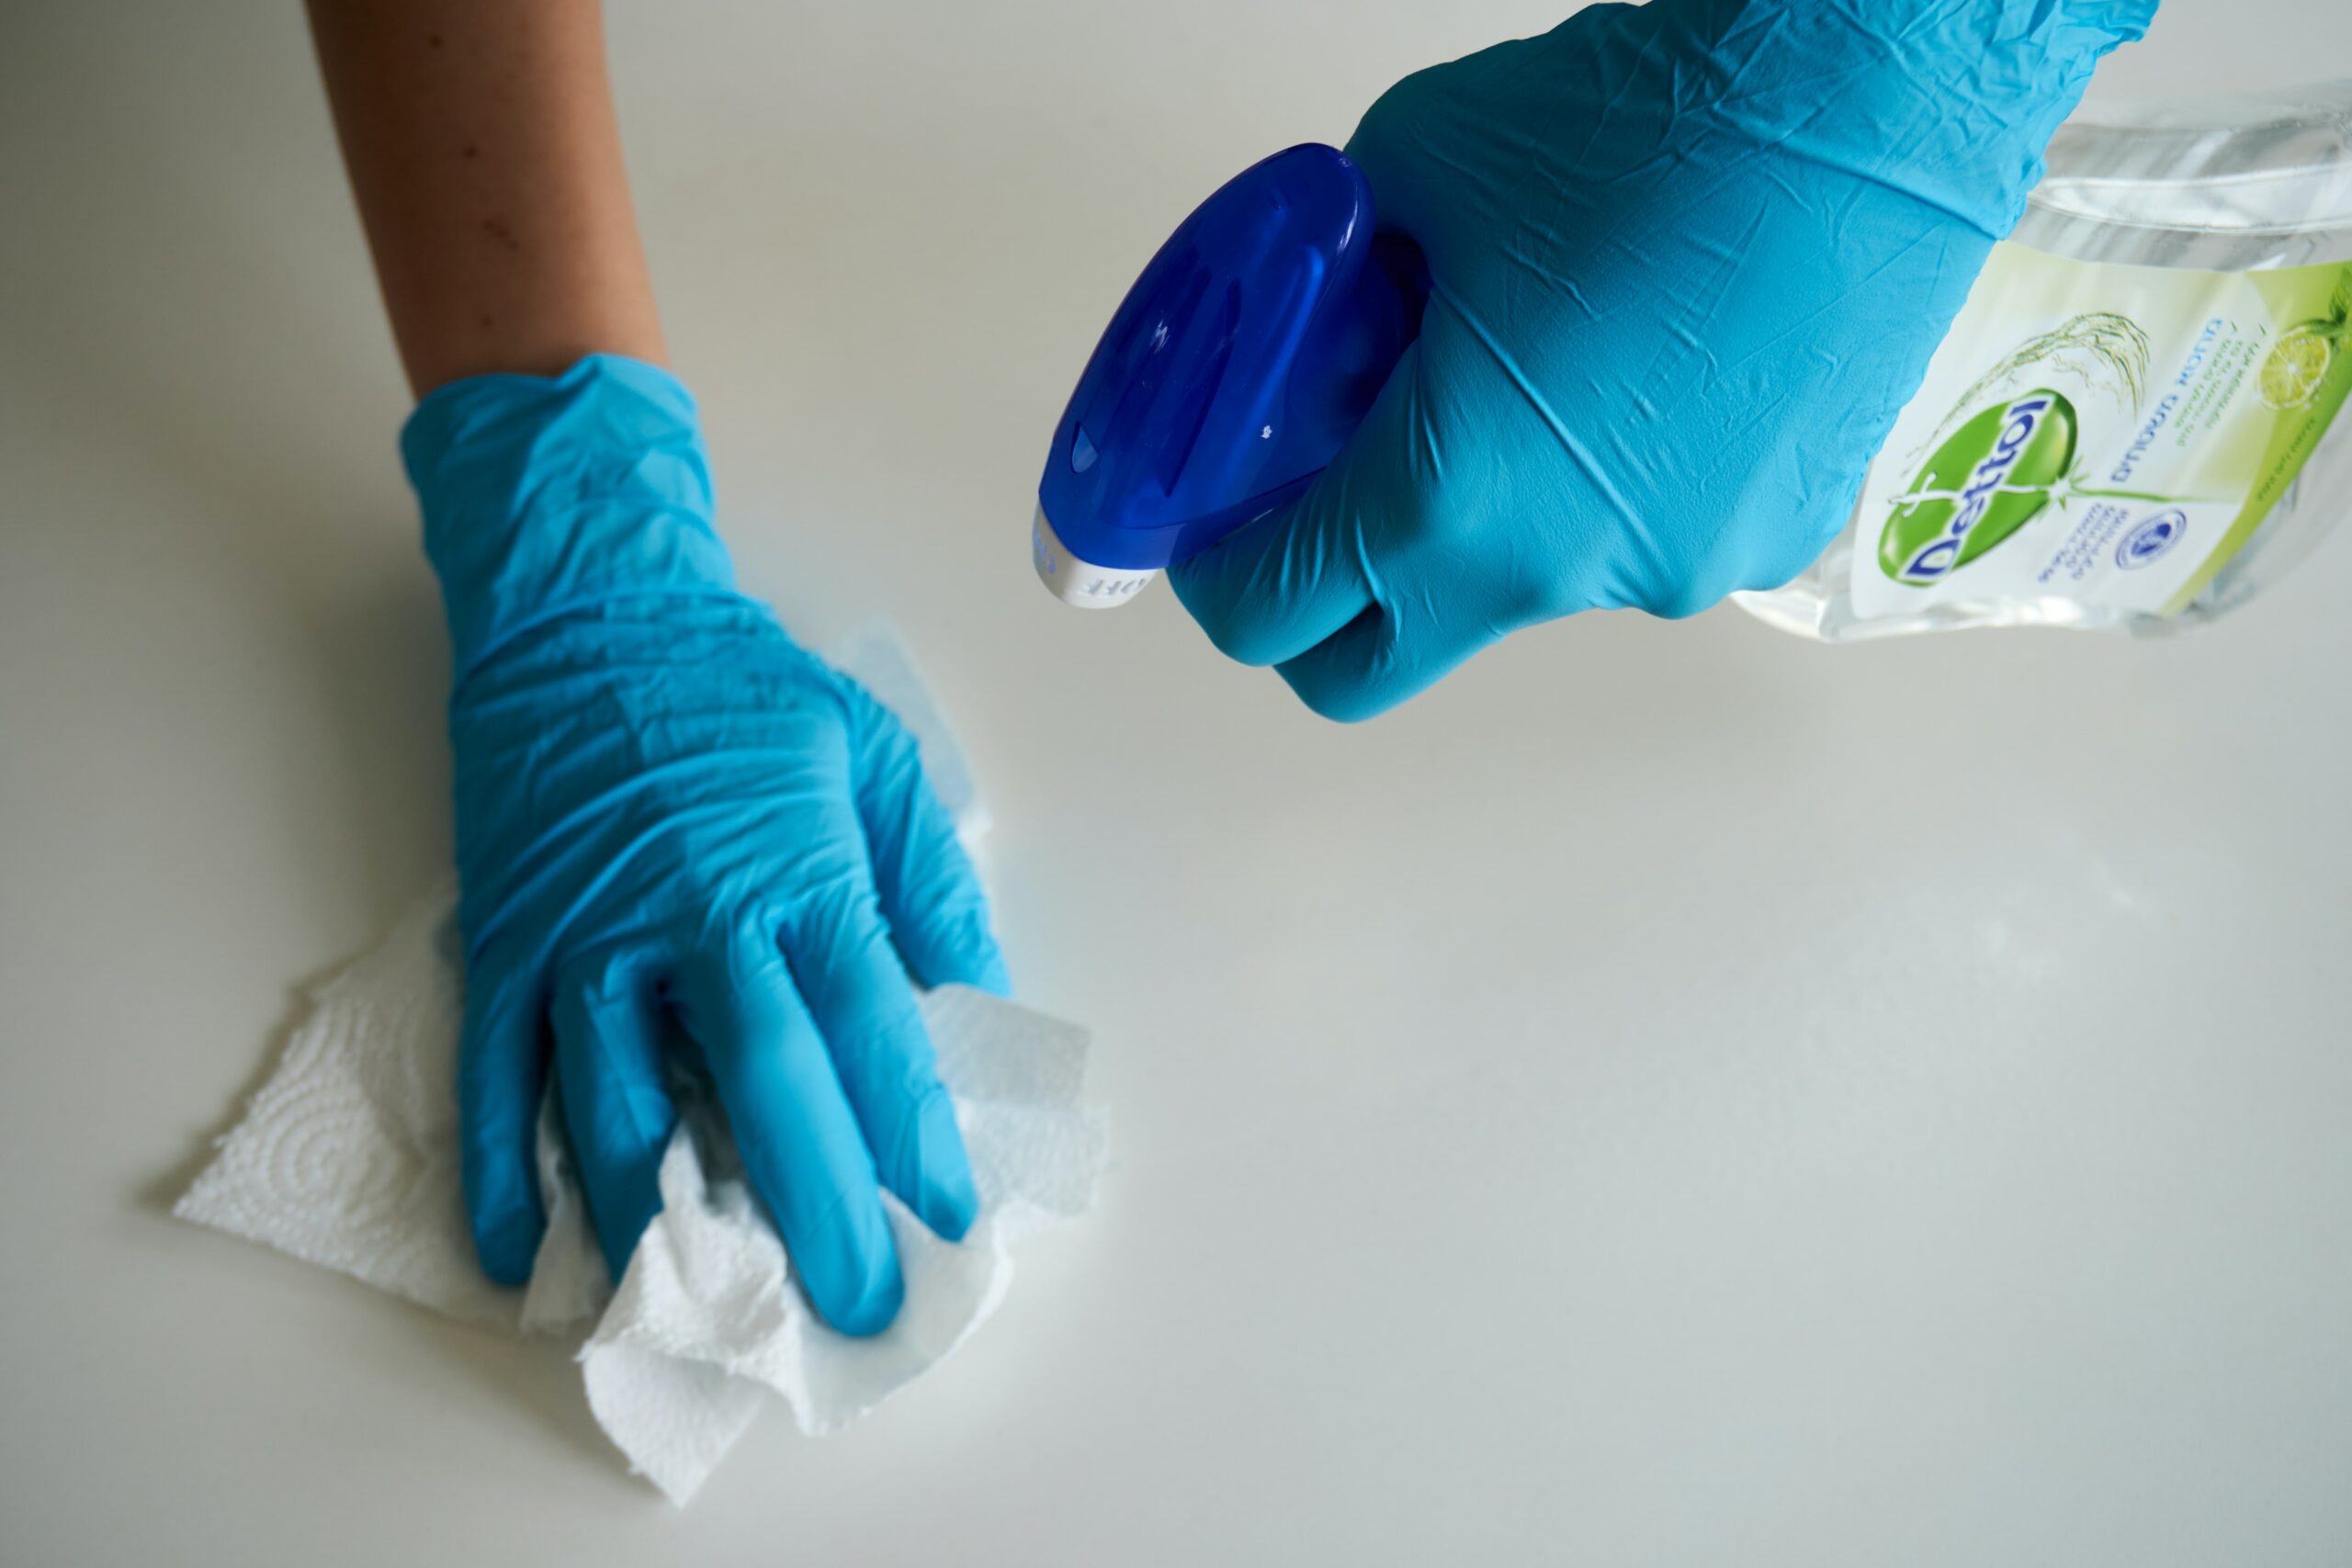
Clean all surfaces.
This is a really important step. Over time, cabinets accumulate dirt and grease from cooking, splatters, and being touched multiple times a day. If you don’t clean them well first, the sanding process will just rub the grease further into the wood grain.
Usually a spray all-purpose degreaser will work to take off grime and grease. If cabinets need a really good cleaning you can use a product called TSP. Make sure you follow all directions as cabinets need to be wiped down with water after the use of certain cleaners.
Set up a work station.
You will need a lot of open space when painting kitchen cabinets. Do you have an old table you can set up? Or even a piece of plywood set over two sawhorses will work. I set up my work station in my garage. Keep in mind that if you are painting during colder weather, you might need to be indoors.
Gather supplies.
At a minimum you will need a couple of rollers (I recommend micro-fiber), rags, cleaner, a couple of quality brushes, paint tray, primer, paint, roller and brush cleaner, and sandpaper (150, 220, and 320 grit).
I recommend using an oil-based primer. Oil-based primers are harder to clean up but they give you two major advantages. They don’t dry nearly as fast so you have more time to fix any mistakes you make, and they generally block stains better.
Wood tannins can bleed through your paint and and discolor your newly painted cabinets, especially if you are using a light colored paint. But if you use an oil-based stain blocking primer, you shouldn’t have as many issues with this. If you do end up using oil-based primers, designate one paintbrush and roller for the oil-painting. Don’t reuse this brush for acrylic products.
Other option products that will make your life easier are latex gloves, an orbital sander, spray primer and painters pyramids (these hold your cabinet door up off your work space).
Decide what you want the finished product to look like.
Many cabinets are made out of oak. Oak has a grain to it, and if you just paint over it without filling the grain, the grain will show through the new paint. Some people like this look, and others want a more glass-like surface.
If you do want a smoother surface, then you will need to use a grain-filler. There are many different kinds out there, and I just did a little research to figure out what kind I wanted to use. Hint: (Just search for wood fillers on youtube and there are a ton of great videos).
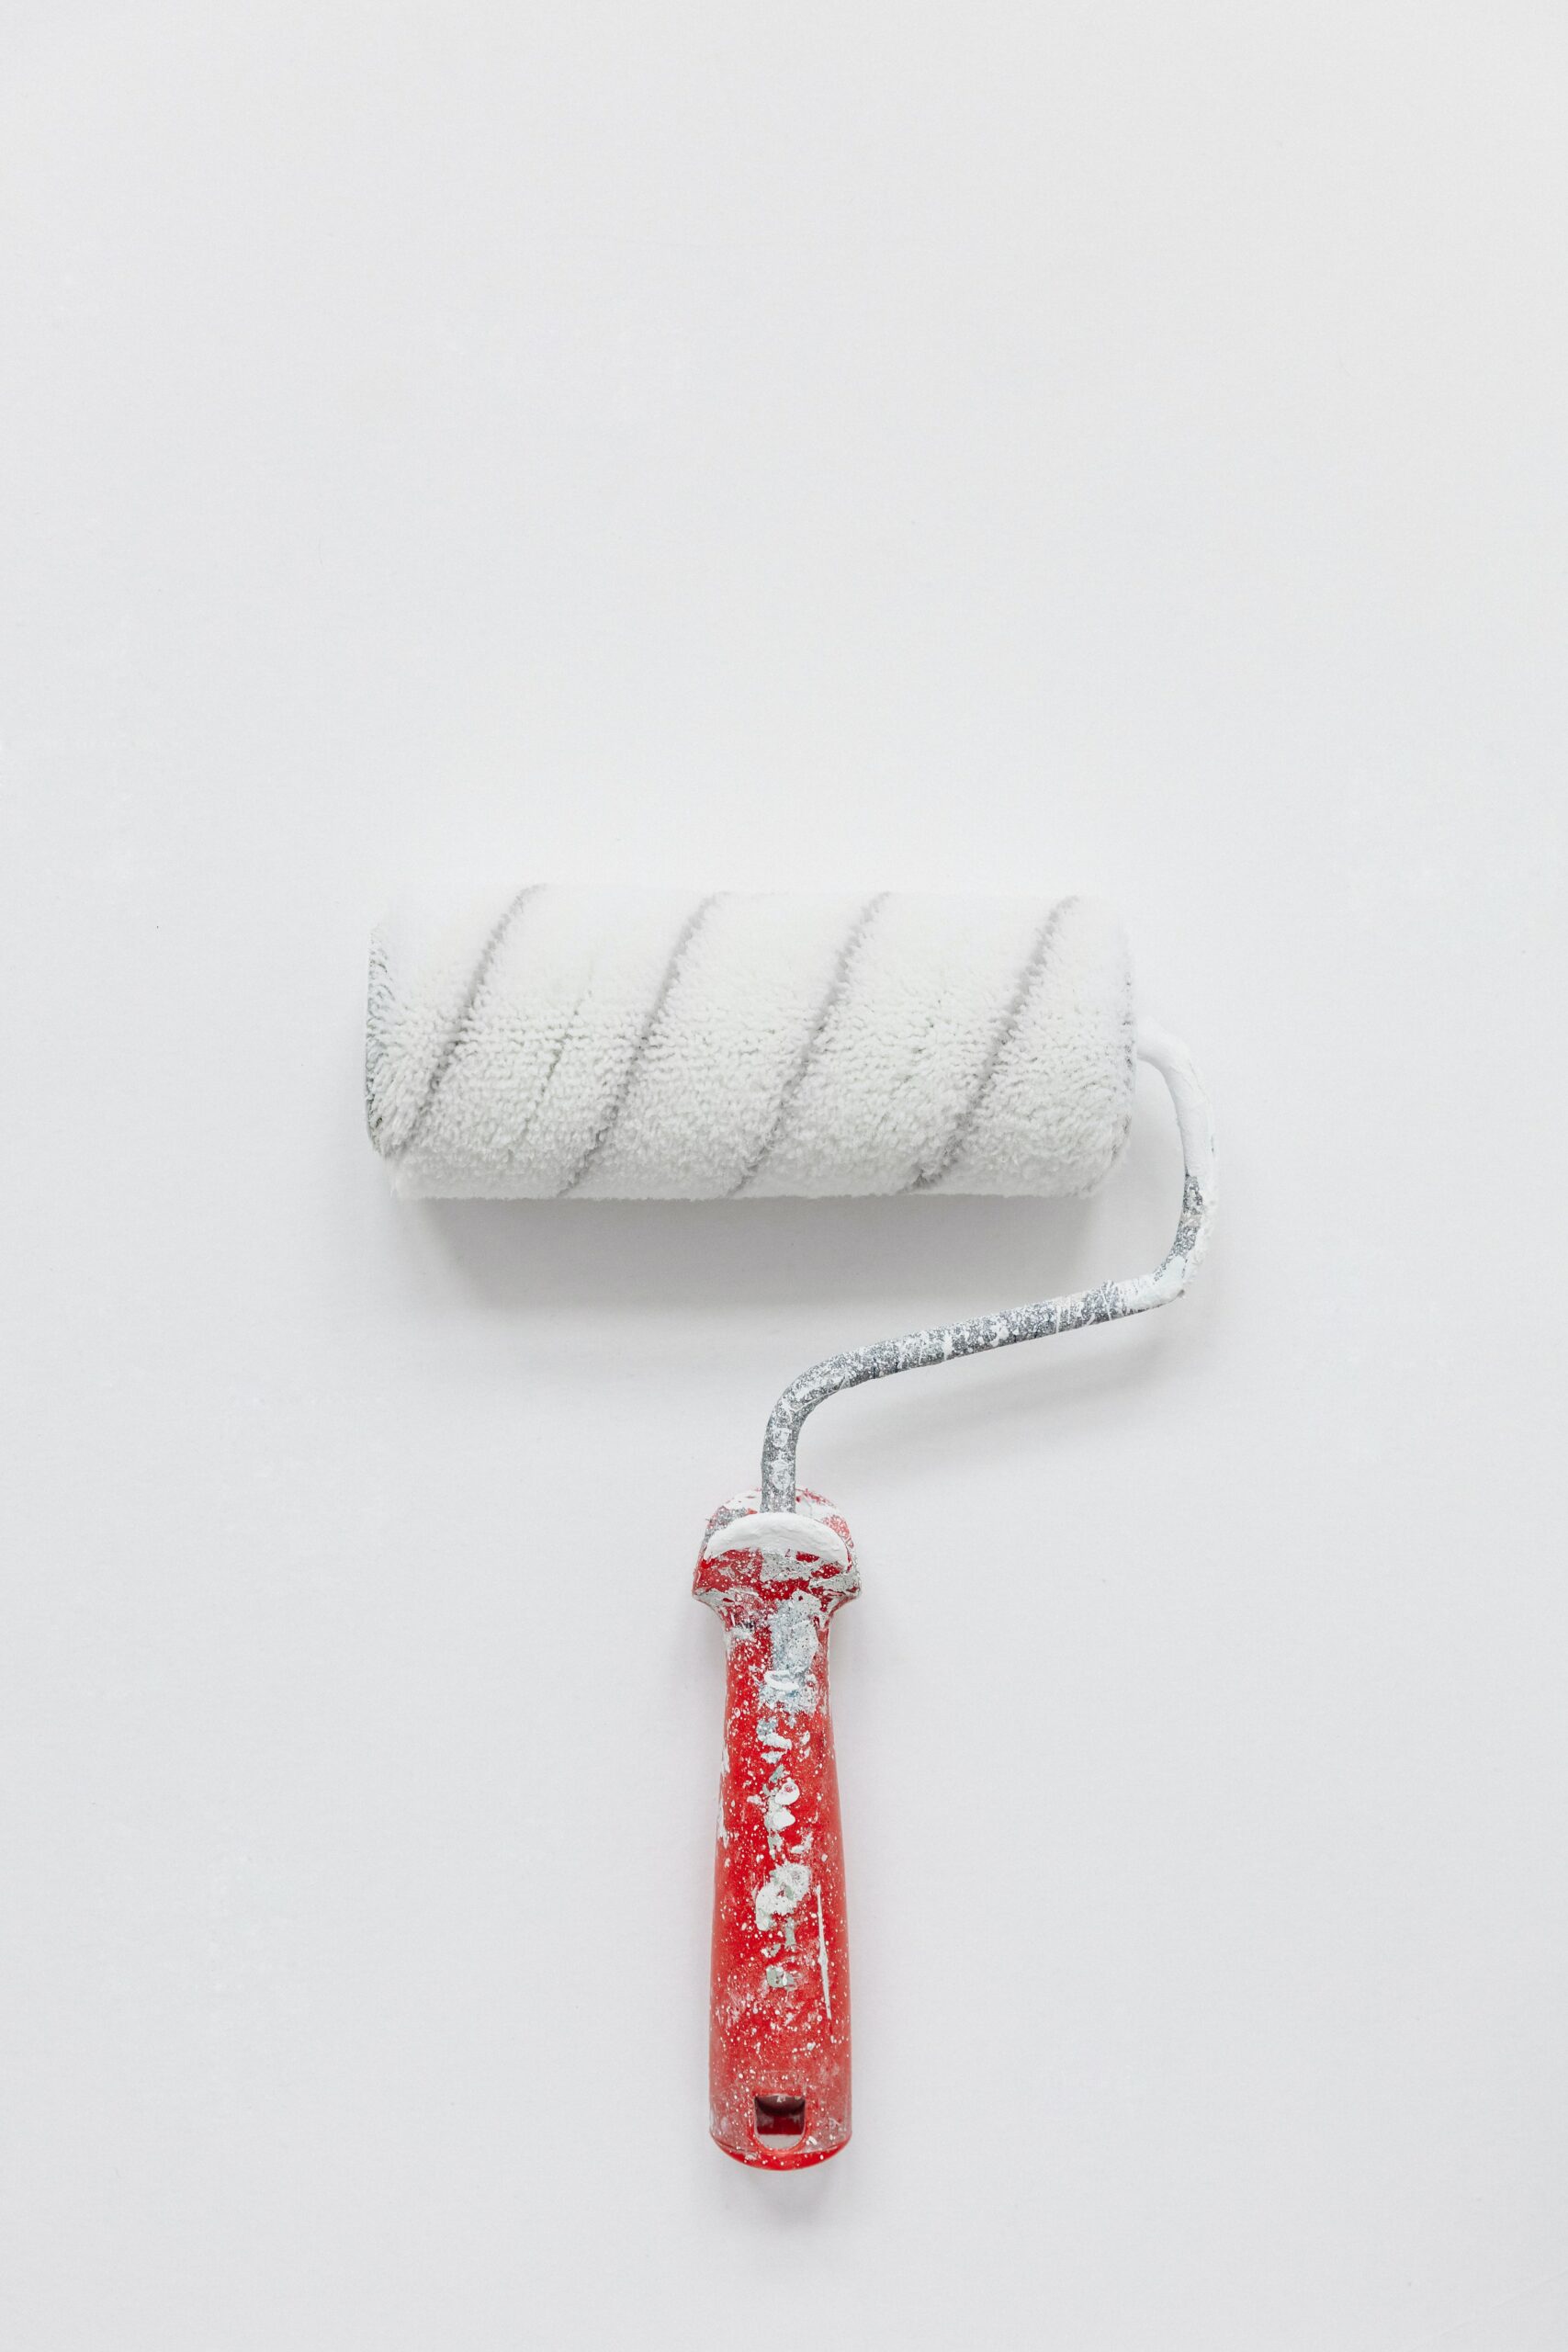
Sand all surfaces.
Your primer will need something to stick to, and the first thing you need to do after cleaning your cabinets is lightly sand them all. You can either use an orbital sander, a sanding block, or just folded up pieces of sand paper.
Use a 150 grit sandpaper and just do a quick scuff sand. You don’t need to take off the stain, you just need to rough up the surface. Once this is done, wipe off all the sandpaper dust with a wet rag or you can give it a quick shot of air with the air compressor.
Use eye protection and a mask when sanding to keep small dusk particles of your eyes and lung.
Fill the grain. (Optional)
Because all grain fillers vary a bit in application, I won’t go into too many specifics here. But keep in mind that you will probably need 2 or 3 coats and will need to sand in between, using a 220 grit sandpaper.
Apply primer.
It is typically easier to use a paintbrush to apply primer to the edges and then a roller for flat surfaces. If your cabinets have a lot of detail, especially on the inside edges, you can use an oil-based spray primer to cover those areas. Be sure to use broad, even strokes and don’t hold the can too closely or you will get way too much paint on your door.
Also, make sure you don’t use too much paint on your roller. Less is usually more! An easy trick is to have 2 or 3 doors ready to be primed at a time and after your roller has paint on it, do an initial quick roll on each of the doors to divide the paint out. Then you can go back and roll each one to spread the paint out over the entire surface.
Allow the paint to dry thoroughly (Remember, with oil-based primer, this will take longer). After the paint is dry, do a quick sanding with 220 grit sandpaper to get rid of any rough spots. Clean off excess dust with a rag.
Apply a second coat of primer, let dry, and then do another quick sand and cleaning.
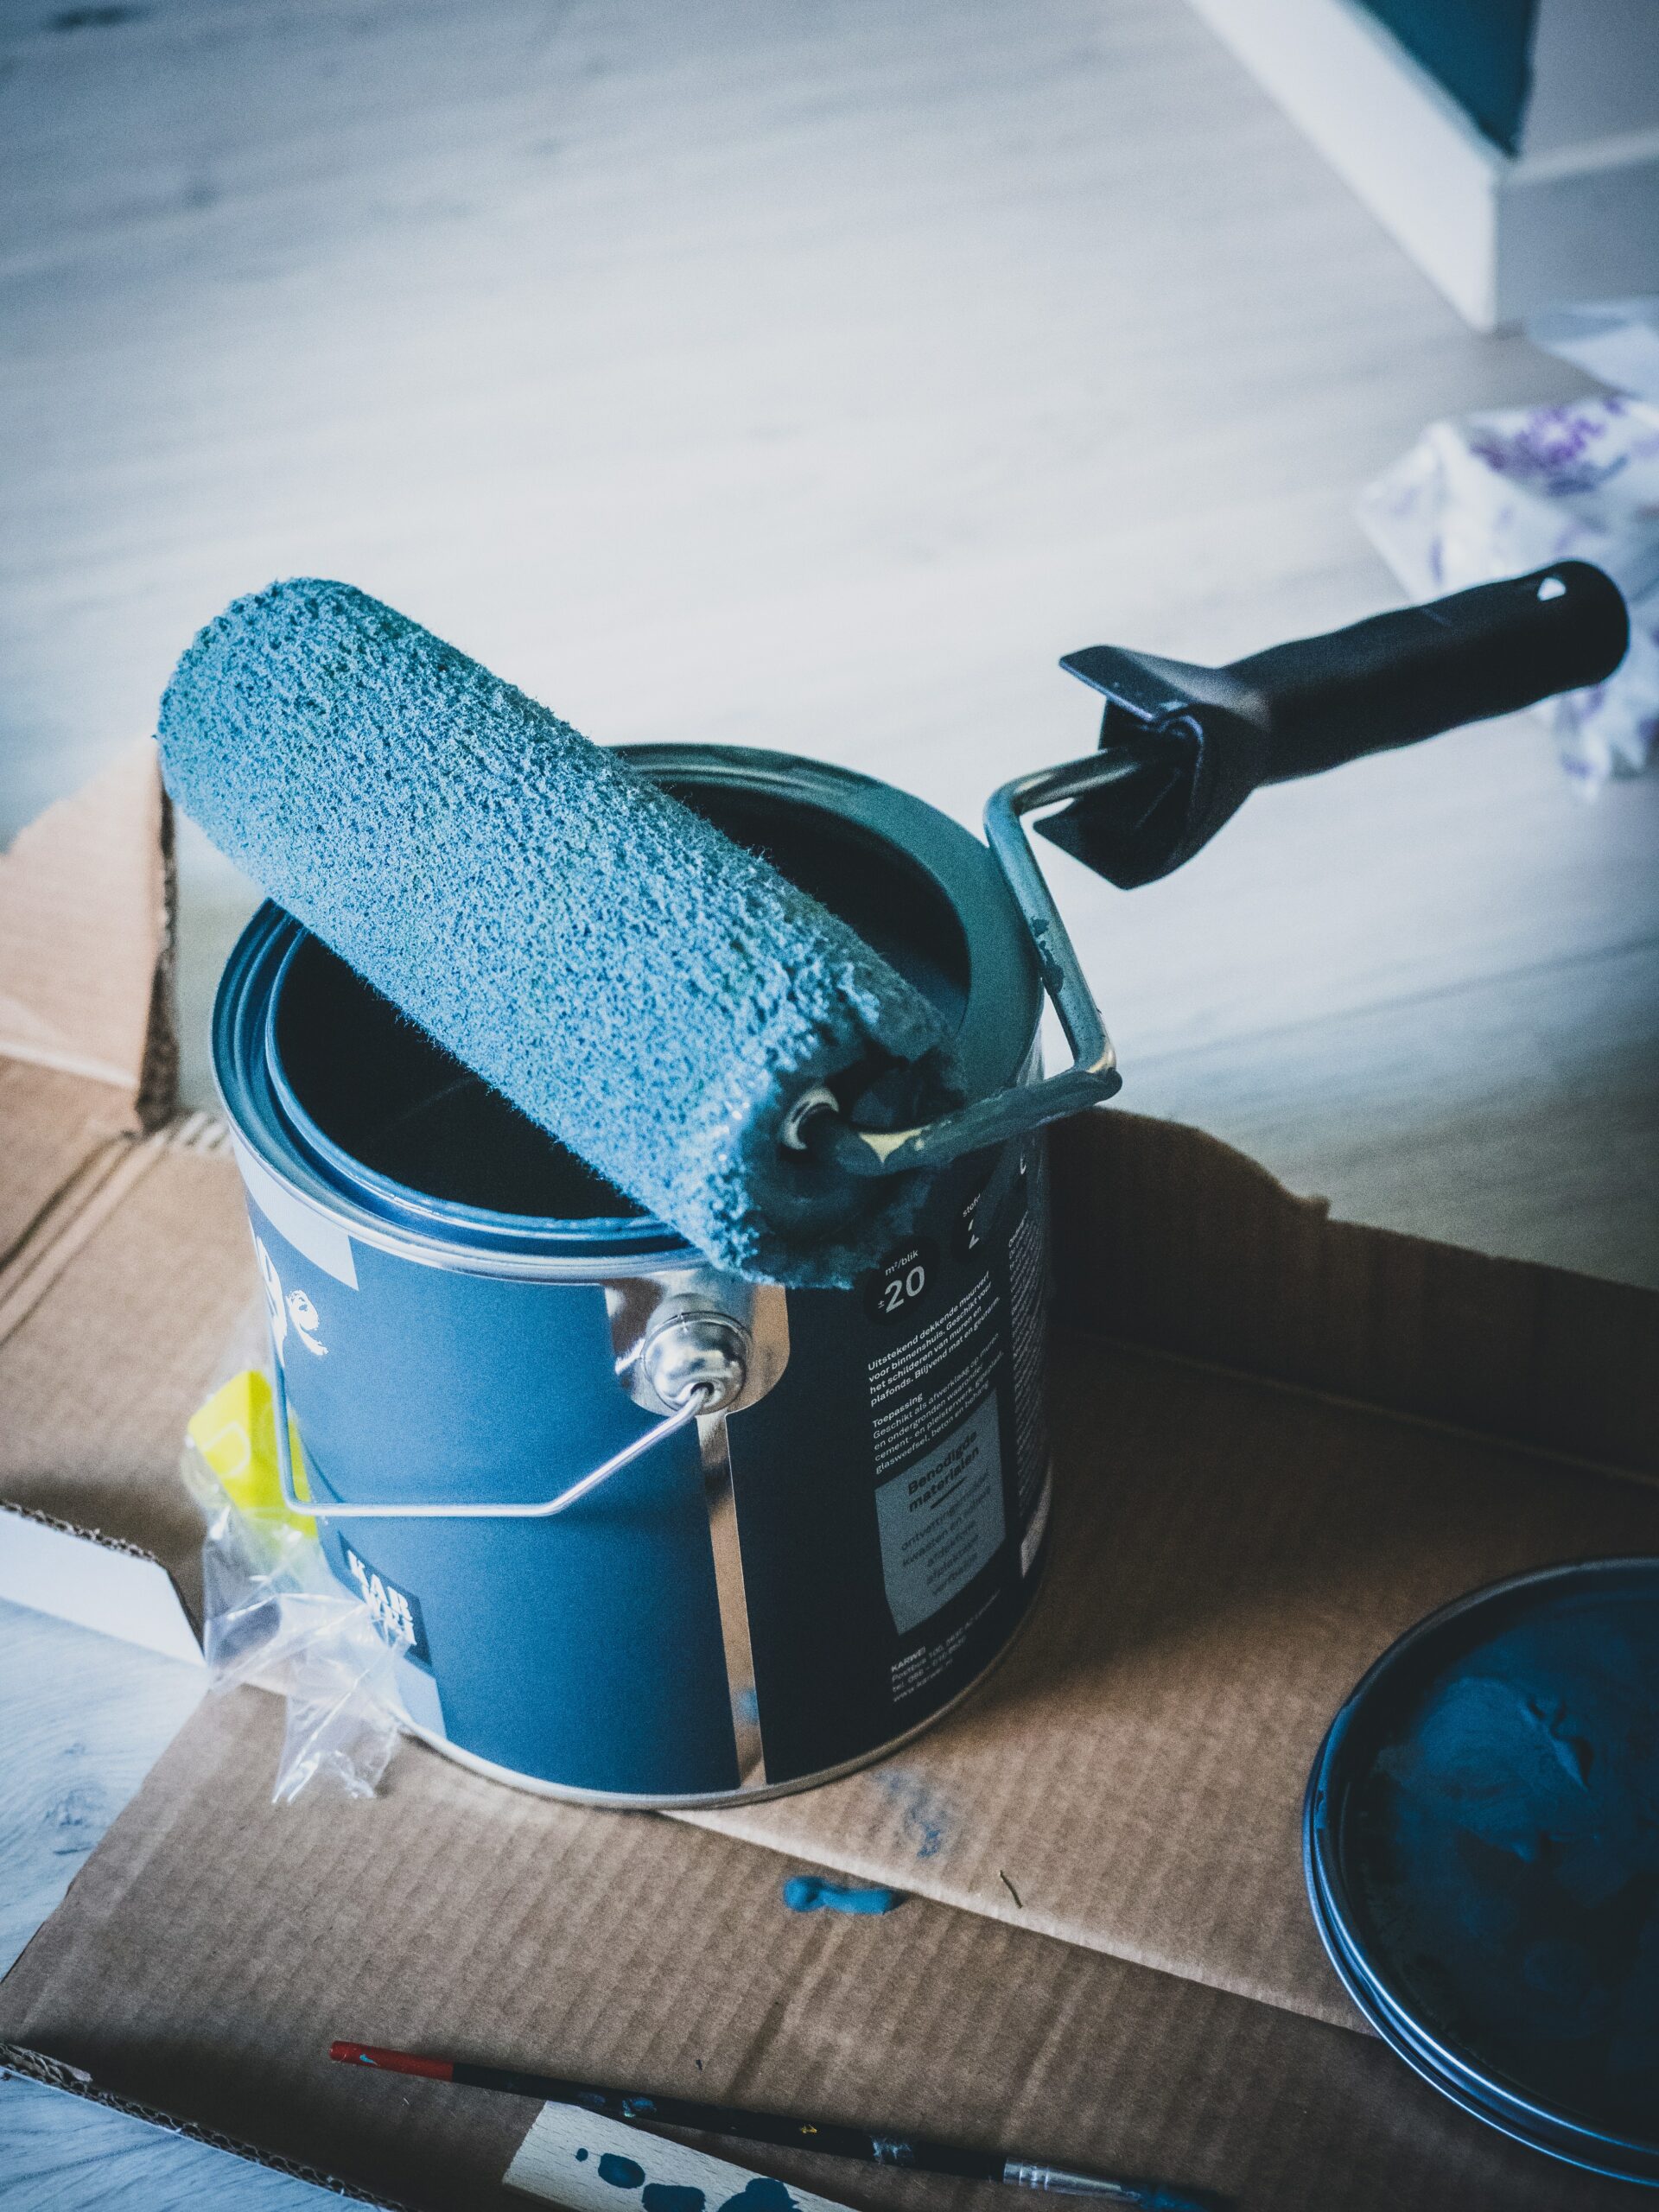
Apply paint.
Invest in high-quality paint when it comes to painting your cabinets. You will want something that will stand up to lots of wear and tear and cleaning and that won’t chip or scratch easily. A normal paint just isn’t going to cut it.
There are great hybrid paints out there that give you the easy clean-up of a water-based paint but are more durable and slower to dry like oil-based paints.
All of these same steps will need to be taken with the faces of your cabinet frames, and obviously that will involve priming and painting inside your kitchen. There are low VOC primers and paints you can buy, but it’s always a good idea to wear a mask while sanding and painting.
Reinstall doors and drawer faces.
Be sure to let all surfaces dry thoroughly before trying to reassemble. Even after paint dries, it takes awhile to cure, so don’t wash cabinets for a minimum of two weeks after they are finished.
Refinishing cabinets is a lot of work, but if you take your time and complete all of these steps for painting kitchen cabinets, you will end up with a beautiful new look in your kitchen and save tons of money in the process!