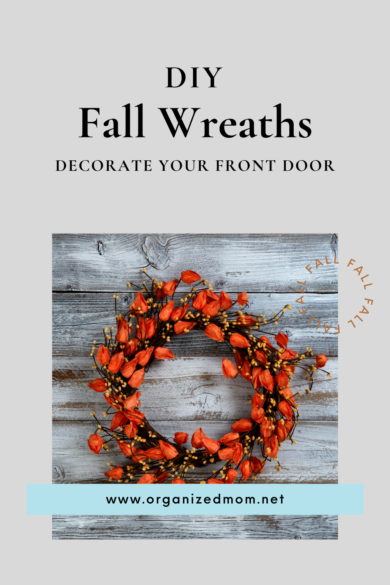


A wreath is a great way to spruce up your front door for any season. From fabric to leaves to washi tape, the fall wreaths in this roundup are a great place to start if you are looking for a new DIY fall wreath. One of the best things about fall for me, besides the cooler temperatures and pretty leaves, is decorating my front porch.
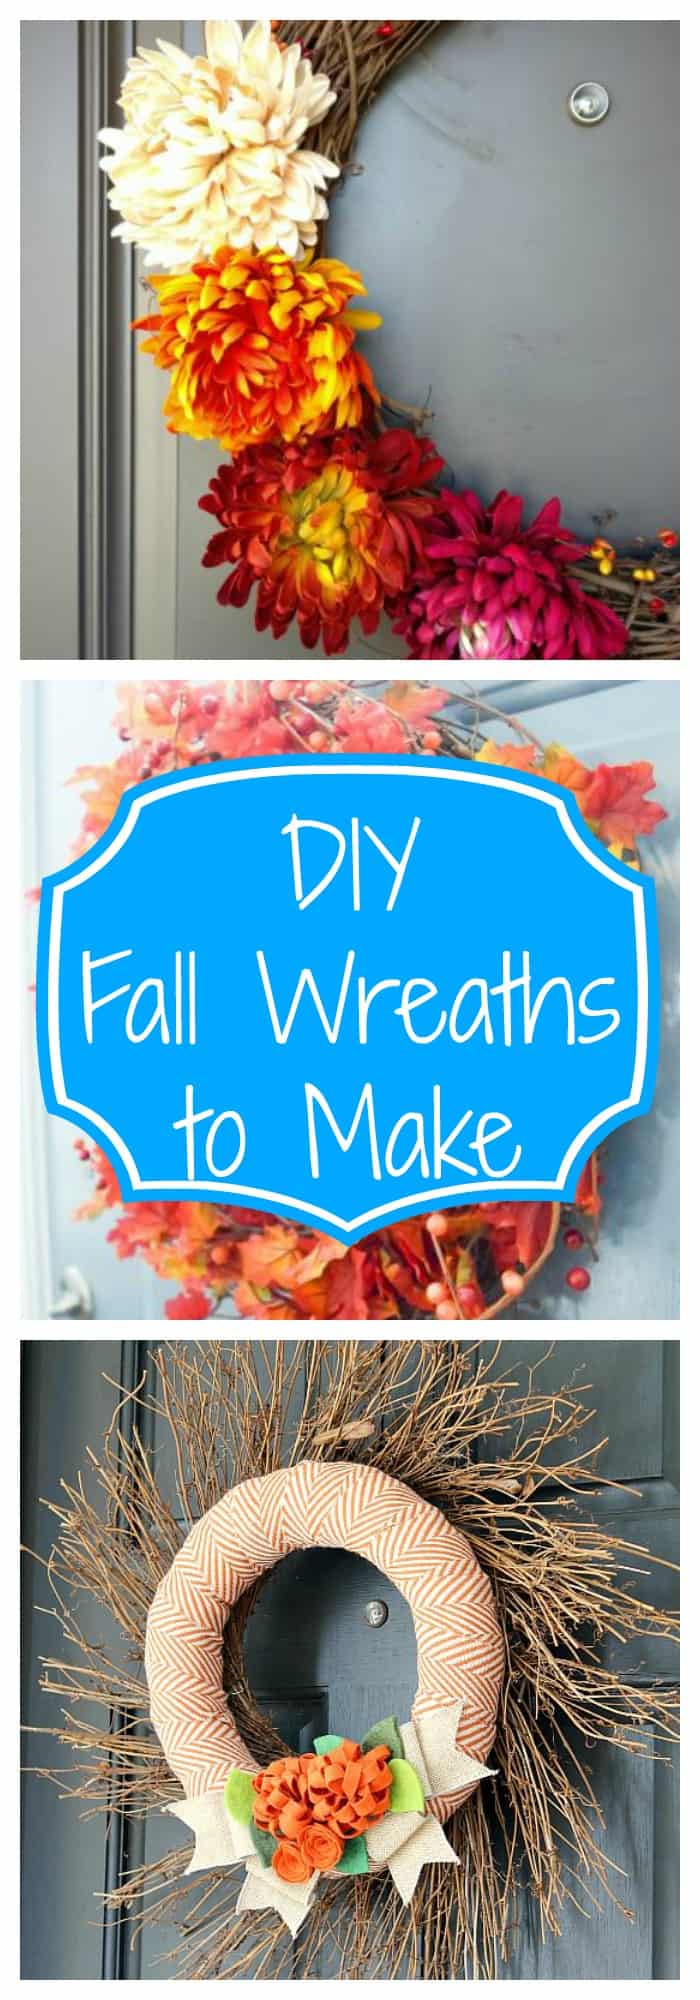
DIY Fall Wreaths to Make
A wreath is one of the first things I put up because it’s such an easy way to transform my front porch. There are so many different styles of wreaths that choosing one to fit your own personal style is easy. But if you’re feeling a little unsure about where to start, below you’ll find 10 DIY fall wreaths to make that are sure to inspire your creative side this season!
We’ll even show you you exactly what you need to make your own fall wreath.
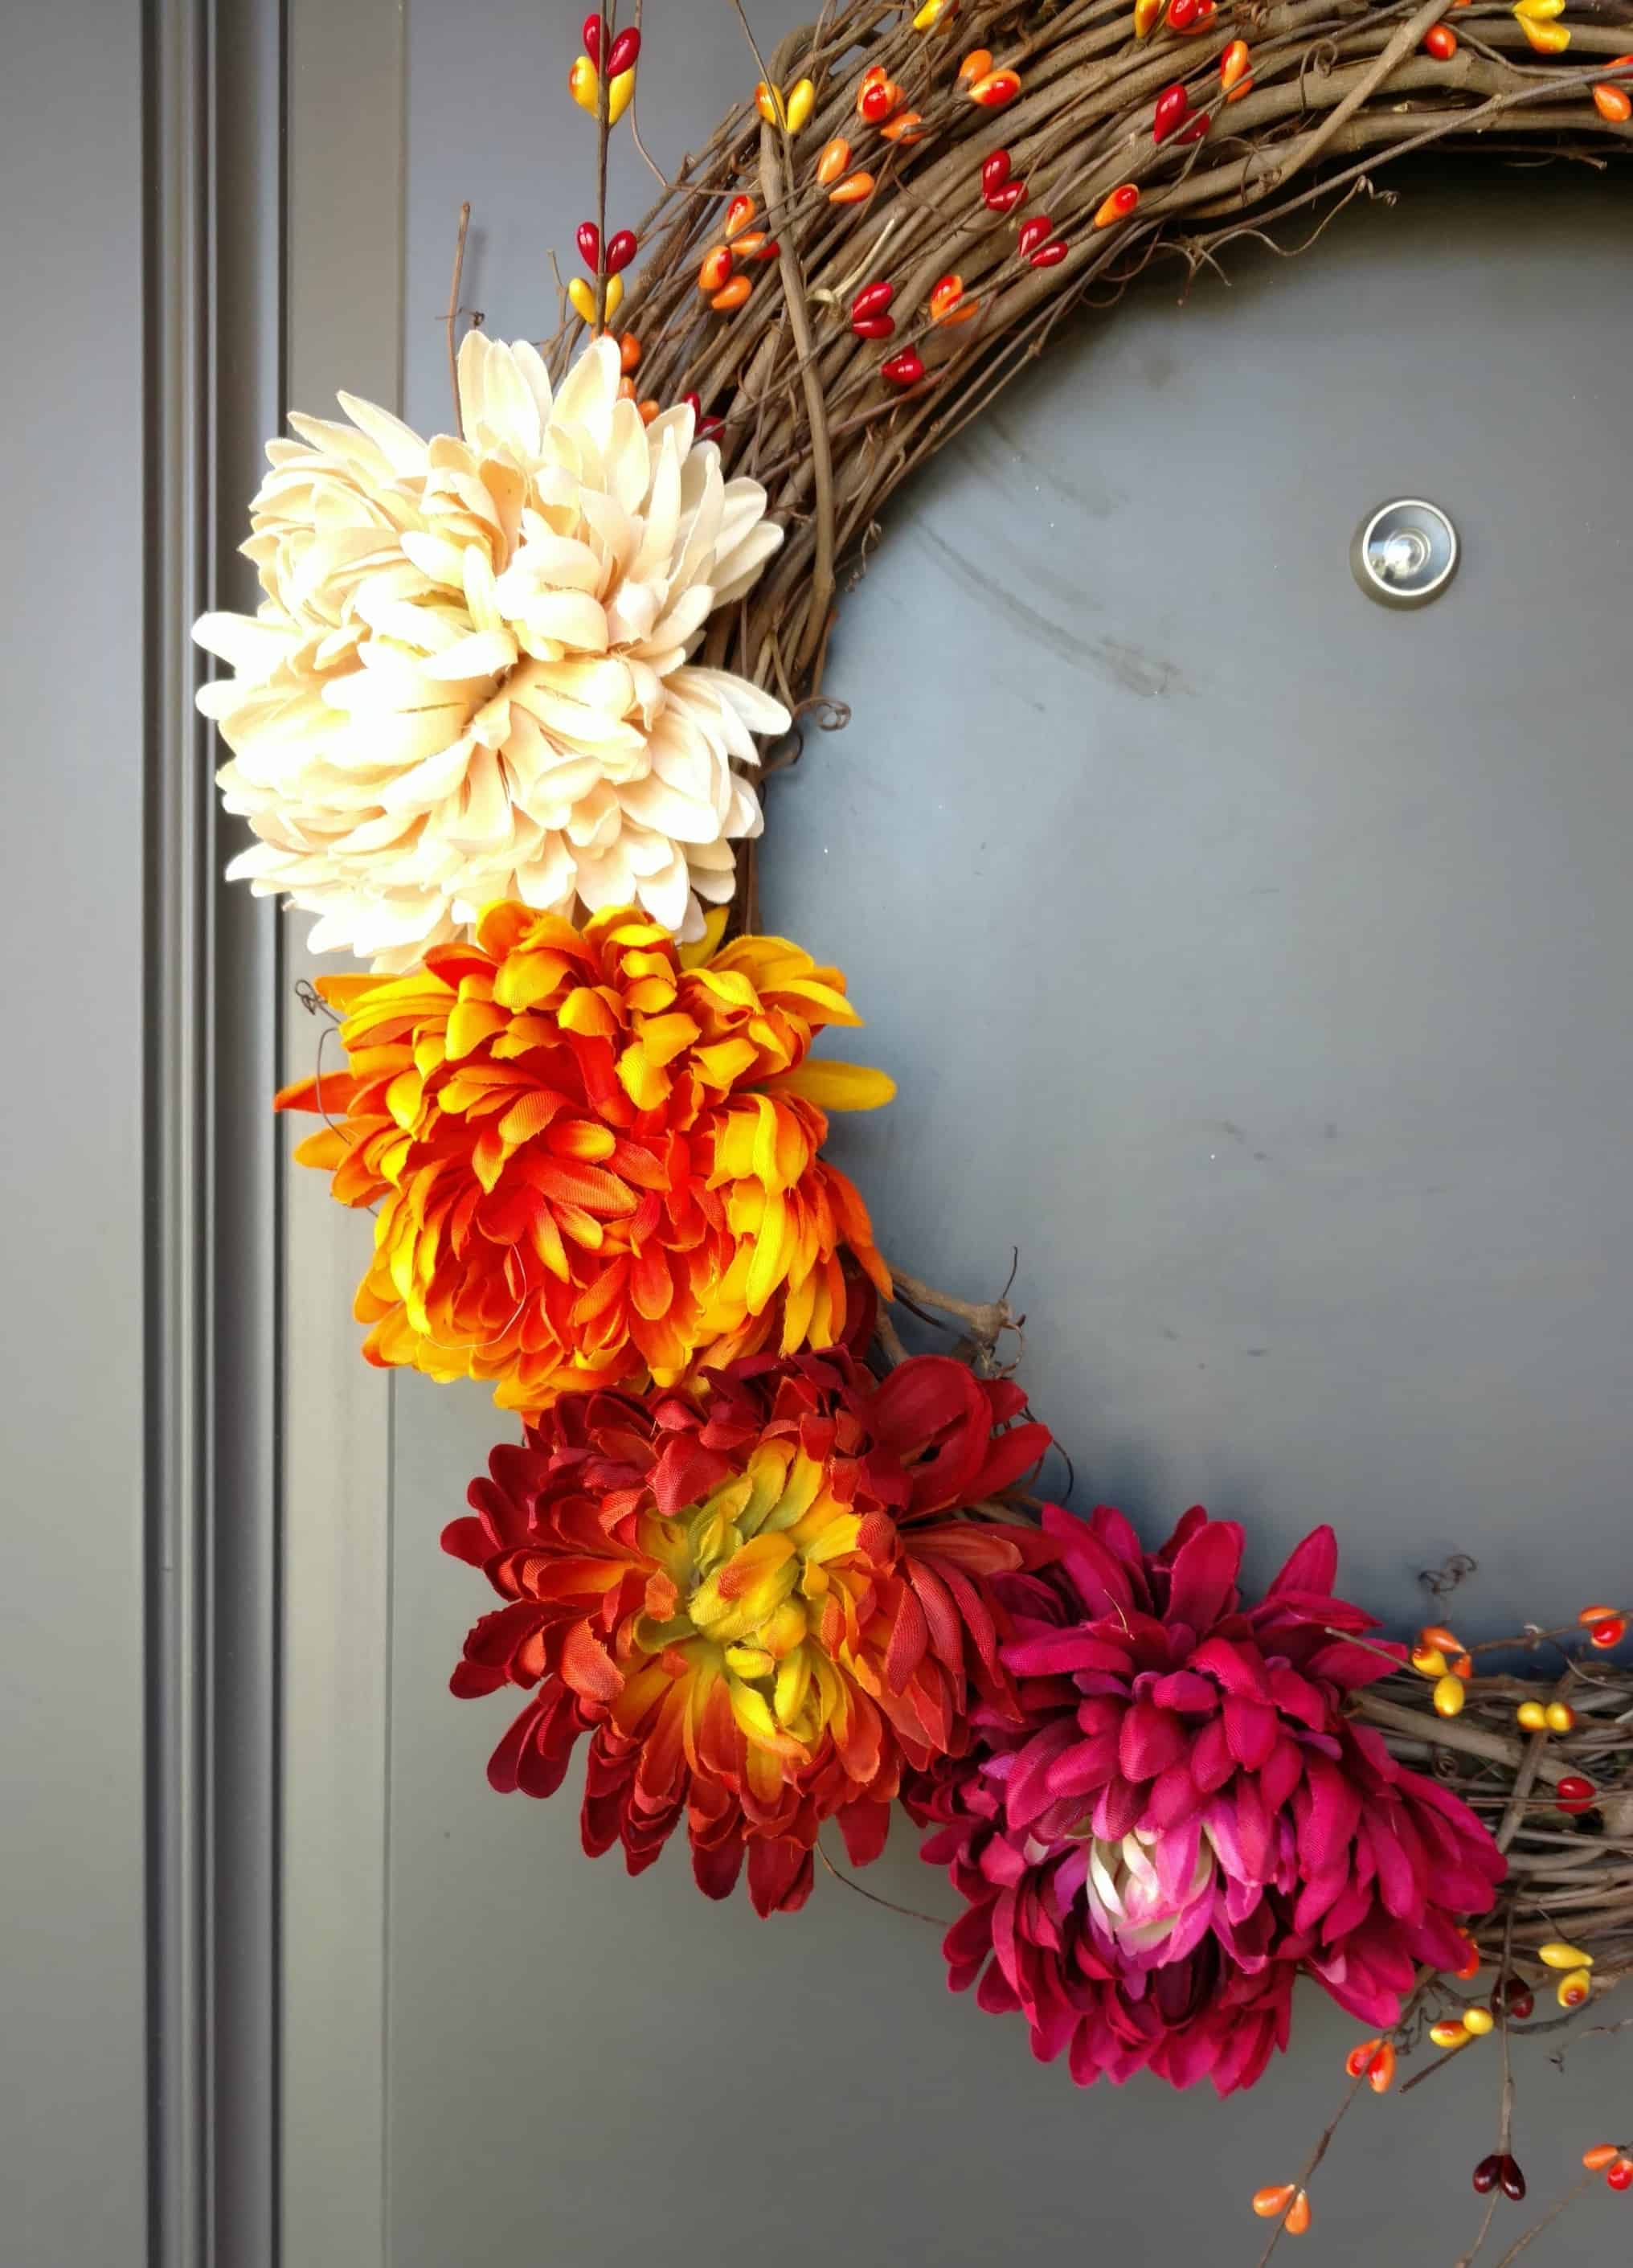
Fall Flower and Berries Wreath
A grapevine wreath is a classic wreath form and this wreath uses flowers and berries in fall colors is beautiful, simple and quick to put together!
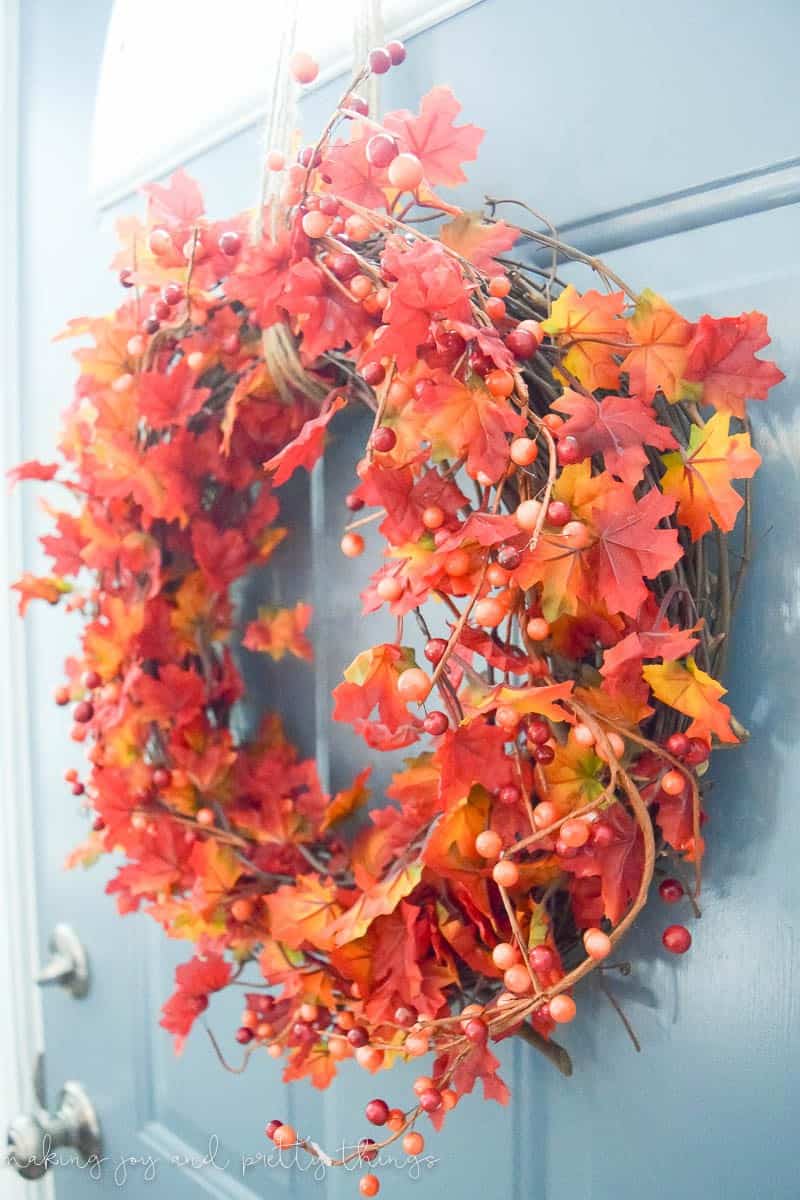
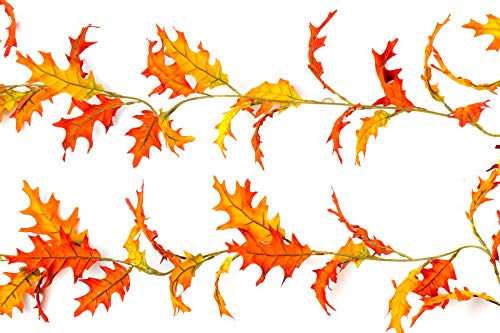
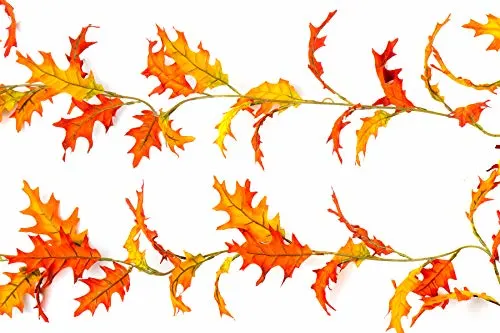
Traditional Leaves and Berries Wreath
If you’re looking for a traditional fall wreath, this leaves and berries one will instantly brighten up your door with the reds and oranges typical of this time of year.
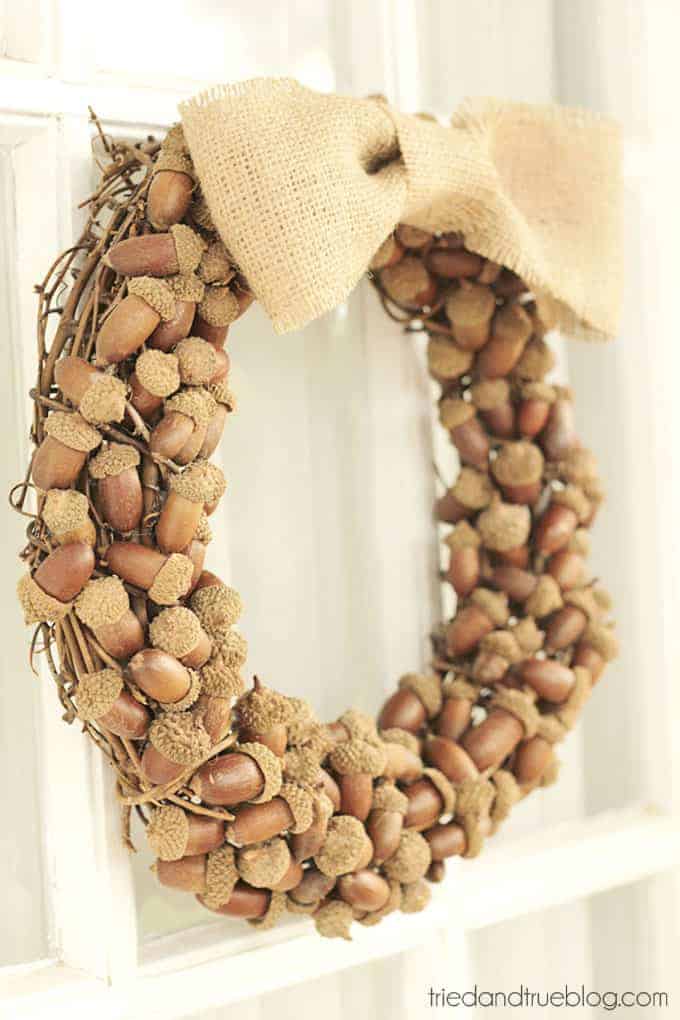
Acorn Wreath
Leaves aren’t the only thing falling from the trees in the fall! This acorn wreath is a fun deviation from using traditional fall colors in a wreath.
Fabric and Felt Layered Fall Wreath
Just like we love to layer our clothes in the fall, this cute take on a wreath using fabric and felt layered on top of another wreath is sure to catch the eye of anyone passing by your home.
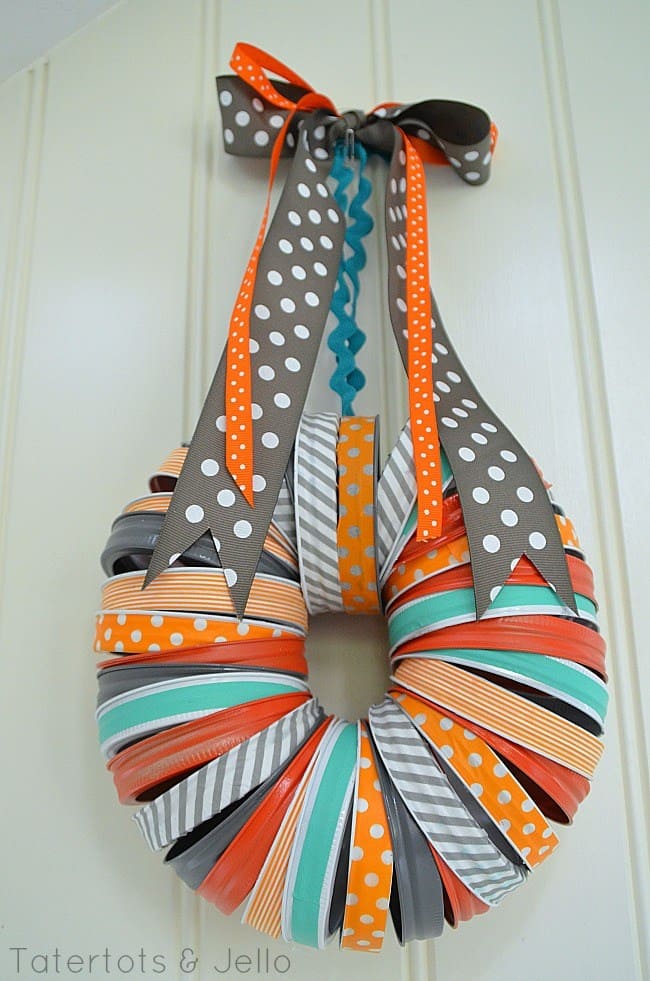
Mason Jar Washi Tape Wreath
Fall is a time for canning and bottling, so why not use the same materials on a wreath? A little bit of washi tape and ribbon and you have a unique wreath for your front door, or even in your kitchen.
Dollar Store Fall Wreath
A cute and festive wreath doesn’t have to be expensive, which is why this wreath made from dollar store supplies is so great! You could make a few of these and give them to friends and family as well.
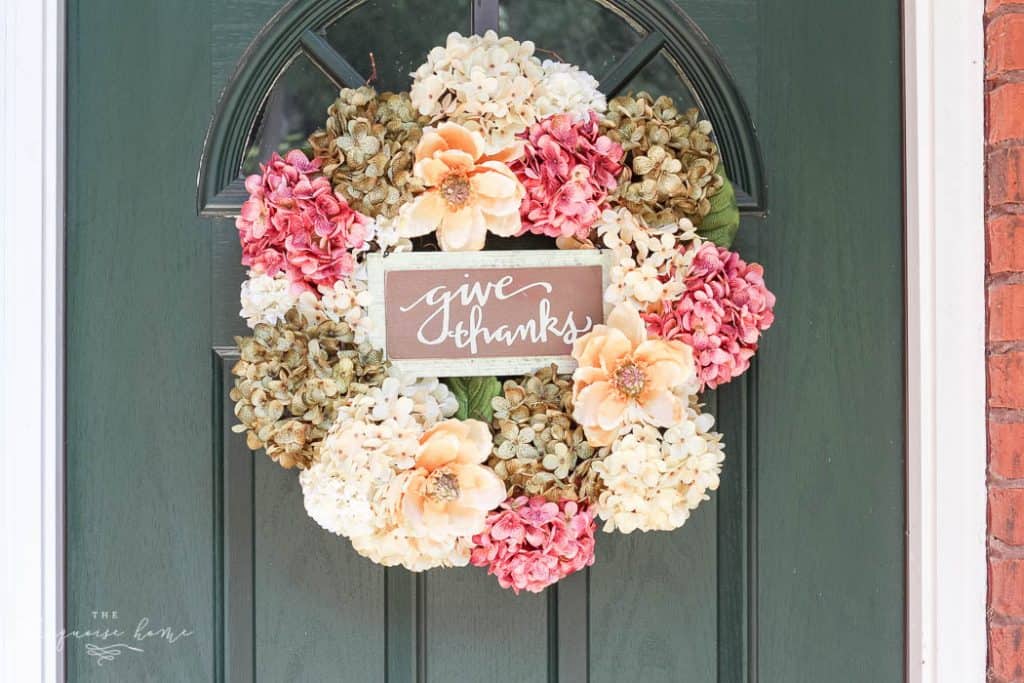
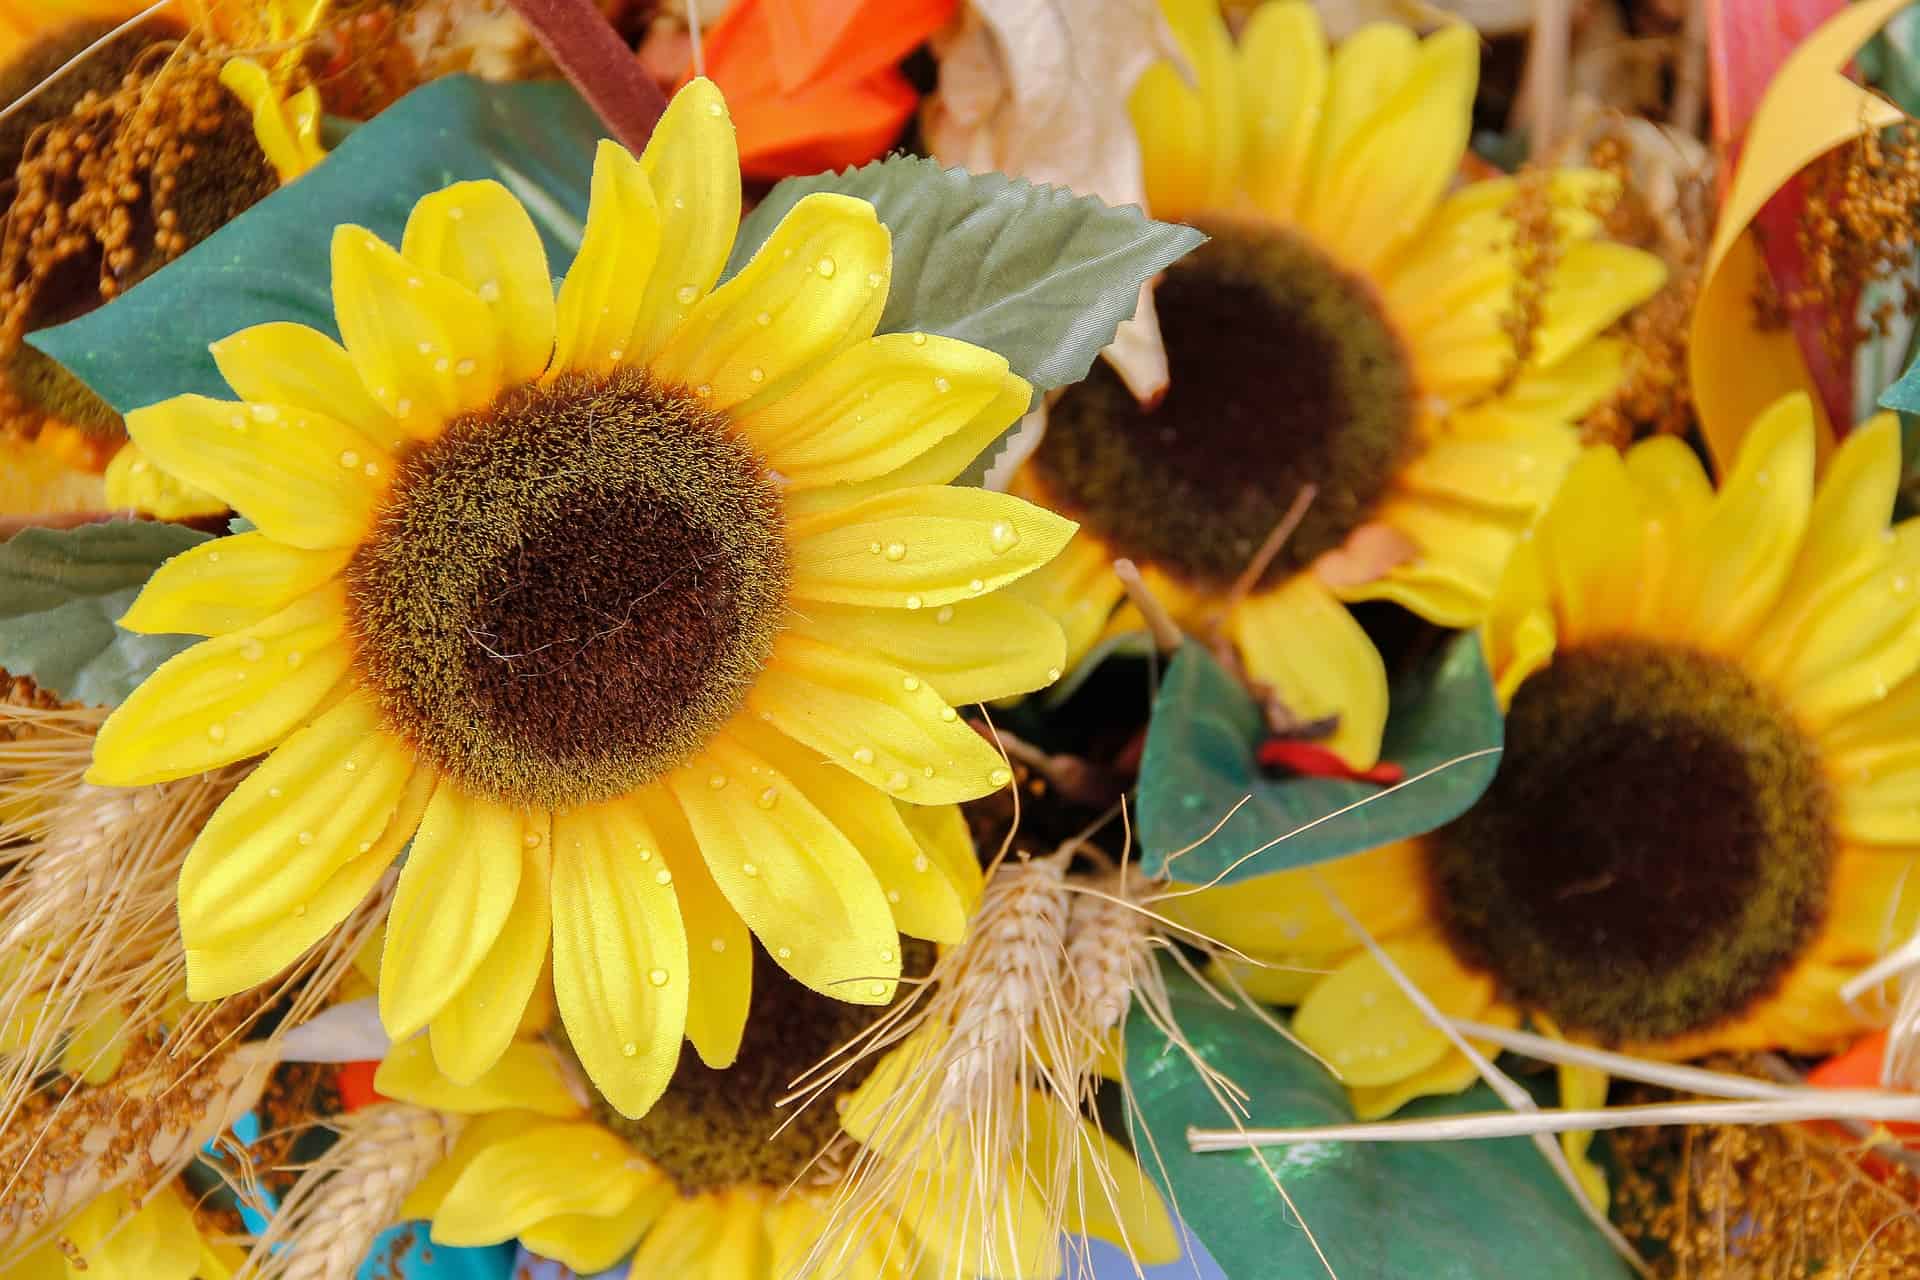
Faux Hydrangea Fall Wreath
Faux flowers today can look just as real as the real thing does! I love the simplicity of this hydrangea wreath coupled with fall colors for an inviting way to welcome people to your home.
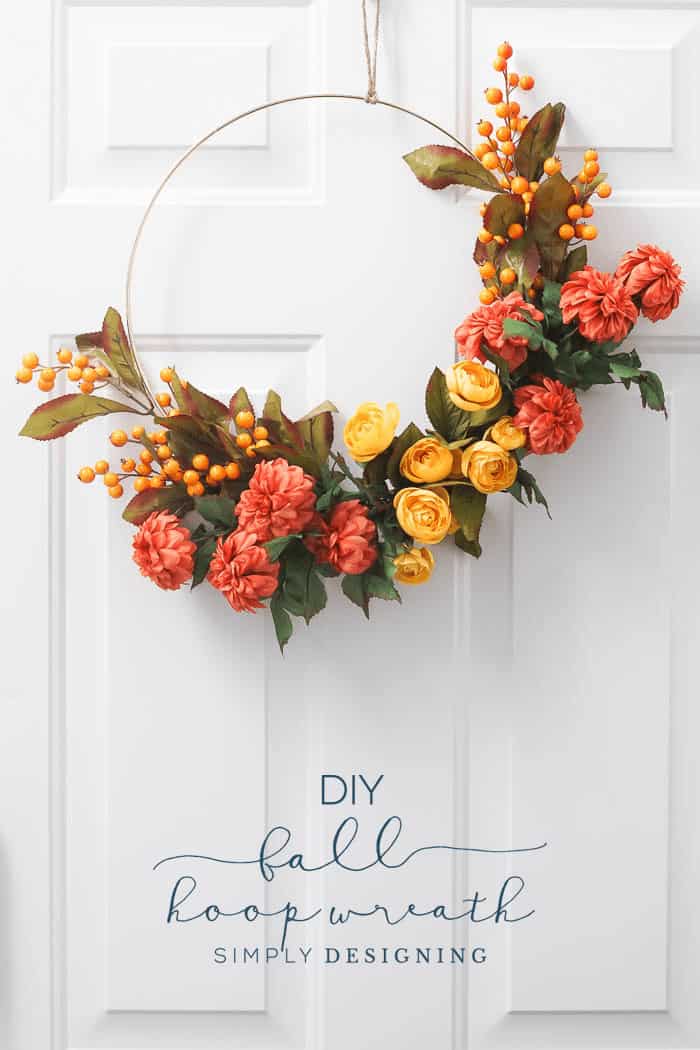
Fall Hoop Wreath
If you’re looking for a slightly different type of wreath this fall, definitely check out this hoop wreath!
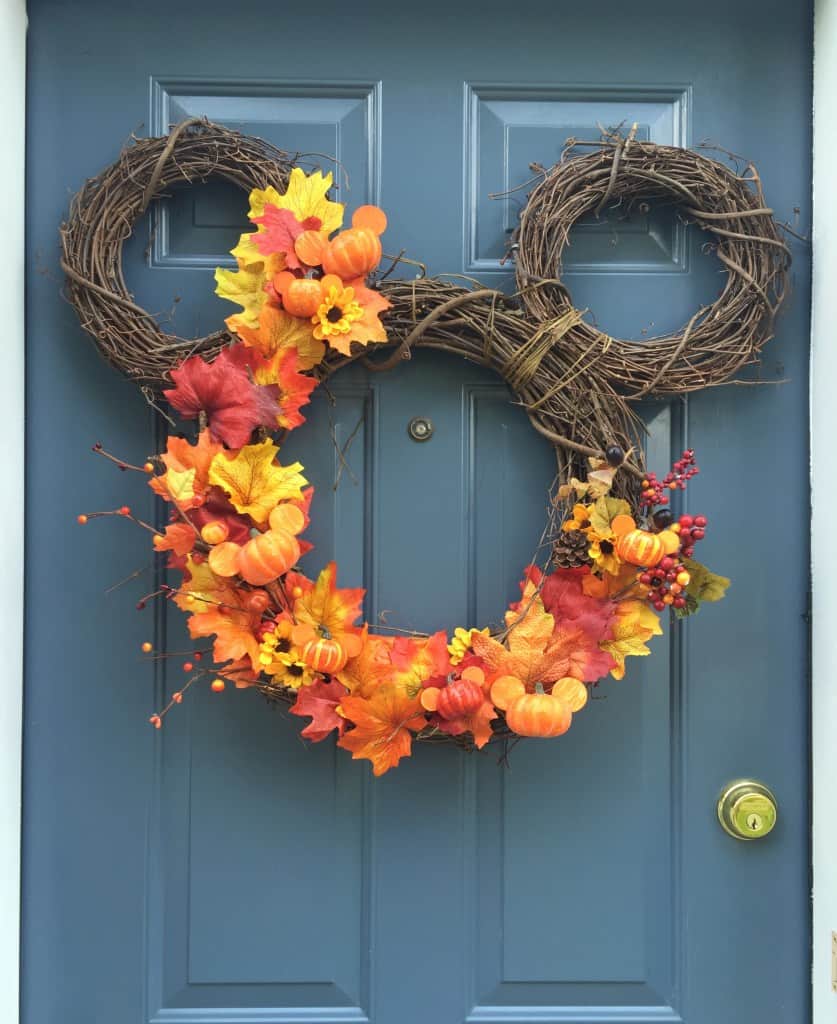
DIY Fall Mickey Wreath
Any Disney lovers out there? This Mickey-inspired wreath is too cute and I bet you can find a few hidden Mickey’s in it too if you look closely.
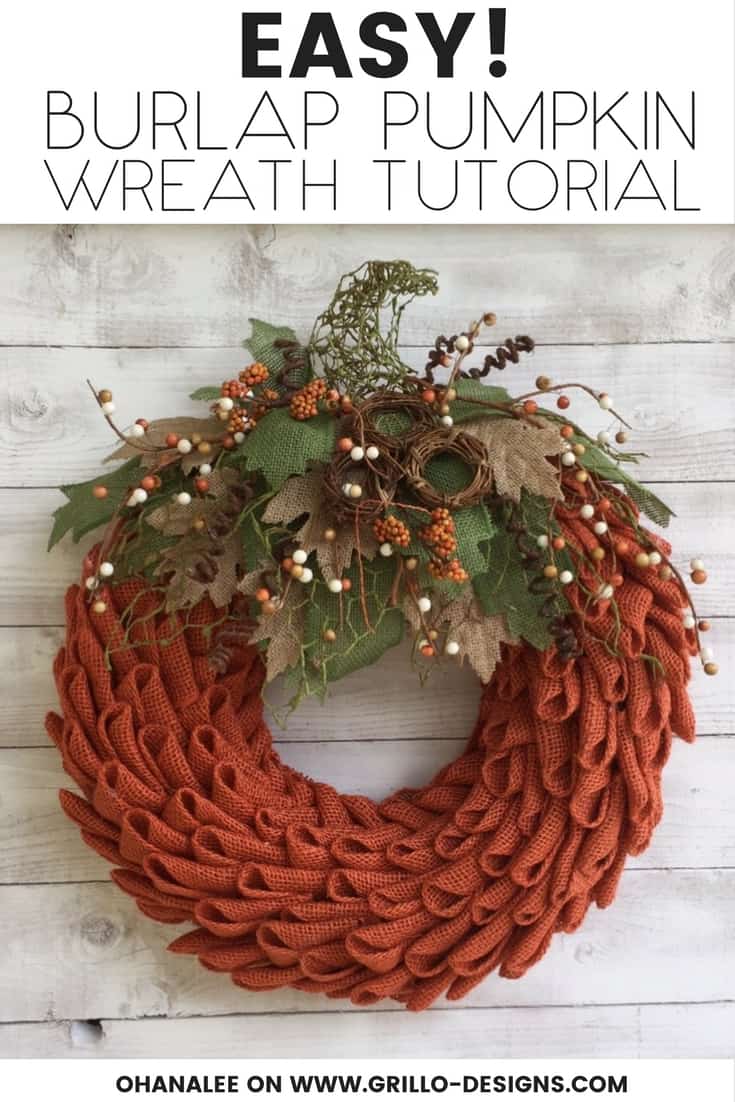
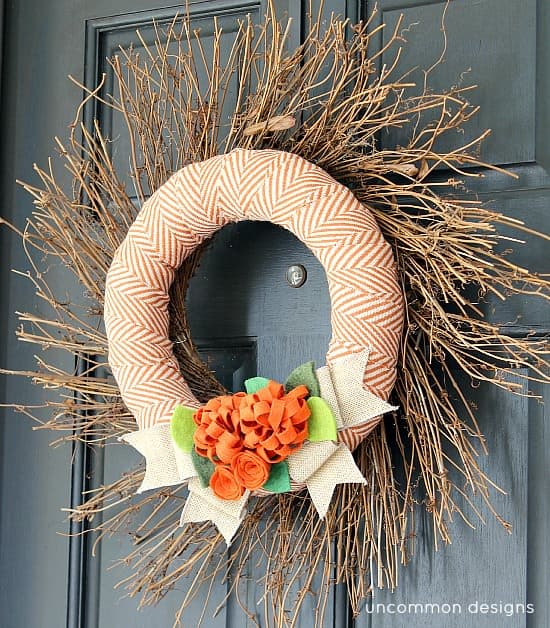
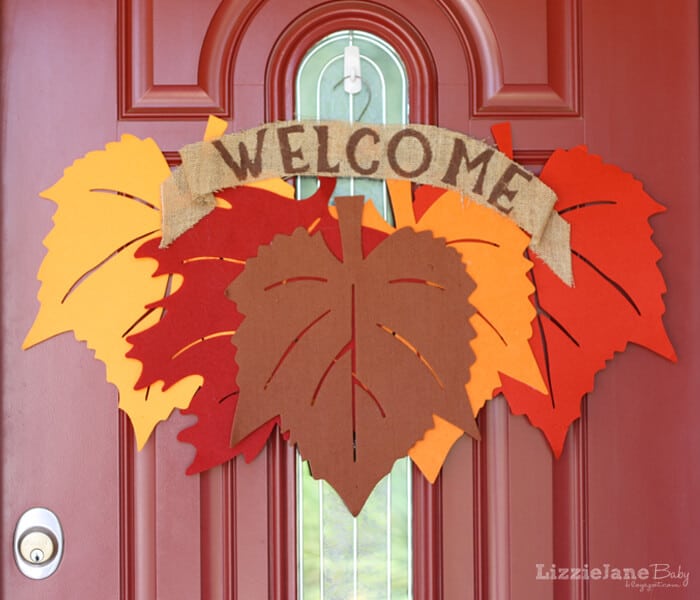
Burlap Pumpkin Wreath
Burlap is an inexpensive material and perfect if you’re going for a more rustic look. I think the petal technique used on this wreath is a great twist on the more common bubble wreath that’s also made using burlap.
DIY Fall Wreath Guide
Have you been inspired by these fall wreaths? Or want to create your own?
DIY Fall Wreath Tips
Looking for some quick and easy fall wreath supplies and what you’ll need to get going? Here are some of the essentials, and some instructions.
DIY Fall Wreath Supplies
Here are the supplies you need to make a great fall wreath! This is a great fall activity for friends and family.

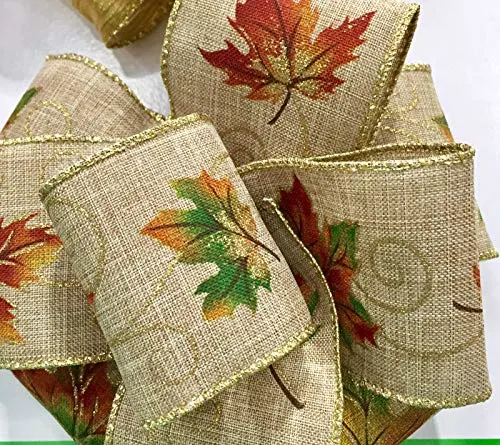
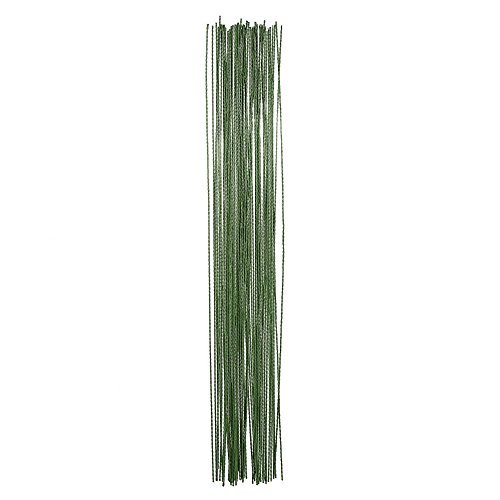
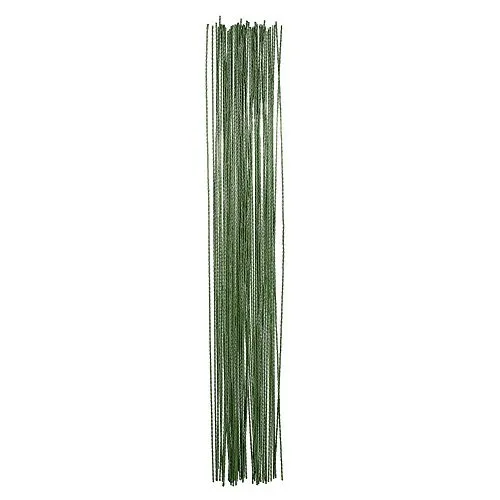
The trick to the frame for the wreaths!


To give a good look to your weath.

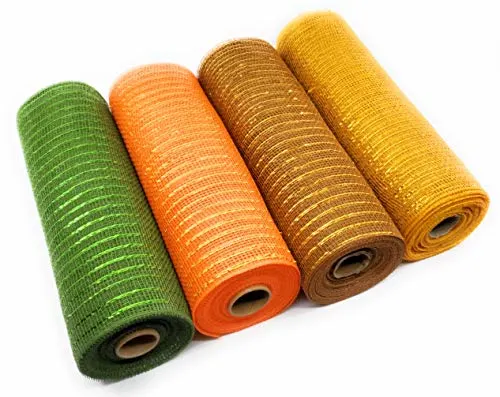
More fall tones.
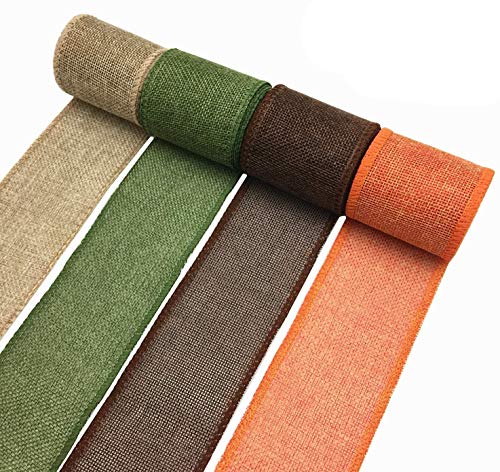

Anohter great fall color selection.

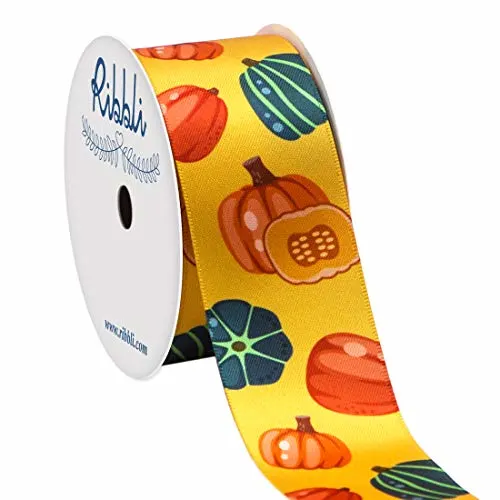
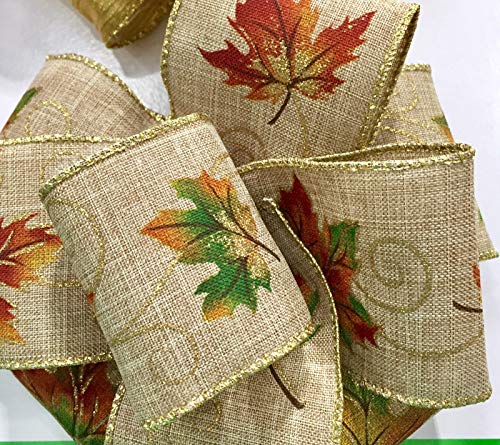
For the fall festive look of your wreath.

For decoration.
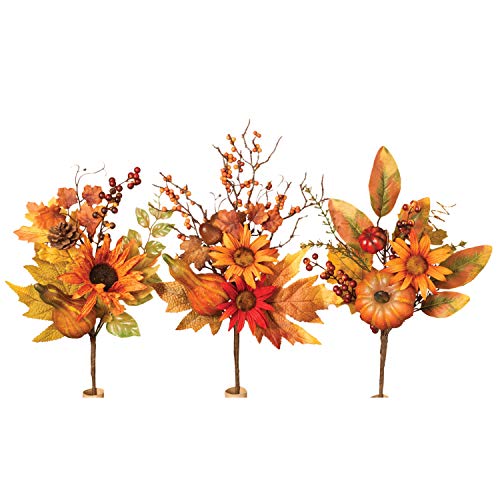
The look of fall.
To keep it all together.

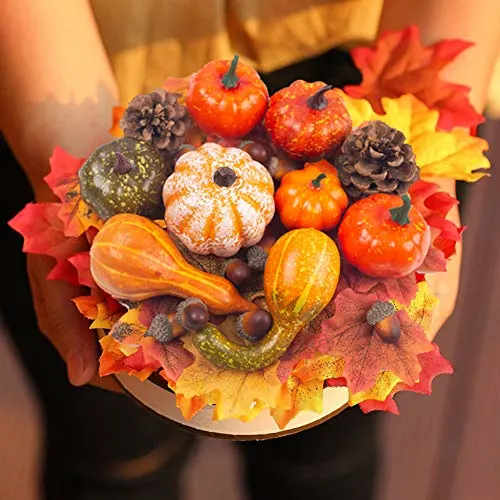
These look great on the weath!

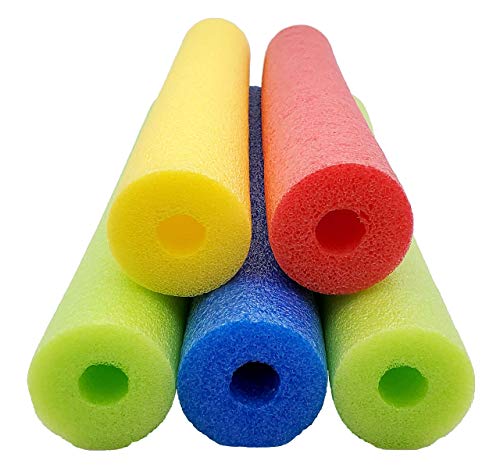
For making the pool noodle into the circular fo
Your DIY Fall Wreath Guide – First Things First
To begin, you will want to fold the pool noodle down so that it form a donut like circle. The best way to connect to two ends is to either use some of wire you have and hook them together in any way you see fit or by stapling the edges of each end together.
You can also use duct or electrical tape (the linked video is super helpful) to secure the edges tightly together! It is imperative that the donut shape is secure or else your entire wreath will come apart.
The noodle can then be covered in burlap or pieces of black or dark brown fabric if you want here, but it is not necessary. You can also avoid this by purchasing a dark color noodle! Once you have the noodle firmly rounded you can begin the actually decorating!
Bunching and Wrapping
Take your ribbon and form bunches around the face of the noodle. As you form each bunch and prepare for a new one, take your wire and wrap the flat spaces between the bunches very tightly several times around the entire noodle, so that the bunches you formed stay in place.
You can do this process 2-3 times, forming bunches and wraps at your discretion and where it is ascetically pleasing to the eye.
Once you have your desired number of ribbon on your wreath, use the same technique to incorporate your decoratives (pumpkins, flowers, etc.) into the spaces between the bunches. Use the wire to attach these items the same way you secured the ribbon to the noodle.
You can get as creative and personal with this process as you want! The only requirements is to make sure each item is on the noodle securely.
Additionally, you can attach small decorative signs to the center of the wreath or small characters. The great thing about this wreath making process is you can repeat it for every season.
Children can easily get involved in the creation of your wreath, or even make one of their own to hang on their bedroom door or somewhere in the heart of your home.