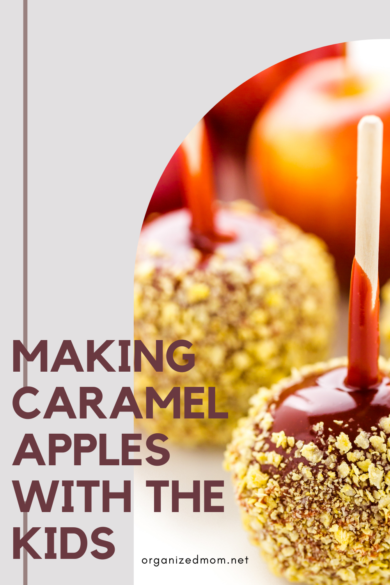
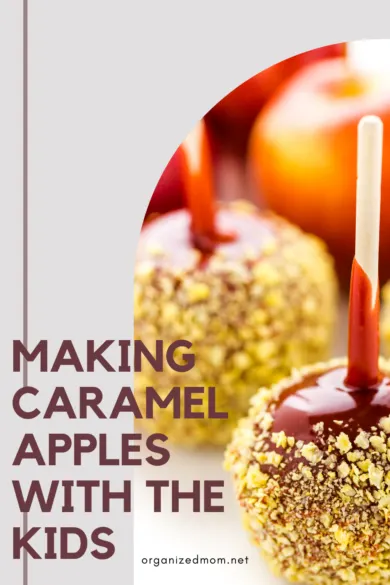
The leaves are beginning to change colors and fall is in the air. This is the perfect time for making caramel apples with the kids. Here is an easy how to hack.
Making Caramel Apples
I LOVE a good caramel apple but the task of making them has always felt overwhelming, especially with the kids!
Thus the search began for the best/easiest way to make caramel apples with the kids. Lets get right to it.
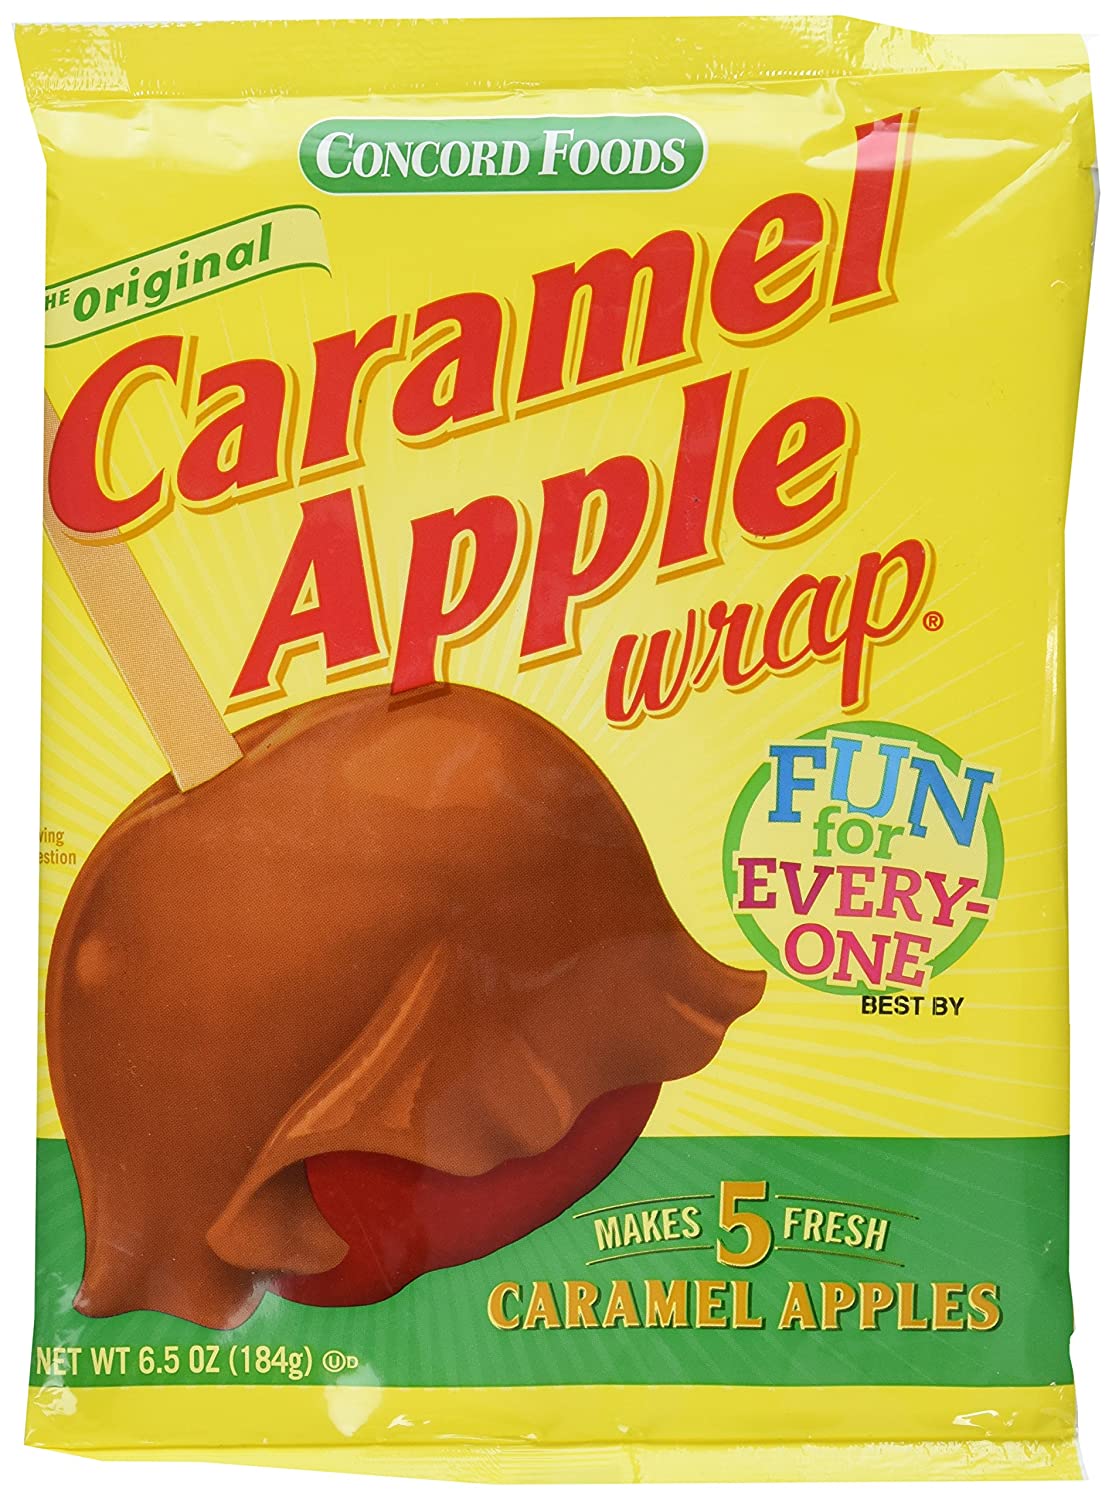
Caramel Apple Wrappers
The hack of all caramel apple hacks for kids is to use the caramel apple wrapper. Here are the reasons why they are SO fabulous.
For starters each package makes 5 apples which is the same as a standard package of caramels for melting.
The Caramel Apple Wrap package comes with popsicle sticks included. So no need to buy anything extra.
Each circle of caramel is separated by a piece of parchment paper which is perfect to set your apple on once its wrapped so it won’t stick to anything.
It takes no time at all to get the caramel all melty and yummy and it’s way less messy than other ways of making caramel apples.
Steps For Making Caramel Apples with Caramel Apple Wraps
Prep the Apples
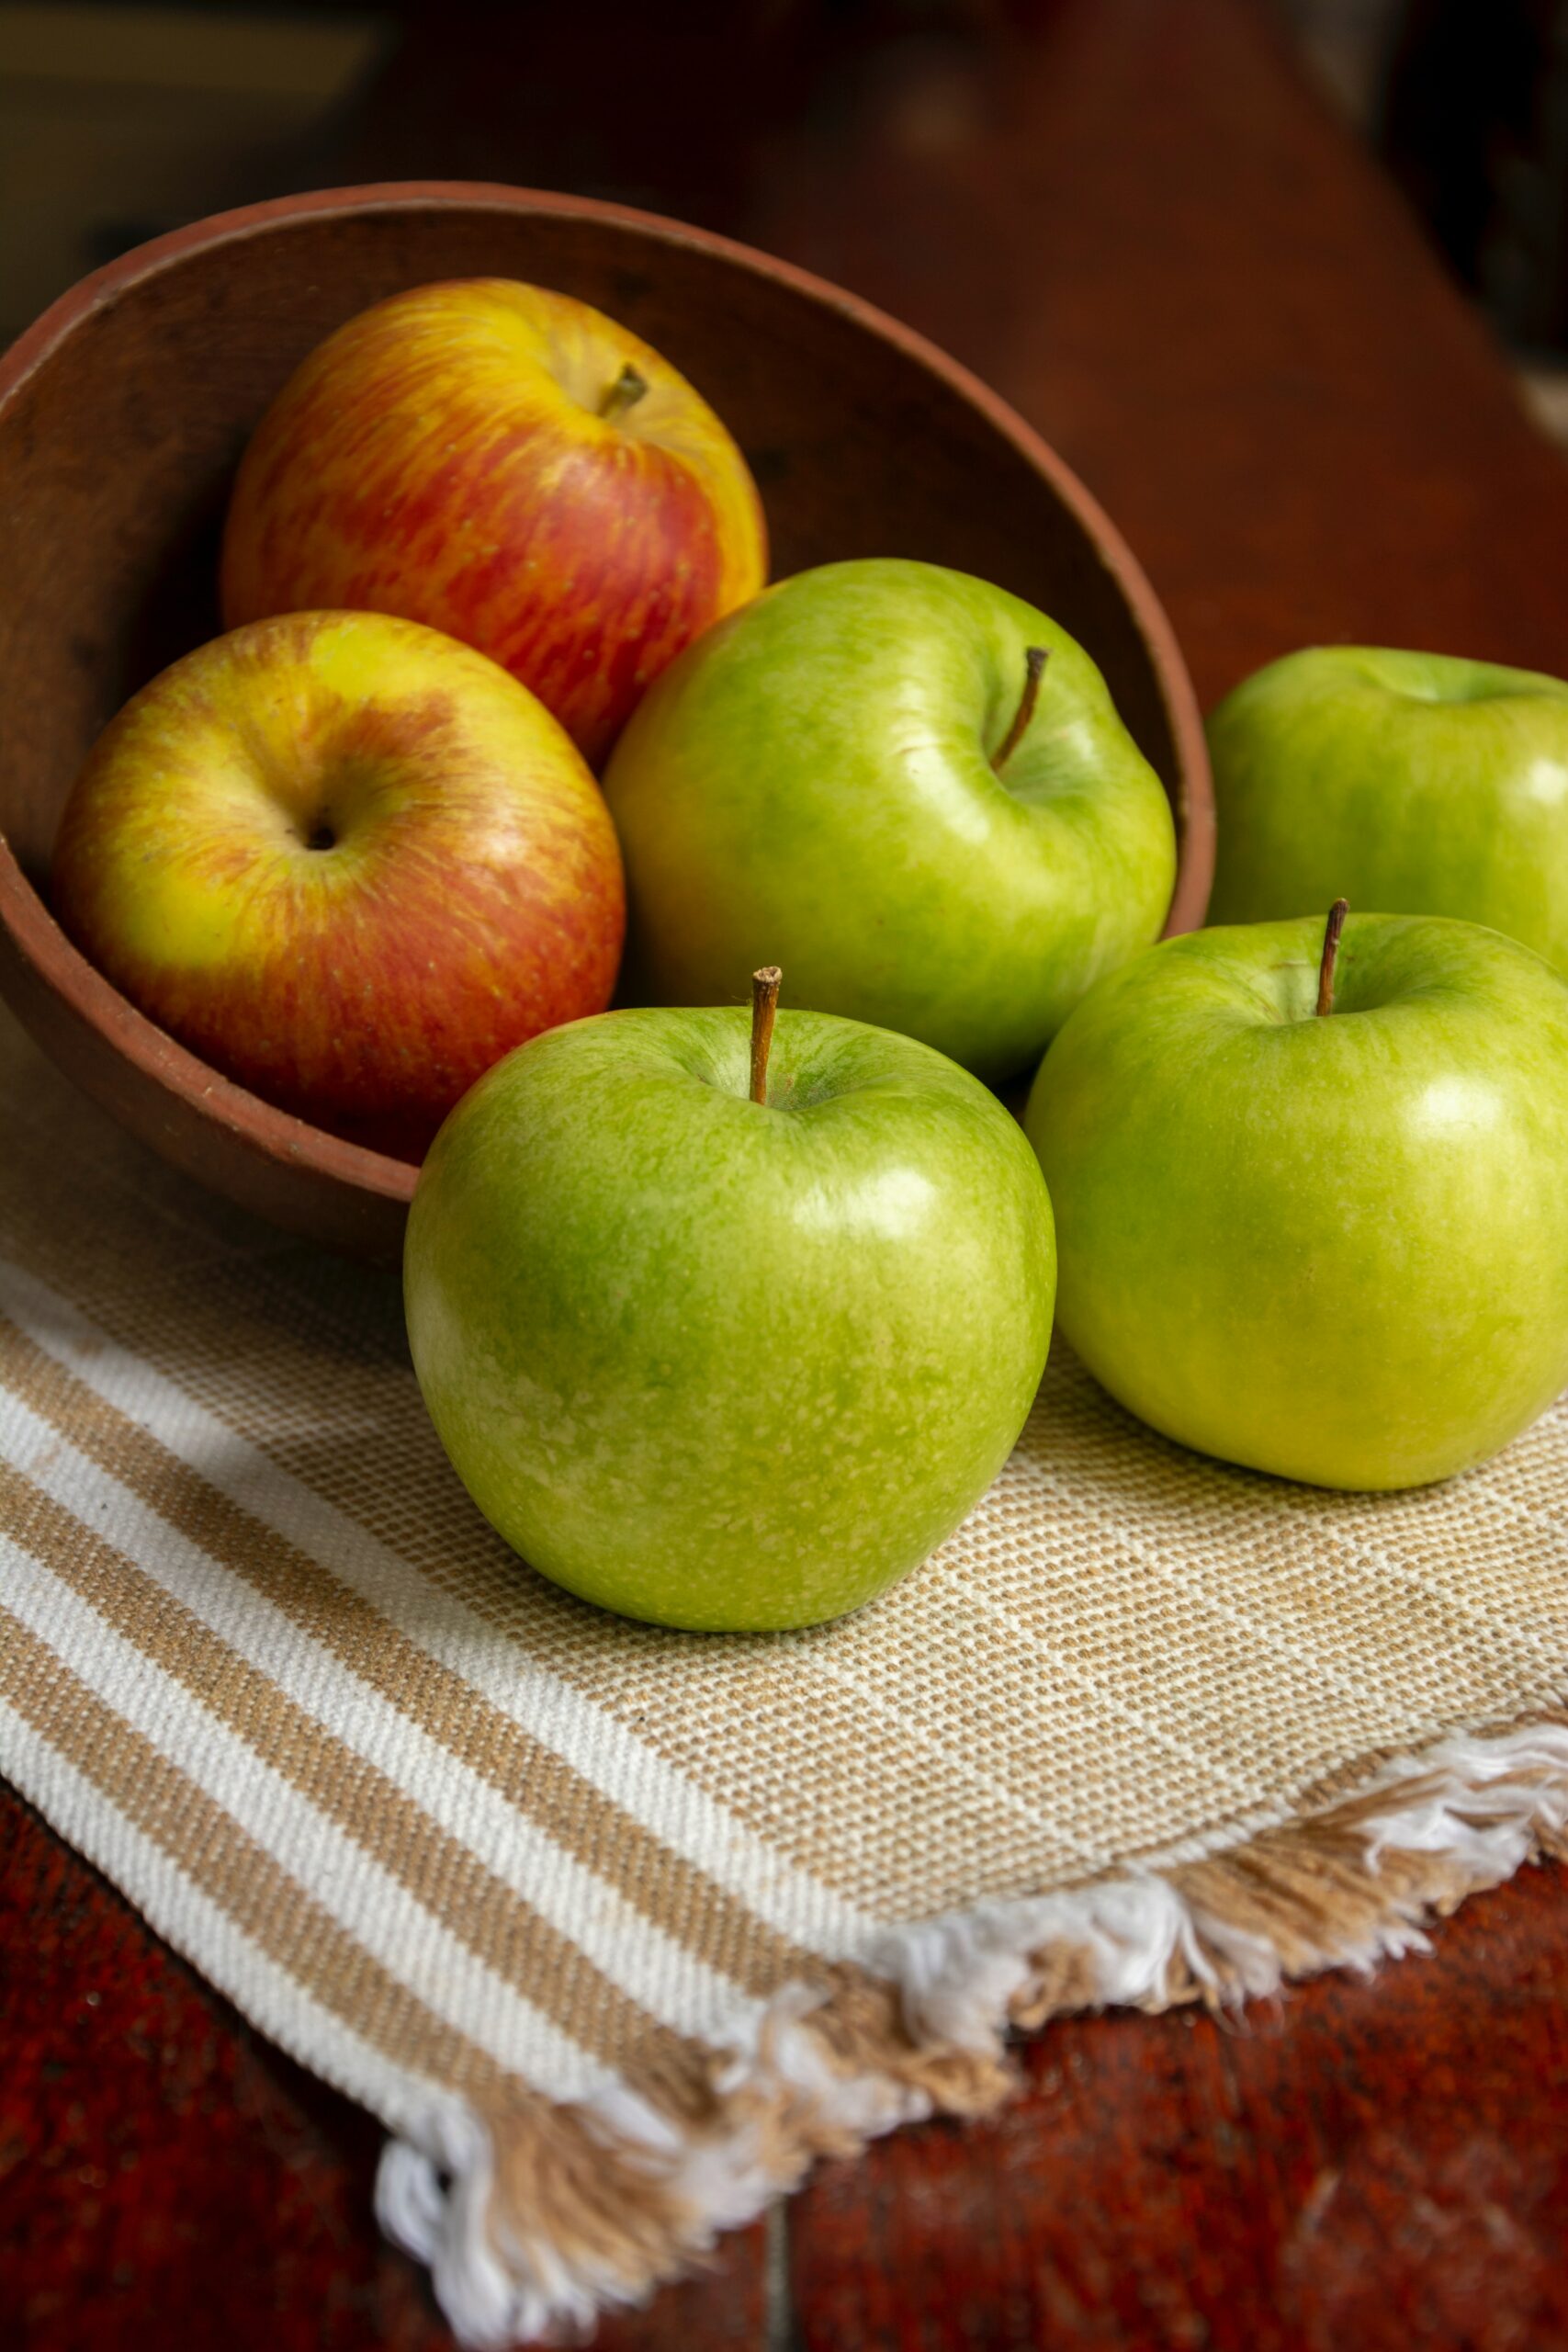
The first thing you need to do is prep your apples. Grab the kids because they can be a big help in washing off each apple and drying it. The caramel won’t stick if your apple is wet.
When dipping caramel apples you have to try and get the wax off the apple so the caramel will stick. That includes boiling water and dipping the apples in it. Not super kid friendly.
I also like to twist off the stem so it doesn’t get in the way of the popsicle stick. These first steps are super easy for the kiddos to do without much supervision.
Lastly, preheat your oven to 200°. This is how you are going to get your caramel to melt and stick to your apple.
Adding the Caramel
Next, peel the circle of caramel off of the paper. Place the paper on your cookie sheet as you will need it to keep your apple from sticking later on.
Then, have the kids take their circle of caramel and stretch it over the clean and dry apple. Starting with the top of the apple and trying to reach to the bottom. When I’ve made them it has taken a bit of stretching to get the caramel to cover the entire apple.
If the caramel doesn’t want to stretch to the bottom don’t fret. You can later cover it with melted almond bark and no one will know if the caramel reaches the bottom.
If the kids stretch their caramel too much and it leaves a bare spot just gather some caramel from its surrounding area and try to patch it.
With the kids making their own apples its more important that they are having fun than that their apple is perfectly covered in caramel. Plus, it tastes delicious either way.
Next, stick a popsicle stick into the top of each apple.
Finally, set the apples on the cookie sheet on their parchment paper.
Putting the Apples in the Oven
Sounds crazy to put your caramel apple in the oven but that’s how it’s done folks.
Pop those apples with their wrappers on and sticks in into your preheated oven. Let the kids set a timer for 5 min. and watch the magic happen.
When the timer dings pull your beautiful caramel apples out of the oven. They will have a shiny smooth look to them.
If you and the kids are purists then allow your apples to cool before taking the first bite. If you want to add some extra WOW to your apples then read on.
Adding WOW to Your Apple
You can attempt to add sprinkles or mini M&M’s to your caramel apple right after it comes out of the oven while it’s still a little melty and soft. Yet, I have had a hard time getting them to stick to just the caramel.
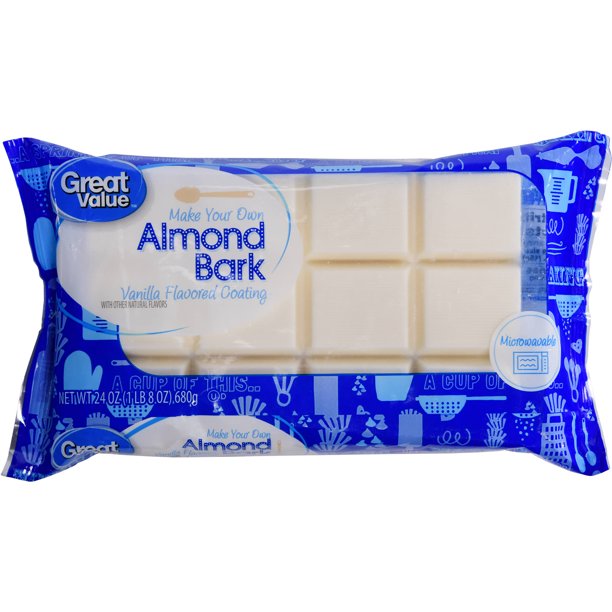
Instead I have dipped them into almond bark (vanilla or chocolate). To use the almond bark begin by melting the amount you want in a microwave safe bowl (3-5 squares will usually do 5 apples) in the microwave for 30 secs. at a time. Stirring in-between.
Once your almond bark is melted take your caramel apple by the stick and slowly swirl it in the almond bark. I like to get the almond bark about half way up the apple.
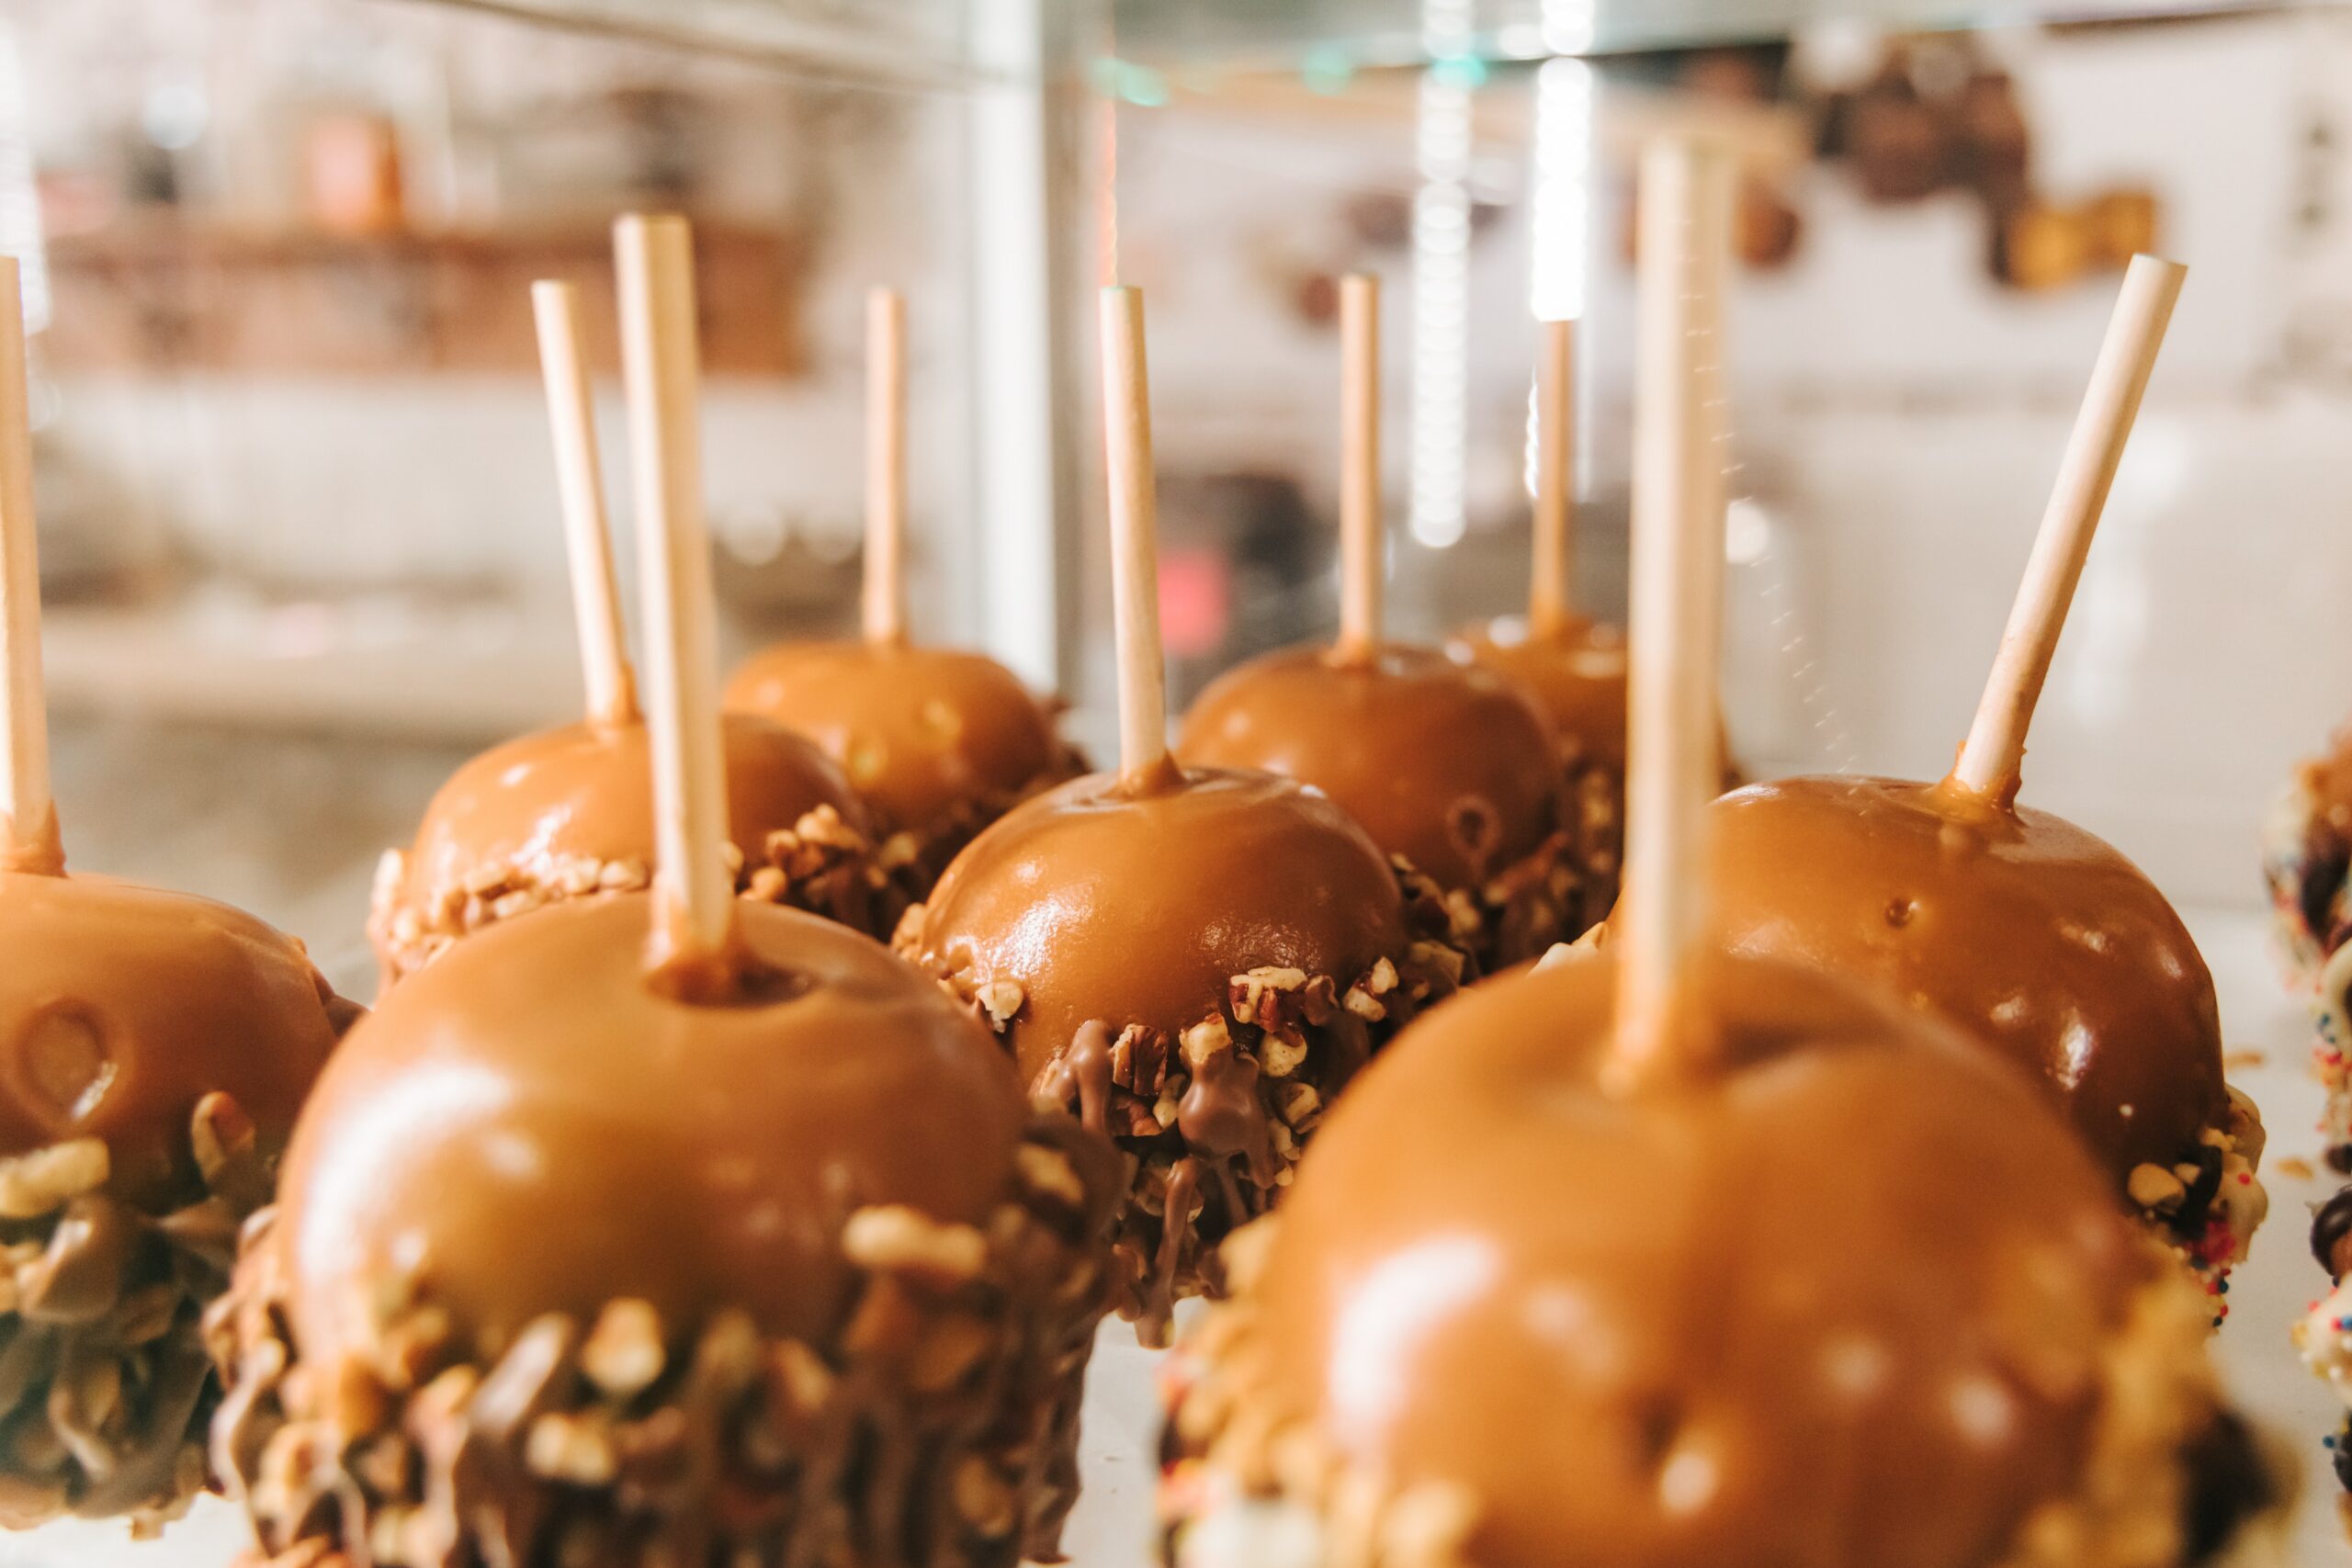
Then, while your almond bark is still wet you can add another layer. My personal favorite is crushed up Butterfinger. You can try Nerds, sprinkles, crushed up cookies, mini M&M’s.
The easiest way for the kids to add the toppings is to put the toppings on a plate and then have them roll their apple on it’s side back and forth until the whole apple is covered.
Last but not Least
Allow the apples to sit for an hour or two until they are completely dry.
You can store your apples in the refrigerator for added freshness. Just be sure to take them out a few minutes before you want to eat them so the caramel can soften.
One of the best ways for the kids to eat their apple is by having it cut into slicing. It can be a daunting and sticky mess trying to dig into it while it’s still on the stick.
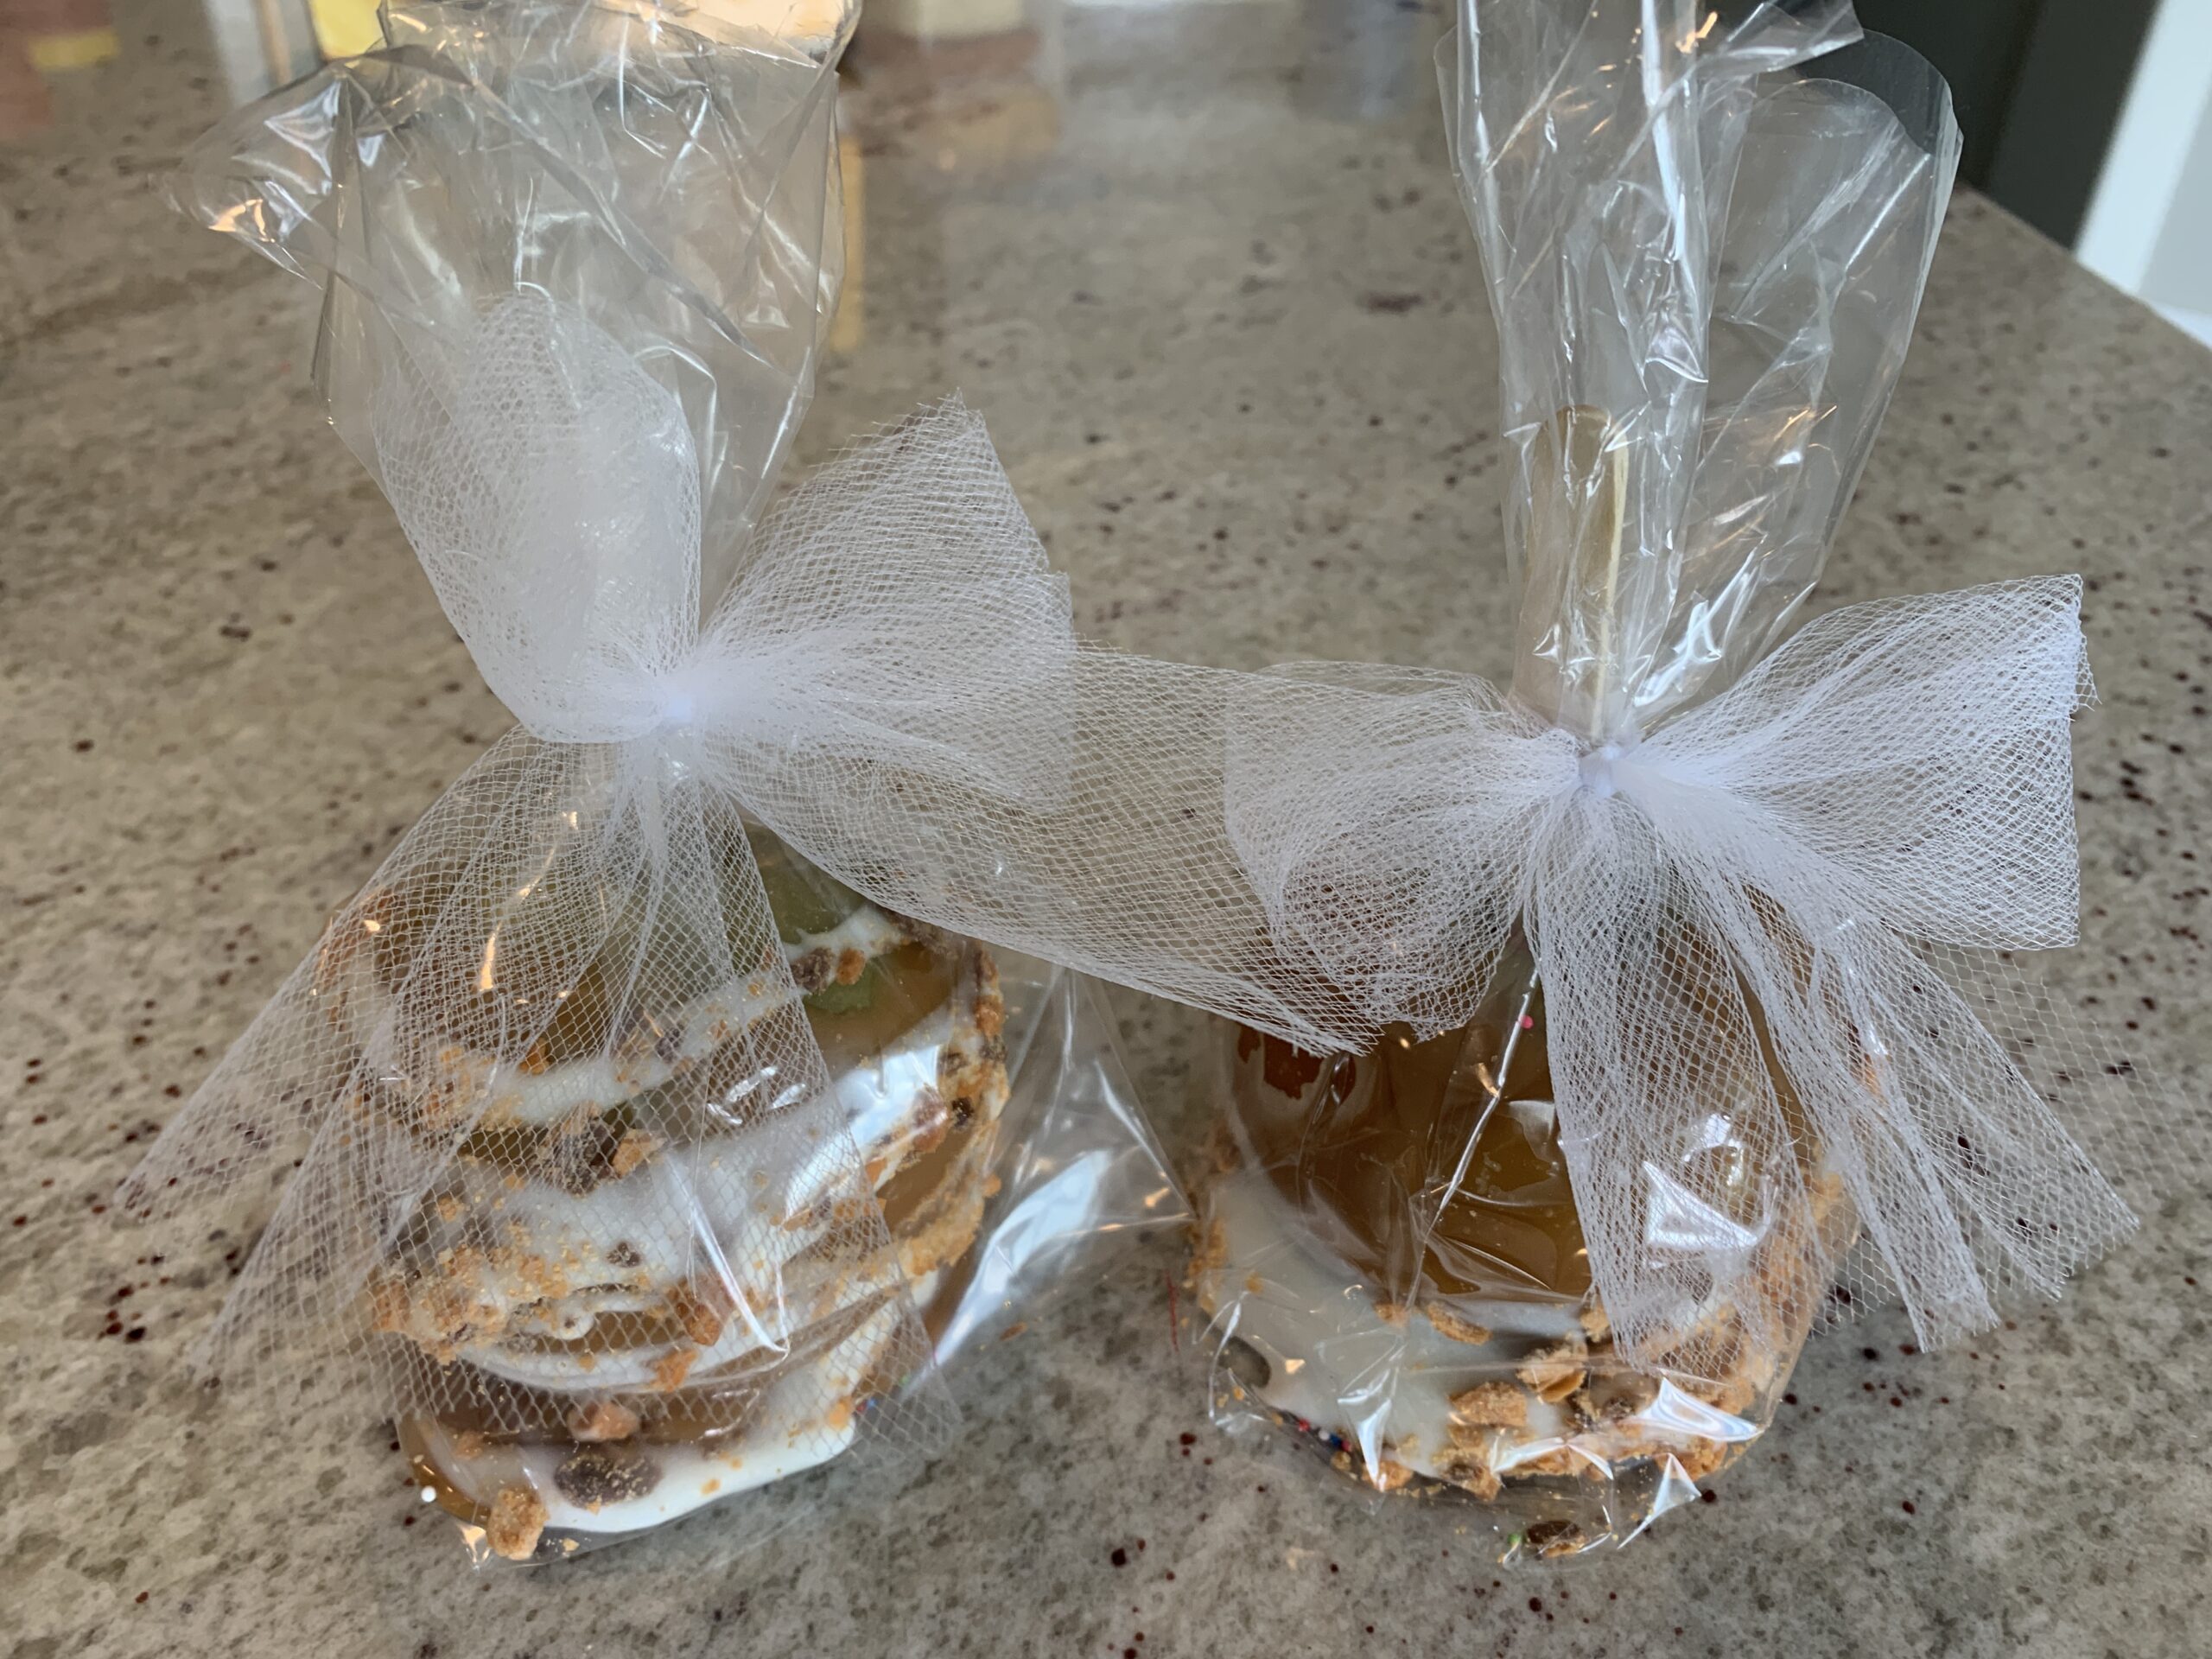
If you and the kids want to gift your apples to someone they fit perfectly in a cellophane/plastic gift bag with a bow.
So have no fear when it comes to making caramel apples with the kids. By using the hack of the Caramel Apple Wrap you are sure to have a fun and stress free time making them and a yummy time gobbling up your festive treat.