
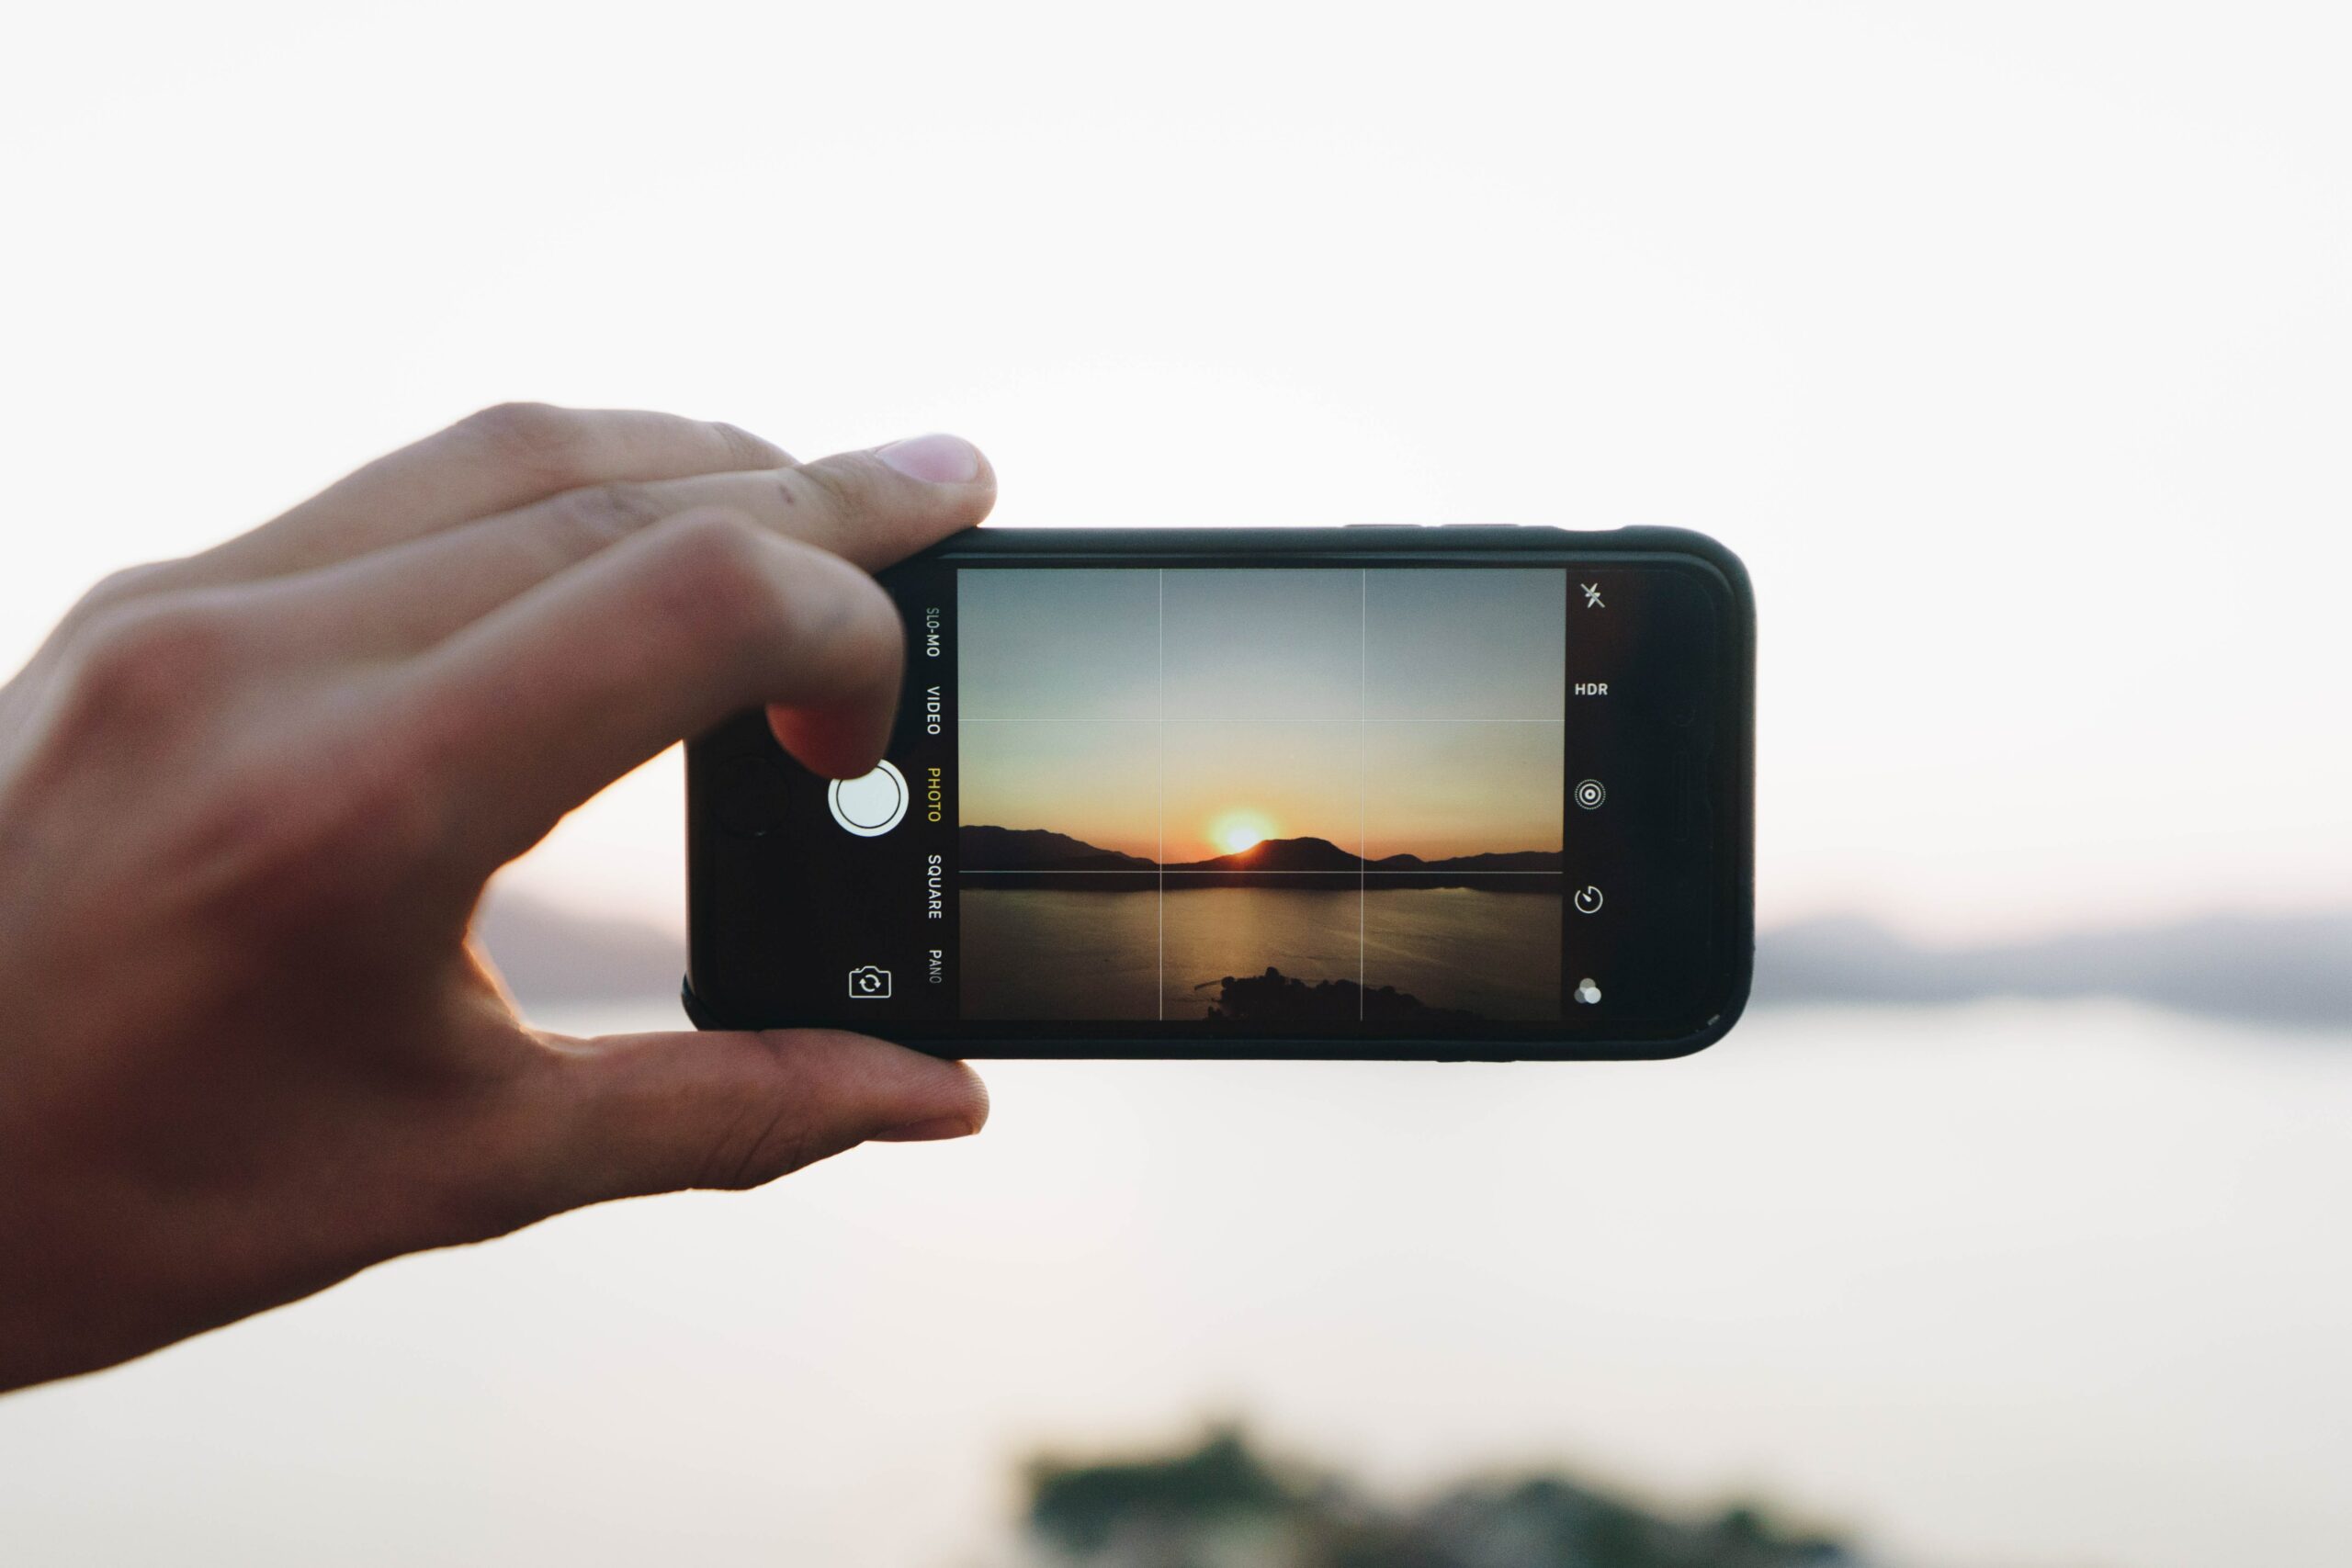
In this digital photography age, we take more photos than ever before. Gone are the days of taking pictures and waiting days or weeks to get the roll of film developed. With high quality cameras on our phones, it is really easy to document our kids’ lives and family adventures.
But because we no longer develop pictures the way we used to, often times these digital pictures just stay stored on our phone. From time to time, we might download them onto another device. But more often than not, that is where they remain. So, what can we do with all of these digital photos?
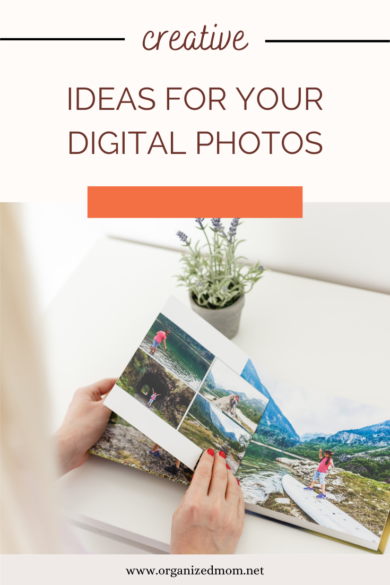
Photobooks are one of the most popular ideas for your digital photos. They are the perfect blend of photo album and scrapbook, while taking up way less storage space.
Here are some tips for making photobooks and other ideas for your digital photos.
I decided when my oldest was a baby that I would make a photobook for him for every year of his life. I have continued that tradition with his younger brother. I am so glad I have taken the time to do this each year. My kids love looking through them. It is also fun for me to relive the past year as I put these books together. I hope one day maybe their significant others and children will enjoy looking through them as well.
Having this yearly goal has forced me to stay more organized with my photos. I download them more regularly to my computer and have created an organization system that makes photos easy to find. If you take the time to set up an organization system from the start, it makes creating a photobook super easy!
Step 1: Upload photos to your computer or tablet and organize them.
I have folders set up for each year, and then within those folders, I have a folder for each month. That way as I am pulling photos for each kid, I can just grab the applicable months. The handy thing about digital photography is that the date the photo was taken is listed in the photo properties. If you forget to download your pictures to your computer or tablet for awhile, there won’t be any need to guess when they were taken.
Step 2: Copy and paste the photos you want to include into a separate folder.
Don’t worry about the sorting/deleting at this stage, just copy and paste them all. For example, if I’m doing a photobook for my son’s 5th year, I will copy and paste all the files that fall within that year (November folder through the following October folder).
Yes, this temporarily eats up storage on your device, but you can delete this folder once your photo book is made. I copy and paste for a couple of reasons. First, I don’t want to accidentally delete any of the originals as I sort through them. Second, I find it is quicker to copy and paste them all and then quickly delete the ones I know I won’t be using.
Step 3: Re-sort photos into categories and upload them to the photo book site with the same category names.
Once I have sorted and chosen my photos, I regroup them into new folders with very specific categories. Example: trips, siblings Easter, Christmas, outdoor time, sports, etc. Then when I am uploading the pictures, I use the same folder names on the photobook editing website.
I am then able to work on small sections of the book at a time, and I have all the photos for that section pre-sorted. This allows me to choose layouts easier and figure out how many pages that section will take. Of course, you don’t have to be nearly this methodical when creating a photobook.
But if you have a lot of photos you are working with, I highly recommend doing it this way. It just makes it so much easier than trying to sort through photos as you are actually creating the book. I have used Shutterfly many times, but there are several options out there!
Step 4: If you want to save a little money, wait for a sale.
Unless you are in a hurry to have the photobook printed, I would keep it as a draft until you find a good sale. Depending on the size, photobooks can be a little pricey to print, but often sites like Shutterfly will have 40 or 50 percent off sales or unlimited page sales that can save you a lot of money.
You can also search on Groupon for deals. Just be sure to always review the book before you hit buy to make sure all of your photo resolutions are ok, and everything is spelled correctly if you added text.
Here are some additional ideas for your digital photos.
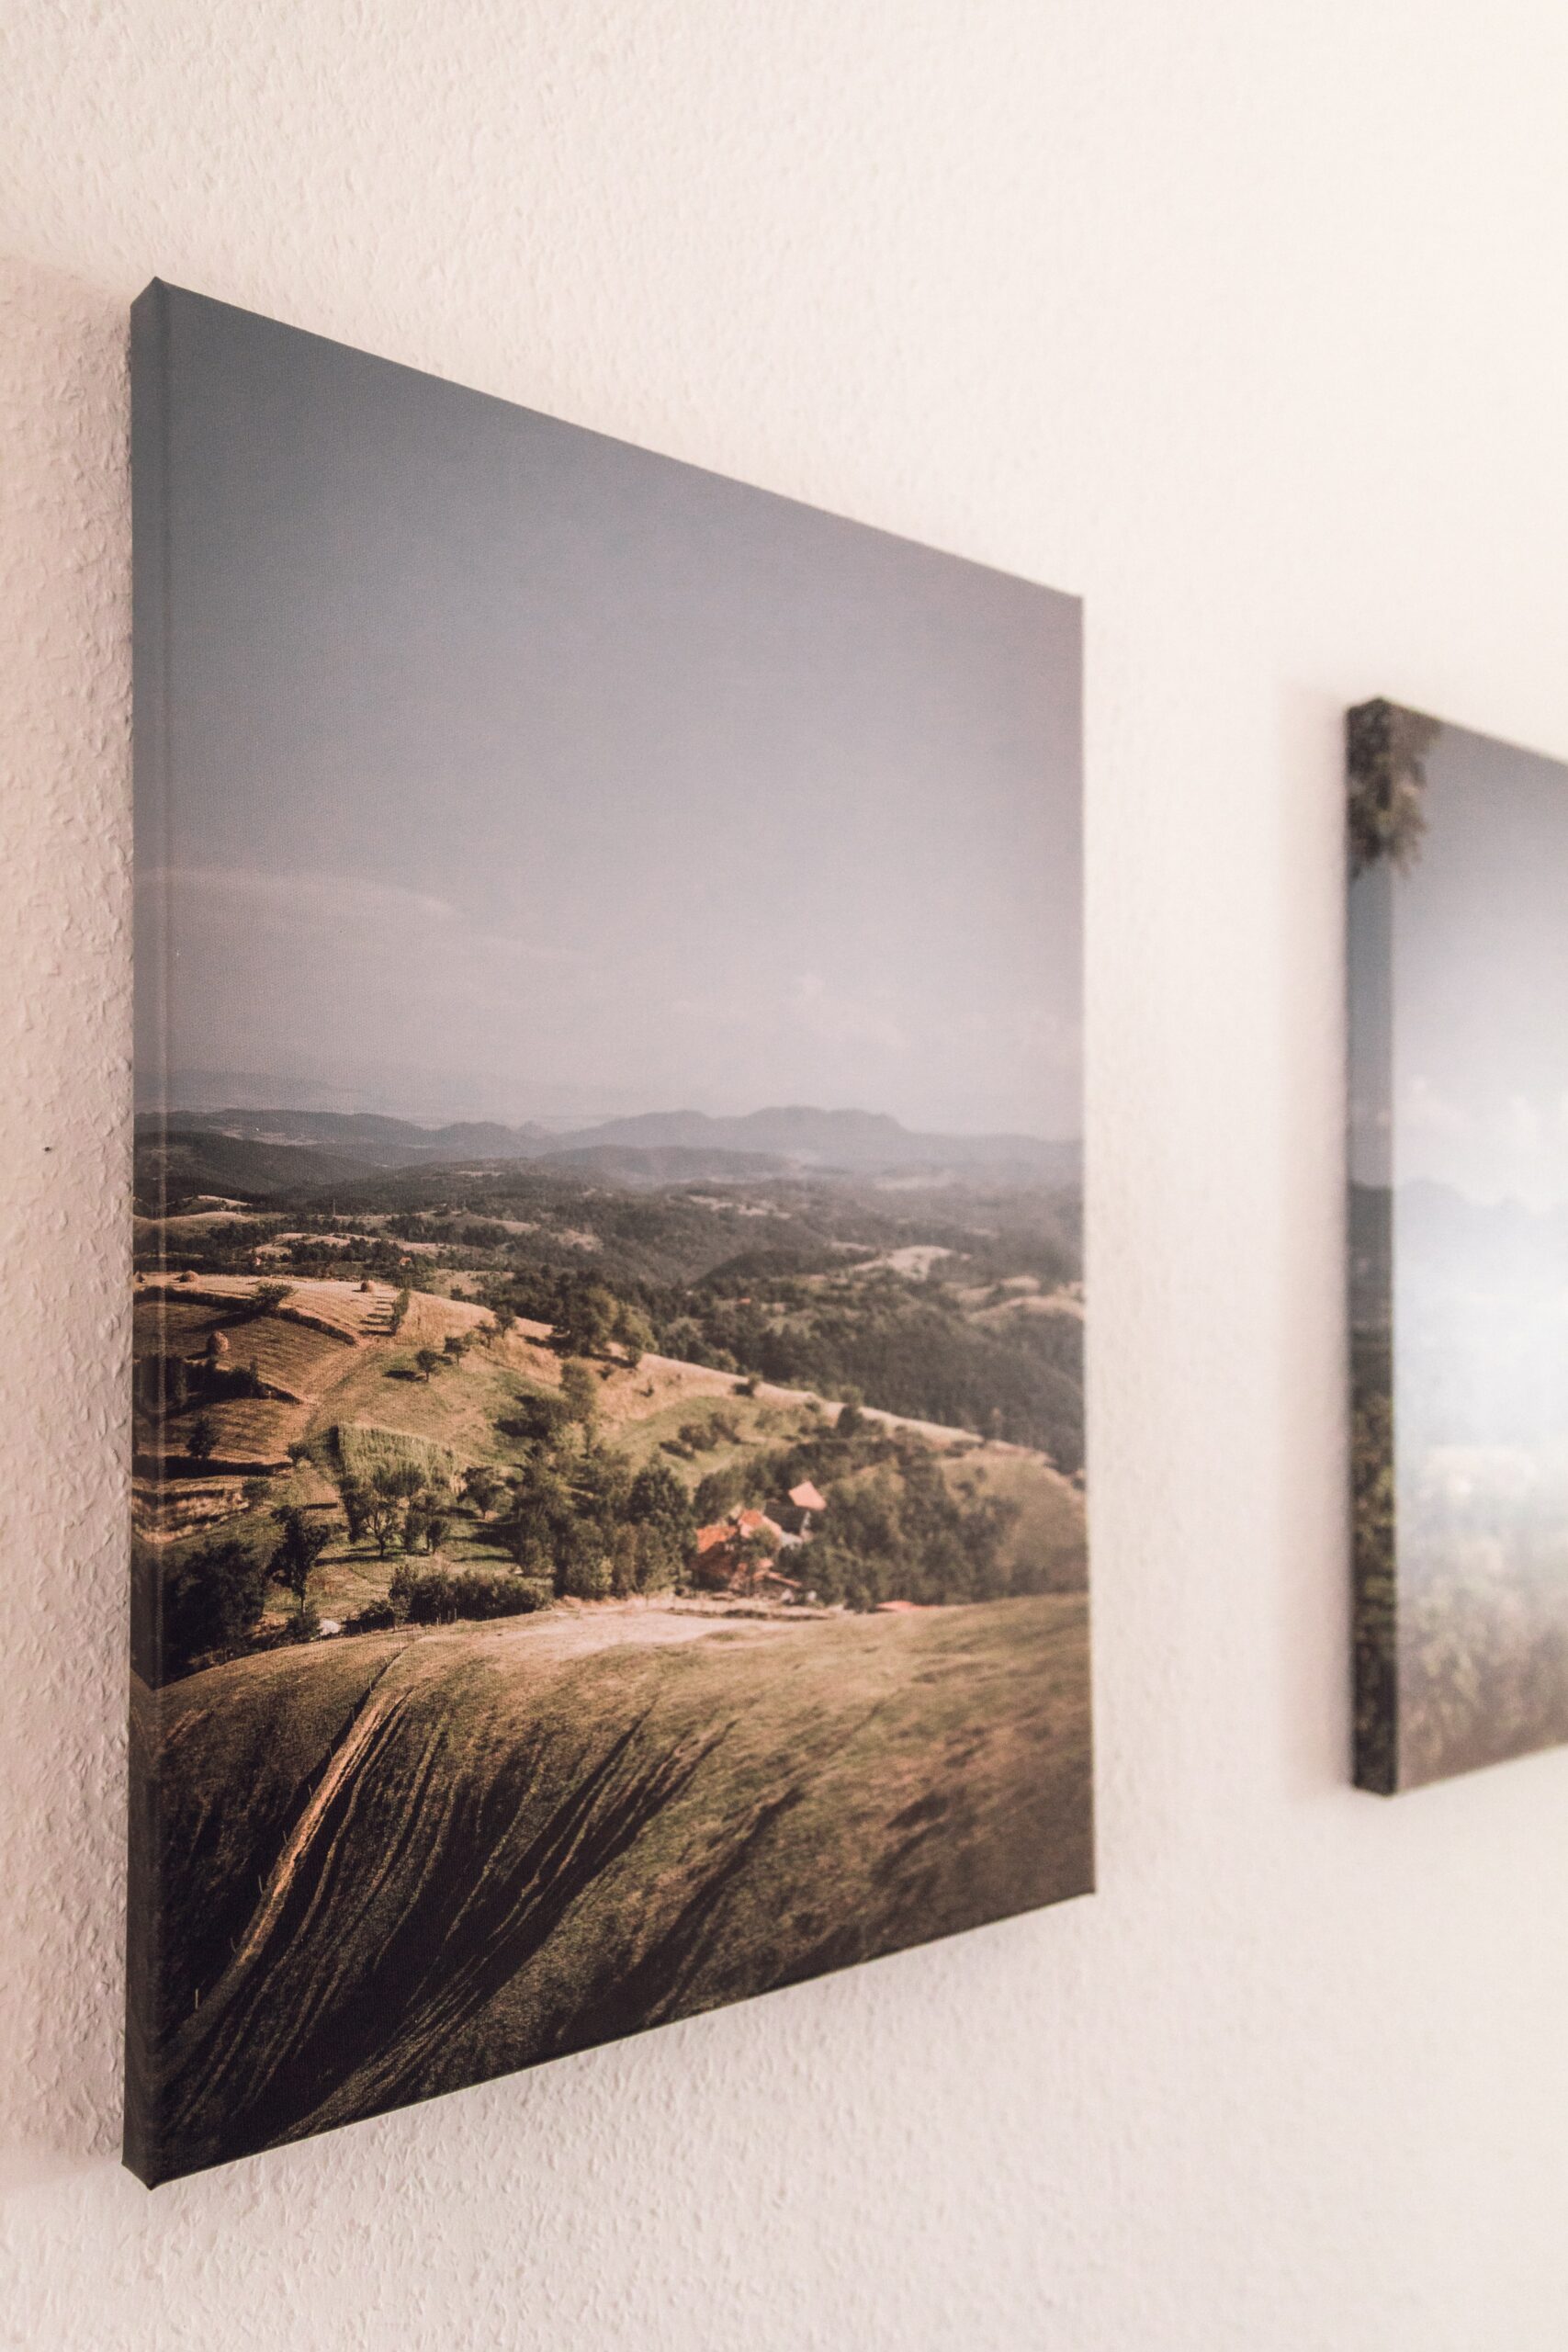
Create canvas prints.
This a great way to turn the pictures you have taken into a part of your home decor. I especially like to do this for family trips or scenery. If you are having a larger canvas printed, check the resolution on your picture to make sure it is high enough, or your canvas will end up being blurry.
Create unique gifts for family and friends.
Sites like Shutterfly, Snapfish, and Costco offer a variety of ways to turn your digital photos into memorable gifts. From photo puzzles, to ornaments, to canvas totes, to phone cases, there are tons of ideas to choose from.
A great gift for grandparents at Christmas time is a photo calendar that has photos of your kids from that year. I have done this several years in a row, and it always seems to be appreciated.
Have your child(ren) create their own special collage.
Take some time with each kiddo and have them go through your digital photo collection. Print out their favorite 10 to 15 photos. They can add them to a colorful piece of paper or posterboard, creating their own unique collage for their room.
I hope this has given you some ideas for your digital photos and inspired you to get those photos off your camera! 🙂