
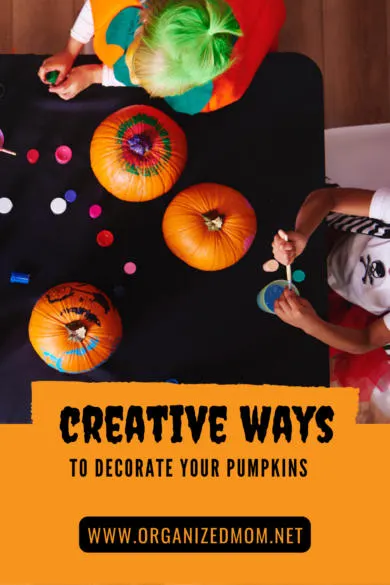
October has arrived! Pumpkin spice lattes are being poured, the leaves are changing, and Halloween is just around the corner. For many families, this time of year is filled with fun events like visiting a pumpkin patch, finding your way through a corn maze, or attending a harvest festival. And of course, two of the most common activities—trick-or-treating and carving a jack o’lantern. For many kids, carving a pumpkin is a highlight of this time of year. And adults often get in on the fun, too! But besides just carving a pumpkin in the traditional way (triangle eyes and nose and jagged mouth) what about trying something new? Try on of these creative ways to decorate pumpkins.
Here are some creative ways to decorate your Halloween pumpkin.
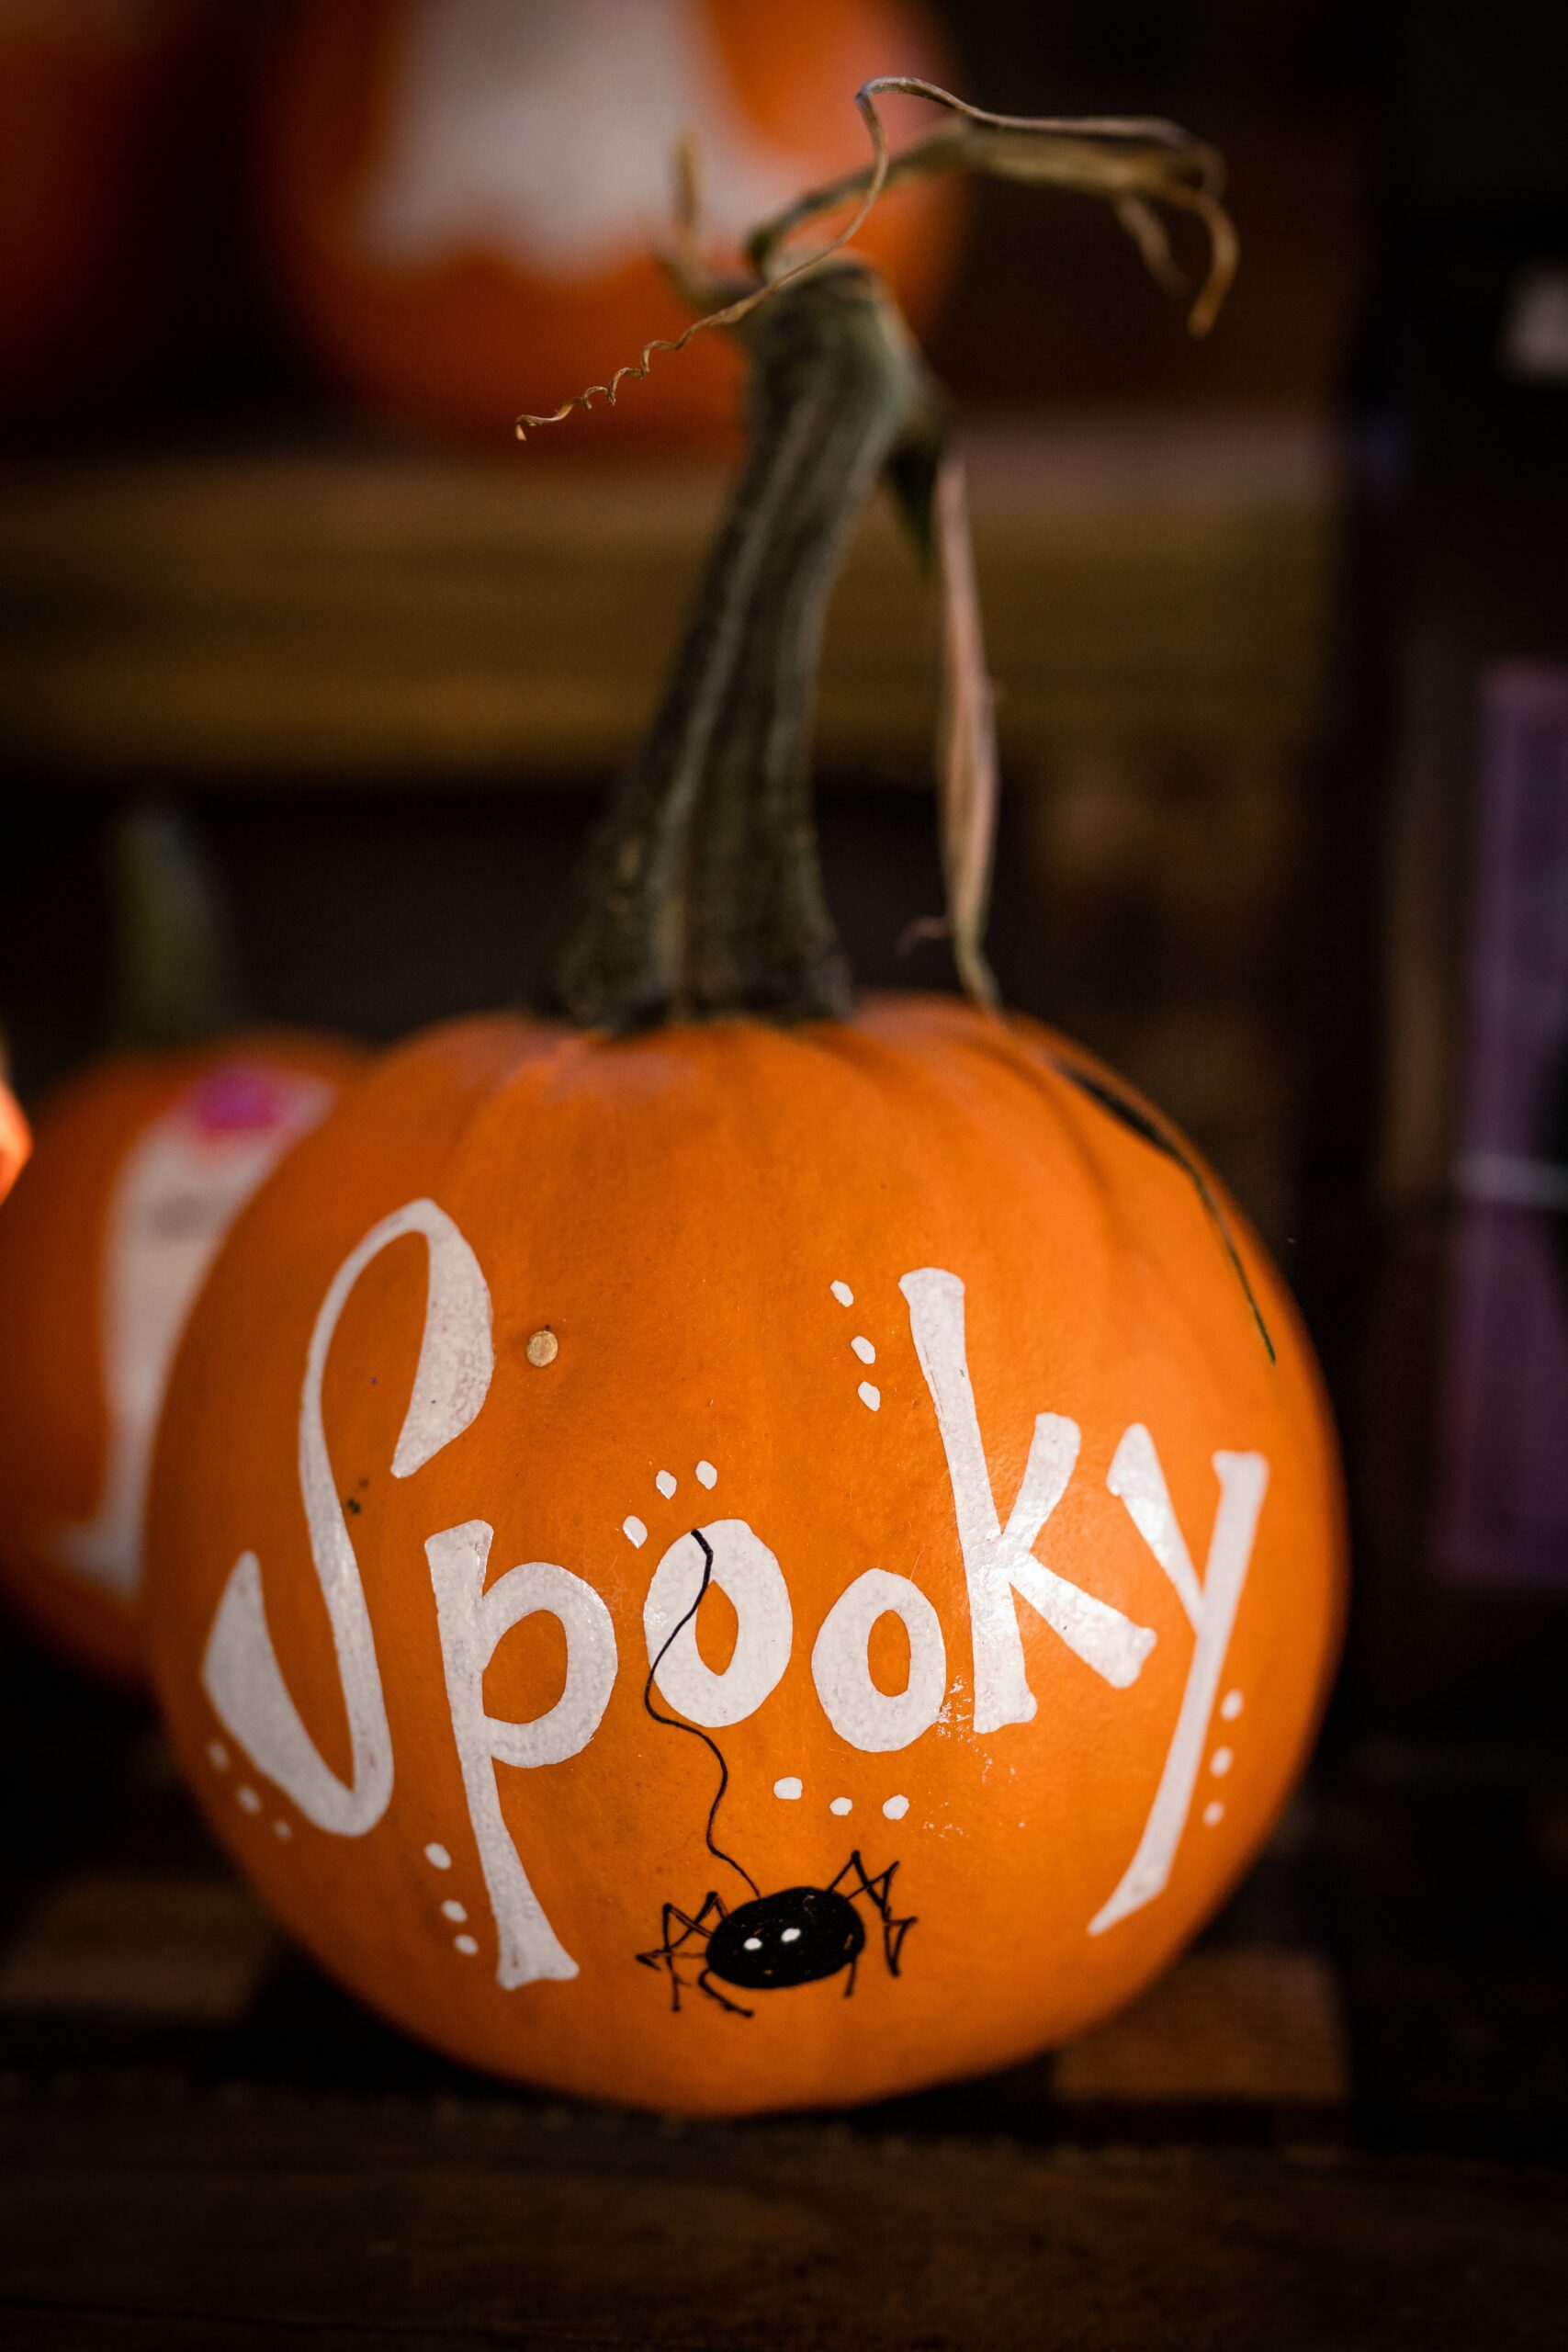
Use paint or marker.
This is a great option for parents with littler kids that still want to decorate a pumpkin but aren’t yet ready to safely use any tools. The other bonus to this option is that you don’t have to get the guts out first! Any size or shape will work, and painting can be fun for bigger kids, too.
Here are some painting tips:
- Clean off any dirt on your pumpkin and dry it thoroughly.
- Spraying a craft sealant over the pumpkin and allowing it to dry before you paint can help the paint stick a little better, but this is completely optional.
- Use acrylic or another water-based paint. Acrylic paint dries quickly, mixes easily, and because it is water-based, it is very easy to clean-up. And it is also easy to wash off if you make a mistake and want to start over.
- You can either free hand it (which is what will probably end up happening if your littles are painting) or you can sketch a design first using a permanent marker if you are going for a more intricate design.
If you don’t want the potential messiness of paint, you can also just use markers to create a design. I would recommend permanent marker because they tend to dry more quickly which makes smearing less likely. Of course, permanent marker doesn’t wash off the skin nearly as easily, so you do have to take that into consideration.
Use stickers to decorate your pumpkin.
This is also a fun idea for little kids, if paint or marker seems too messy. Around this time of year, craft stores will stock a variety of Halloween stickers. Take your kiddos to the store and let them pick some out! Again, it is important to clean and dry your pumpkin thoroughly first, so the stickers will stay on well.
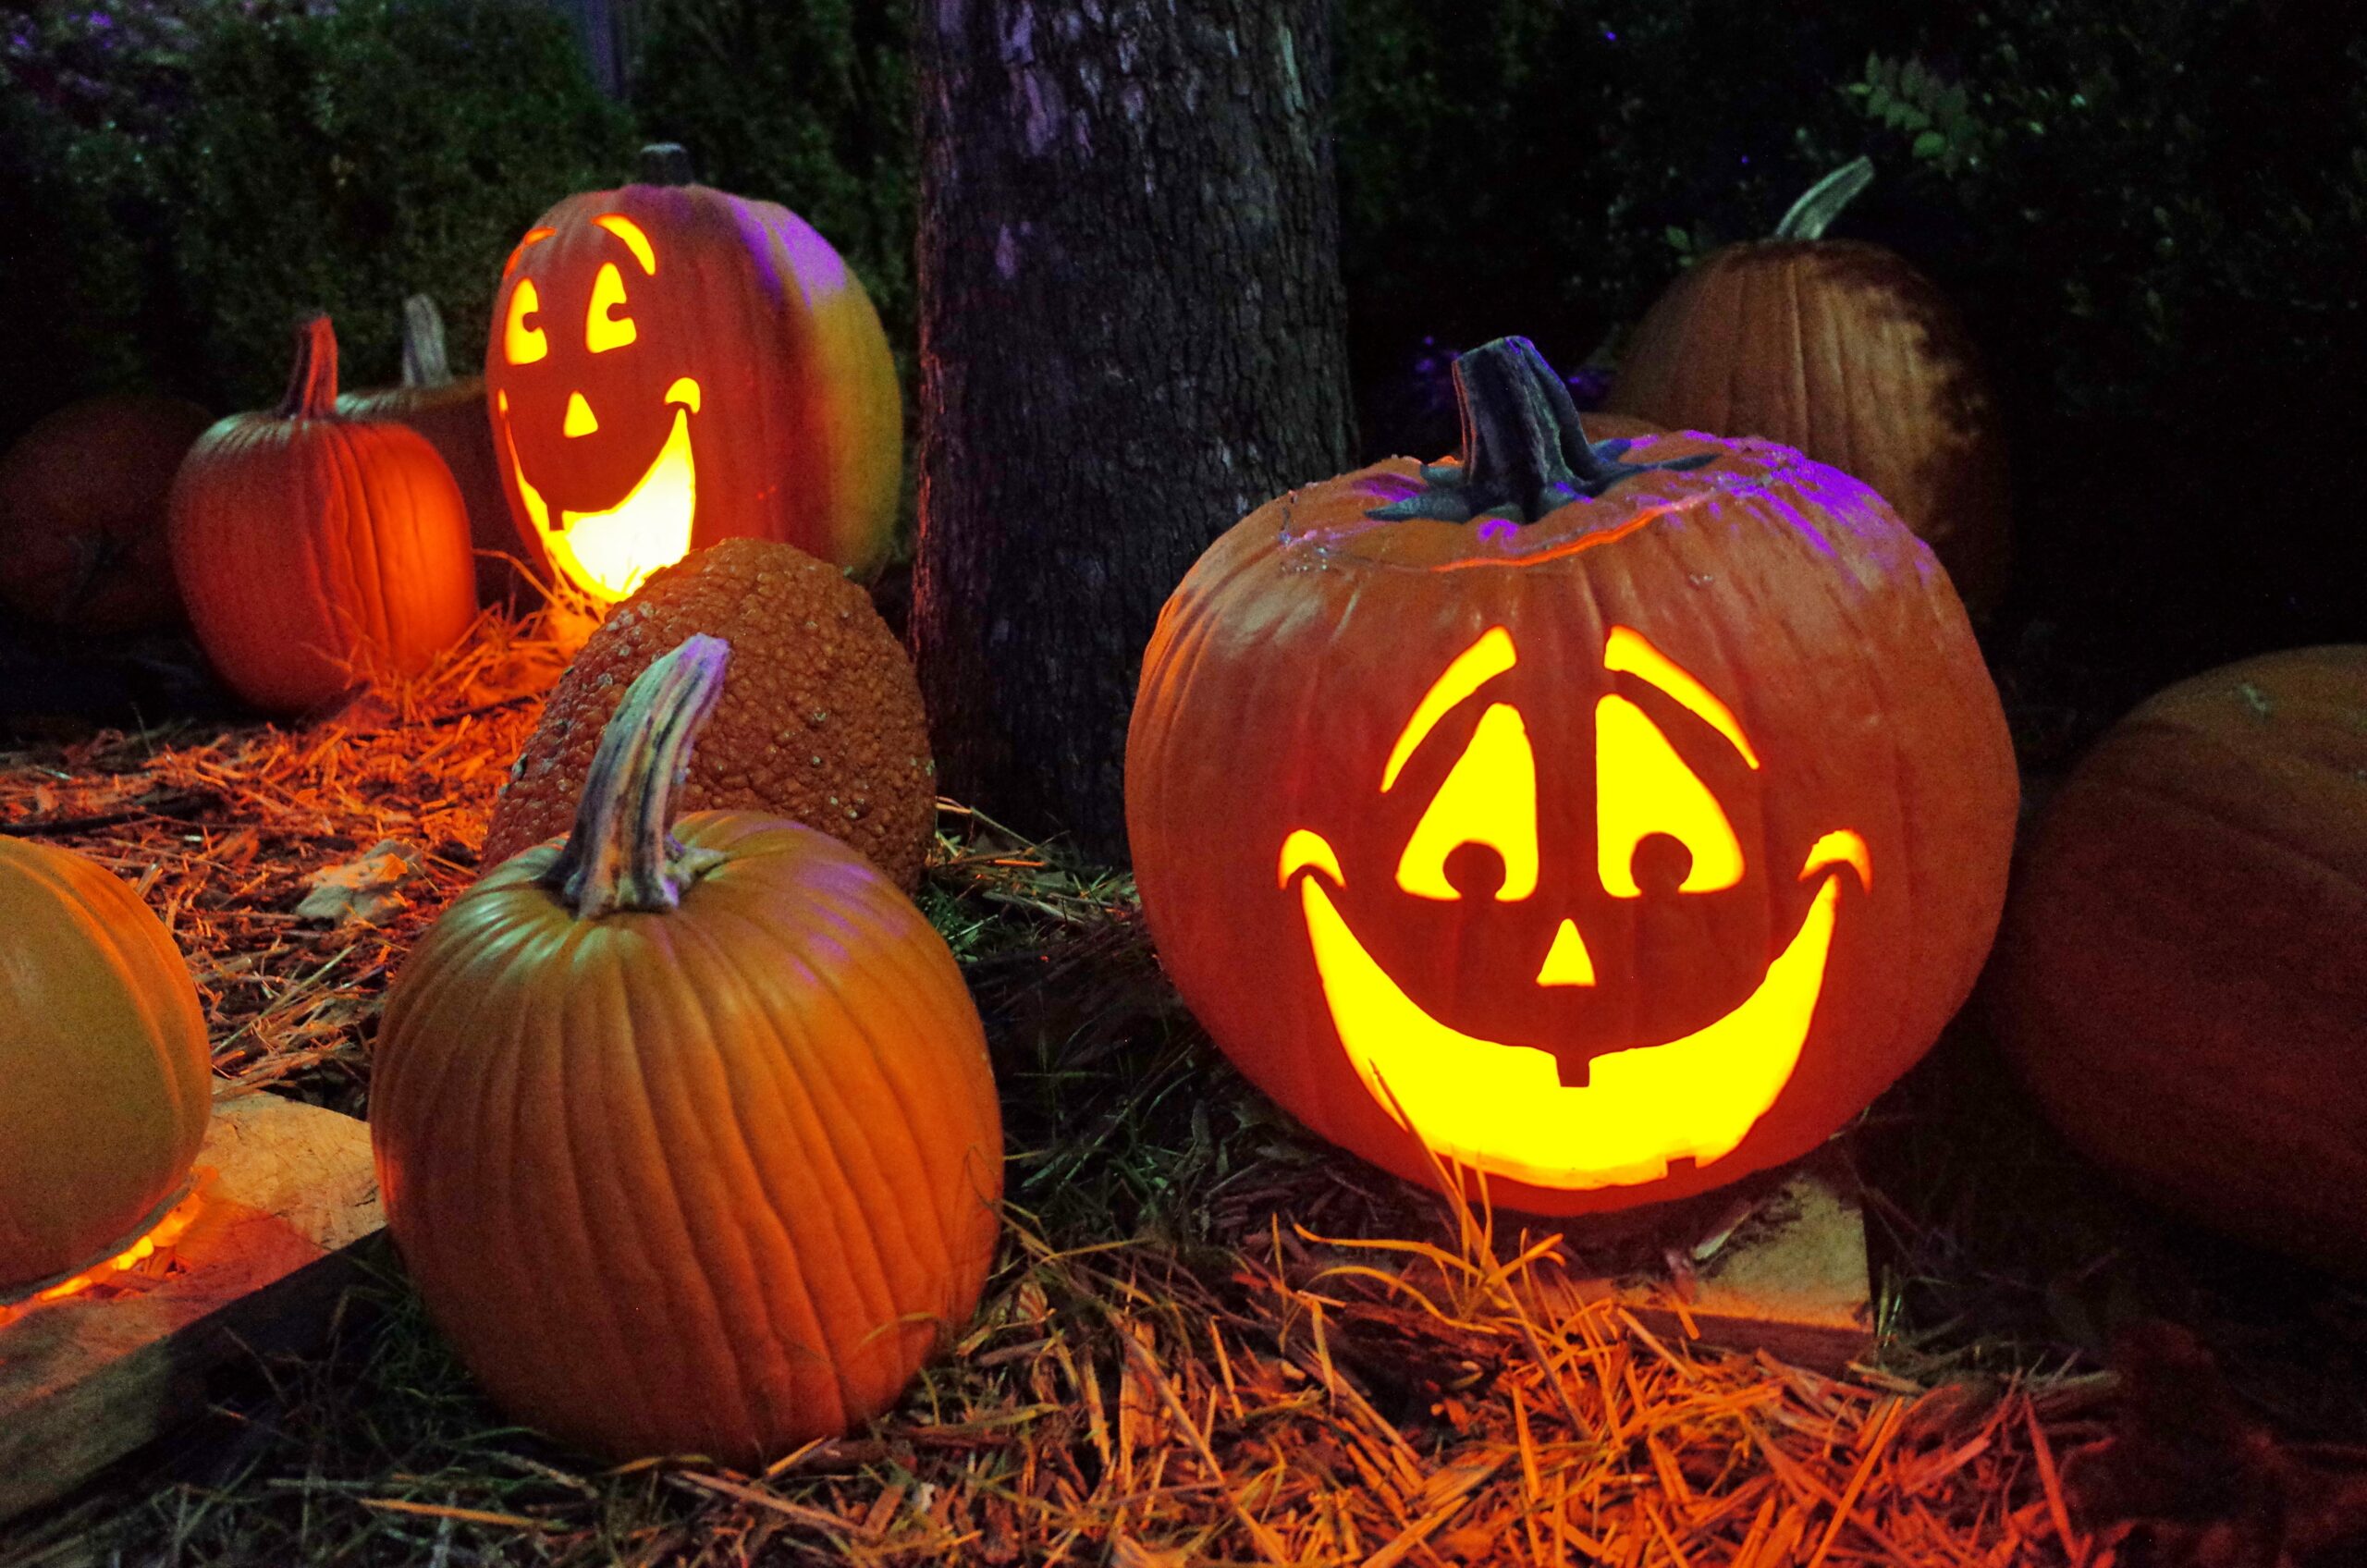
Carve an intricate design.
The first time I discovered one of the jack-o’lantern template books, I was enthralled! There are some pretty amazing patterns inside of them. I wouldn’t recommend these for beginning carvers, but if you have older kids, they will probably have a lot of fun with these. It does take a lot more work and great attention to detail, but the results are generally worth it!
You might also consider doing a family theme. Maybe you all carve different witch faces, or all carve characters from the Simpsons. Or maybe you each carve a word into your pumpkin that spells out a Halloween message. The possibilities are endless!
Create a tissue paper pumpkin.
You can use a fake pumpkin (sold at craft stores) or a real pumpkin for this activity. All you need is some white glue and orange and black tissue paper. Here are the directions:
- Begin by cutting up the orange and black tissue paper into small squares. (I would recommend 1 inch by 1-inch squares).
- Pour some glue onto a plate so it can spread out into a thin layer.
- Fold your tissue paper around the eraser end of the pencil and then dab it into the glue. Then use the pencil to press the tissue onto the pumpkin. Repeat this step until you have decorated the entire pumpkin.
This process can take quite a while, so I would recommend using a small pumpkin!
Create a paper-mache pumpkin.
Make your own pumpkin that you can set out year after year. All you need is a balloon, newspaper, white glue, and some orange and black craft paint.
Here are the directions:
- Mix 1 part glue with 2 parts water. Tear up newspaper into small pieces. (2 inches by 1 inch is a good size to start. You might need to go even smaller around the sharply curved edges.)
- With your hands or a foam paintbrush, apply a small amount of glue mixture to the blown-up balloon. Add a small piece of newspaper. Coat the newspaper with a little more glue mixture. Repeat this step until the balloon is covered, slightly overlapping the newspaper as you go.
- Once you have the first few layers down, let the balloon dry overnight.
- Add a couple more layers the next day.
- Once the balloon is completely dry, paint it to look like a pumpkin. You can cut off the bottom of the balloon where it is tied so the balloon will sit flat on a table.
Create a post-Halloween thankful pumpkin.
This is one of my favorite post-Halloween traditions. Each year, we pick out a small to medium sized pumpkin. We don’t carve this one but set it aside until October is over. Then, starting on November 1st, each day that we are gathered together for dinner, we go around the table and each person says one thing they are thankful for.
The words are written on the pumpkin with a permanent marker. (You can take turns doing this part). Some are silly and some are more serious. If we have guests over during the month, they get to add to the pumpkin as well.
As the days pass, the pumpkin is slowly covered. It is a great visual reminder for all of us of the blessings we have been given! At the end of the month, we read through the words one last time.
Enjoy these creative ways to decorate pumpkins! I hope this gives you some new ideas to try during this fun time of year. Happy Halloween!