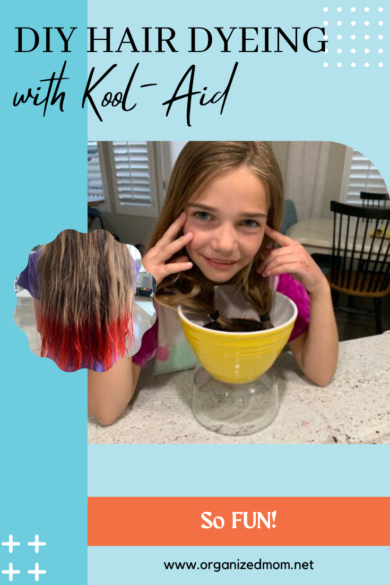

Feel like adding a little color to your hair (or your kid’s)? Then head to the store and grab some Kool-Aid for DIY hair dyeing with Kool-Aid.
Why Try DIY Hair Dyeing with Kool-Aid?
Ever since last summer my 9 year old has been begging me to dye her hair like her cousins. They dyed their hair with Kool-Aid. This was news to me! I had never heard of dyeing hair that way.
After doing some research there were 4 main reasons why we chose to dye hair with Kool-Aid.
The first is because Kool-Aid is SUPER cheap compared to any other hair dye. We used 3 packs each time and they cost $.30 each.
The second reason we chose Kool-Aid is because it was a last minute decision to dye hair that night and Kool-Aid is what we happened to have on hand.
The third reason is because after scouring the internet I was able to find a super easy and fast way to dye hair. There are multiple recipes and ways to dye with Kool-Aid but I found one that was quick and simple and doable at the last minute.
Lastly, my fourth reason is because the dye from the Kool-Aid seems to be temporary and will wash out. More to come on how that turned out for us.
Drawbacks to Dyeing Your Hair With Kool-Aid
There are a few things to keep in mind if you choose to dye hair this way. One big drawback is that you cannot guarantee the color.
Like any hair coloring you never know for sure how your hair will soak up the color. Also you don’t know for sure which flavors of Kool-Aid will produce what colors.
For example we wanted a purple hair color. So we mixed a blue raspberry (blue) with a fruit punch (red). We did not get purple. We got pink. Also FYI not all Kool-Aids are the color of their outside packaging. Luckily once the colors are mixed you can get a good idea what they will be before you dip your hair in them.
I also stumbled across this chart that gives you suggestions for which flavors will produce which colors and how many packets to use. Very convenient.
Another drawback to using Kool-Aid is that it can stain if it doesn’t get completely rinsed after the dyeing. You can ask my daughter’s pillow case about that. This is also why you need an old towel or something you don’t mind getting stained when you are doing the dyeing.
Gather Your Supplies and Get Dyeing
To get started dyeing hair you will need a few items. A microwave safe bowl (or pan for the stove), water, 2-3 Kool-Aid packets, hair ties, a towel that can get stained and plastic gloves.
Step #1
Begin by brushing the hair that is to be dyed so that it is tangle free and smooth. Next, decide what part of the hair you want dyed.
We were just doing the ends so we divided the hair into two sections and put the hair ties where we wanted the dye to not go above.
Step #2
We got out an old towel that could get stained. You can put it around the shoulders of the person whose hair is getting dyed to keep the dye from accidentally getting on their clothes. Or you can keep it close by in case you need to clean up any stray Kool-Aid.
You’ll also want the towel for the end when you will be squeezing out all the excess Kool-Aid from the hair.
You many want to grab a pair of plastic gloves (or put your hands in some plastic sandwich bags if you don’t have plastic gloves lying around). This is helpful when it’s time to take the hair out and squeeze all the excess Kool-Aid out.
I used gloves one time and didn’t the other. I did end up with pink hands when I didn’t use the gloves but it washed off…eventually.
Step #3
Fill a microwave safe bowl with 2 cups of water and microwave on high until it comes to a boiling point. Or you could choose to boil your water in a pan on the stove. Either way works.
Step #4
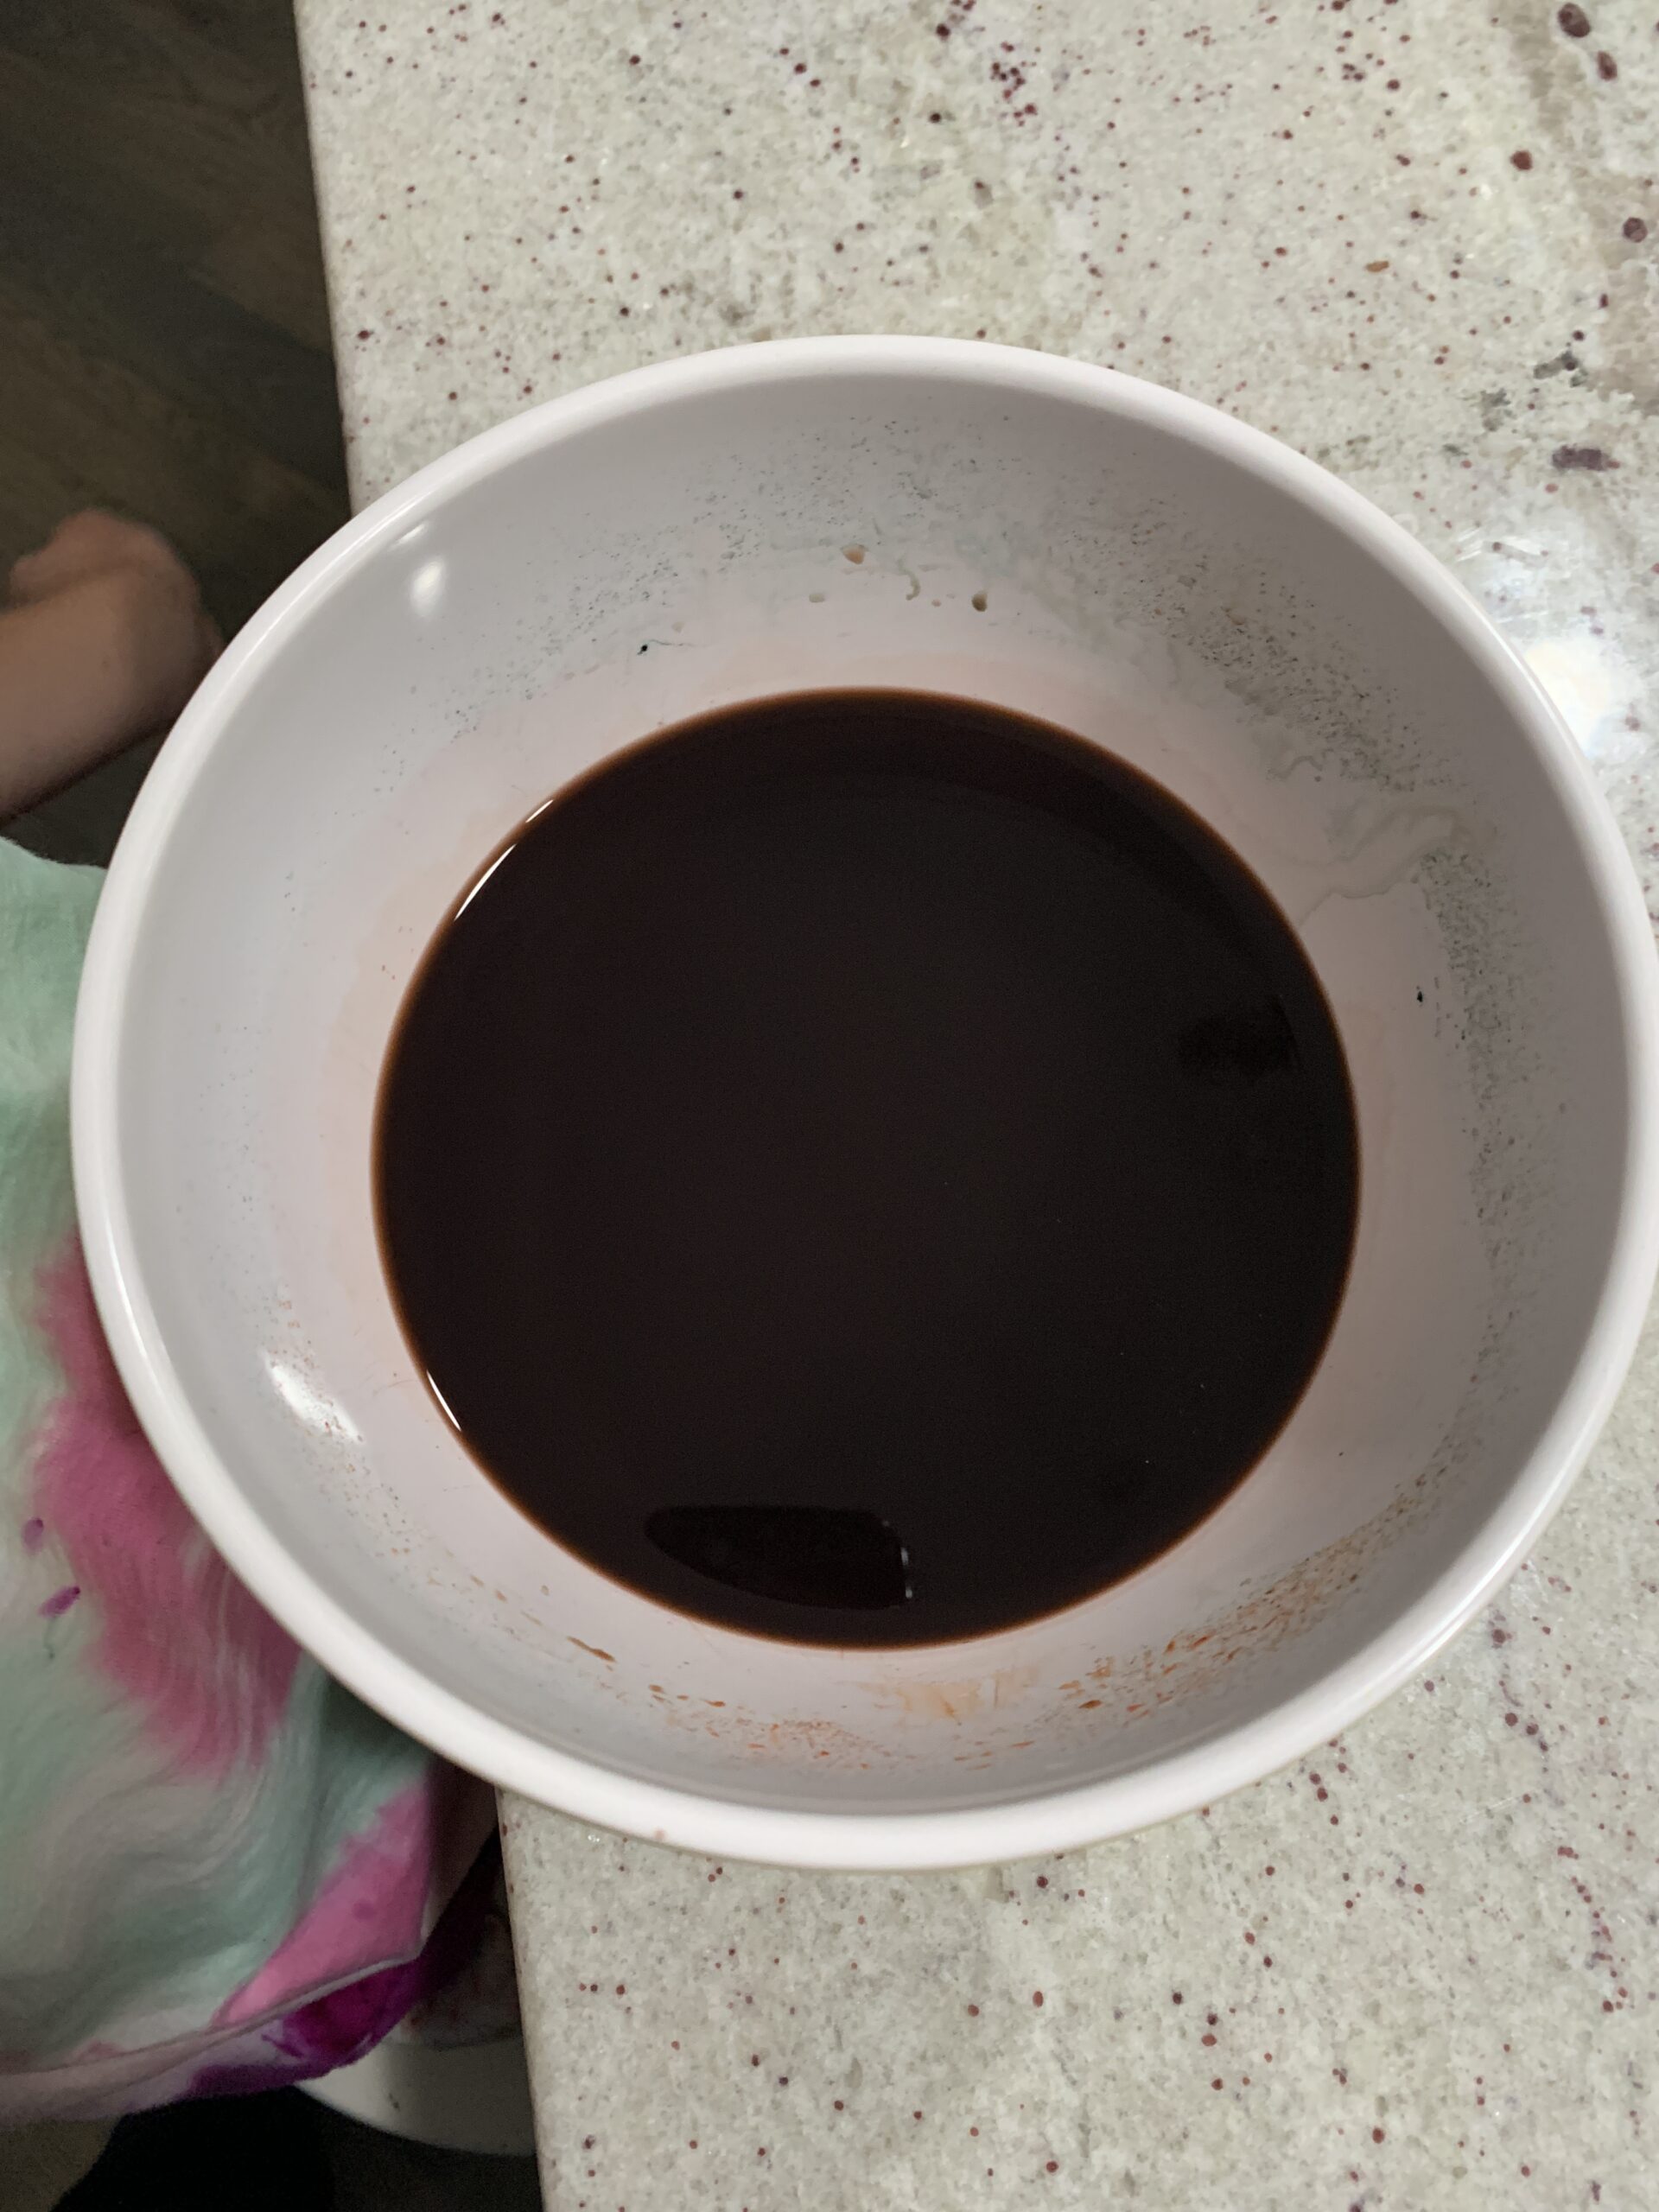
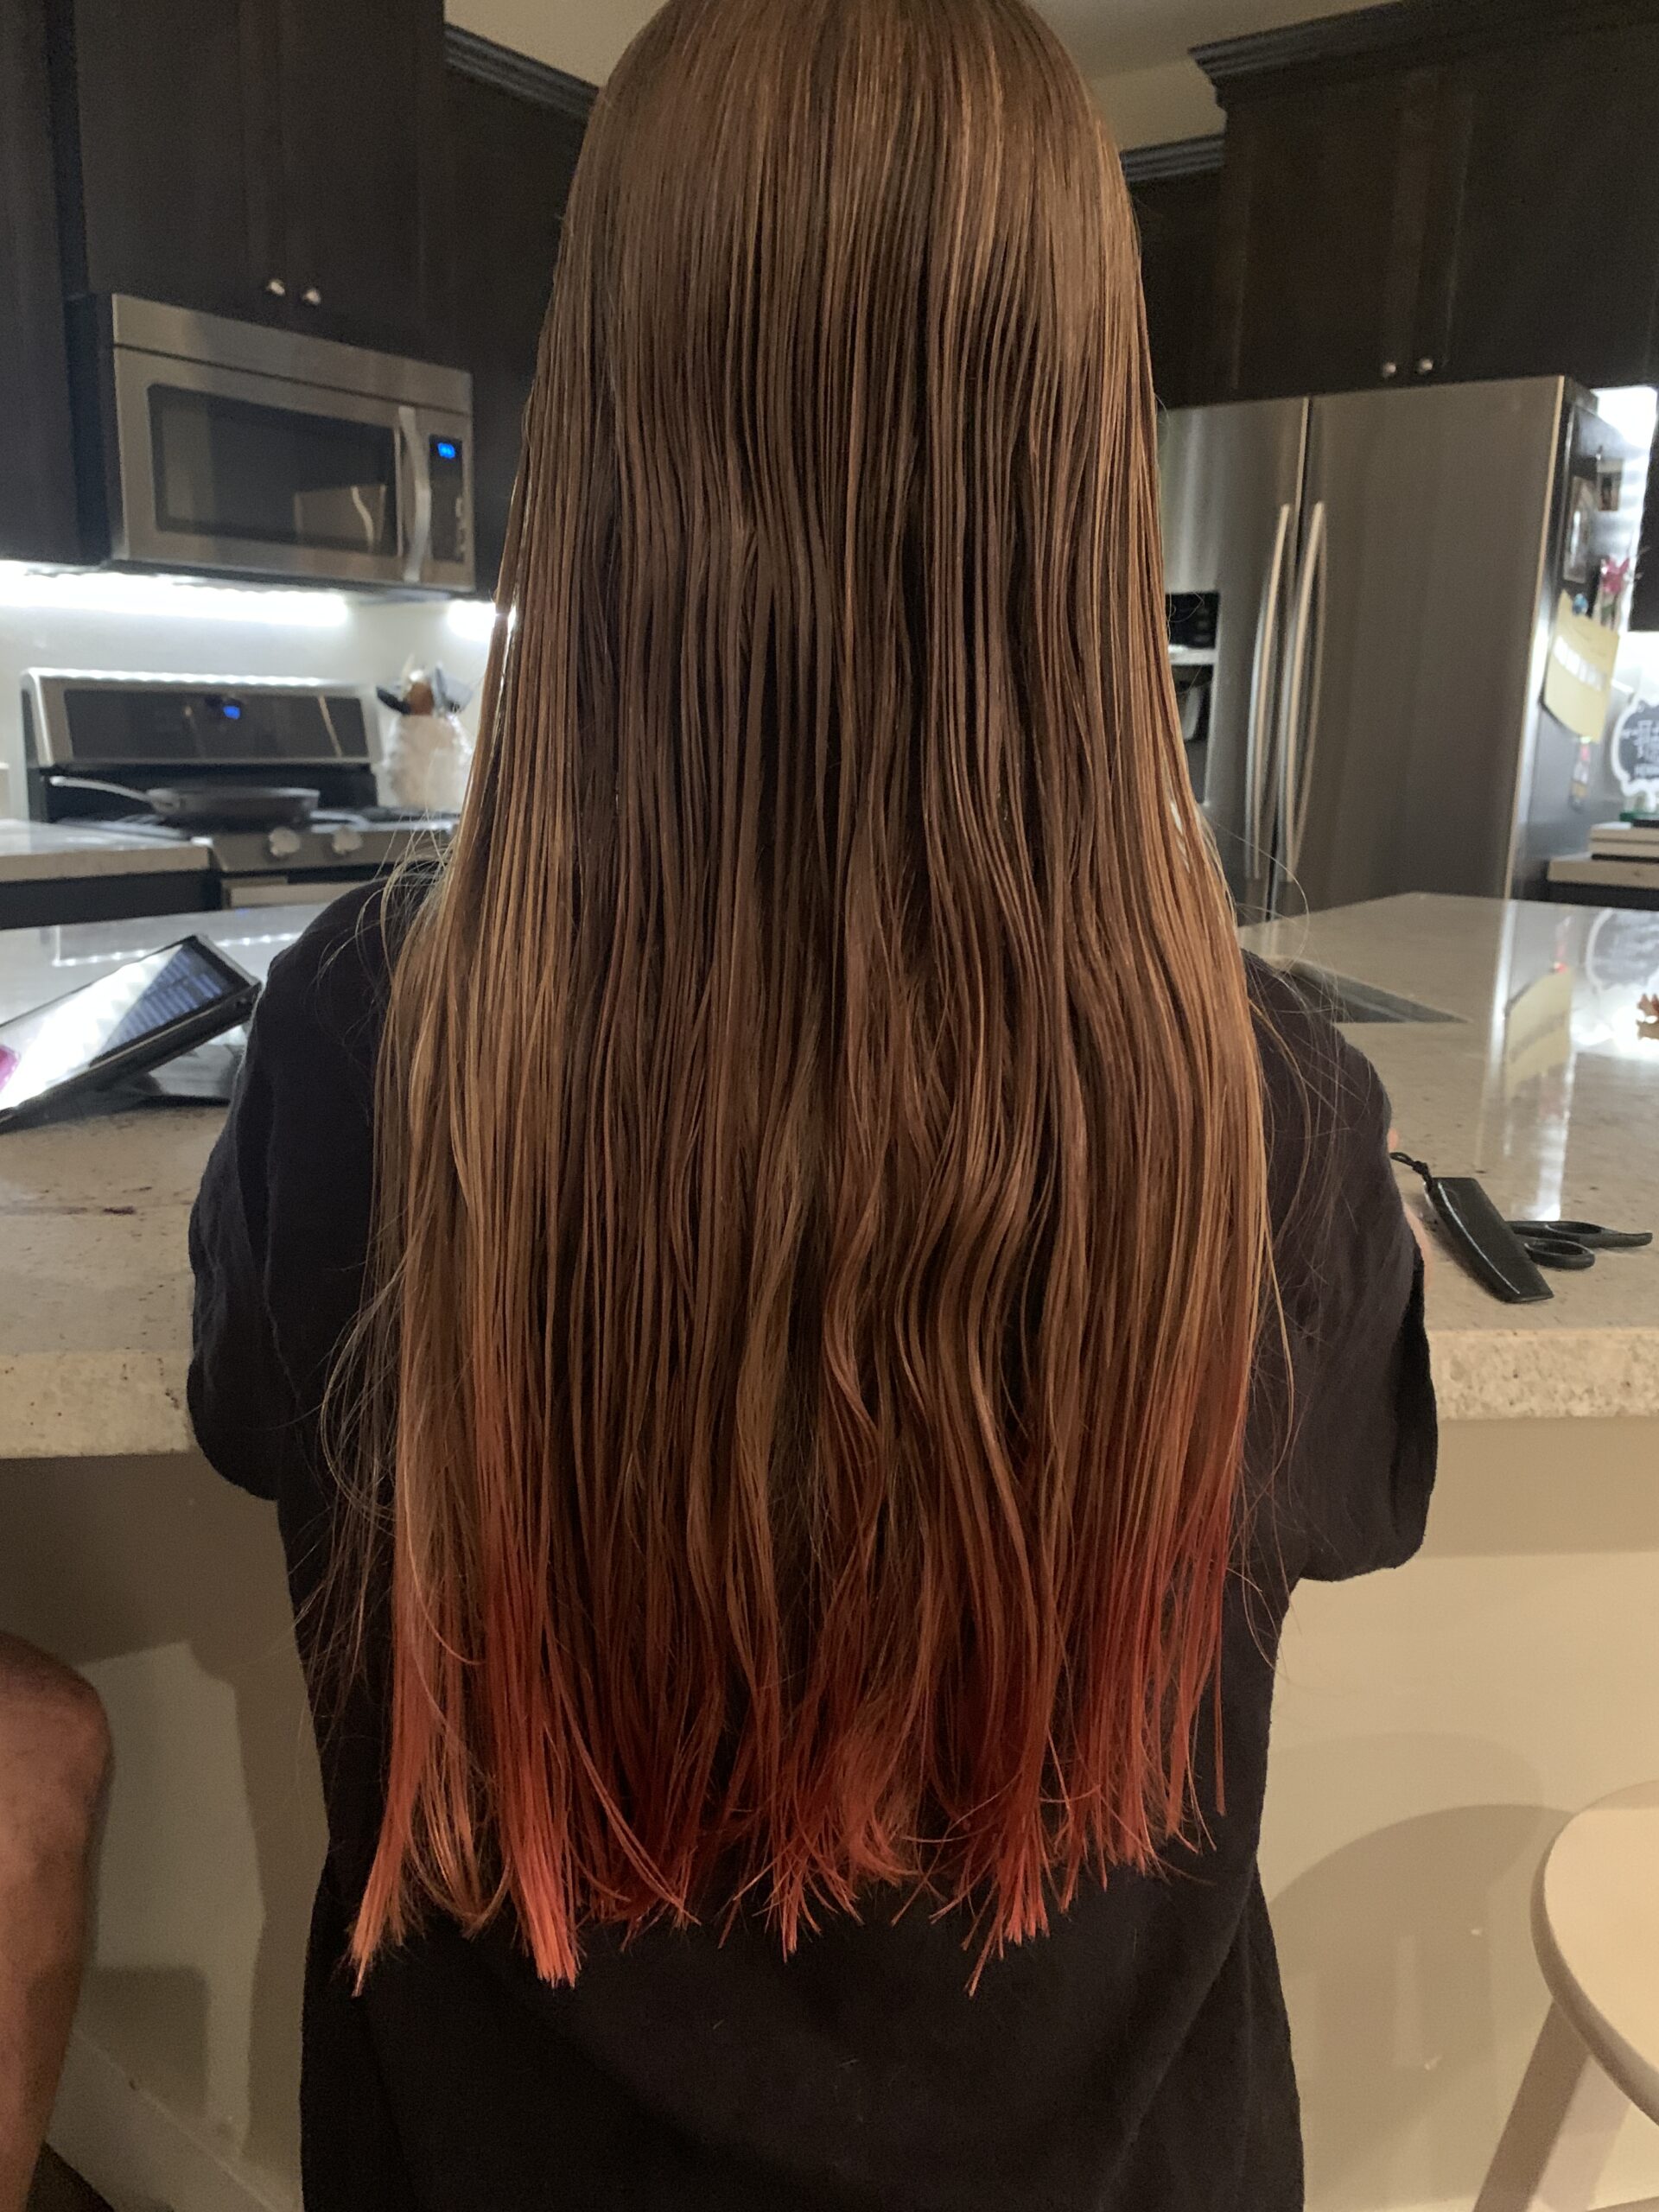
Once the water is boiling (remove from the heat) add in your Kool-Aid packets and stir. At this point you can either leave the mixture in that bowl or pan or you can transfer it to whatever will make the dyeing process easier.
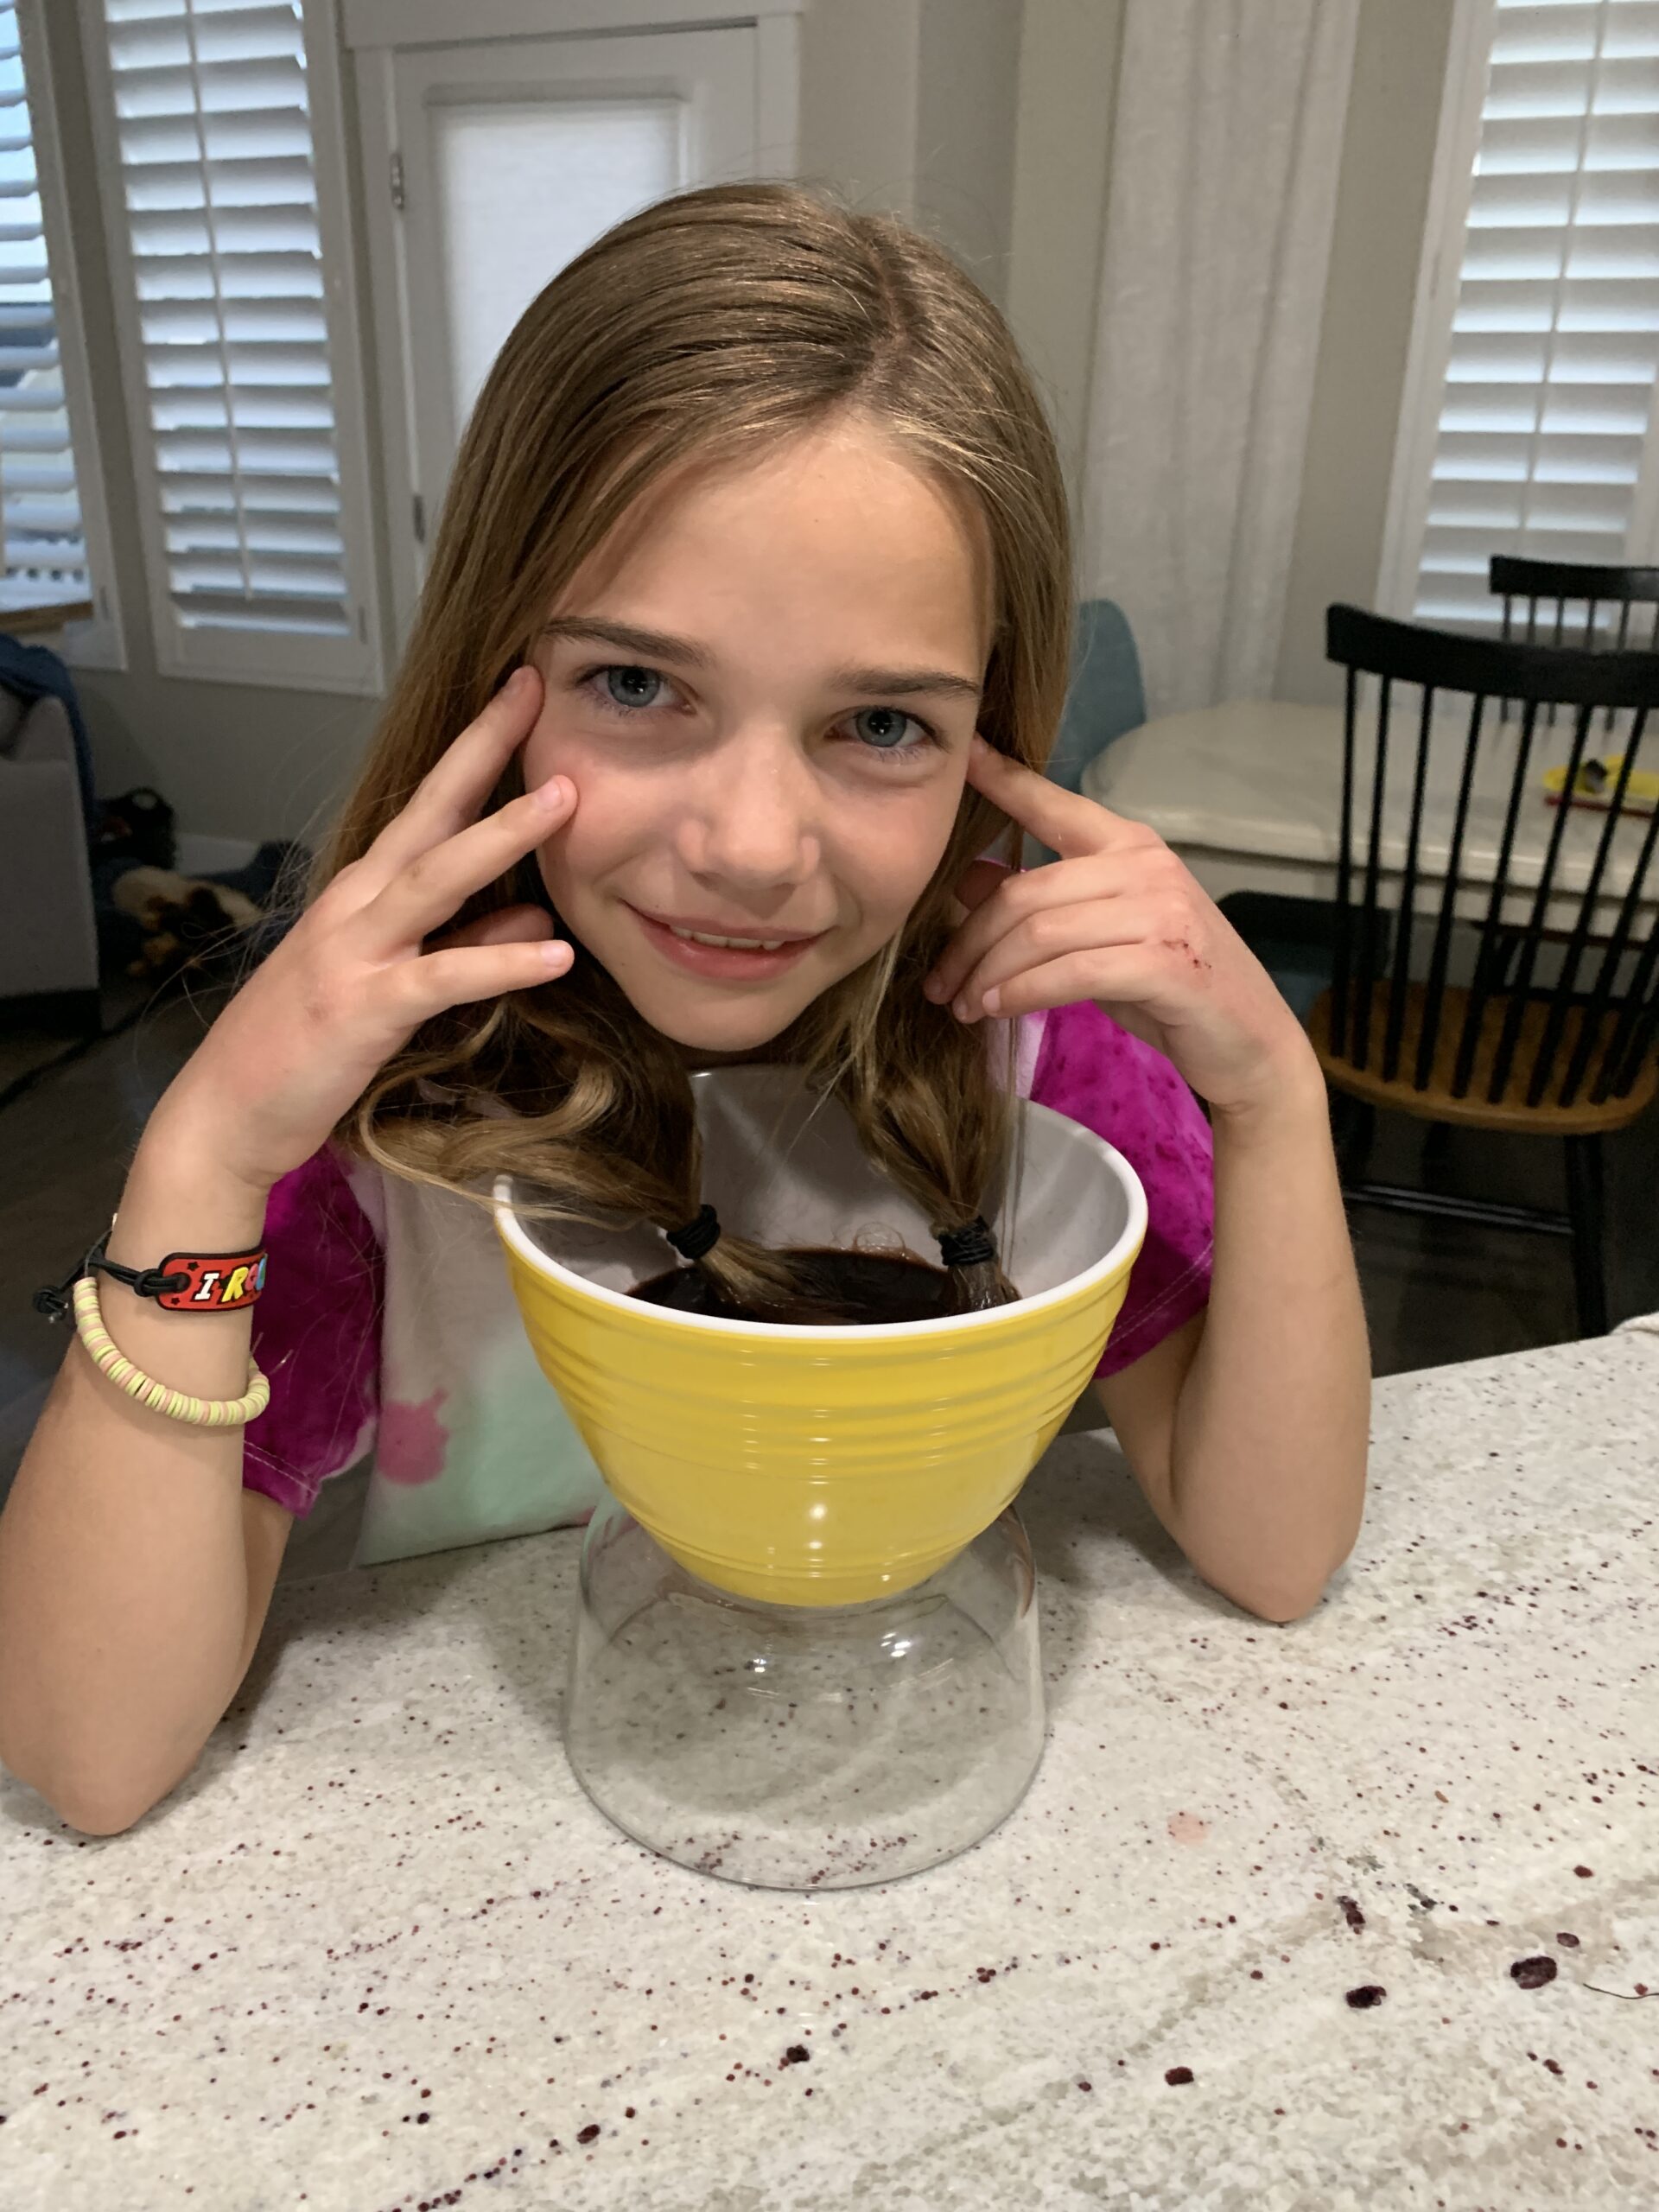
In one attempt we put it in the bowl as seen in the picture below but it was a little too low and to get the ponytail ends in she had to lean far over. So we added something underneath to get the bowl up higher.
In another attempt with longer hair we divided the Kool-Aid mixture between 2 cups.
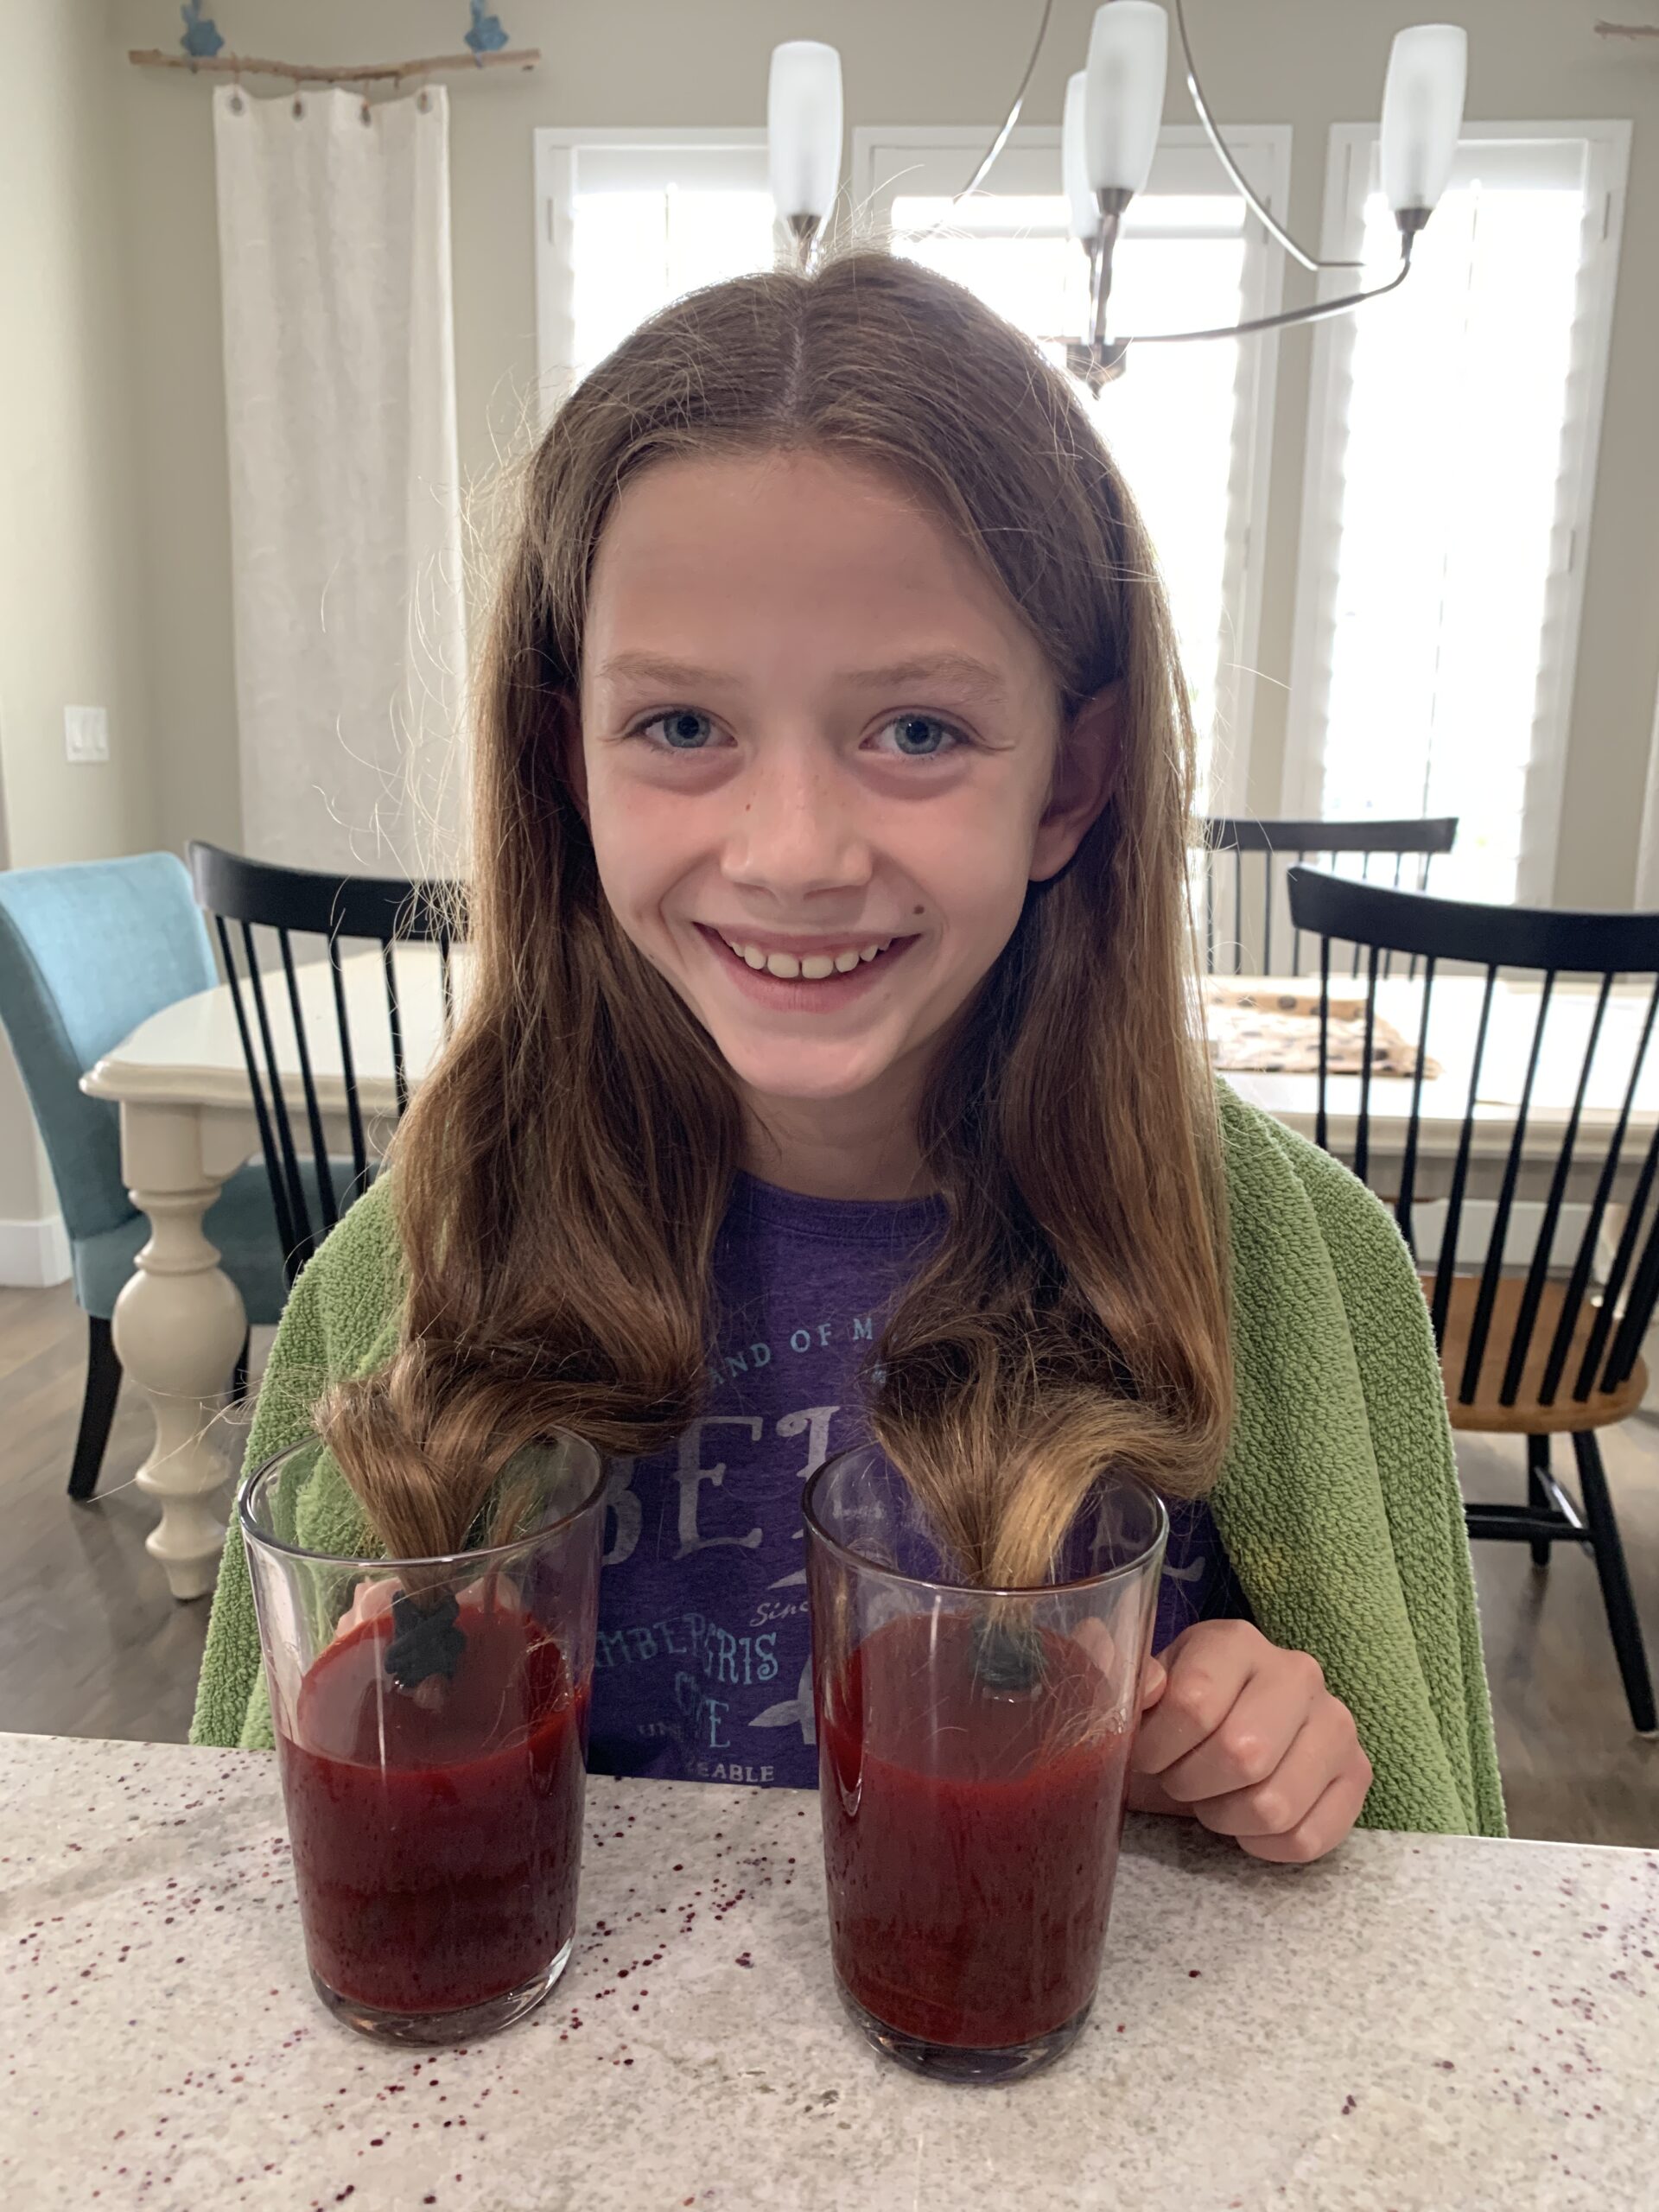
Step #5
Before you dip the hair into the mixture make sure you are liking the color so far. You can still add more packets if needed to get more of the desired color. Though to be honest it’s still hard to tell how it will be on your hair until you actually dye it.
Take those hair ends with the ties on them and submerge them in the mixture to the hair ties.
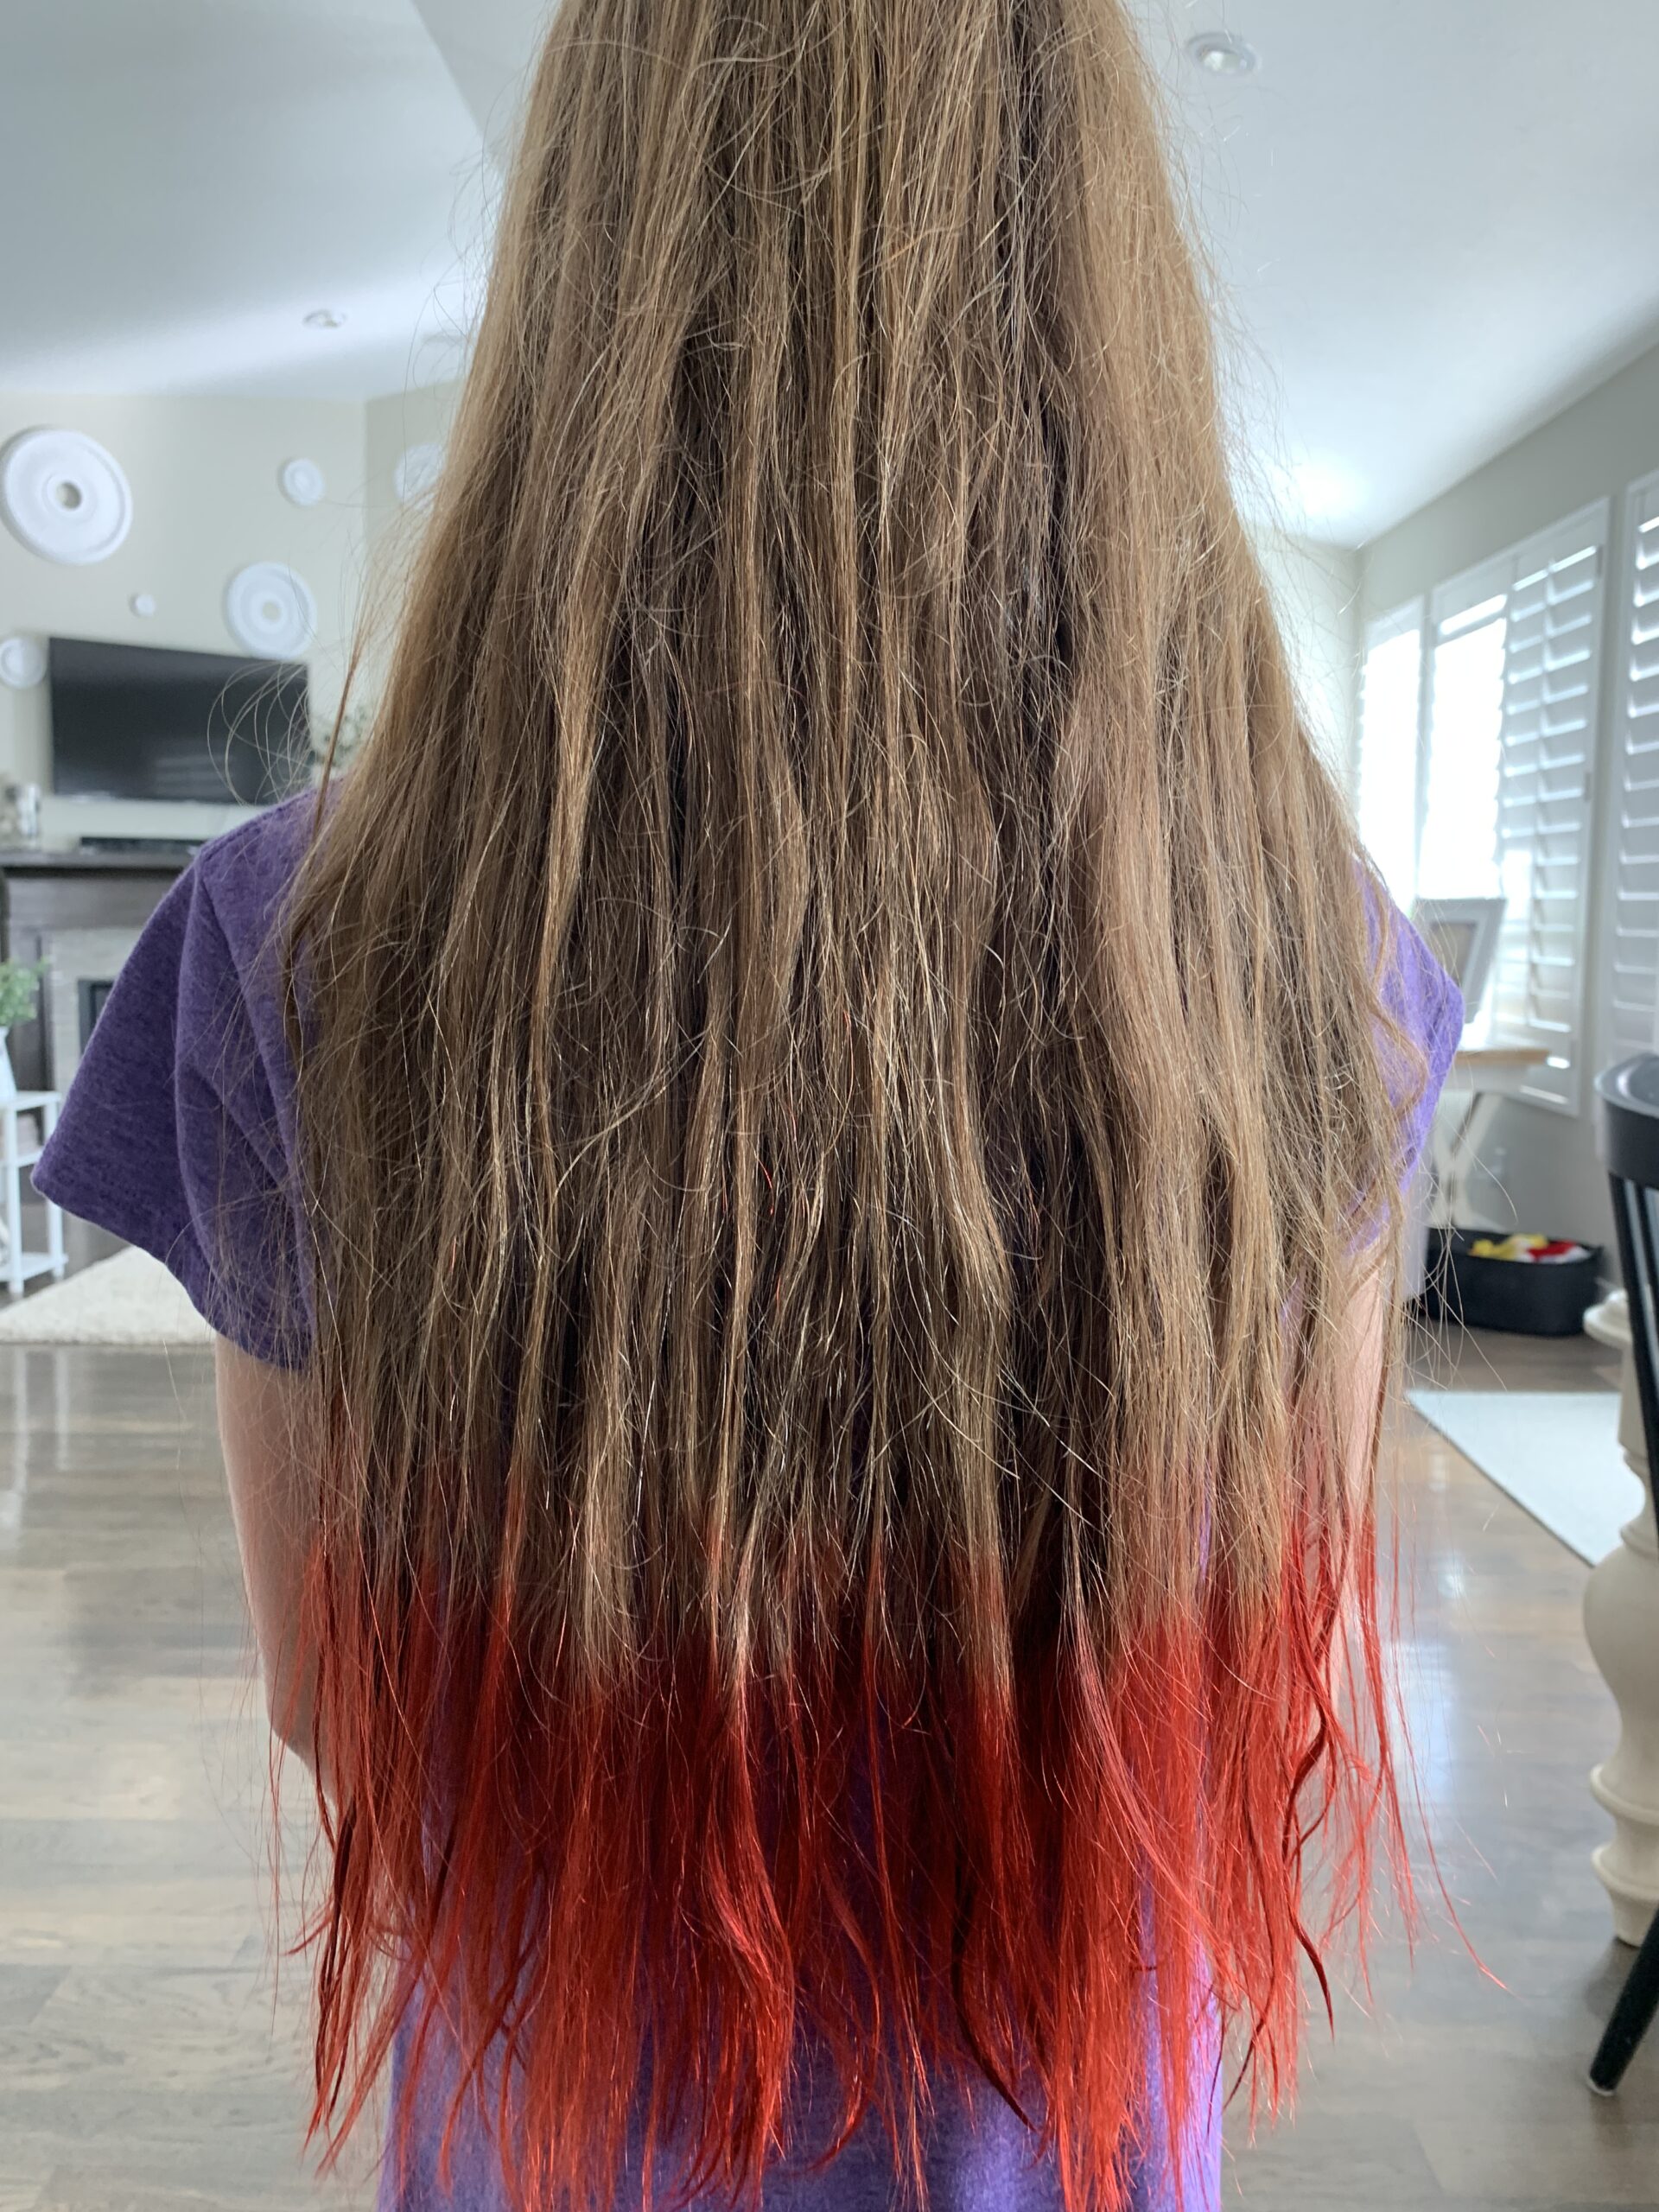
Then sit back and relax while you leave the hair in the dye for 15-20min. The longer the hair is in the dye the darker/brighter the color will be.
Step #6
Once the time is up put those gloves on and get the towel ready. Then slowly pull the hair from the dye squeezing out any excess mixture into the bowl. Then put the hair into the towel and continue to squeeze out the mixture.
We have tried blow drying the hair next to “set” the Kool-Aid color but we have had better luck with immediately washing the hair. It seemed to get more of the extra coloring out and made it less likely to stain clothes and pillowcases.
Be sure for the first few washings to dry the hair with an old towel in case some color is still coming out.

The first round of color only lasted a few weeks but the second time we did it we left the hair in the mixture for longer and it has lasted months. Obviously fading with time.
That’s it! Easy peasy. Really just some Kool-Aid and water for some DIY hair dyeing. Enjoy!