A fresh coat of paint is an easy and relatively cheap way to bring new life into a room. The good news is that are so many cool paint colors to choose from! The not-so-great news is that hiring a professional painter can be quite spendy. But with the right tools and techniques, you can DIY a professional looking paint job yourself and have it turn out looking great!
Here are 9 tips for a DIY professional looking paint job.
1. Choose your price point.
Paint quality varies and therefore, the price of paint varies. You don’t need to spend a fortune on paint, but sometimes it is worth it to pay a little more. If you are painting a room where the color won’t change for several years, you will probably want to spend a little more.
If you are painting a room where the paint might change in a few years (like a kid’s bedroom), then can get away with buying a little bit cheaper paint.
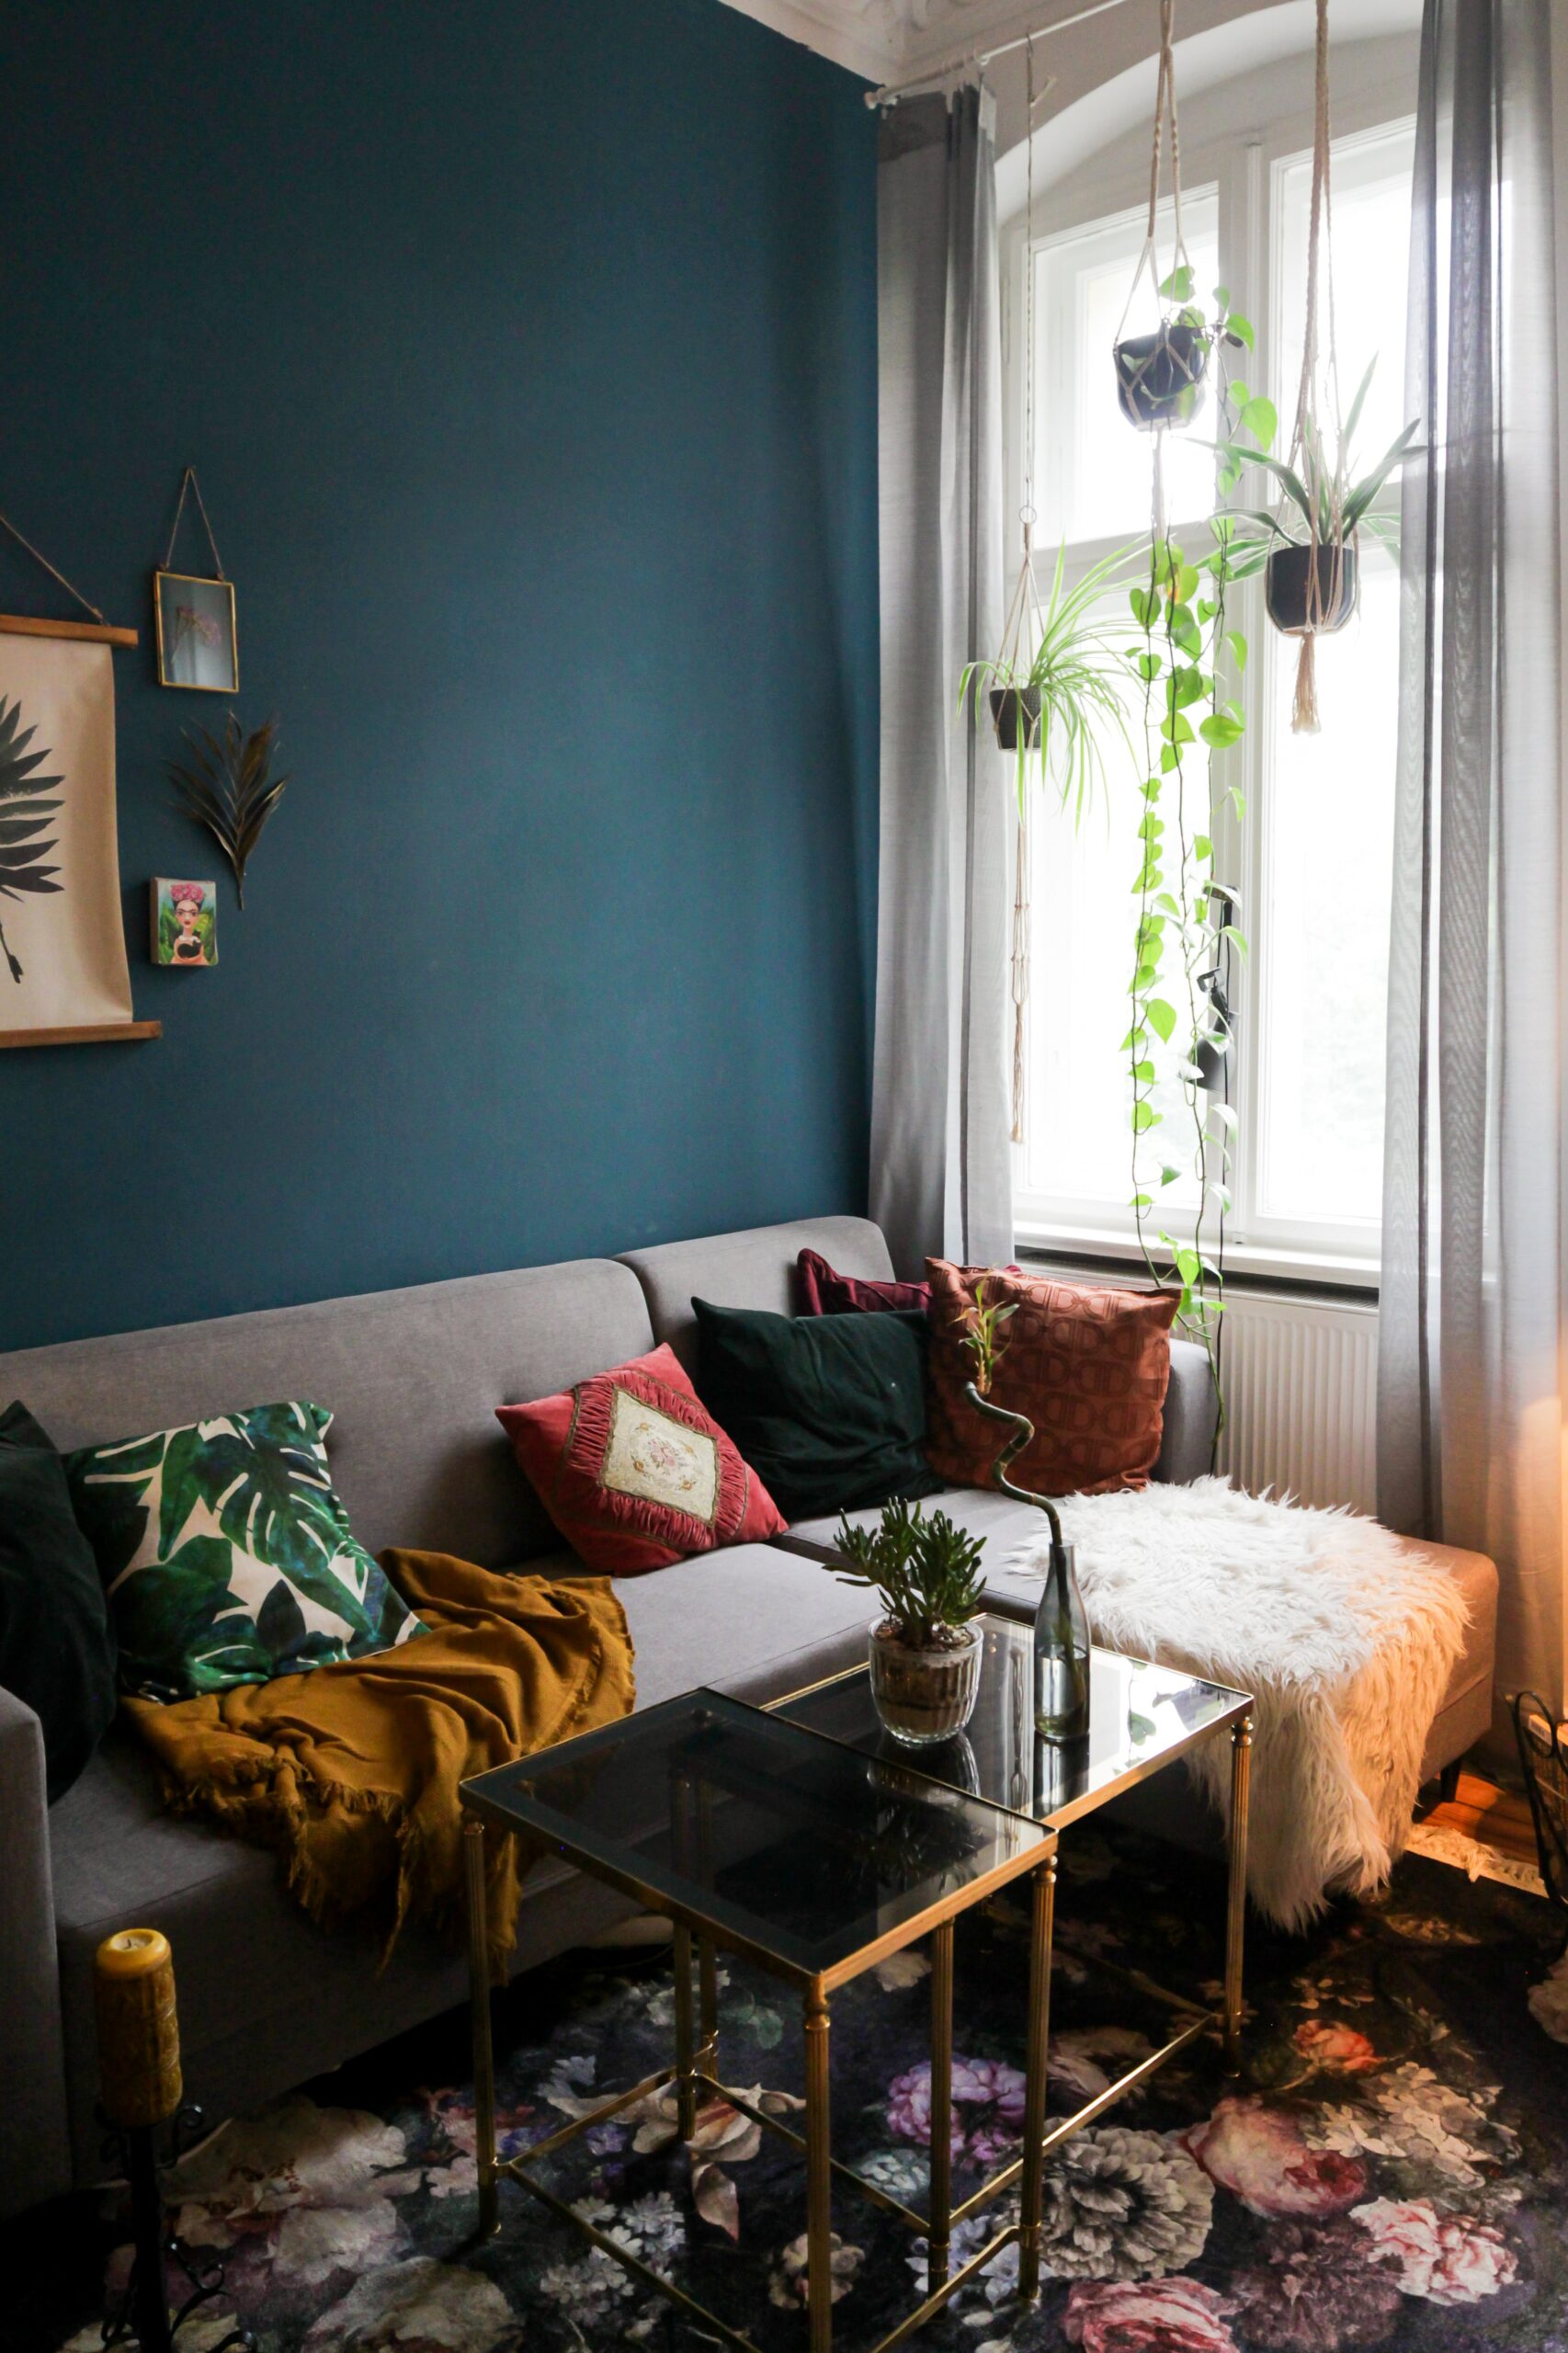
2. Choose your color.
This is the fun part where you can get really creative! Decide if you want to just use one color or multiple colors. It can be fun in a kids bedroom or bathroom to do multiple colors—maybe the lower half is one color and the upper half is another color with a different colored strip in the middle. Or each wall can be a different shade of the same color.
If you are torn between two colors, I recommend actually buying a small sample size of each and painting a small section of each color on your wall. Look at the painted areas at multiple times in the day. Paint colors can look vastly different in natural versus artificial light.
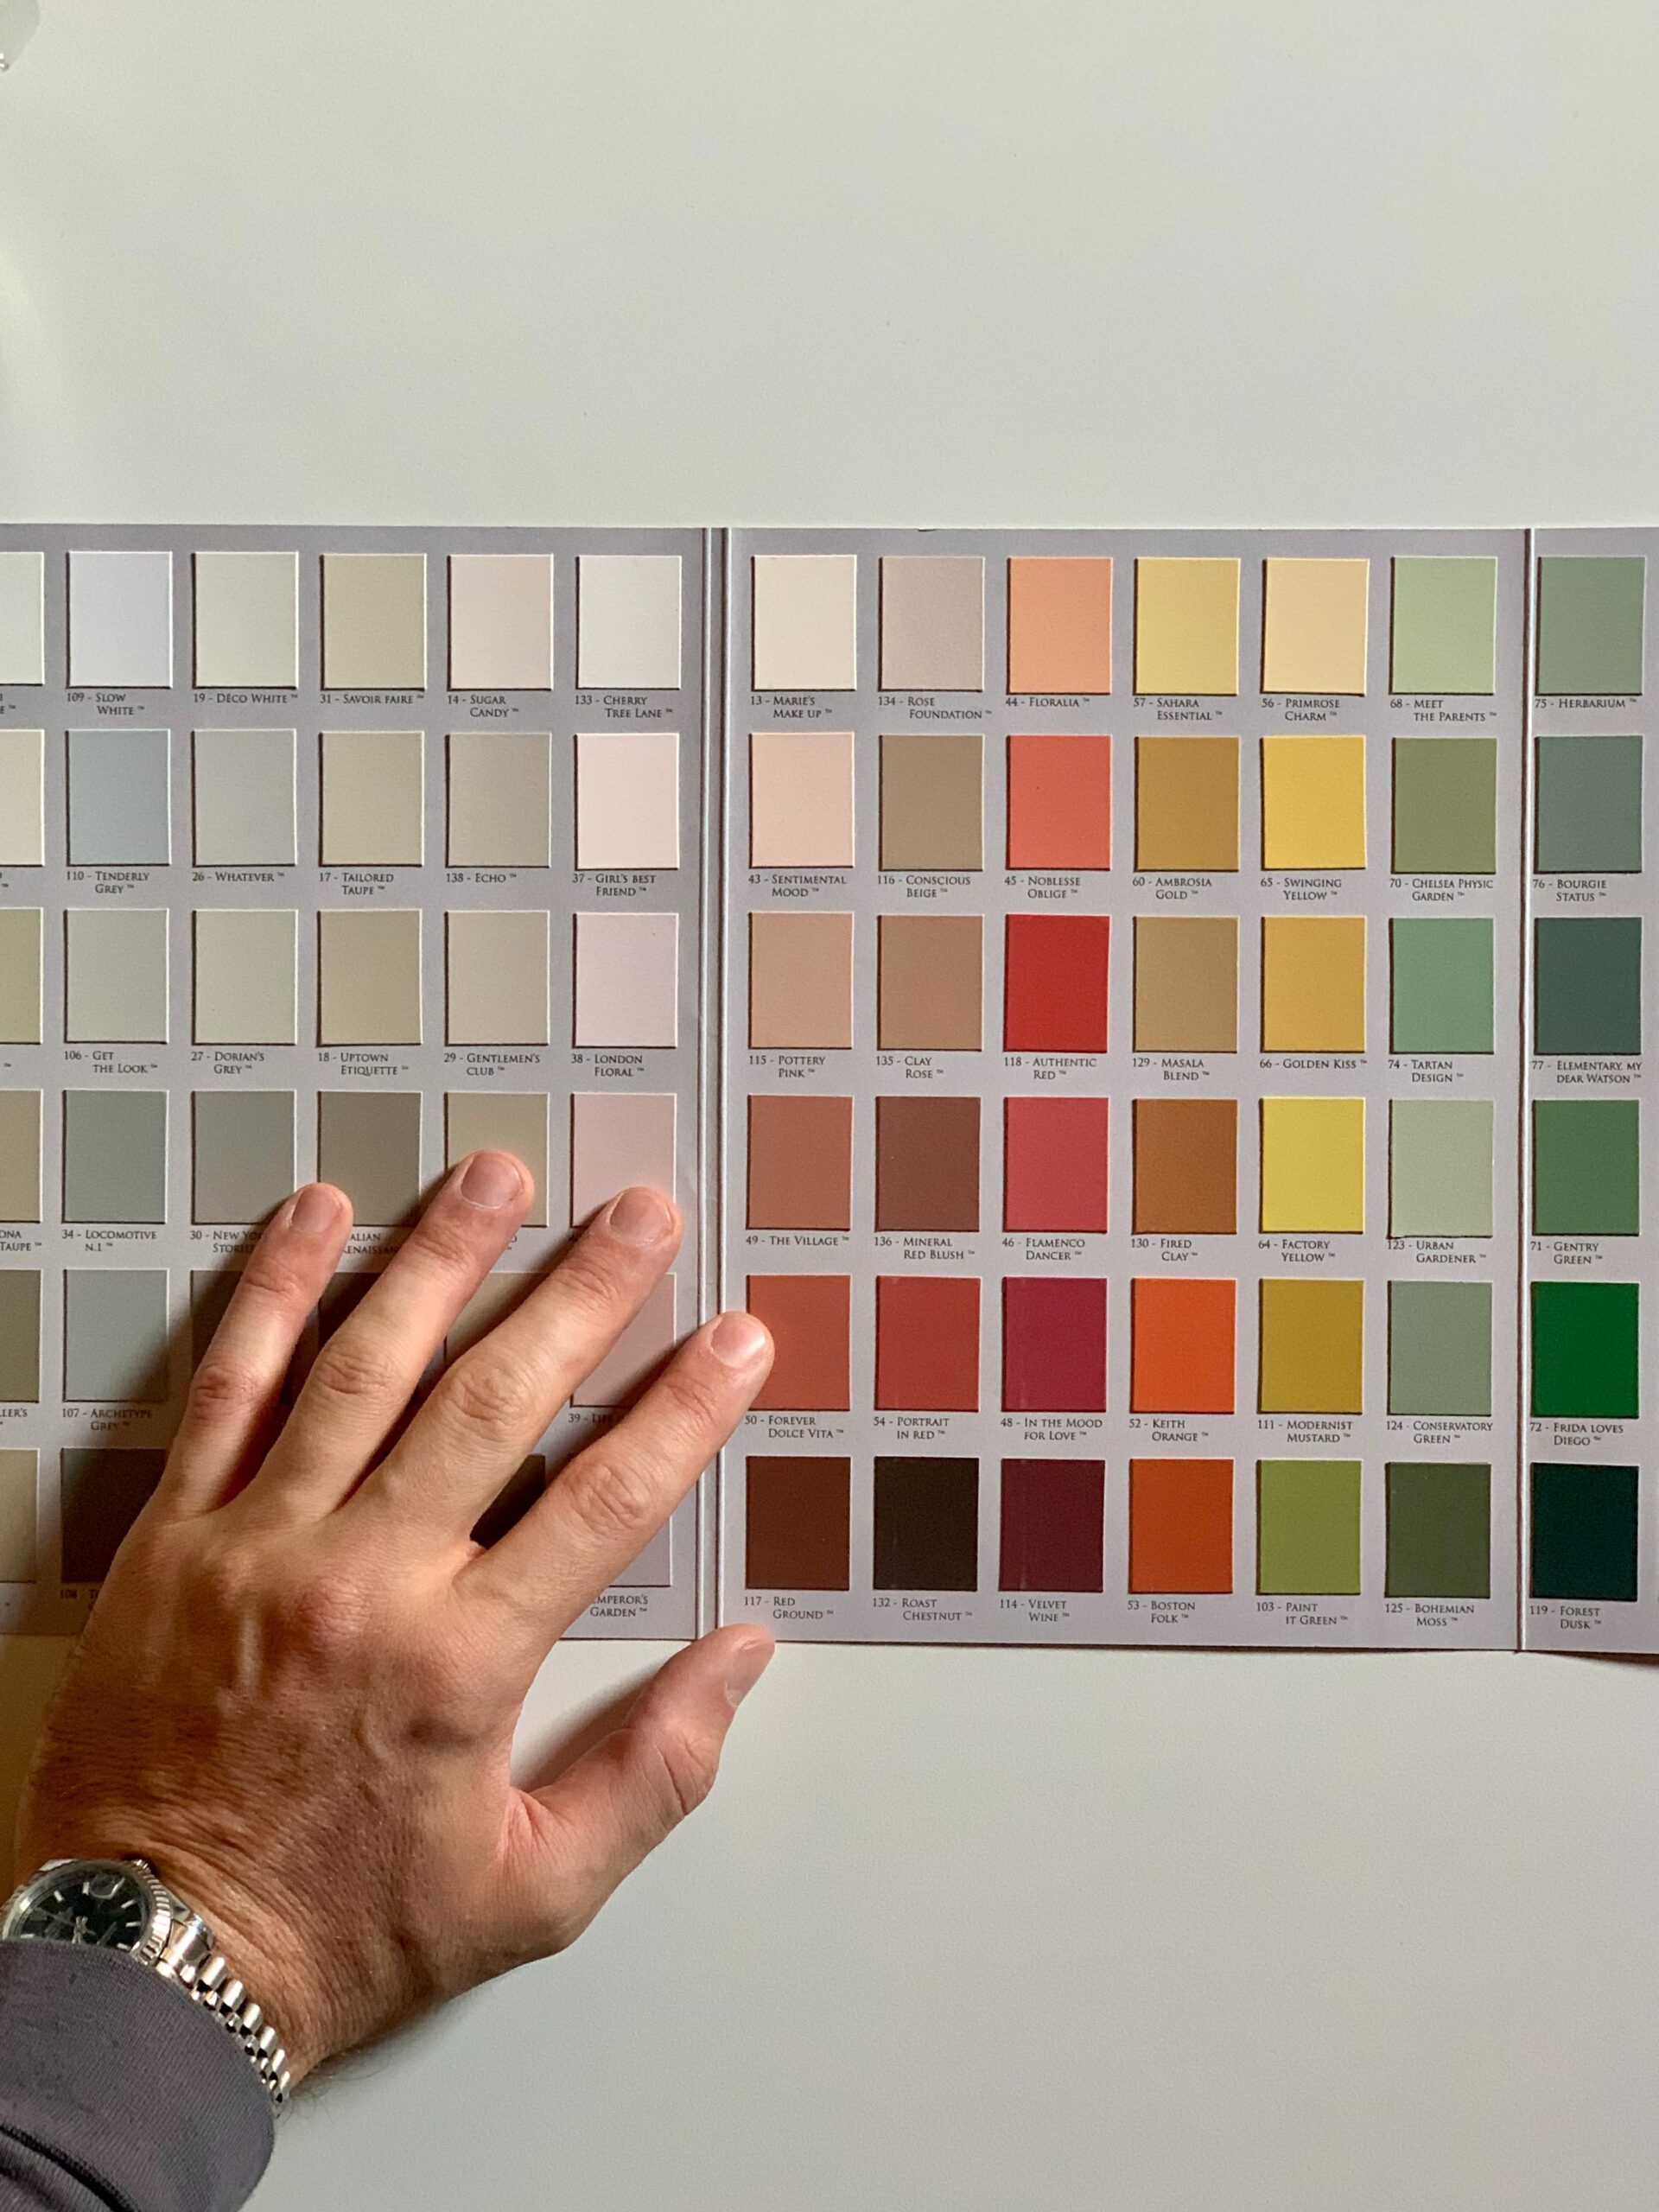
3. Choose your finish.
The type of finish you want to use is dependent on which type of room you are painting. Here are some general recommendations:
Flat paint has no sheen (shine) to it, which allows for more of the paint pigment to come through. It hides flaws well. Flat paint is great to use for ceilings and other low-traffic areas.
Matte paint is similar to flat paint in that it doesn’t have much shine, and is also great at hiding imperfections. It is slightly more durable and also can be used for low-traffic areas.
Eggshell paint also has a lower sheen, but is much more durable than flat or matte and is easy to clean. This is a great paint to use for a dining room or family room.
Satin paint has a higher gloss and offers better stain resistance and durability than lower sheens. It is easy to clean and is also a good option for higher traffic areas like family rooms. It also looks great on windows, shutters, trim and interior doors.
Semi-gloss paint is durable and easy to clean and works great in kitchens and bathrooms.
High gloss paint offers the most sheen and is extremely durable, easy to clean, and stain resistant. Also a great option for kitchens, bathrooms, and trim.
4. Decide how much you need.
This can be tricky. Paint is typically sold in quarts or gallons, and once you have the paint mixed, you usually aren’t able to return any extra unused amounts so you want to estimate as closely as possible. Keep in mind you will want to have a little bit left over for future repairs/fixes
Here is a web-site that will help you calculate how much paint you need.
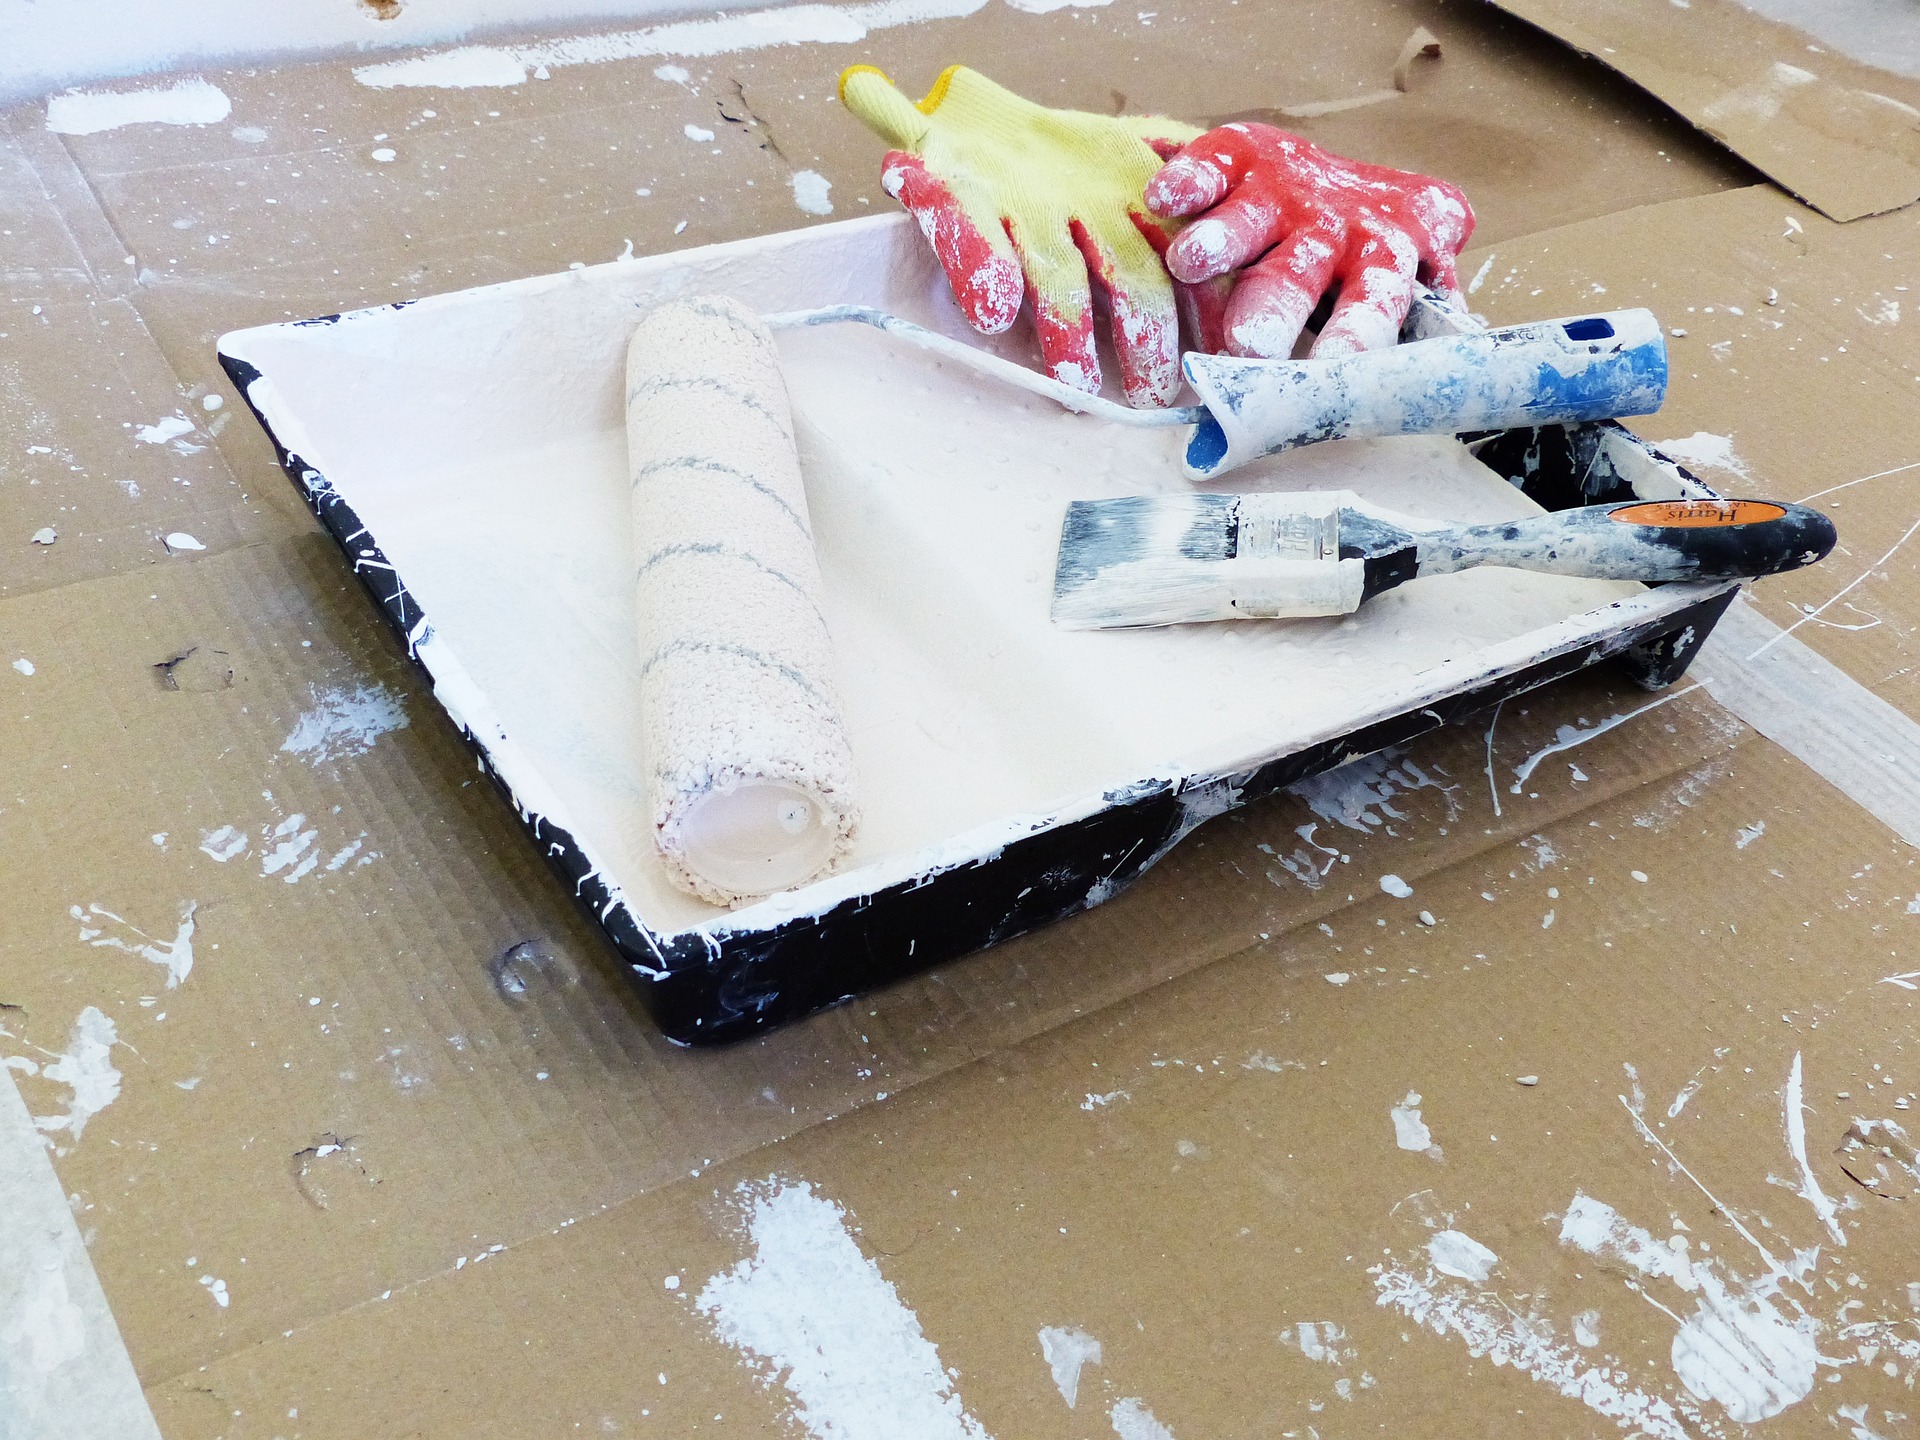
5. Gather supplies for your DIY paint job
Roller
There are a variety of roller sizes. If you have large open spaces the standard size roller will be the most efficient. If you are painting a small space, or have a lot of windows or trim to work around, I would recommend using a smaller roller.
Personally, I like using smaller rollers even on bigger spaces. It does take longer, but smaller rollers are much lighter weight and just easier to maneuver.
Paint tray and plastic liners
Invest in a metal paint tray for stability. Trust me on this! You can then use plastic liners that can be inserted in the metal tray for easy clean-up.
Small brush with an angled edge
A ¾ inch to 1 inch wide brush with an angled edge will become your best friend when you are painting along ceiling edges and trim and in small spaces.
Painter’s putty
There are bound to be some nail holes or gauges in your wall that you want to fill before you start painting.
Painter’s tape
This can be used to tape off trim around door frames and along the floor, or to create nice straight lines if you are doing any sort of pattern.
Wet rags
Keep a wet rag handy for cleaning up any drops/spills or splatter, especially on the ceiling.
Drop cloths
These are used to protect your carpet and flooring. You can buy either fabric drop cloths or plastic ones. One trick is to put wide painter’s tape along the trim and then attach the plastic drop cloth to the edge of the tape that extends from the trip. This keeps it in place and creates a nice seal so no paint gets onto the floor.
Saran wrap
If you need to just take a quick break, you can wrap up brushes and rollers in saran wrap to keep them moist, rather than washing them out. If you are taking a larger break (not painting until the next day or two) I would rinse out your paintbrushes and rollers for the night.
Painter’s ladder
This isn’t a must-have, but if you plan to paint multiple rooms, it might be worth investing in one. Paint ladders have a special tray where you can set a gallon of paint or a paint tray. That way you don’t have to hold them as you paint. I love mine!
6. Prep the room.
Fill in any nail holes and gauges, tape off trim, remove blinds from windows, remove switch covers, and put drop cloths in place.
7. Use primer if needed.
This is an extra step and expense, but if you are trying to cover up a very dark or bright paint color, I do recommended using a white primer first. Otherwise, you will find that the color you are painting over shows through and you will end up having to paint several coats.
8. Do brush work first.
I like to apply at least a 2 inch swatch of paint with a brush along all trim, ceilings, and window edges. That way when you go back through with a roller, this lessons the chance of accidentally hitting the ceiling with the roller. Have a wet rag handy so if your paint brush touches the ceiling, you can quickly wipe the paint off before it dries.
Once you are done with the first coat, wait until the paint is dry and apply a second coat.
9. Use a roller to fill in the walls.
When using a roller, be sure to roll off excess paint in your paint tray. (If it is dripping from your roller you have too much.) Make a “z” shape with the roller and then go back through to fill in the space. Most paint jobs will require a second coat of paint after the first one dries.
After you paint the 2nd coat, look at the room during the day when there is a lot of natural light coming in. The natural light will help you spot any areas that need additional touch ups.
Now all you need to do is clean-up and enjoy your DIY professional looking paint job! Happy painting!