Pinterest has been around since 2010! Can you believe it? If you were one of the first Pinterest users then you have 11 years worth of pins saved. So it definitely is time to organize those Pinterest boards!
I’m sure your life and interests have changed in the past decade. So if you’ve never gone through and organized your Pinterest boards, then now is the time to do it.
In this article, we’ll walk you through different techniques and strategies for organizing your pinterest boards so they are as efficient as possible.

Organize Your Pinterest Boards
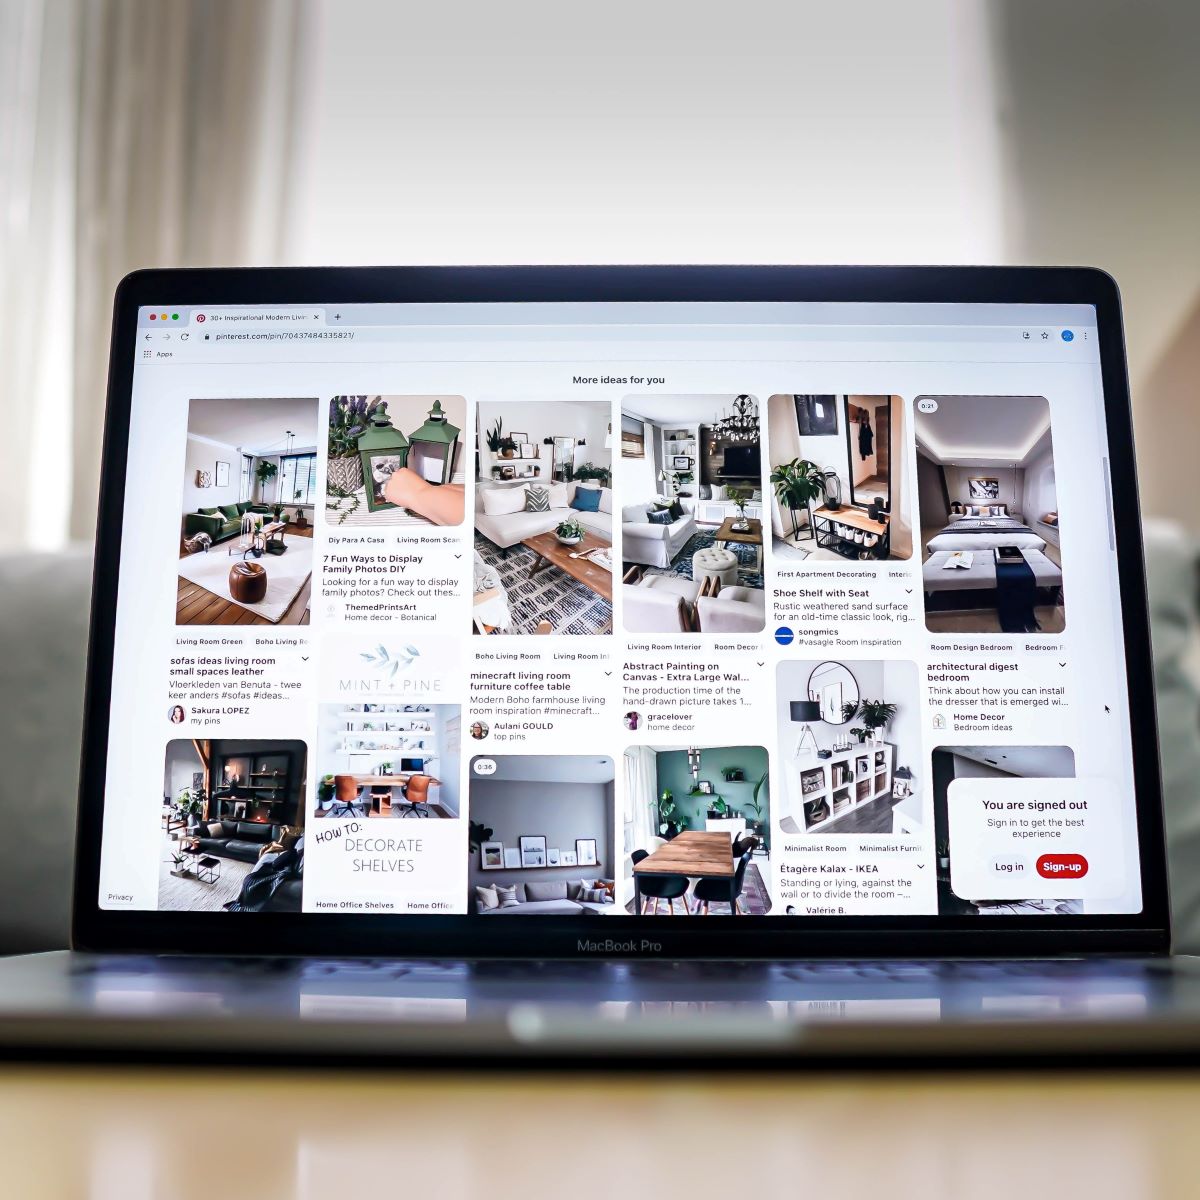
Pinterest gets a bad reputation for being a time waster, but I feel like that’s only because there is so much information and inspiration held there.
But if you’ve ever found yourself scrolling and searching through pin after pin, looking for that specific recipe you pinned a few weeks ago, then it might be a good time to get your Pinterest boards organized.
Organizing your pinterest boards will allow you to know where each idea, recipe, or diy project is saved. You won’t ever waste time looking for a pin you accidentally lost ever again. Everything will be saved in a specific place and be easy to find.
How to Get Started
First things first, the way you start organizing your Pinterest boards is the same way you’d start organizing your closet or panty: by going through and getting rid of everything you no longer want or need.
Delete, delete, delete.
I’m sure your home decor tastes have changed since 2011, right?
Time to clean up all those old pins that are just crowding and cluttering your boards. Delete anything you know you never want to see again.
Archive Boards
What about all the pins that you don’t want to delete, but you don’t really need them anymore either? Maybe you have a board dedicated to your daughter’s first birthday party or a board all about your sister’s baby shower? And you don’t feel like deleting all of them?
Well now you can Archive them!
Here are three things you need to know when a board is archived on Pinterest:
- You can still access and view the pins, but you won’t be able to save anymore pins to that board.
- The board no longer appears on your public profile. It will be kept separate from your other boards down at the bottom of your home page.
- You can unarchive the board whenever you feel like. Nothing permanent.
Step by Step instructions for Archiving Boards on Pinterest
- Hover your cursor over the board you want to archive. A little pencil symbol will appear in the lower right hand corner.
- Click on the pencil icon. This is the “Edit” button.
- A new box will appear titled “Edit your board”. This box will allow you to name, describe, add collaborators, or delete your board. Look down on the bottom left hand side for a gray button that says “Archive”. Click on it.
Or if you’ve already clicked into the board you’d like to archive, then look for three dots that appear to the right hand side of the title of your board. Click on those dots and a menu will appear, with the option to archive.
Use Subcategories or Sections
Using subcategories on Pinterest will clean up and organize your boards in no time.
These work best for your boards that have tons of pins.
If you have a pinterest board dedicated to the dream wedding that you’re planning, then you’ll probably have close to a billion pins saved (or maybe just 900.) But the best thing you can do for your sanity is to go through and create subcategories to organize them.
For example, you could have subcategories dedicated: your wedding dress, the cake, engagement picture ideas, bridesmaid dresses, and wedding day hair and makeup.
Using subcategories will also allow you to consolidate multiple boards into one, which will create a clean organized look on your account’s main page.
You might have one board dedicated to breakfast recipes and one board dedicated to instapot recipes. Now you can put all of your recipe pins into one board and then use subcategories to organize them further.
Another good idea is to have a “Holiday” board. And then use subcategories for ideas on how to celebrate and decorate for each holiday.
Step by Step Instructions for Creating Subcategories or Sections on Pinterest:
These directions are for a laptop or desktop:
- Go to your main Pinterest profile page by clicking on your profile photo in the upper right hand corner. (Your profile page is where you can see all your saved pins and boards.)
- Click on the board you want to add subcategories to.
- Under the title of your board, you will see four different buttons appear. These are called: shop, more ideas, organize, and notes. Click on the “Organize” button.
- Click on the first pin that you want to move into its own section. Only click once to “select” the pin. If you double click it will take you away from pinterest and into the website or blog that created the pin.
- Once the pin is selected, you will now see all your pins on that specific board, but near the bottom of your screen will be three additional buttons. These are called: move, create section, and delete. Click on “Create Section”.
- A new box will appear that will allow you to name your new section or subcategory.
- Now move all the pins that you’d like to be in your new section.
These are the directions for using the Pinterest app:
- Go to any board on your profile main screen and tap the + Icon.
- Click “Add Section” from the drop-down menu.
- Select the Pins you want to move to the section.
- Tap “Done” to Save your new Pinterest Board section.
Assign Your Top 5 Favorite Boards
Your Top 5 Favorite Boards are the one you visit the most often.
How to Assign Your Top Five Boards
- Go to your main Pinterest profile page.
- Click and hold one of the boards you’d like to be in your Top 5. Then drag the board to the very top of the board list. Make sure you drag it to open white space and not over the top of another board. Dropping it over another board will combine the boards together.
- Pinteset will ask if you want to rearrange the order of your boards. Confirm yes. Now repeat for the other 4 top boards.
Be sure to follow Organized Mom on Pinterest for more tips and tricks to create a more organized life.