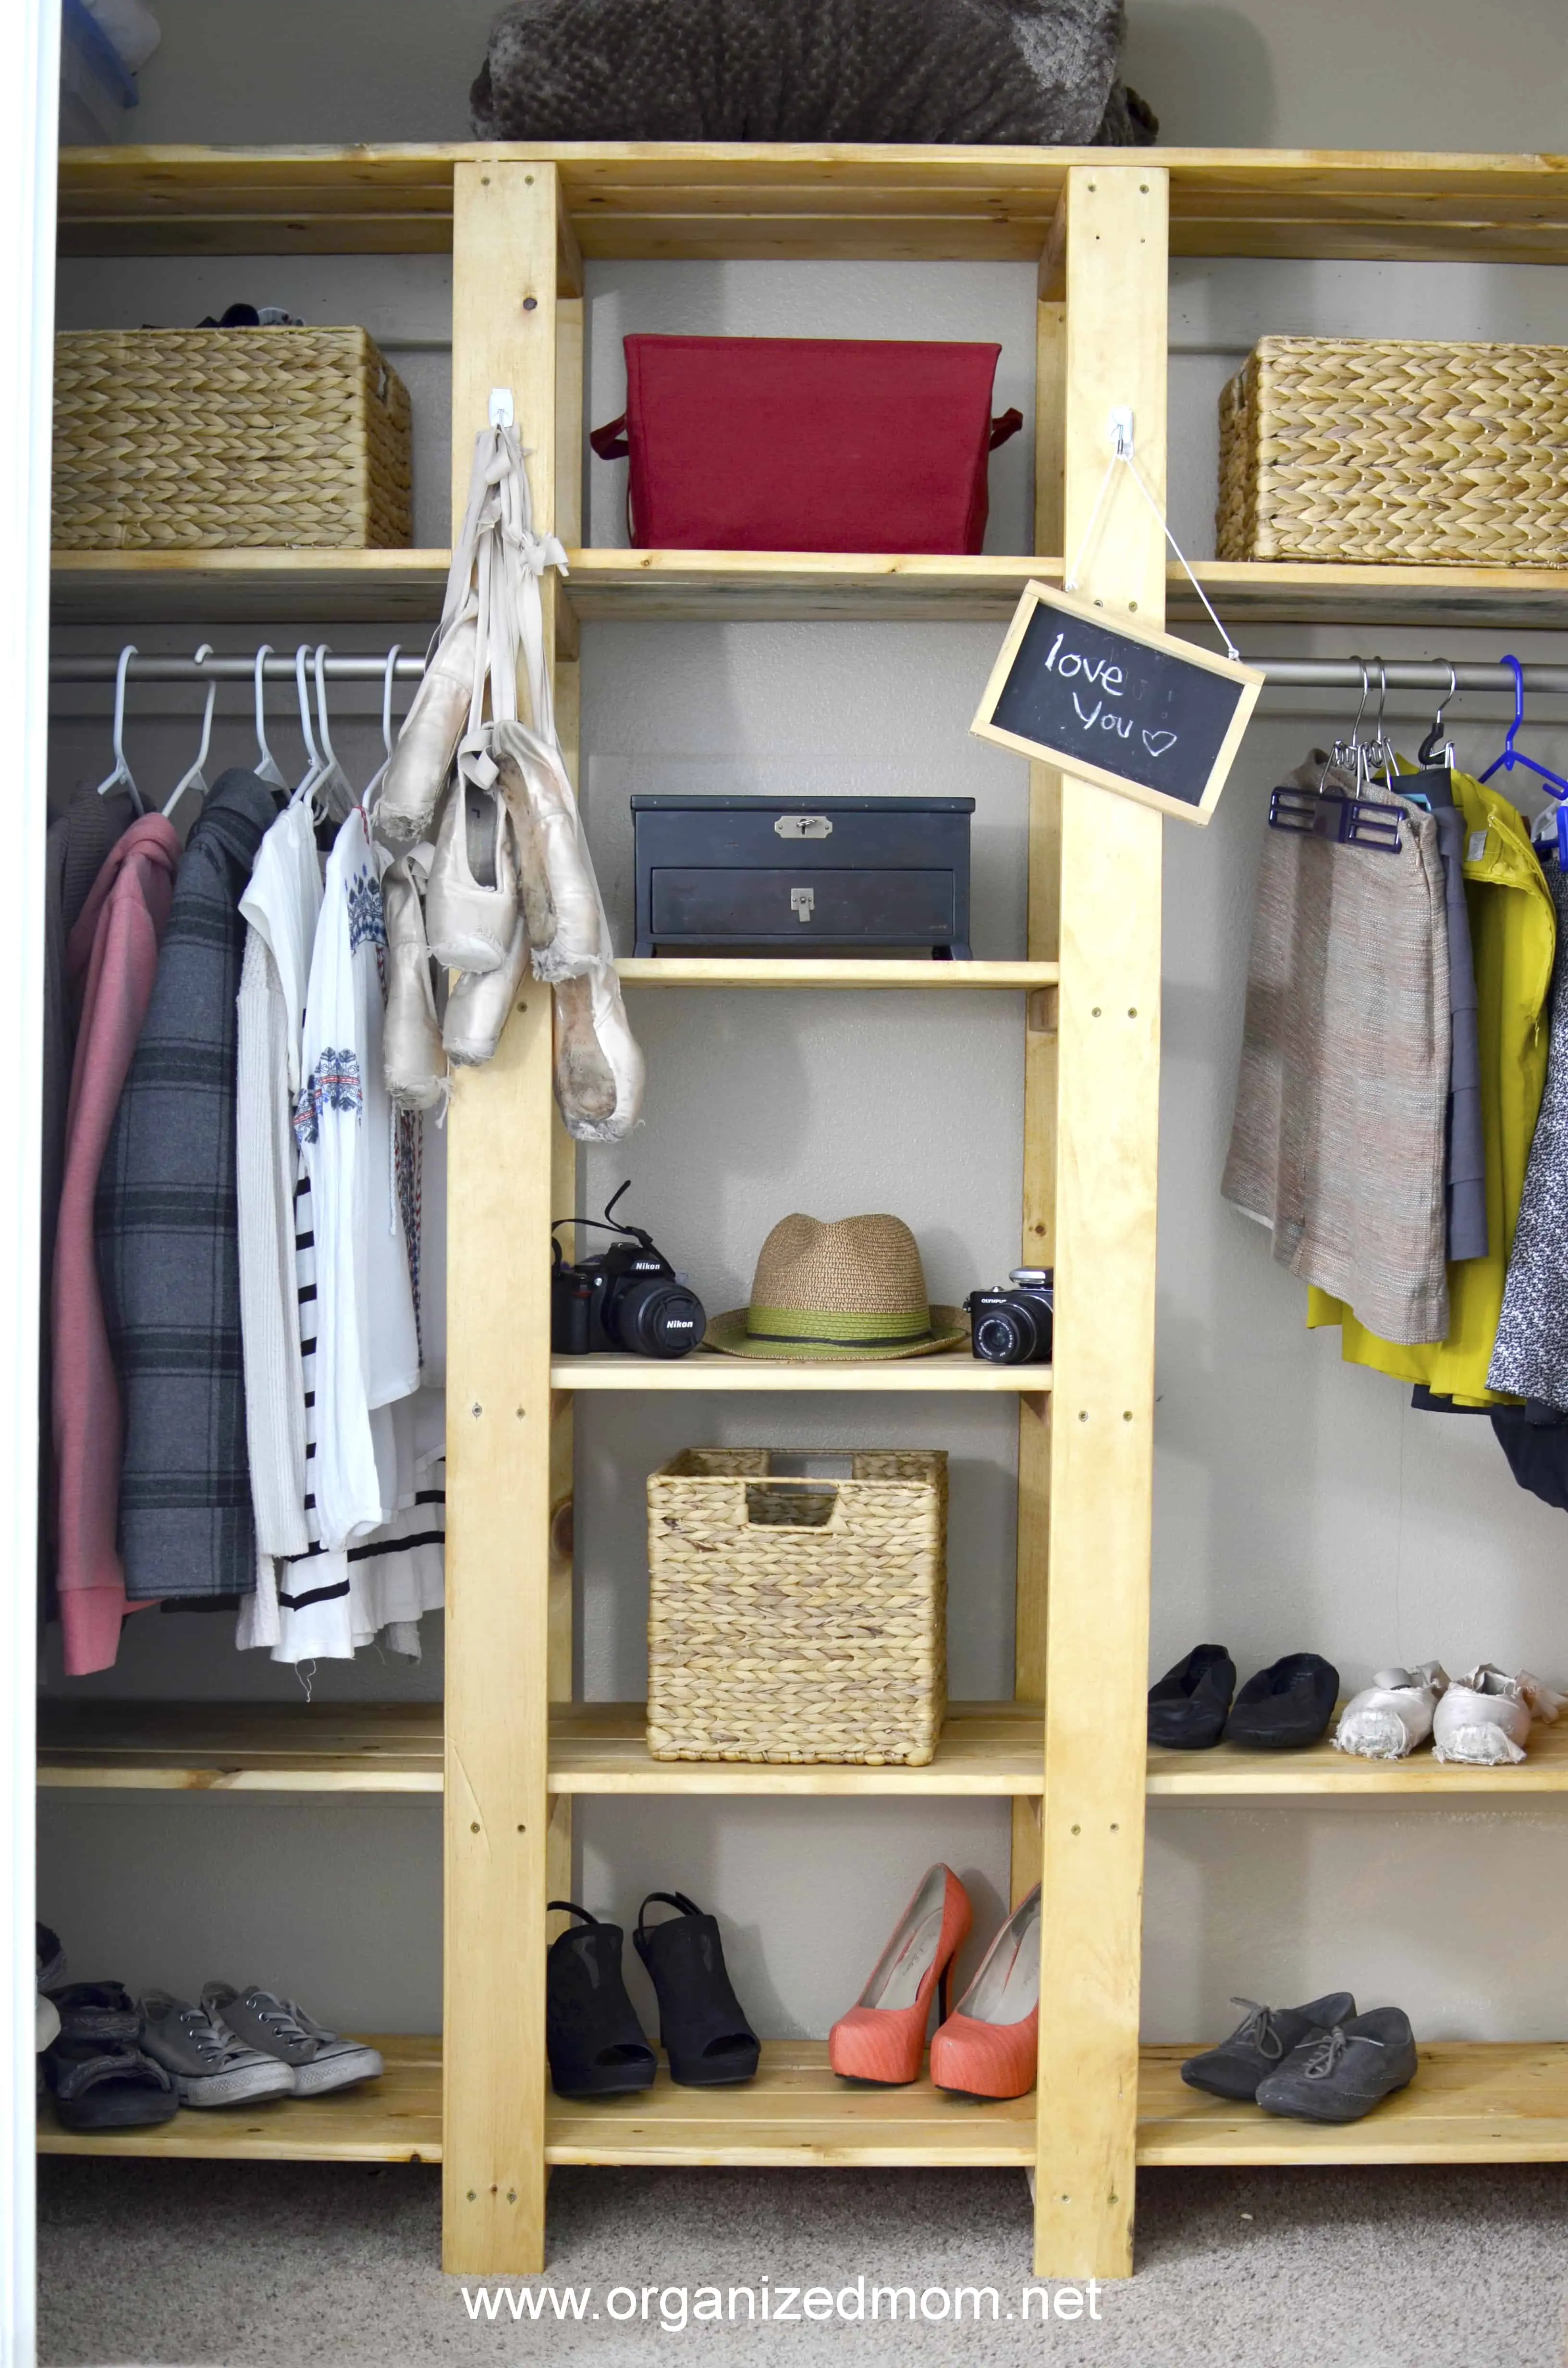
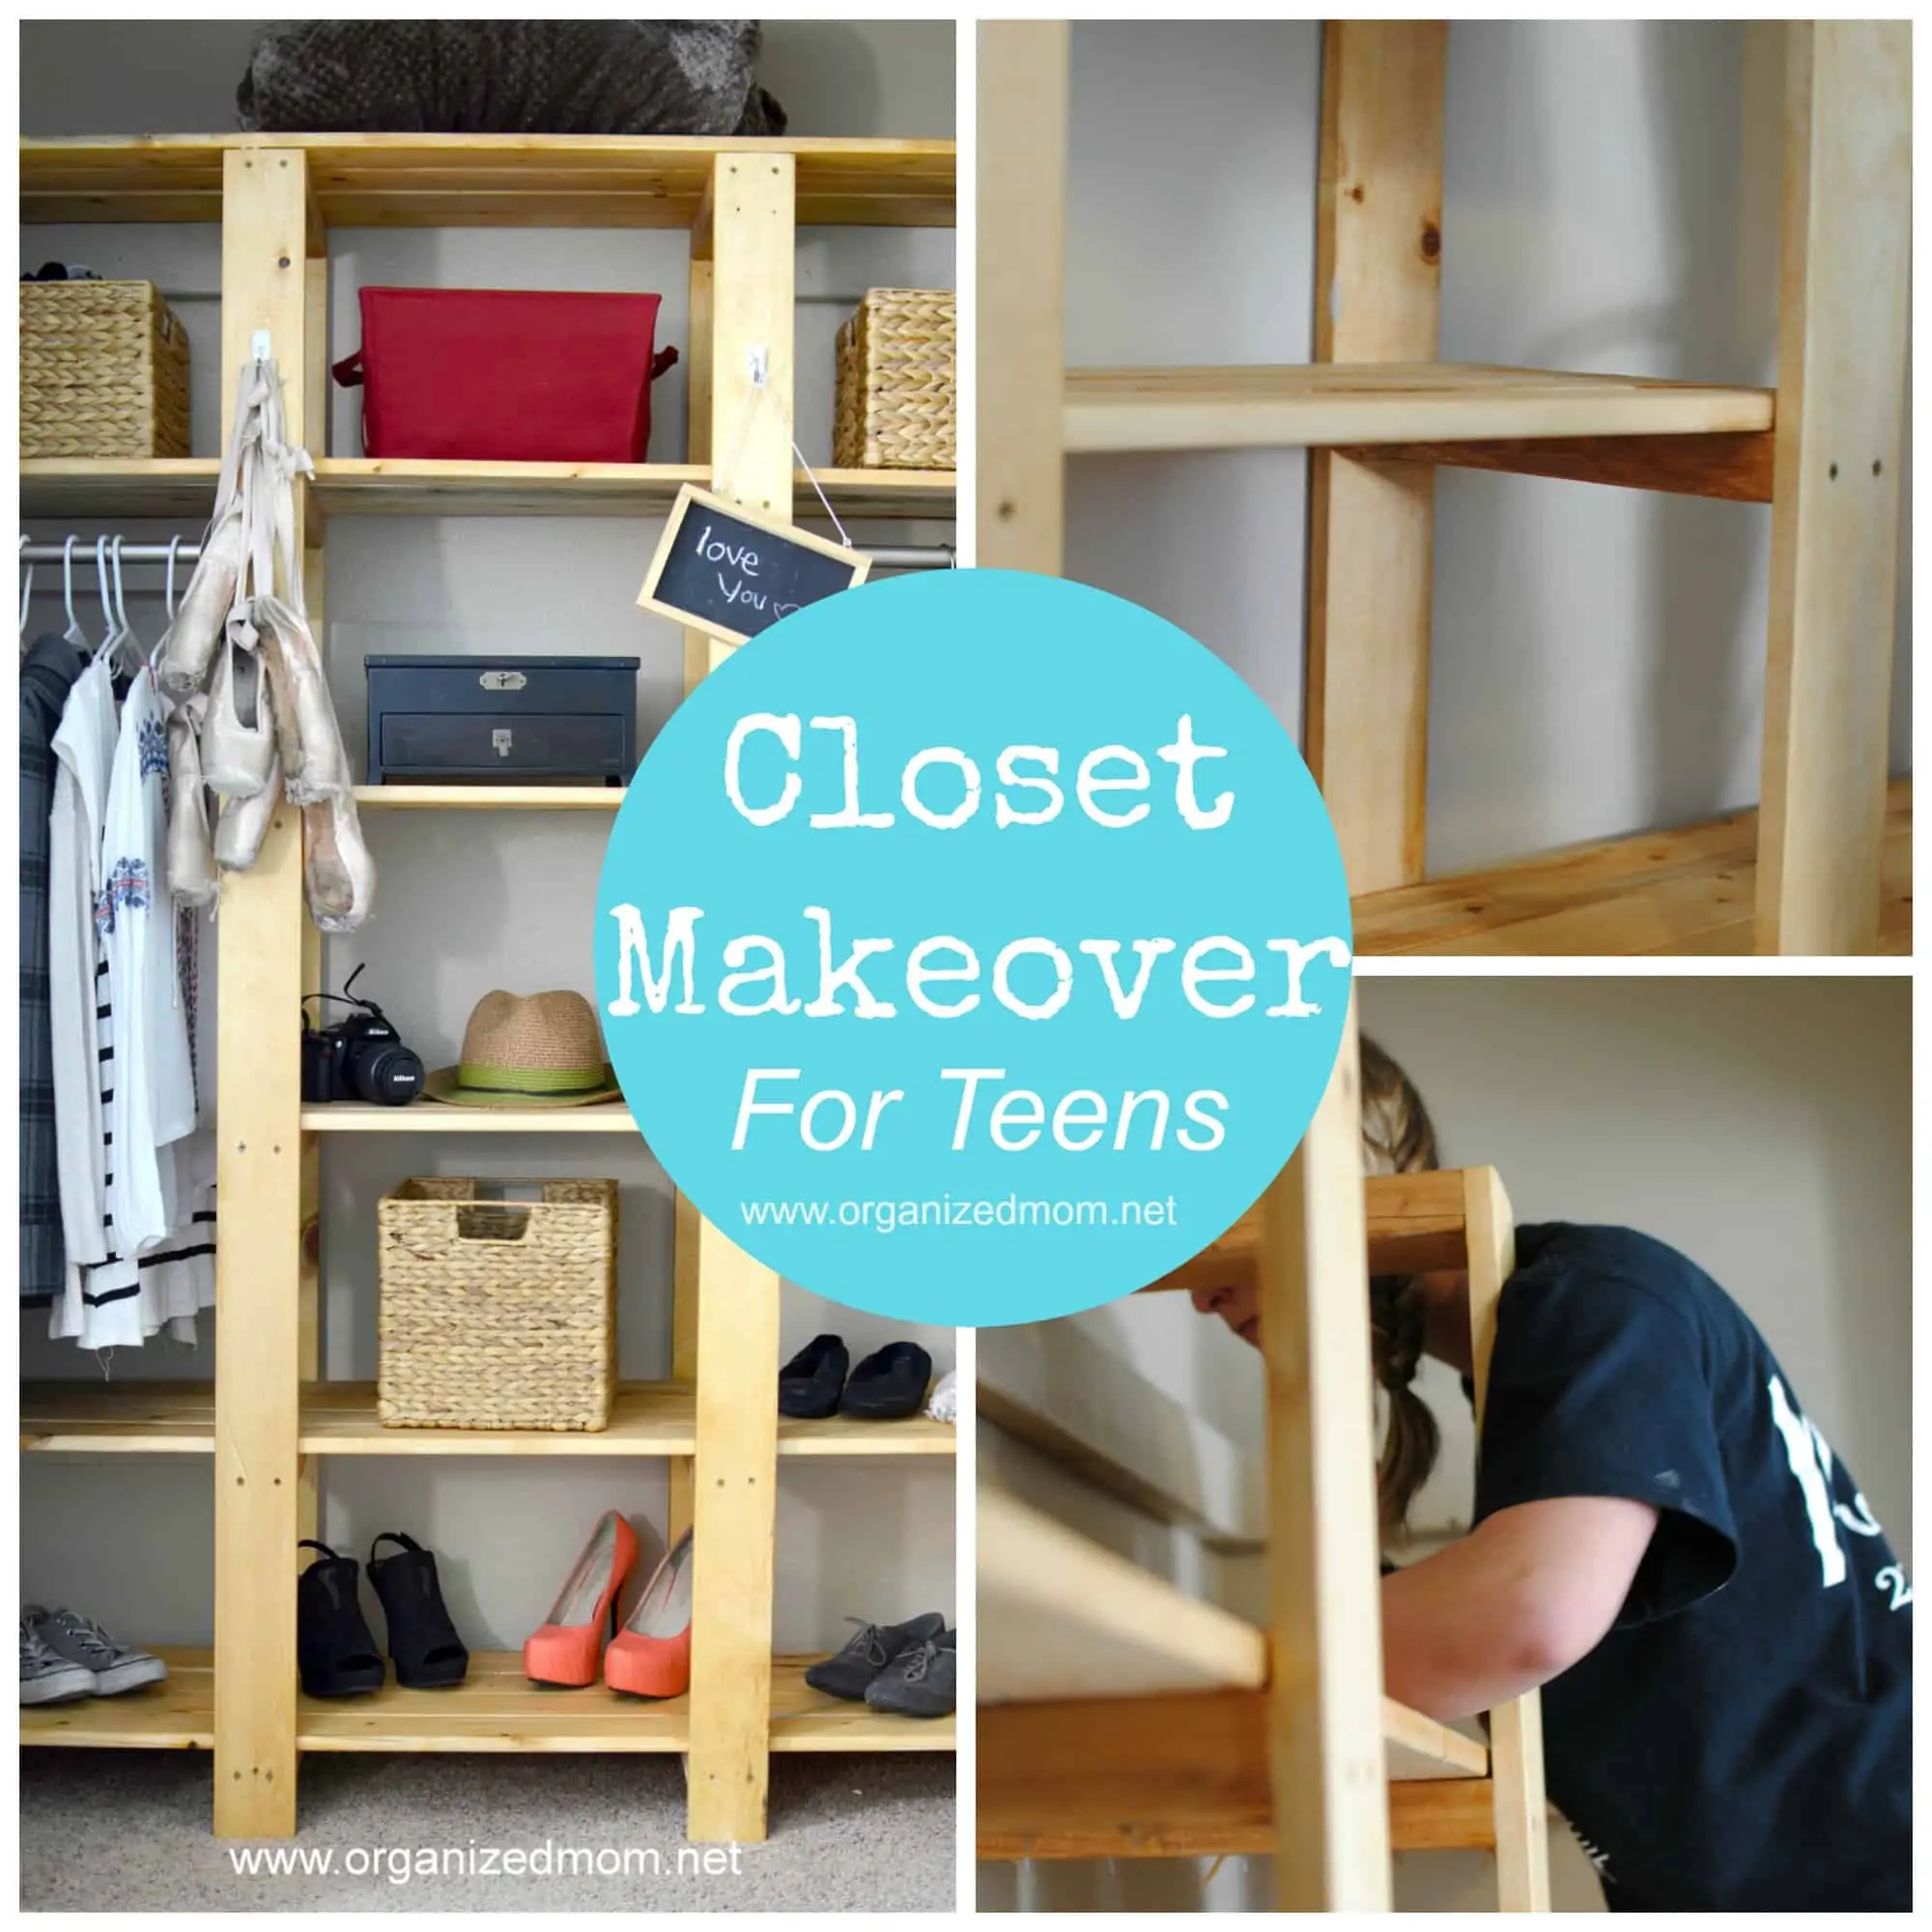
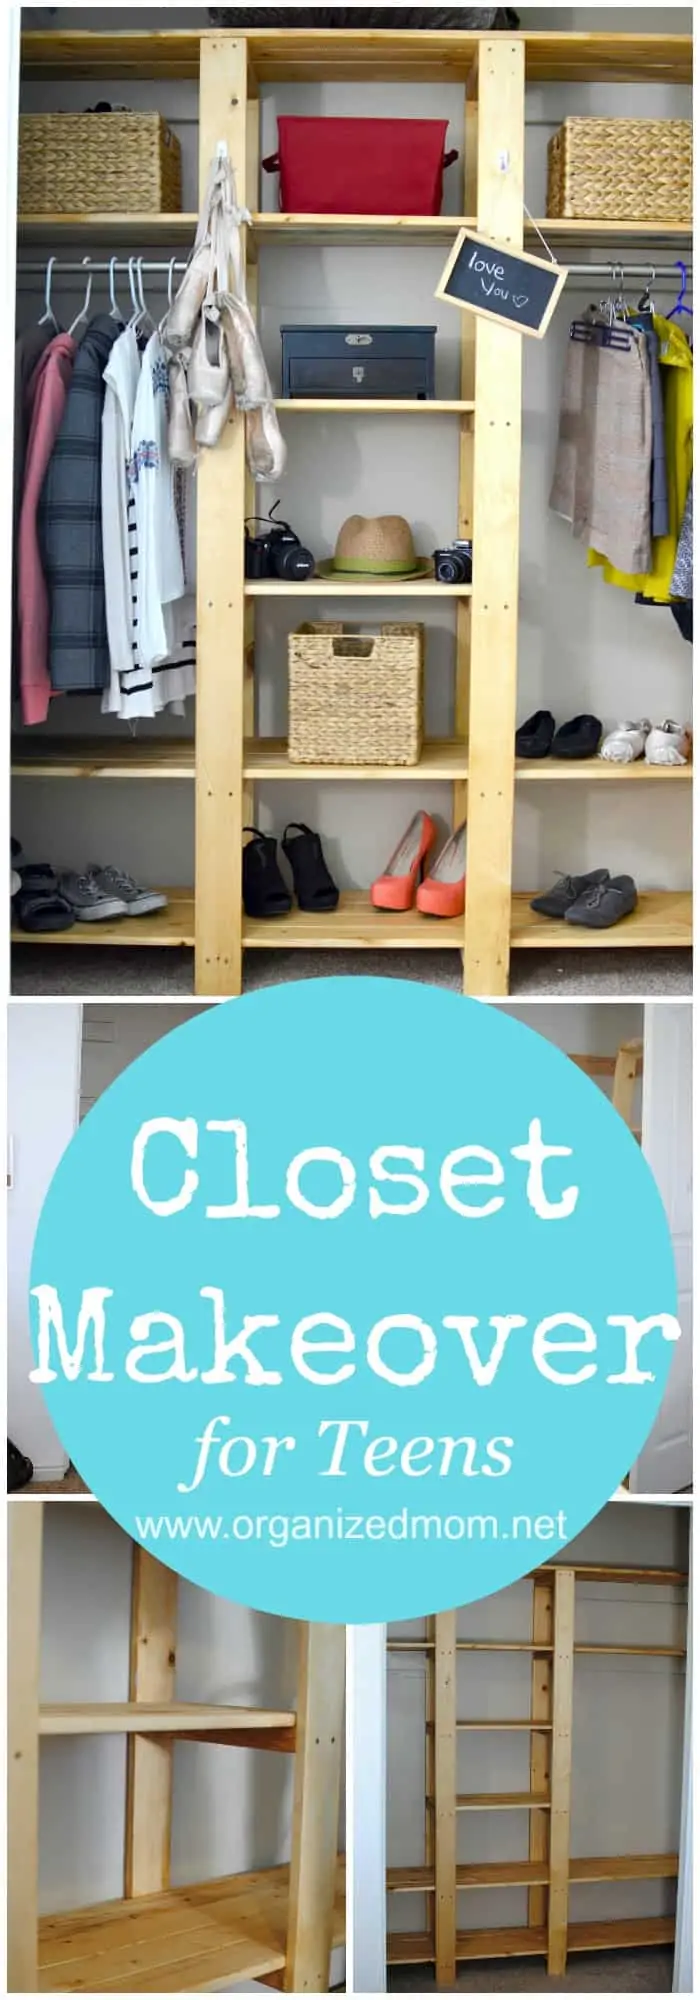
For less than $100, we made did a closet makeover with our own closet organization system!
As my teenage daughter cares more and more about her clothes (thank goodness!) it became necessary to modify her closet to not be a disaster! Most of her clothes were on the floor, and all of her shoes were in piles. We decided this weekend, to build some shelves inside her closet and it turned out to be perfect for a teen closet makeover (and she helped a ton!)
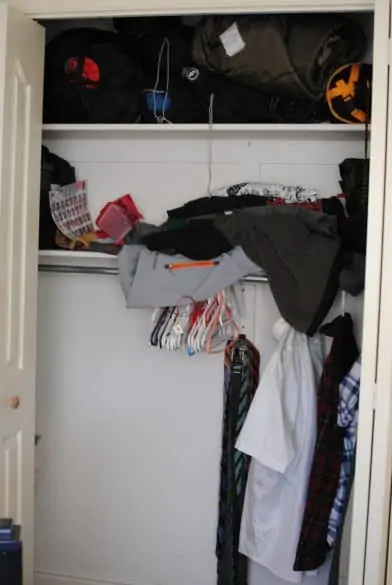
This is the closet BEFORE the redo. The problem with standard closets, especially for kids, is that the shelves are out of reach and not practical to use. There is too much dead space, where nothing can be stored, and the entire closet becomes useless.
So, we first took out the standard shelves and hanging rod. Once removed, we painted the back of the closet walls, so that everything would look uniform, and so we could cover up years of use and abuse.
- First, we built two “ladders” outside (not in the closet)
- Then, we brought the ladders inside to measure the height of the brackets that will hold the shelving up.
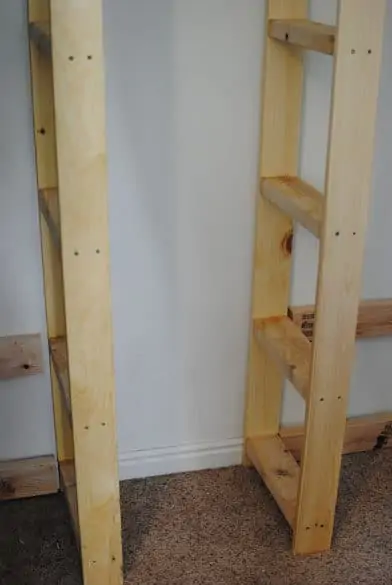
- Then we nailed the bracket boards inside the closet, and painted the bracket boards only.
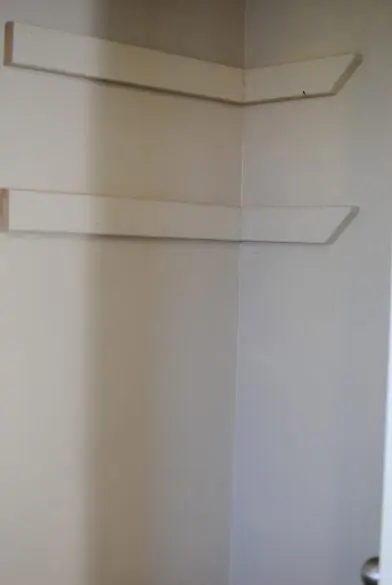
- Then we cut the longest shelving to length
- Then, we stained the shelves and the ladder.
- Then we brought the ladder in, pushing it all the way to one side to feed the long shelves inside. Then, we could move the ladders to the middle where they could secure them to the wall.
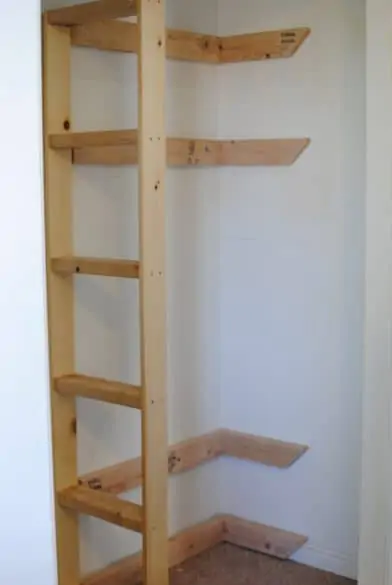
- The middle shelves will determine how wide it is, so then we used a nail gun to secure the two middle shelves together.
- Then, pushed it all the way in, and nailed down the three shelves.
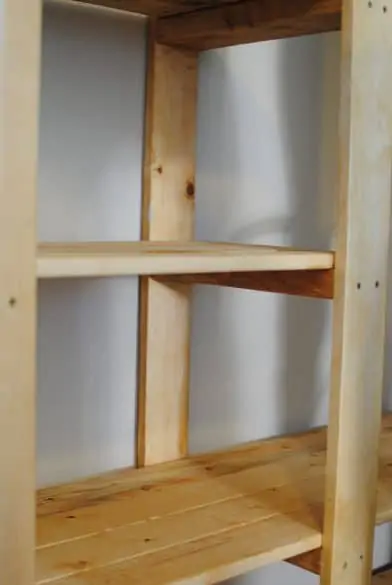
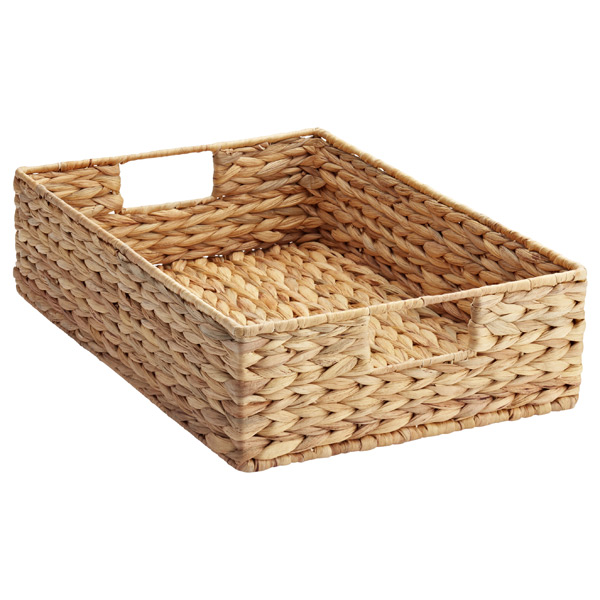
We lined our shelves with baskets from the Container store to store clothes and other necessities in!
We love how this closet turned out!! We’re ready to do the same with the other rooms in the house as well!
Susan
Saturday 5th of November 2016
Nice! Love the hanging point shoes!