One of my favorite bullet journal accessories has got to be washi tape. I am a bit of a washi tape addict, and have accumulated a ton of it in different patterns and sizes. If you are new to the world of Washi tape, welcome, because we’re going to learn everything you need to know to get started – even how to make your own.
Sometimes though, I just can’t find exactly what I’m looking for, which led me to figure out how to make my own washi tape.
DIY washi tape is great, because it is easy to get exactly what you want, in exactly the size you want. If you’ve got the right tools the possibilities are endless.
What is Washi tape?
Washi tape is a type of decorative masking tape that originates from Japan. It is made from natural fibers such as bamboo and hemp, and is often printed with brightly colored designs. Washi tape can be used for a variety of purposes, including scrapbooking, decorating notebooks and planners, and even wrapping gifts.
Its unique look and versatility has made it extremely popular in recent years, with washi tape fans all over the world. If you’re looking for a fun and creative way to add a personal touch to your projects, washi tape is the perfect solution.
Why is washi tape so popular?
Washi tape is a type of Japanese paper tape that has become extremely popular in recent years, particularly among crafters and DIY enthusiasts. There are several reasons for its popularity. First of all, washi tape comes in a huge variety of colors and patterns, so you can find a design to suit any project.
Secondly, it’s very versatile – it can be used for everything from embellishing cards and scrapbooks to wrapping presents and decorating walls. And last but not least, washi tape is relatively inexpensive, making it a great option for people on a budget. So if you’re looking for a fun and creative way to add a personal touch to your projects, washi tape is definitely worth checking out!
Can I write on washi tape?
Sure, you can write on washi tape! In fact, many people use washi tape as a fun and creative way to decorate journals, planners, and other paper products.
The beauty of washi tape is that it’s easily removable, so if you make a mistake, you can simply peel it off and start again. It is the consistency of a thin masking tape.
Plus, there are endless possibilities when it comes to design – you can choose from a huge range of colors and patterns to create something truly unique. So go ahead and give it a try – washi tape is the perfect way to add a personal touch to your paper products.
Is washi tape removable?
Washi tape is a type of decorative tape that is becoming increasingly popular for its versatility and ease of use. Unlike traditional adhesive tapes, washi tape can be easily removed from most surfaces without leaving behind any residue.
This makes it ideal for use in scrapbooking, card making, and other crafts. However, washi tape is not completely foolproof. Depending on the type of surface it is applied to, washi tape may not always come off as easily as you would like. But with a little patience and some trial and error, you should be able to find a washi tape that works well for your needs.
How to Make DIY Washi Tape
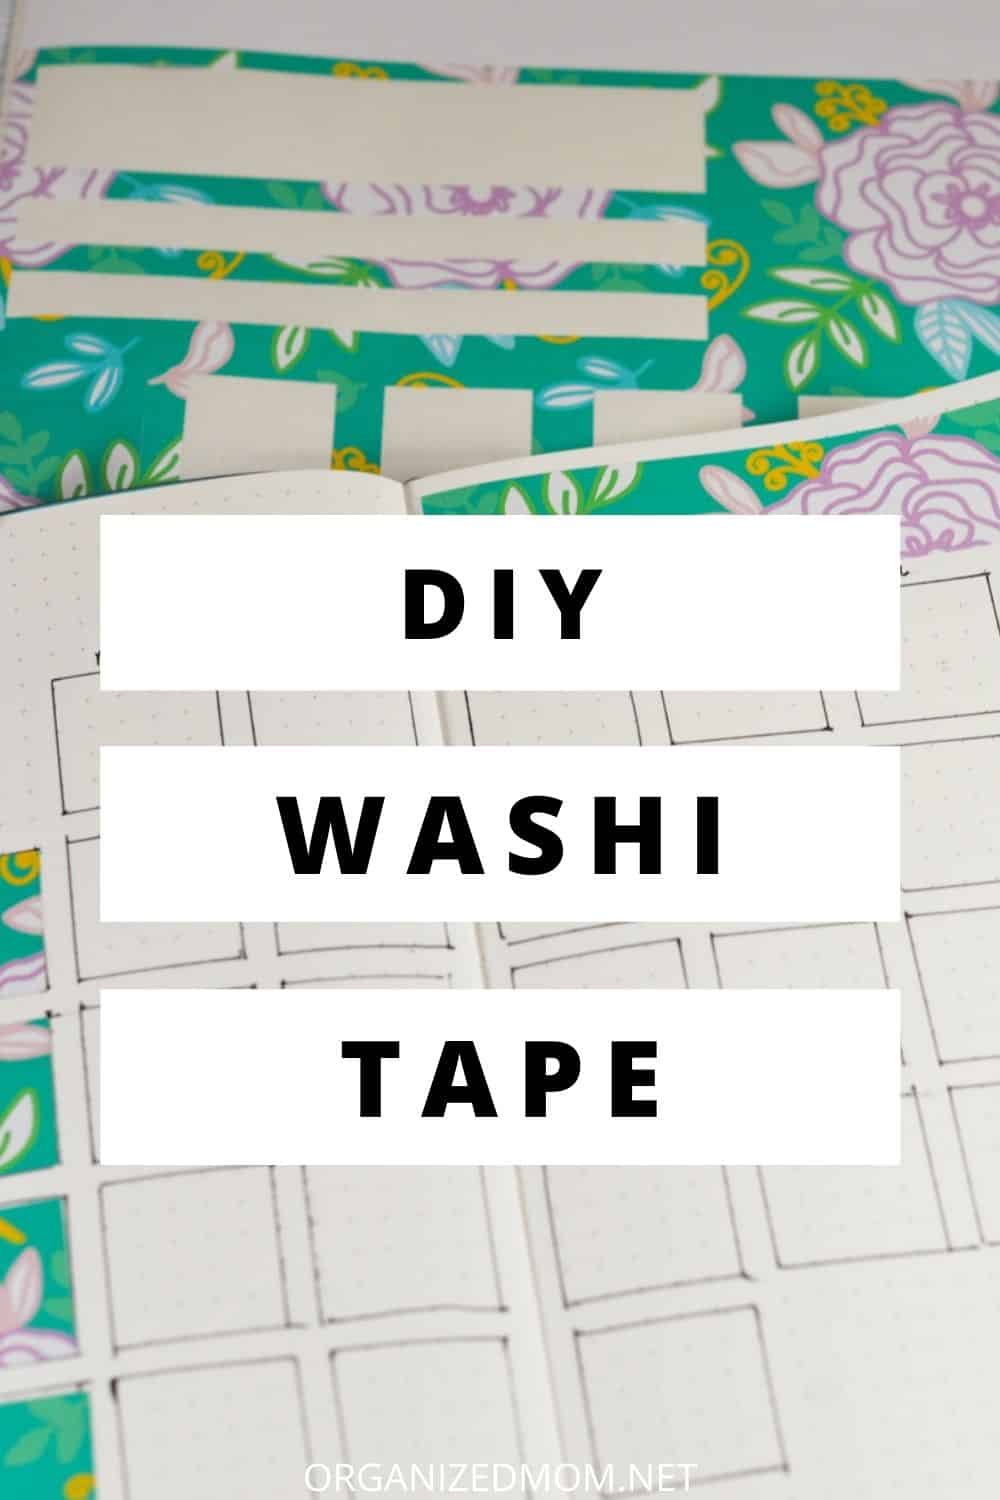
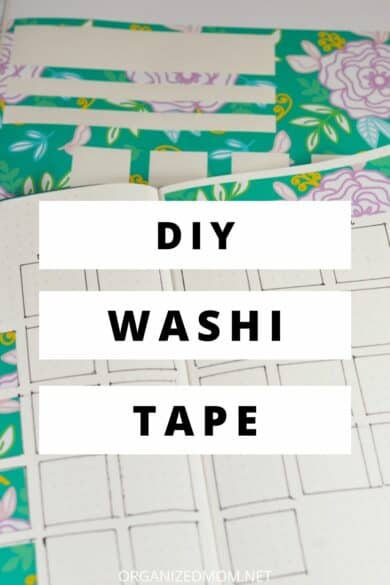
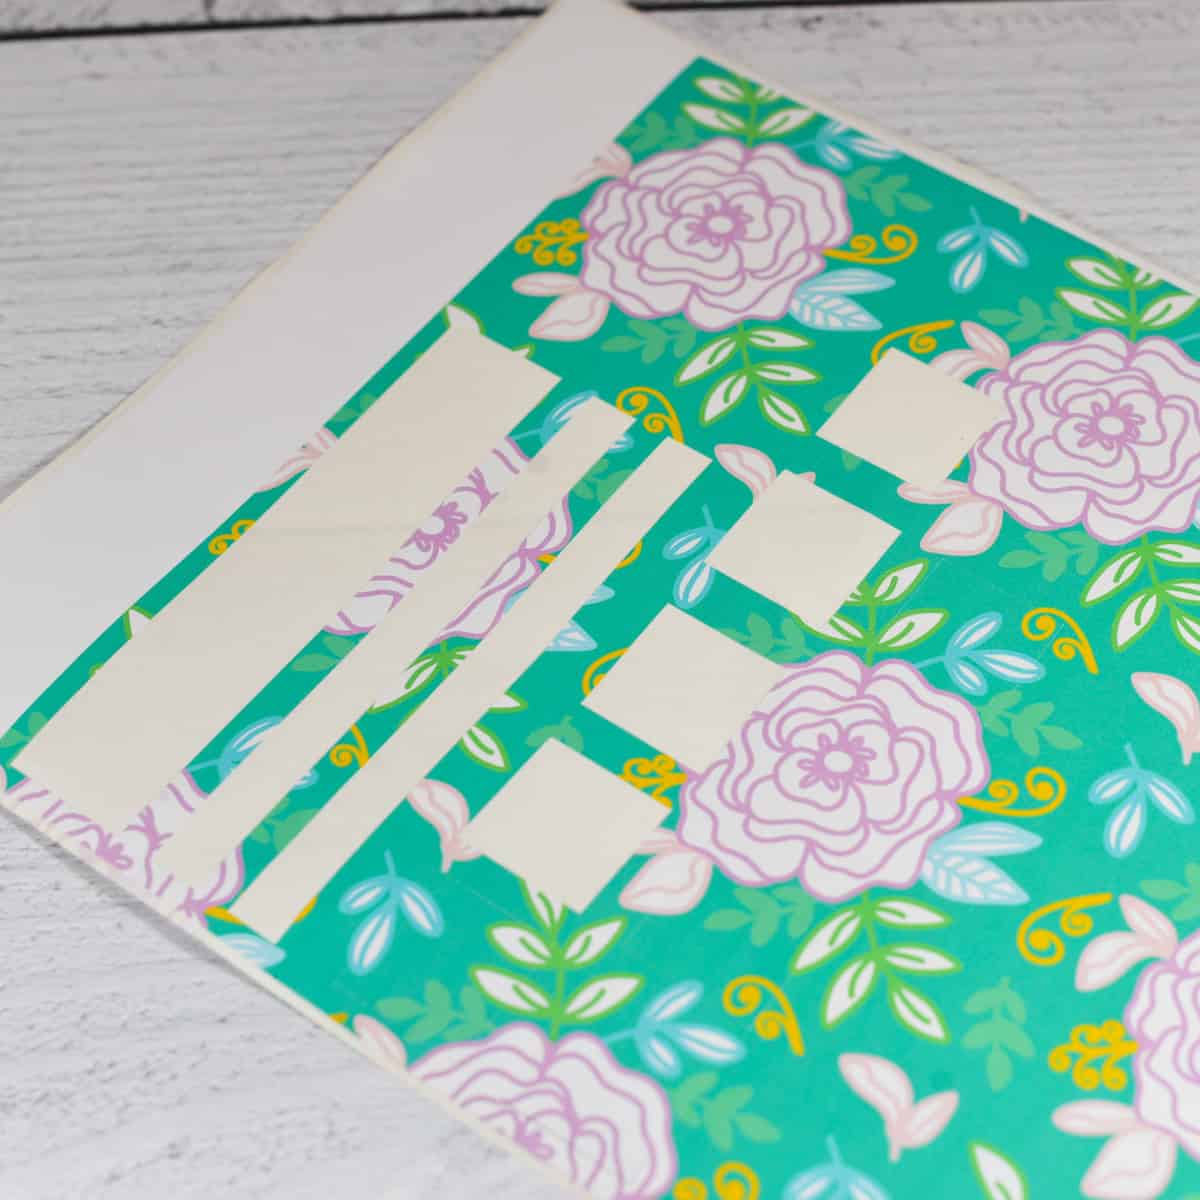
My version of DIY Washi tape is stickers in the prefect size that you want to use for Washi strips.
Here is what you need.
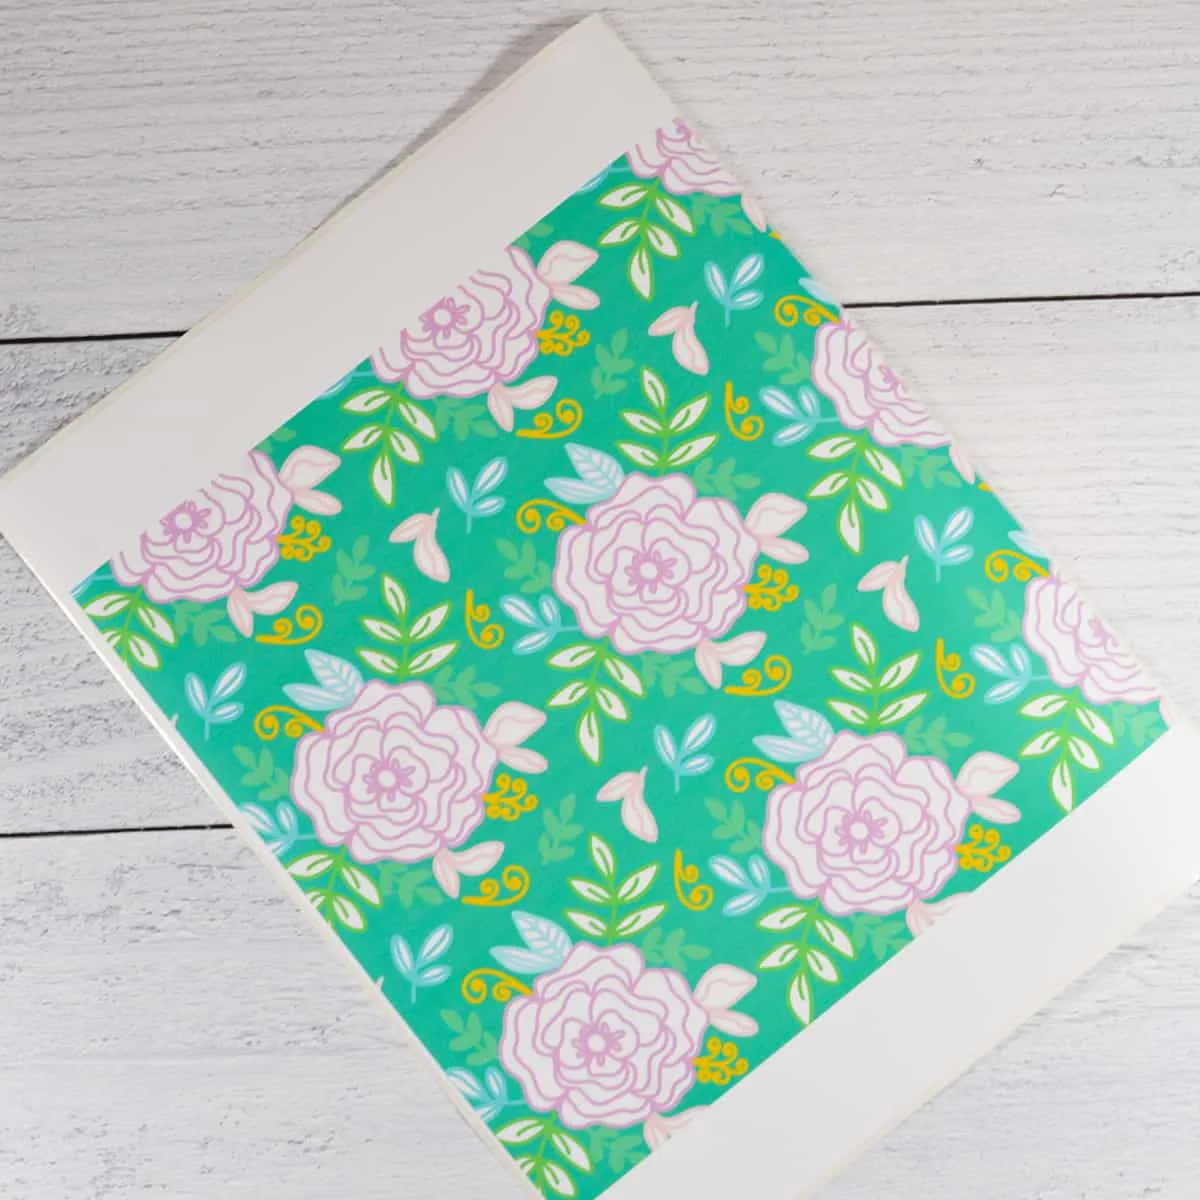
- Digital paper to print for your Washi tape, or you can you let your kids get creative and just draw all over a piece of sticker paper. I used this FREE digital paper from FreePrettyThings.
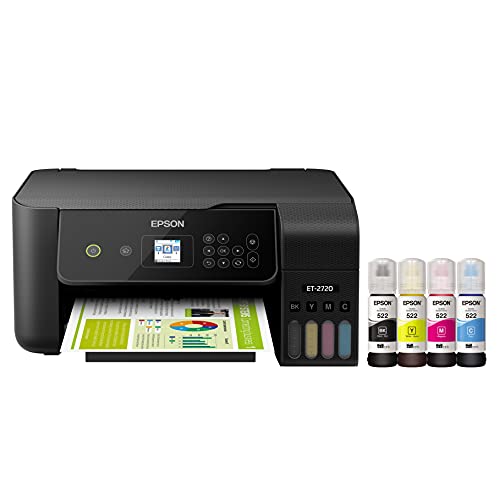
- Sticker Paper and a color Printer (or you can just doodle on the sticker paper, or even have your kids draw and doodle on it!). Note, this is regular sticker paper, and is not easily removable, but it is very inexpensive. You can also buy printable washi paper for more authentic washi tape.
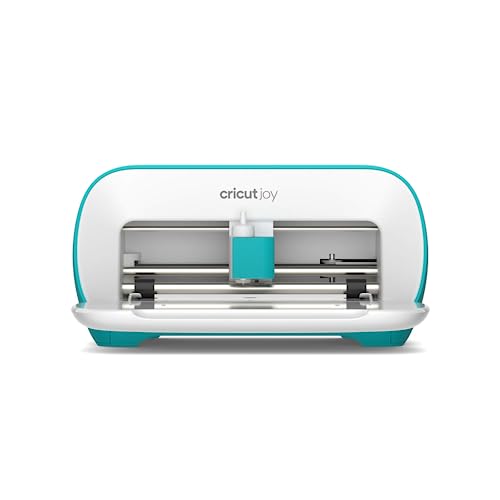
- Any Circuit or crafting machine. I have a Circuit Maker, but it will also work on the Circuit Air and even the Circuit Joy because we won’t be using the print then cut feature.
- If you don’t have a crafting machine you will need scissors and a ruler, or a paper cutter if you want your Washi tape very straight.
The process is pretty simple. If you have a Cricut or other cutting machine, you can use that to do the cutting for you. If you don’t or you can just use scissors or a paper cutter.
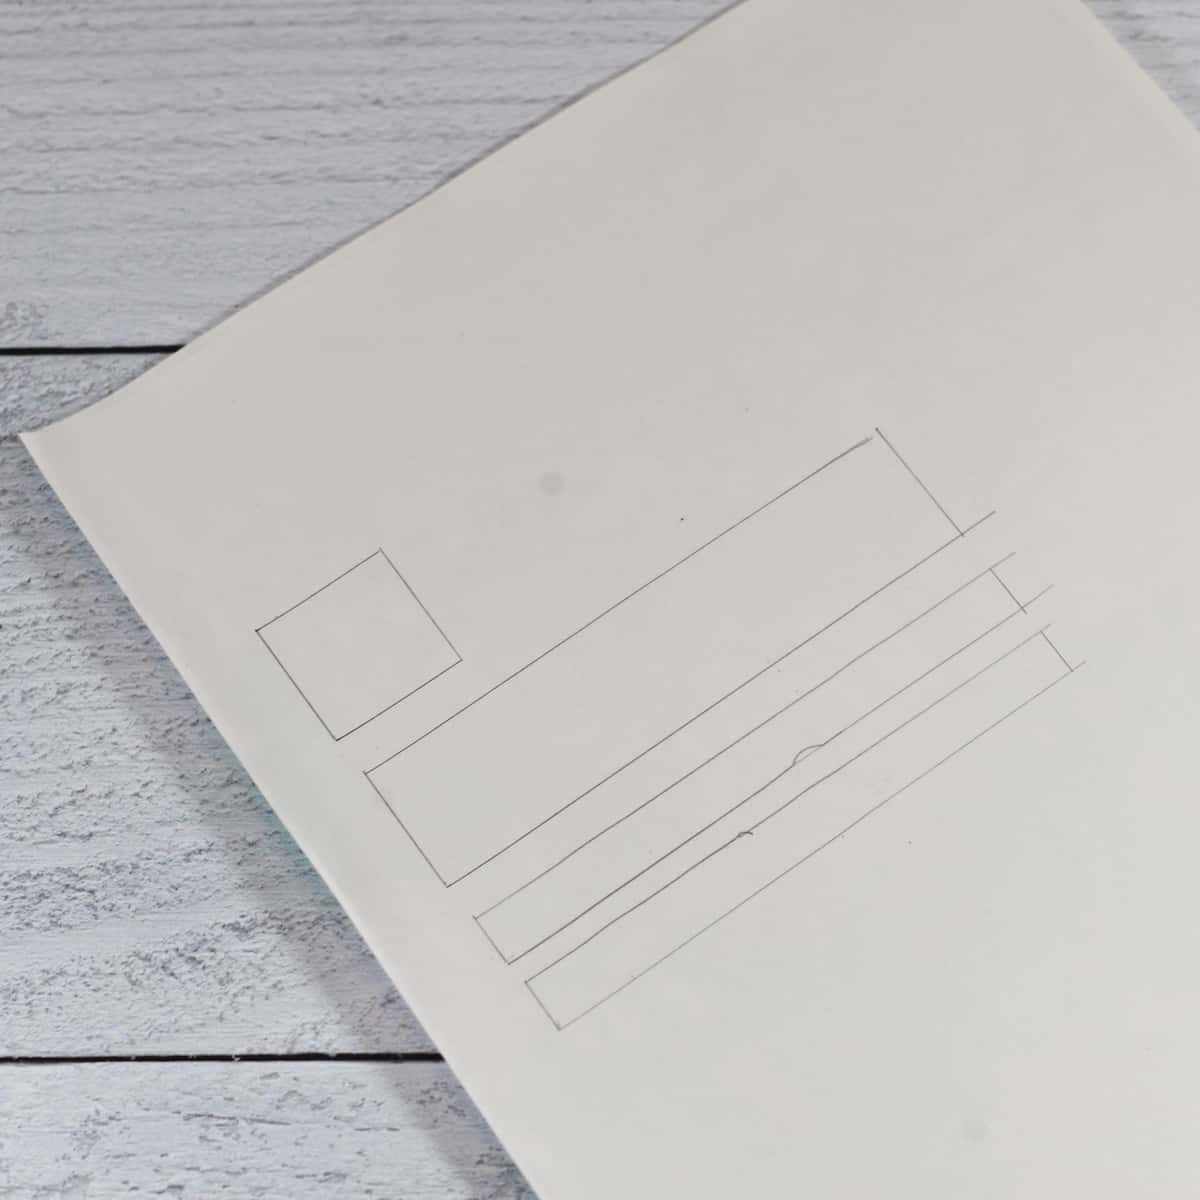
 I made my washi tape with my Cricut because I don’t use it nearly enough. Then I made it again “by hand” super low tech with a ruler and a pencil.
It was pretty quick both ways. The benefit to the Cricut is that you can save your cut file, and use it on different digital paper another time.
If you’re going to do it by hand, it was also pretty quick. If you see yourself doing it on a regular basis, you can make yourself some templates to trace out of index cards, or even draw out squares in a graphics program and print them on the backing of the sticker paper so it is easy to do it again the other time.
Whichever way you go, this is a super simple way to get your planner or bullet journal exactly the way you want it!
Now, let’s take a look at how to make washi tape for your bullet journal or planner!
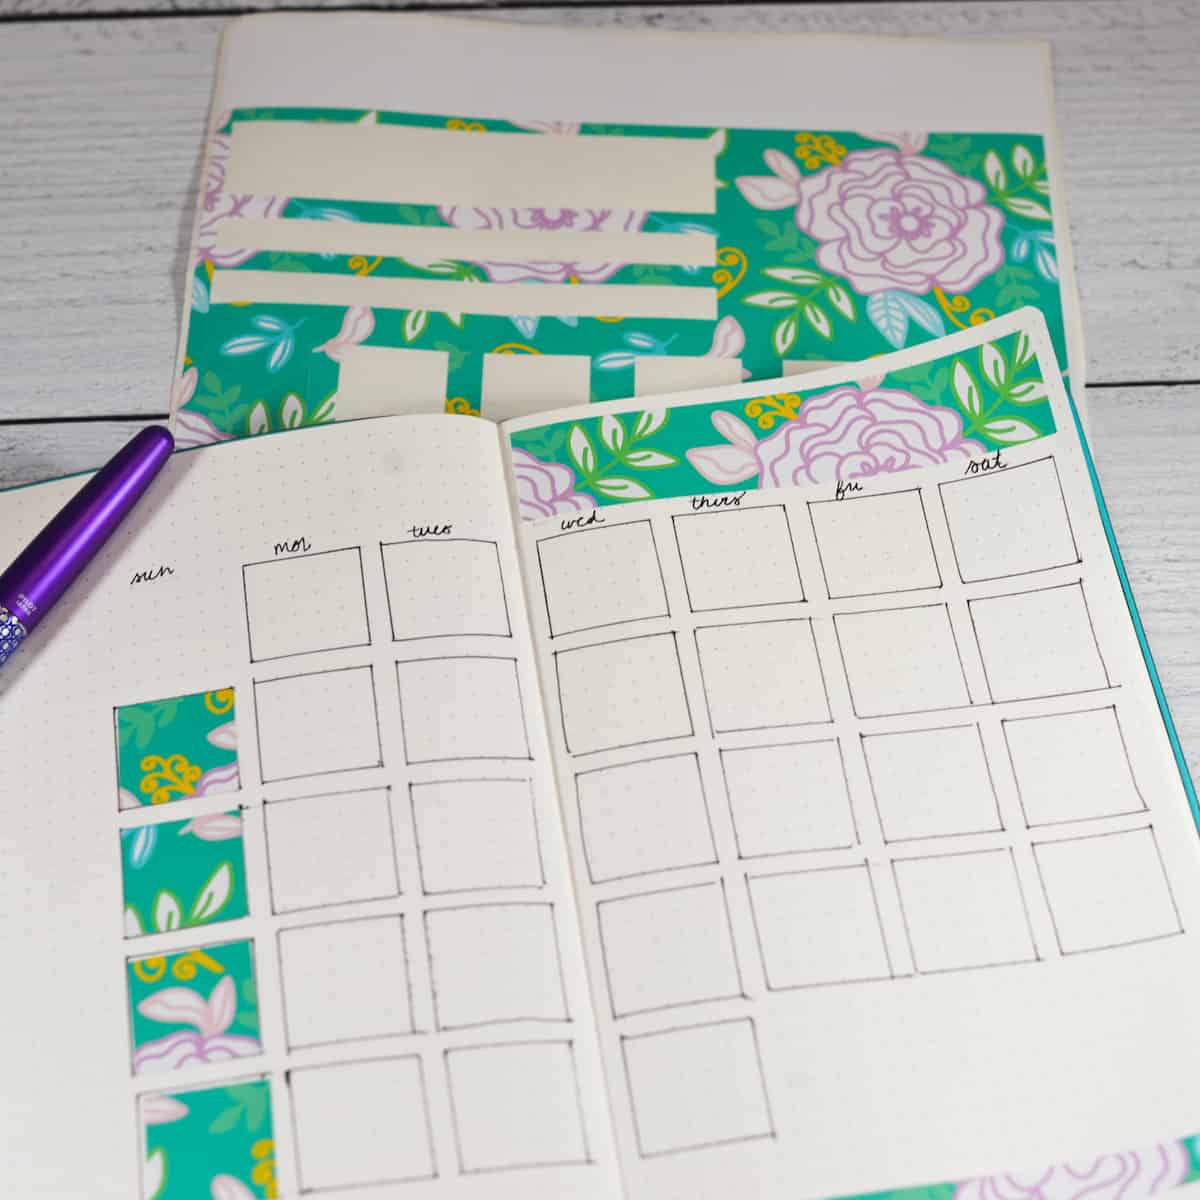
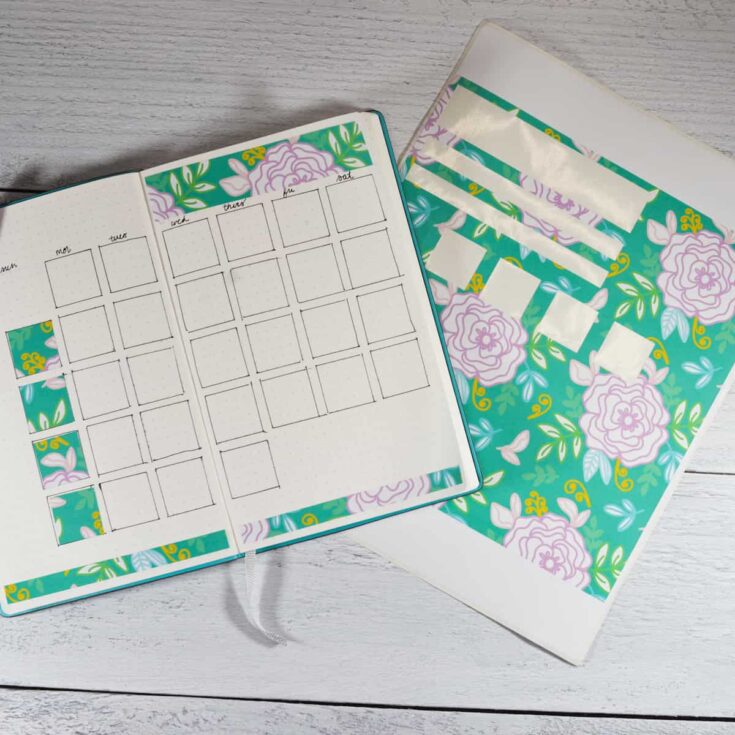
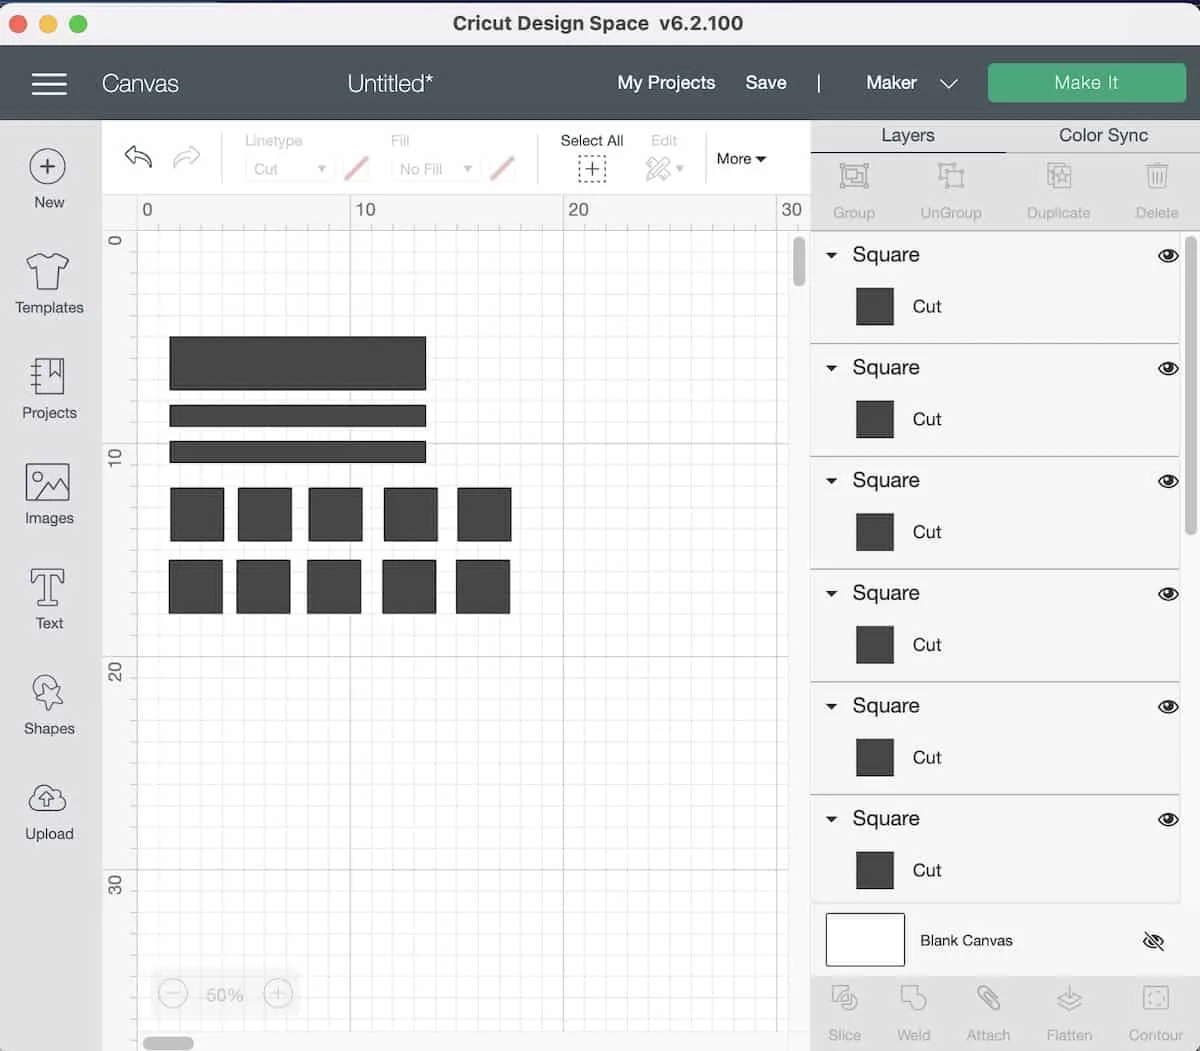
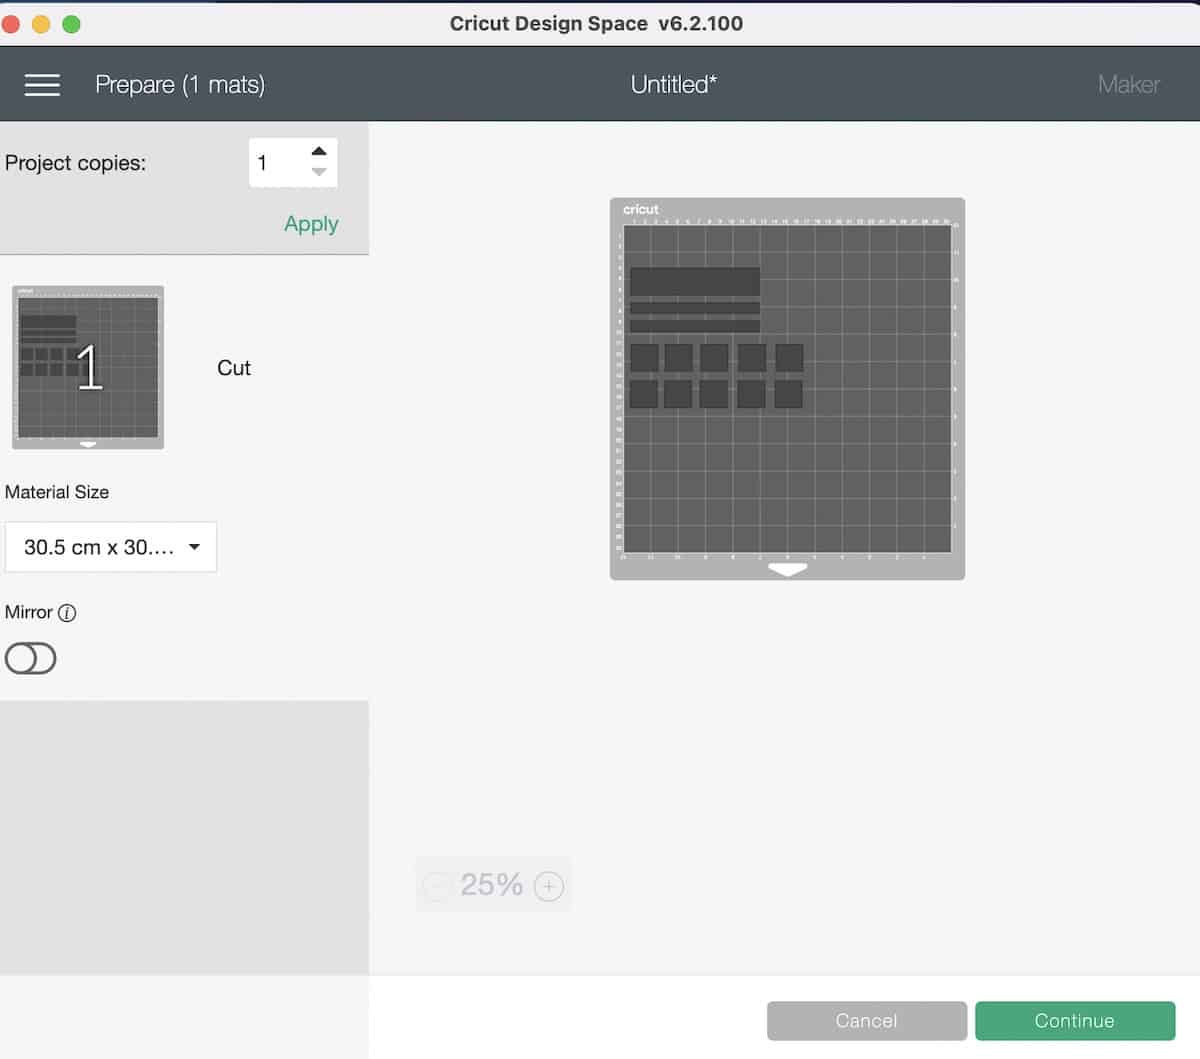
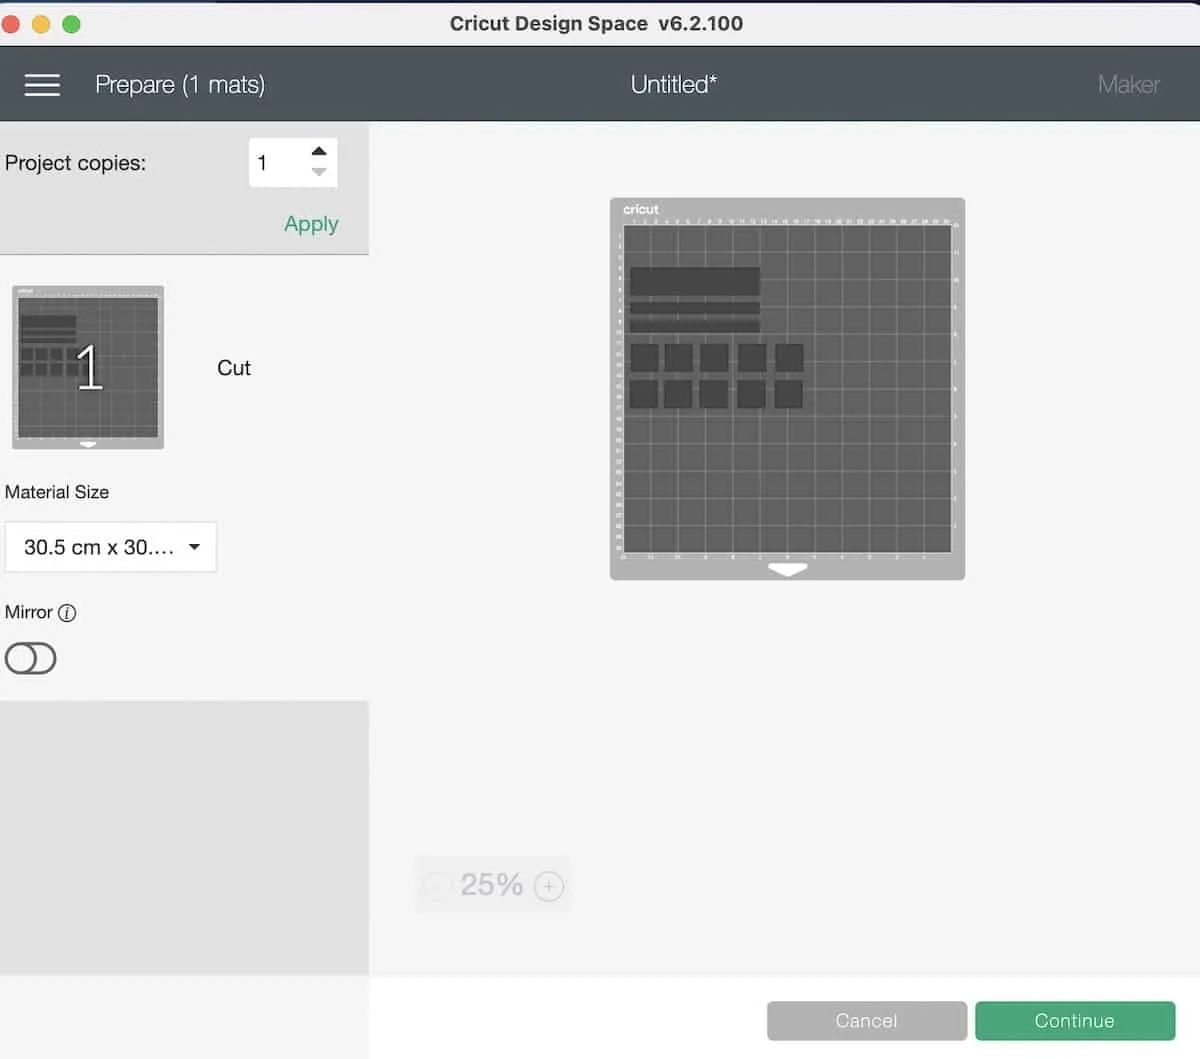
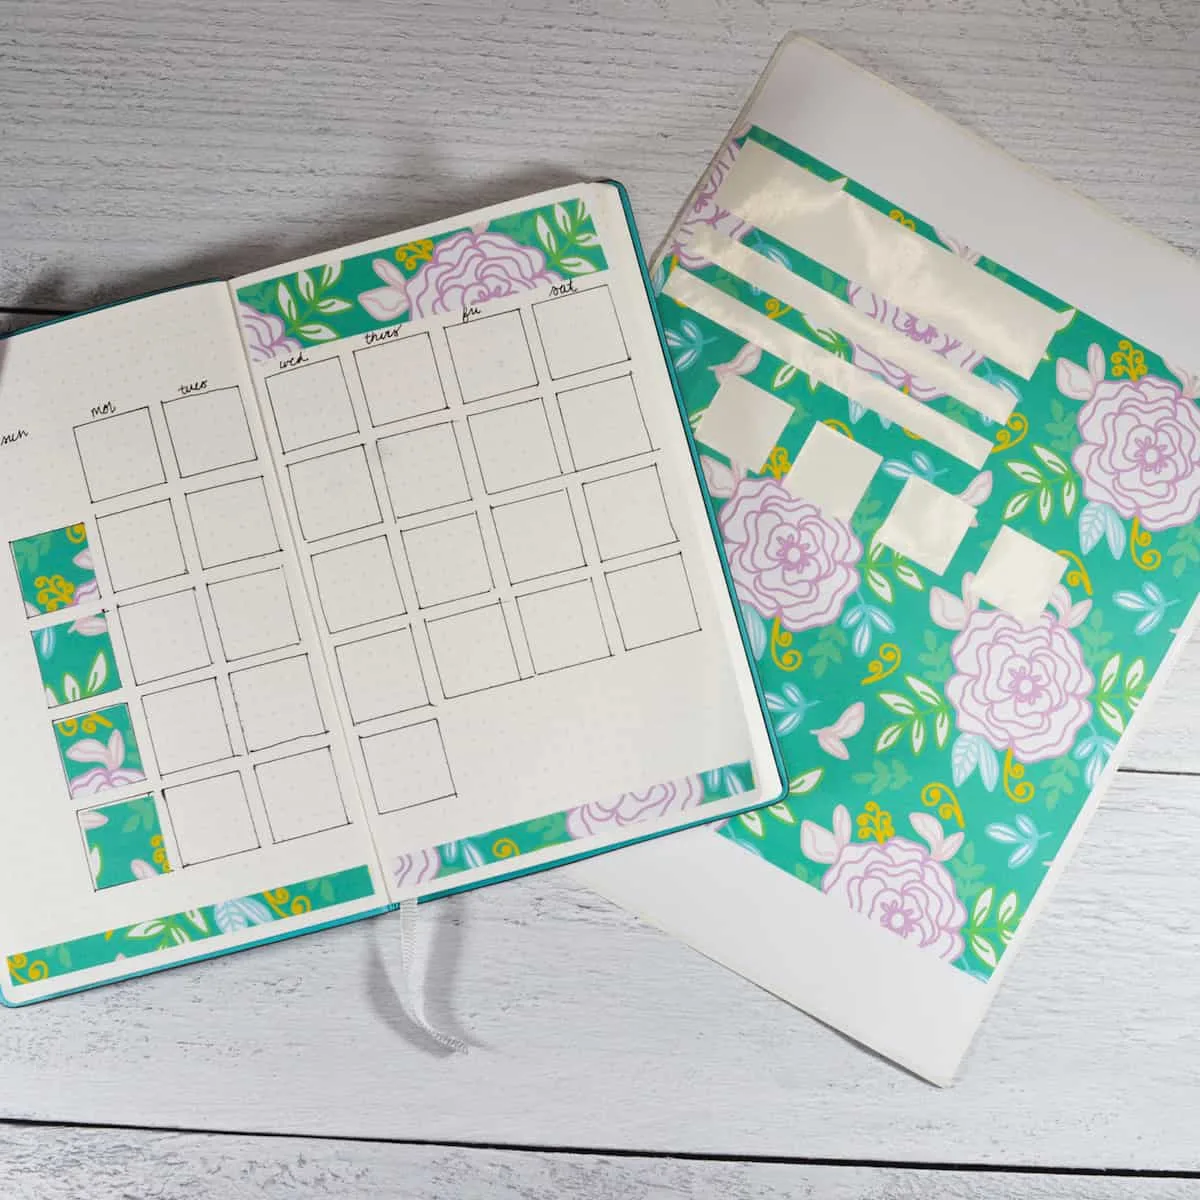
Looking for the perfect washi tape for your bullet journal? Look no further, and make it yourself! With DIY washi tape, you can get the pefect size and perfect print washi each and every time. The hardest part about this whole process is deciding what size washi strips you want! As you can see, I made strips to accent my monthly layout, and boxes to fit for some of the dates in my calendar. This is totally up to you. If you use Cricut Design Space or Inkscape, be sure to save your file. Next time, you can just print a different digital paper, and use the same cut file over again. Once you have the cut files for the size you like, it becomes super easy to do over and over. It also doesn't take that long to draw lines to cut by hand. Consider making templates out of index cards so you can just trace them in the future. As an Amazon Associate and member of other affiliate programs, I earn from qualifying purchases.DIY Washi Tape

Materials
Tools
Instructions


Notes
Recommended Products