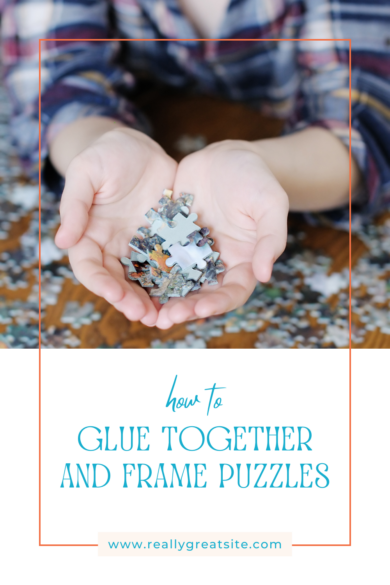
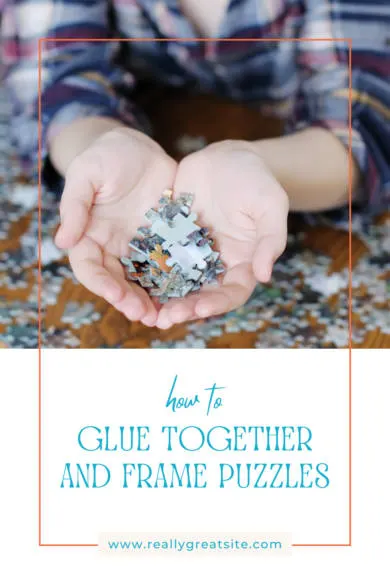

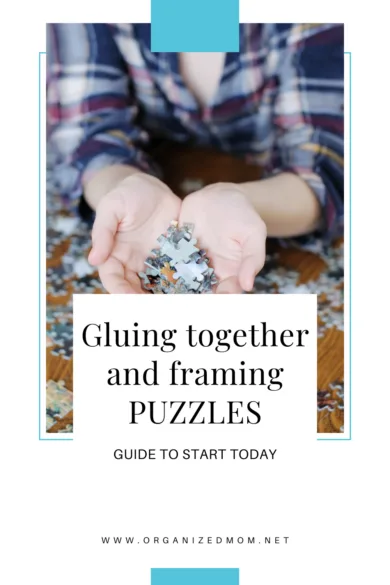
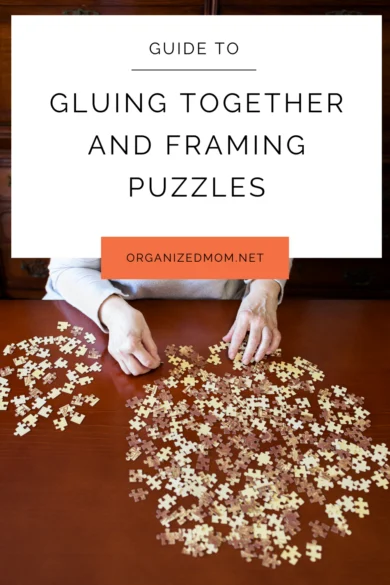

What feels better then putting that last puzzle piece in? Hanging that puzzle on the wall for all to see. This article is your guide to gluing together and framing puzzles.
Assembling puzzles isn’t just a pastime; it’s a way to unwind, connect with loved ones, and create beautiful pieces of art. Once you’ve completed a puzzle, preserving it in a frame can transform it into a cherished keepsake or home decor.
In this article we’ll walk you through the process of gluing together and framing your puzzle masterpiece, ensuring that your hard work remains intact for years to come.
Steps For Gluing Together and Framing Puzzles
Step 1: Gather Your Materials
Before you begin, gather all the necessary materials:
Completed puzzle
Puzzle glue (I used Mod Podge puzzle saver)
Foam brush (a 2 inch or 3 inch brush works well)
Wax paper (you can also use plastic wrap but I found the wax paper easier to work with)
Frame (with or without a matte that fits the size of your puzzle)
Tape (I used blue painter’s tape that was around 2 inches wide)
Step 2: Prepare Your Workspace For Gluing Together and Framing Your Puzzle
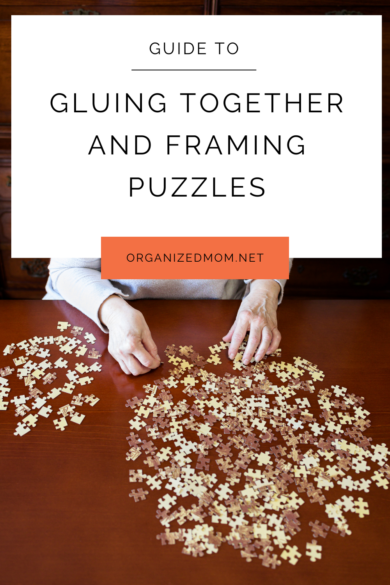
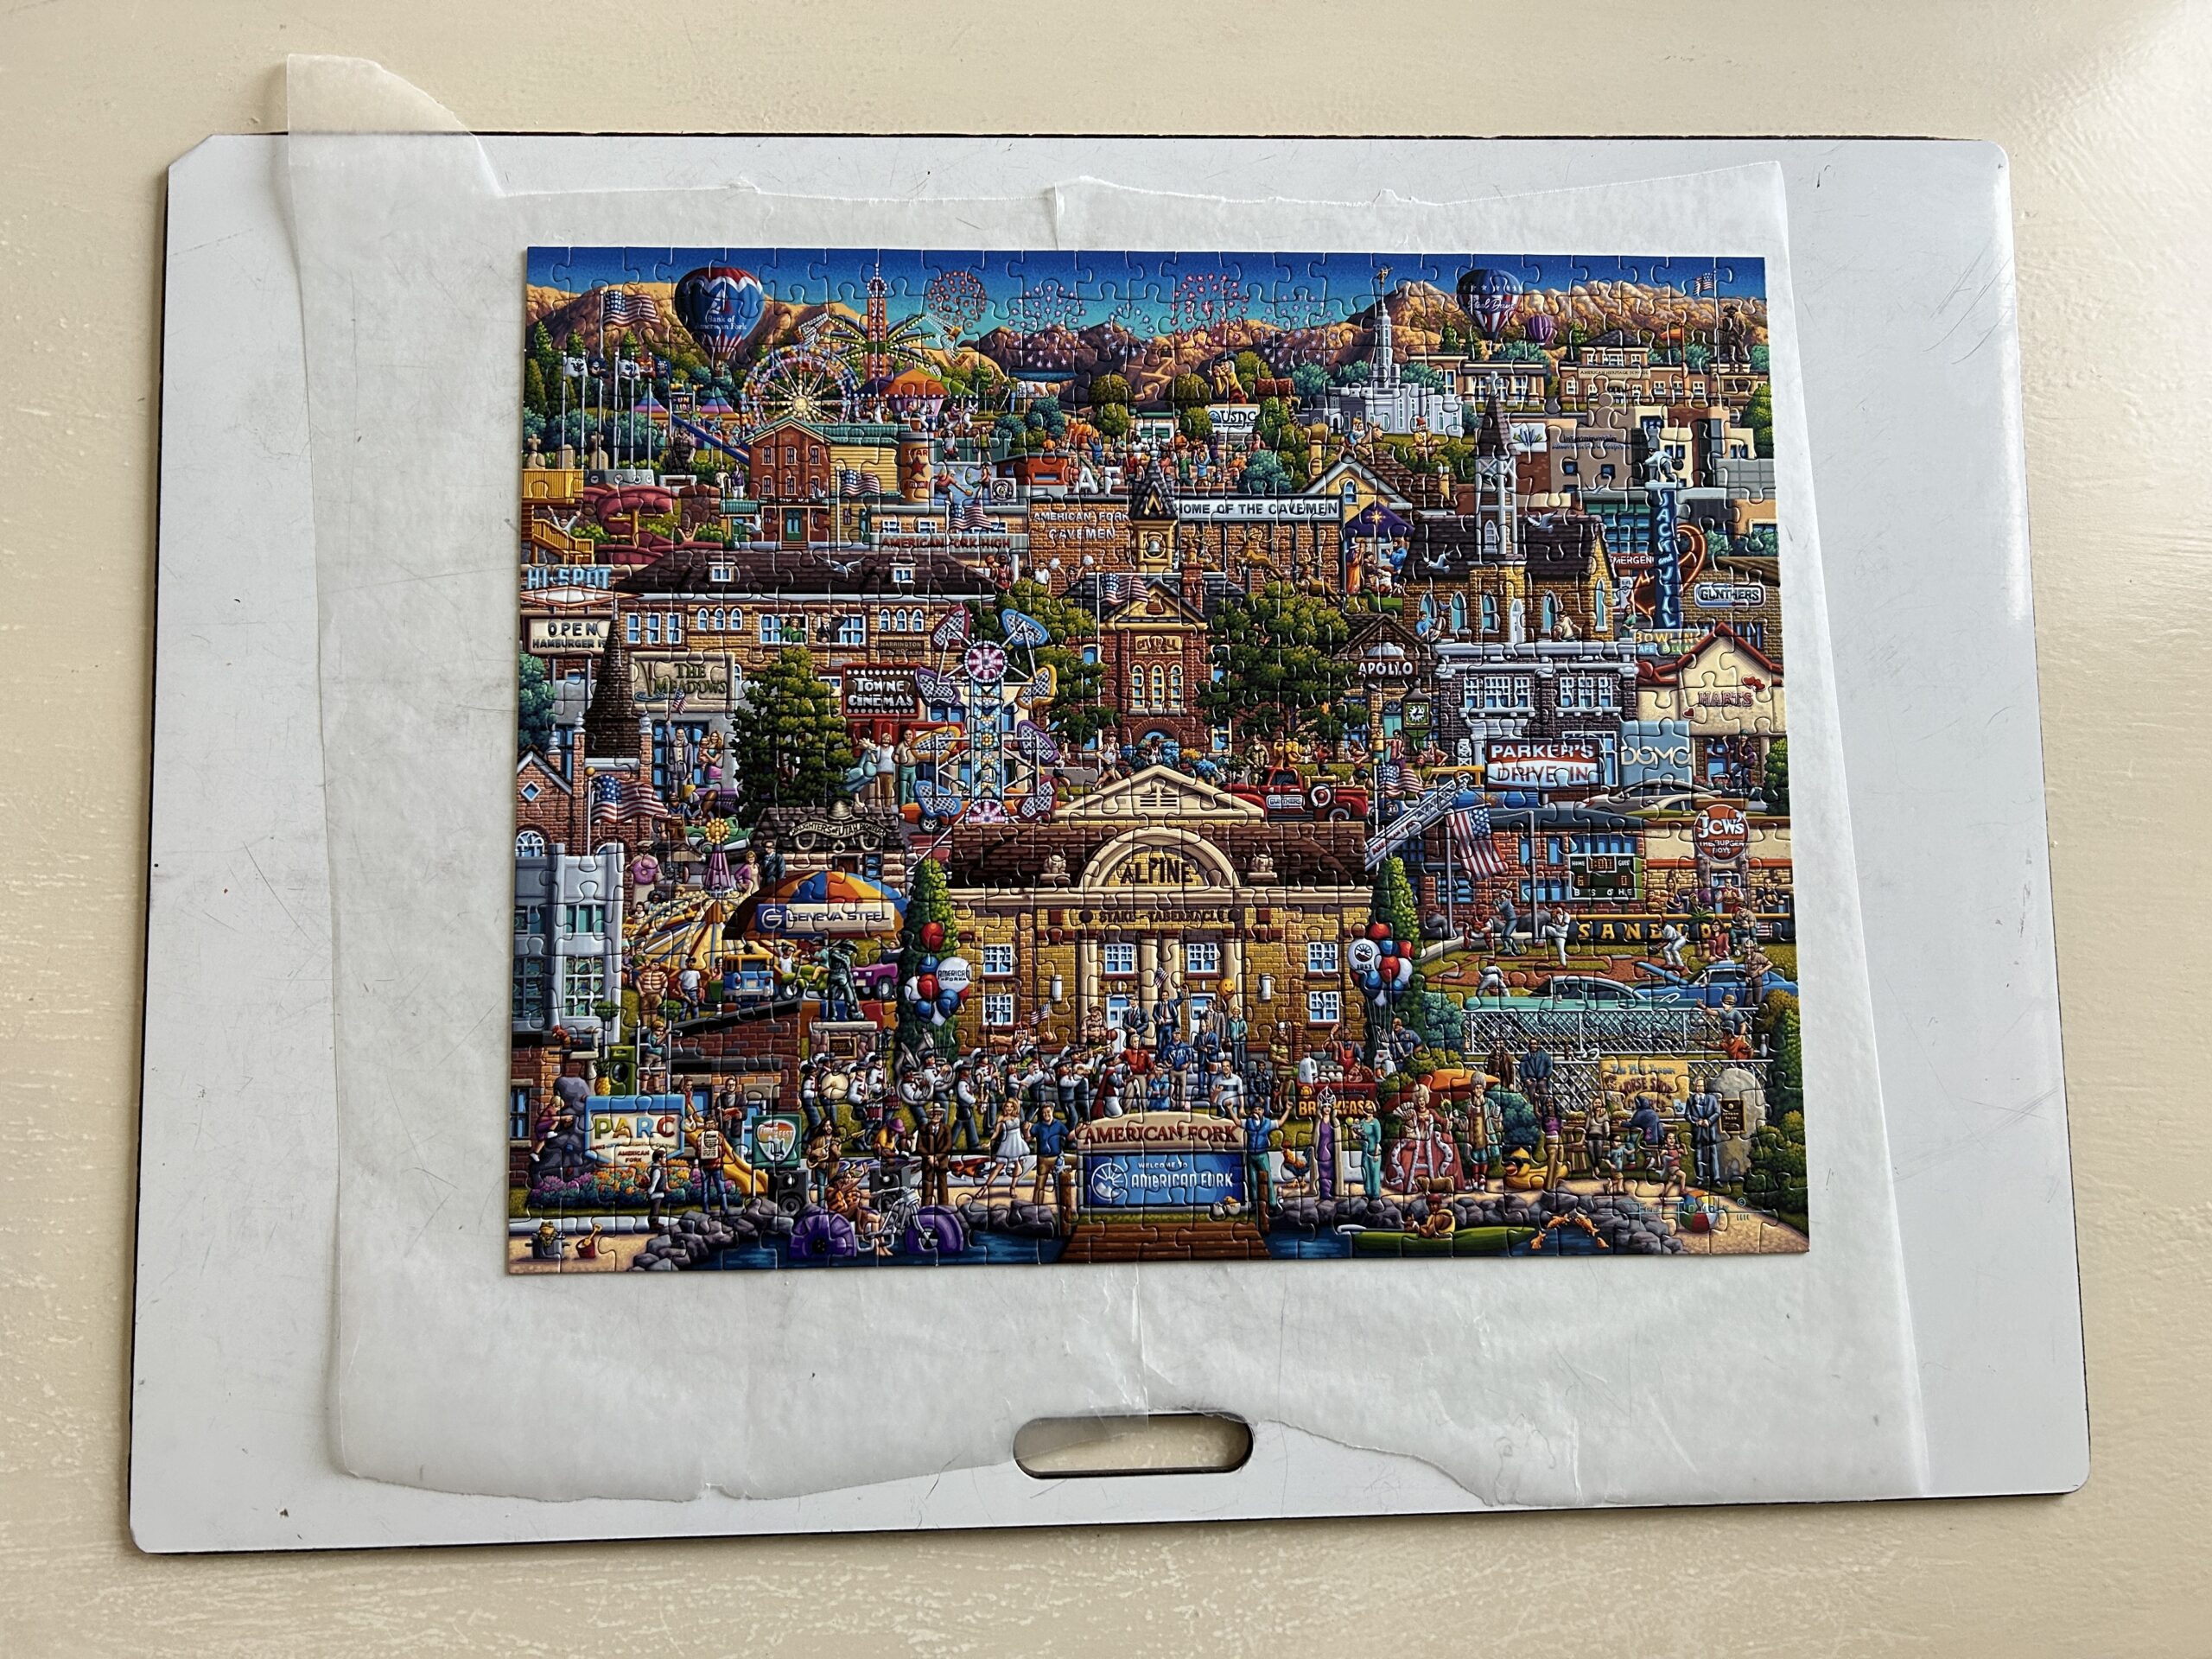
Choose a clean, flat surface to work on, preferably large enough to accommodate your puzzle and frame. I moved my finished puzzle to a large whiteboard we had. This allowed me to move it around easily when I needed my table for other things.
Lay down wax paper to protect your surface from any spills or messes. It also helps so you don’t accidentally glue your puzzle to your work surface.
Step 3: Gluing Together the Puzzle
To begin the process of gluing together and framing your puzzle be sure you have slid some wax paper underneath the puzzle. This step is SUPER important because the glue (Mod Podge puzzle saver) will not stick to the wax paper and the wax paper will also keep your surface glue free.
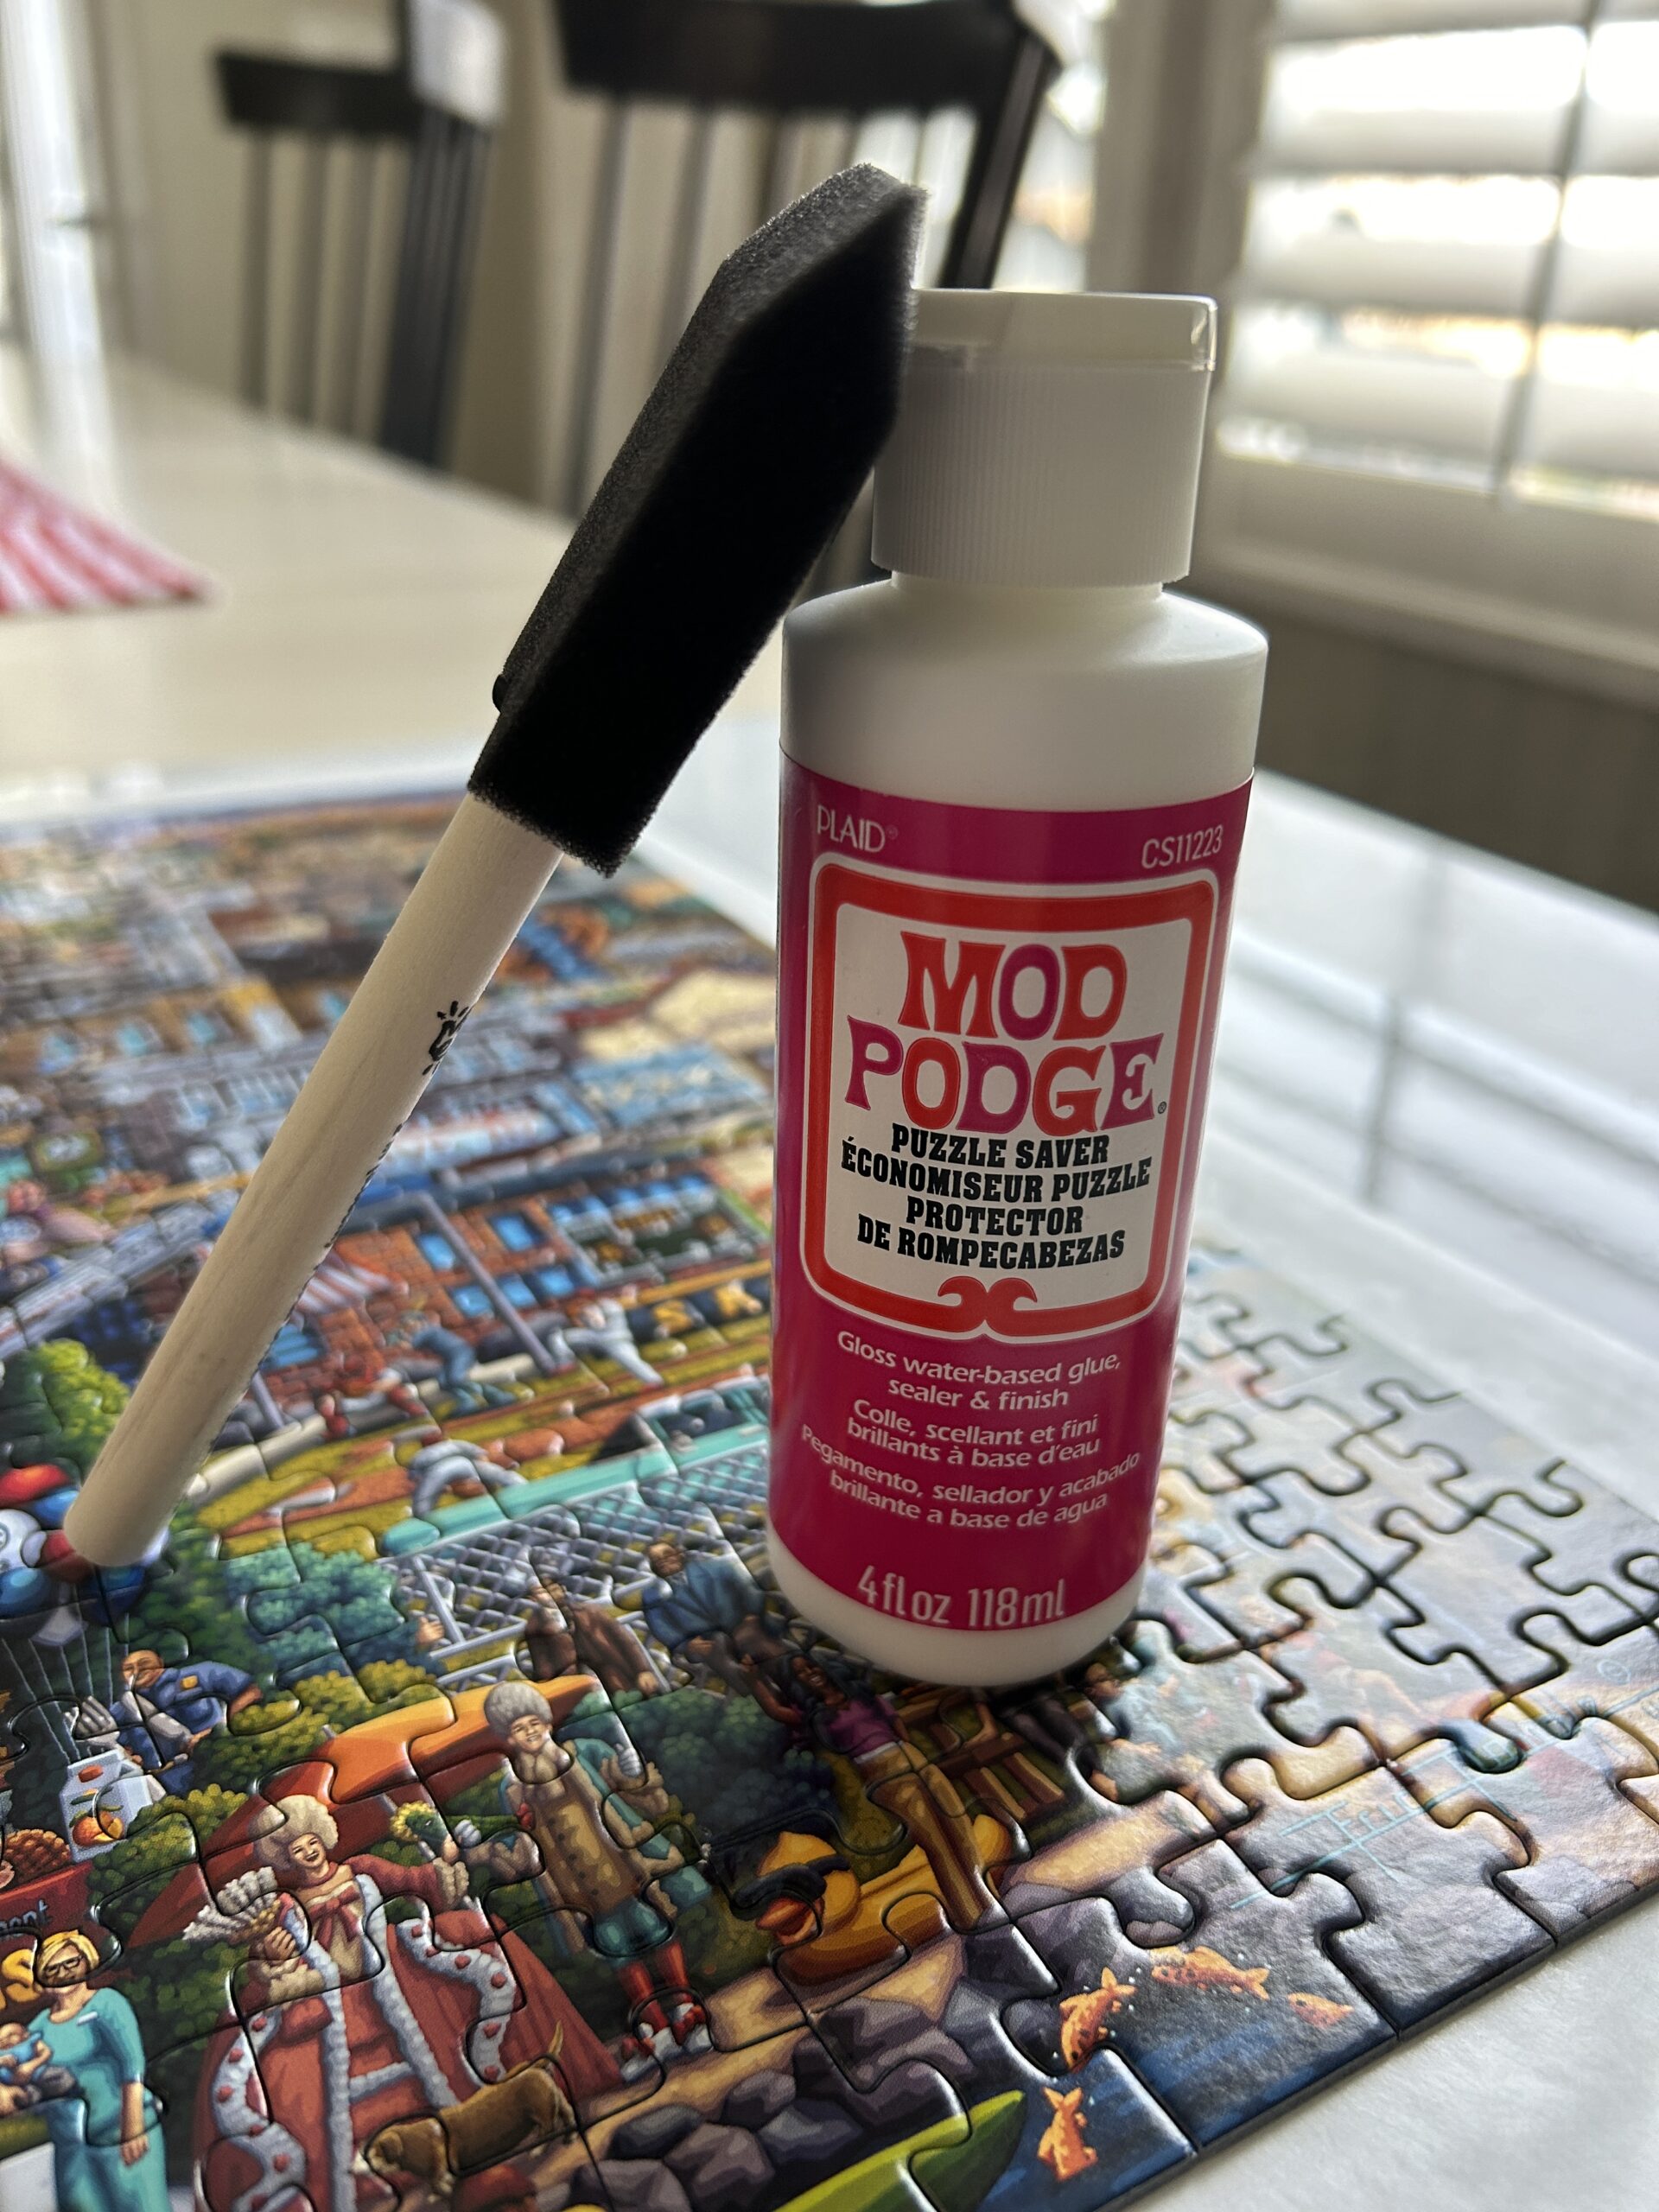
Using a foam brush or applicator, apply puzzle glue evenly across the entire surface of the puzzle. Make sure to cover all the gaps between the pieces to ensure they stick together. It works well to pour some glue onto a paper plate and from there dip the foam brush in and then apply it to the puzzle.
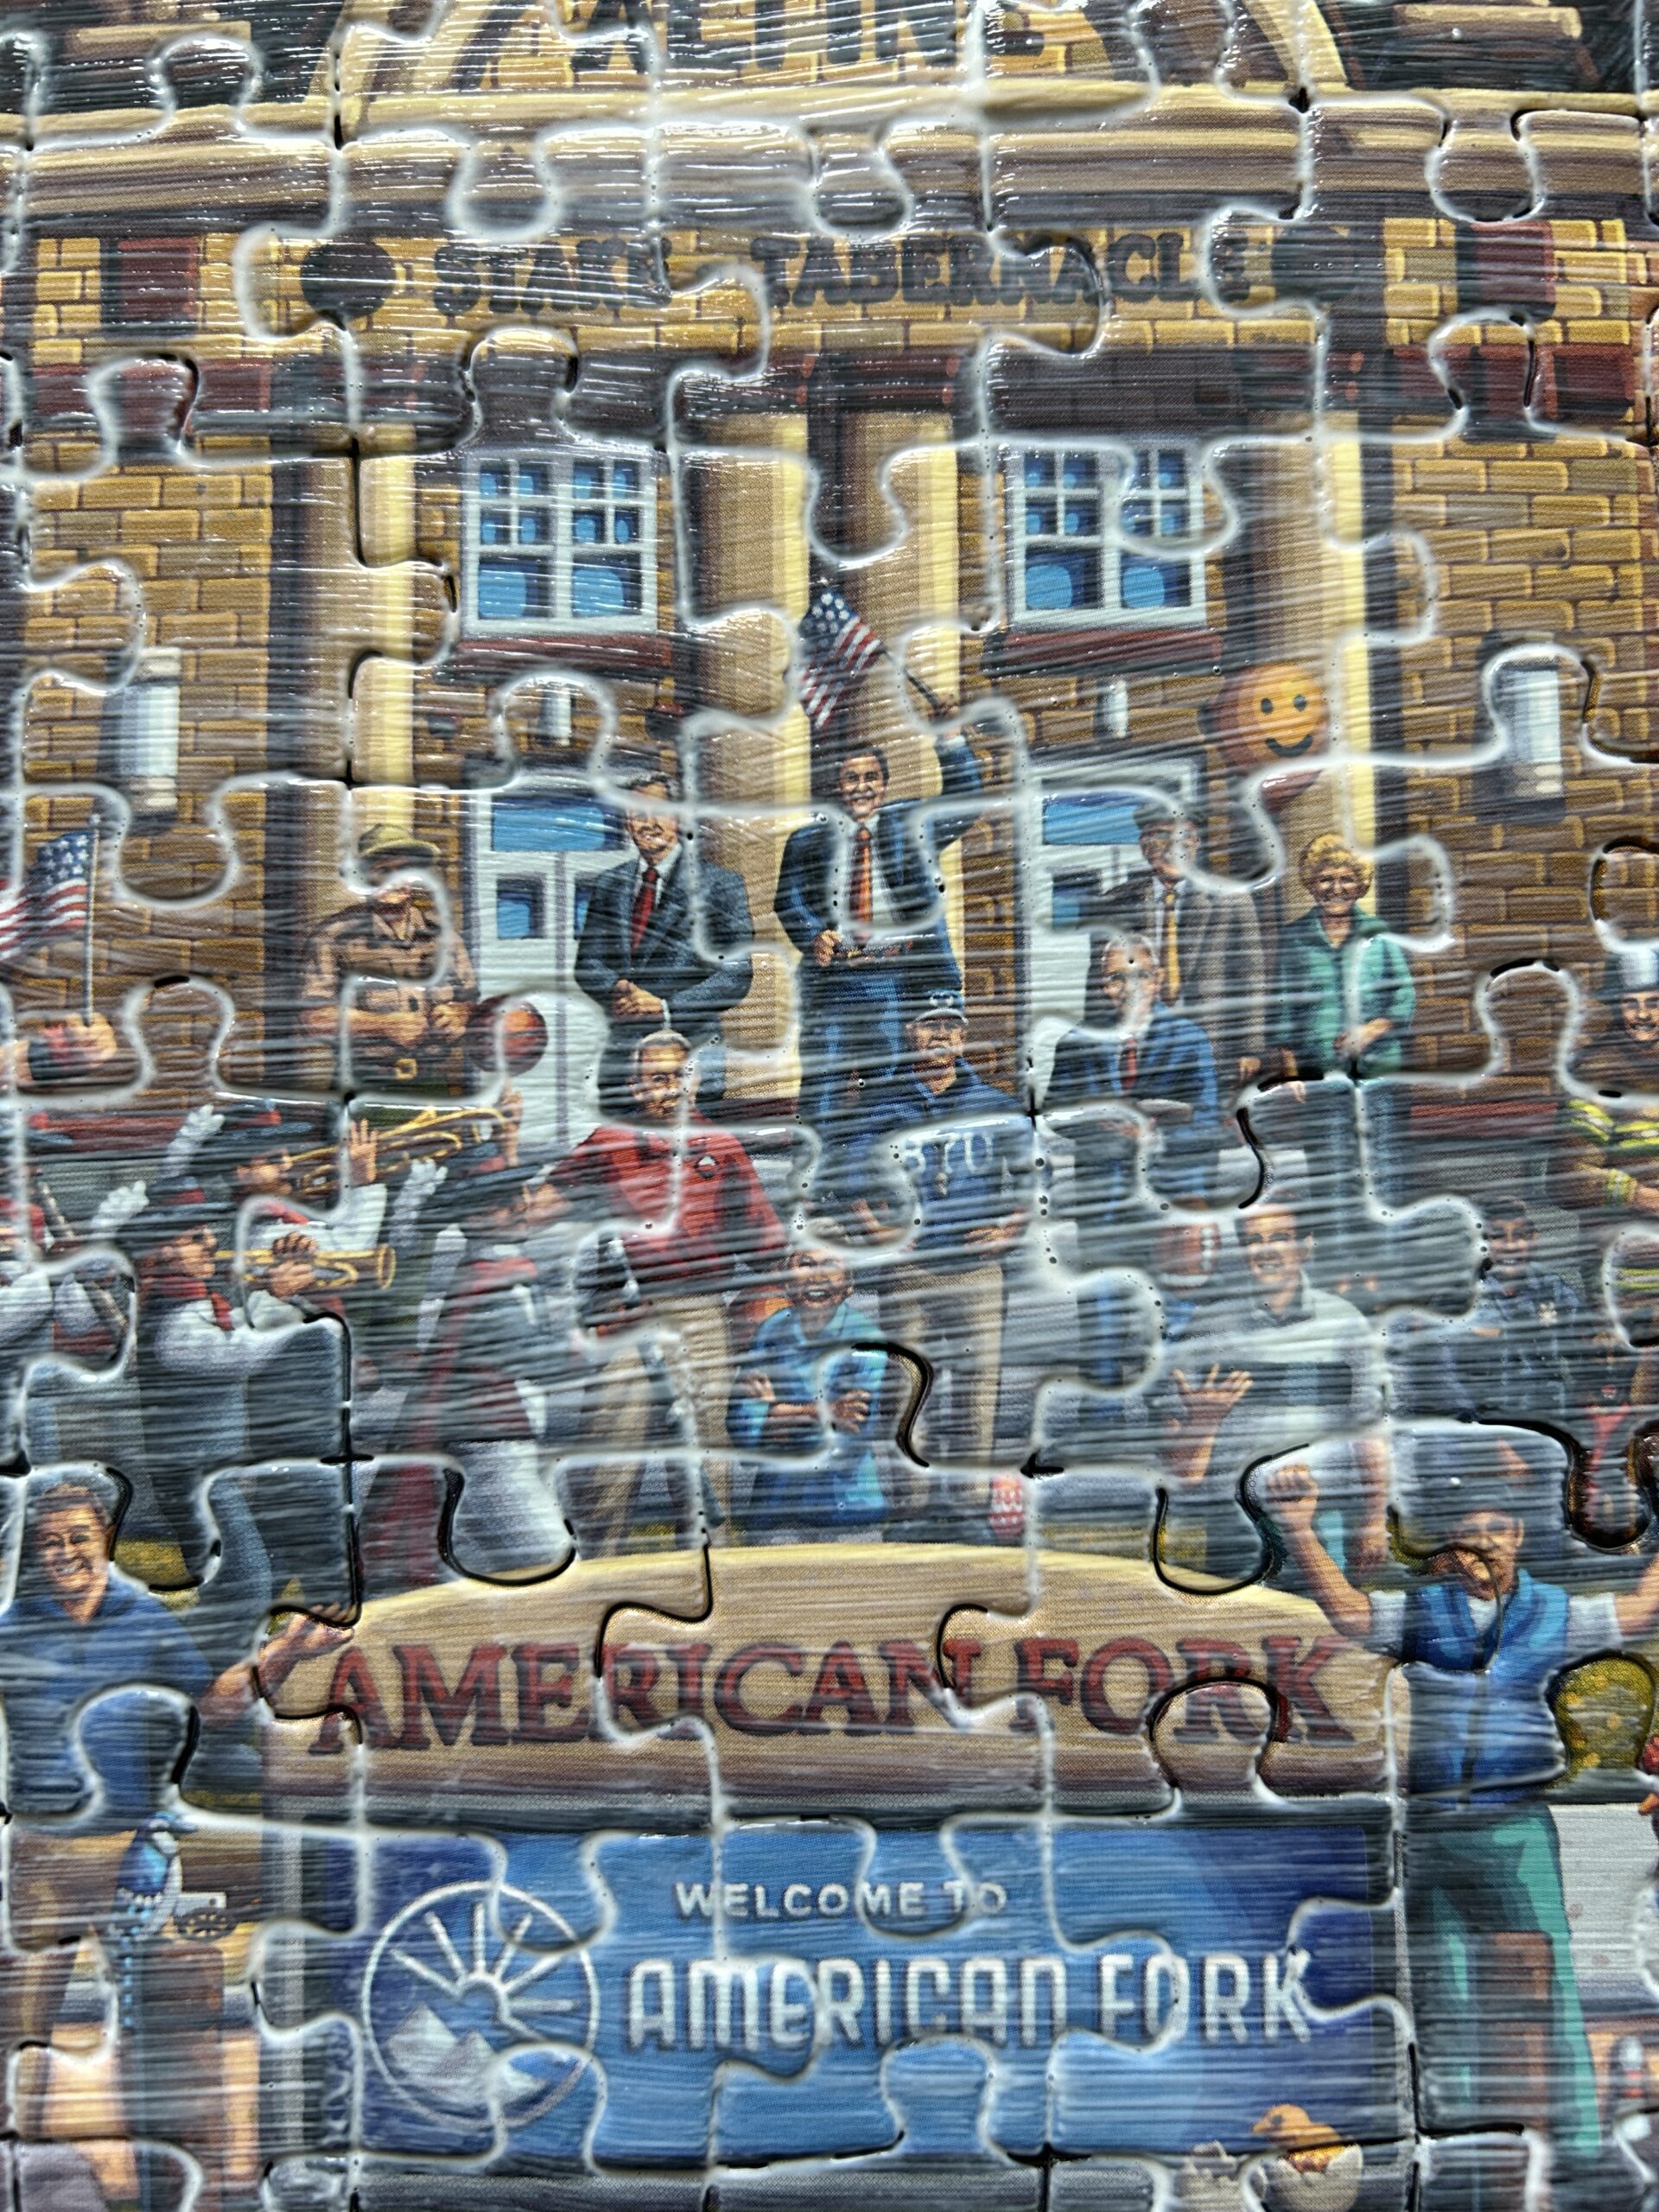
When gluing my puzzle I chose to start by gluing the front. It does leave the slightest hint of a brush stroke. Yet, it worked out ok because I kept the brush strokes even. The glue will appear white on your puzzle but have no fear because it will dry clear.
I also wanted to be EXTRA sure the puzzle would stay glued together so once the front was completely dried I flipped the puzzle over and repeated the process on the back side. Once again doing 3 separate coats of glue with drying time in between.
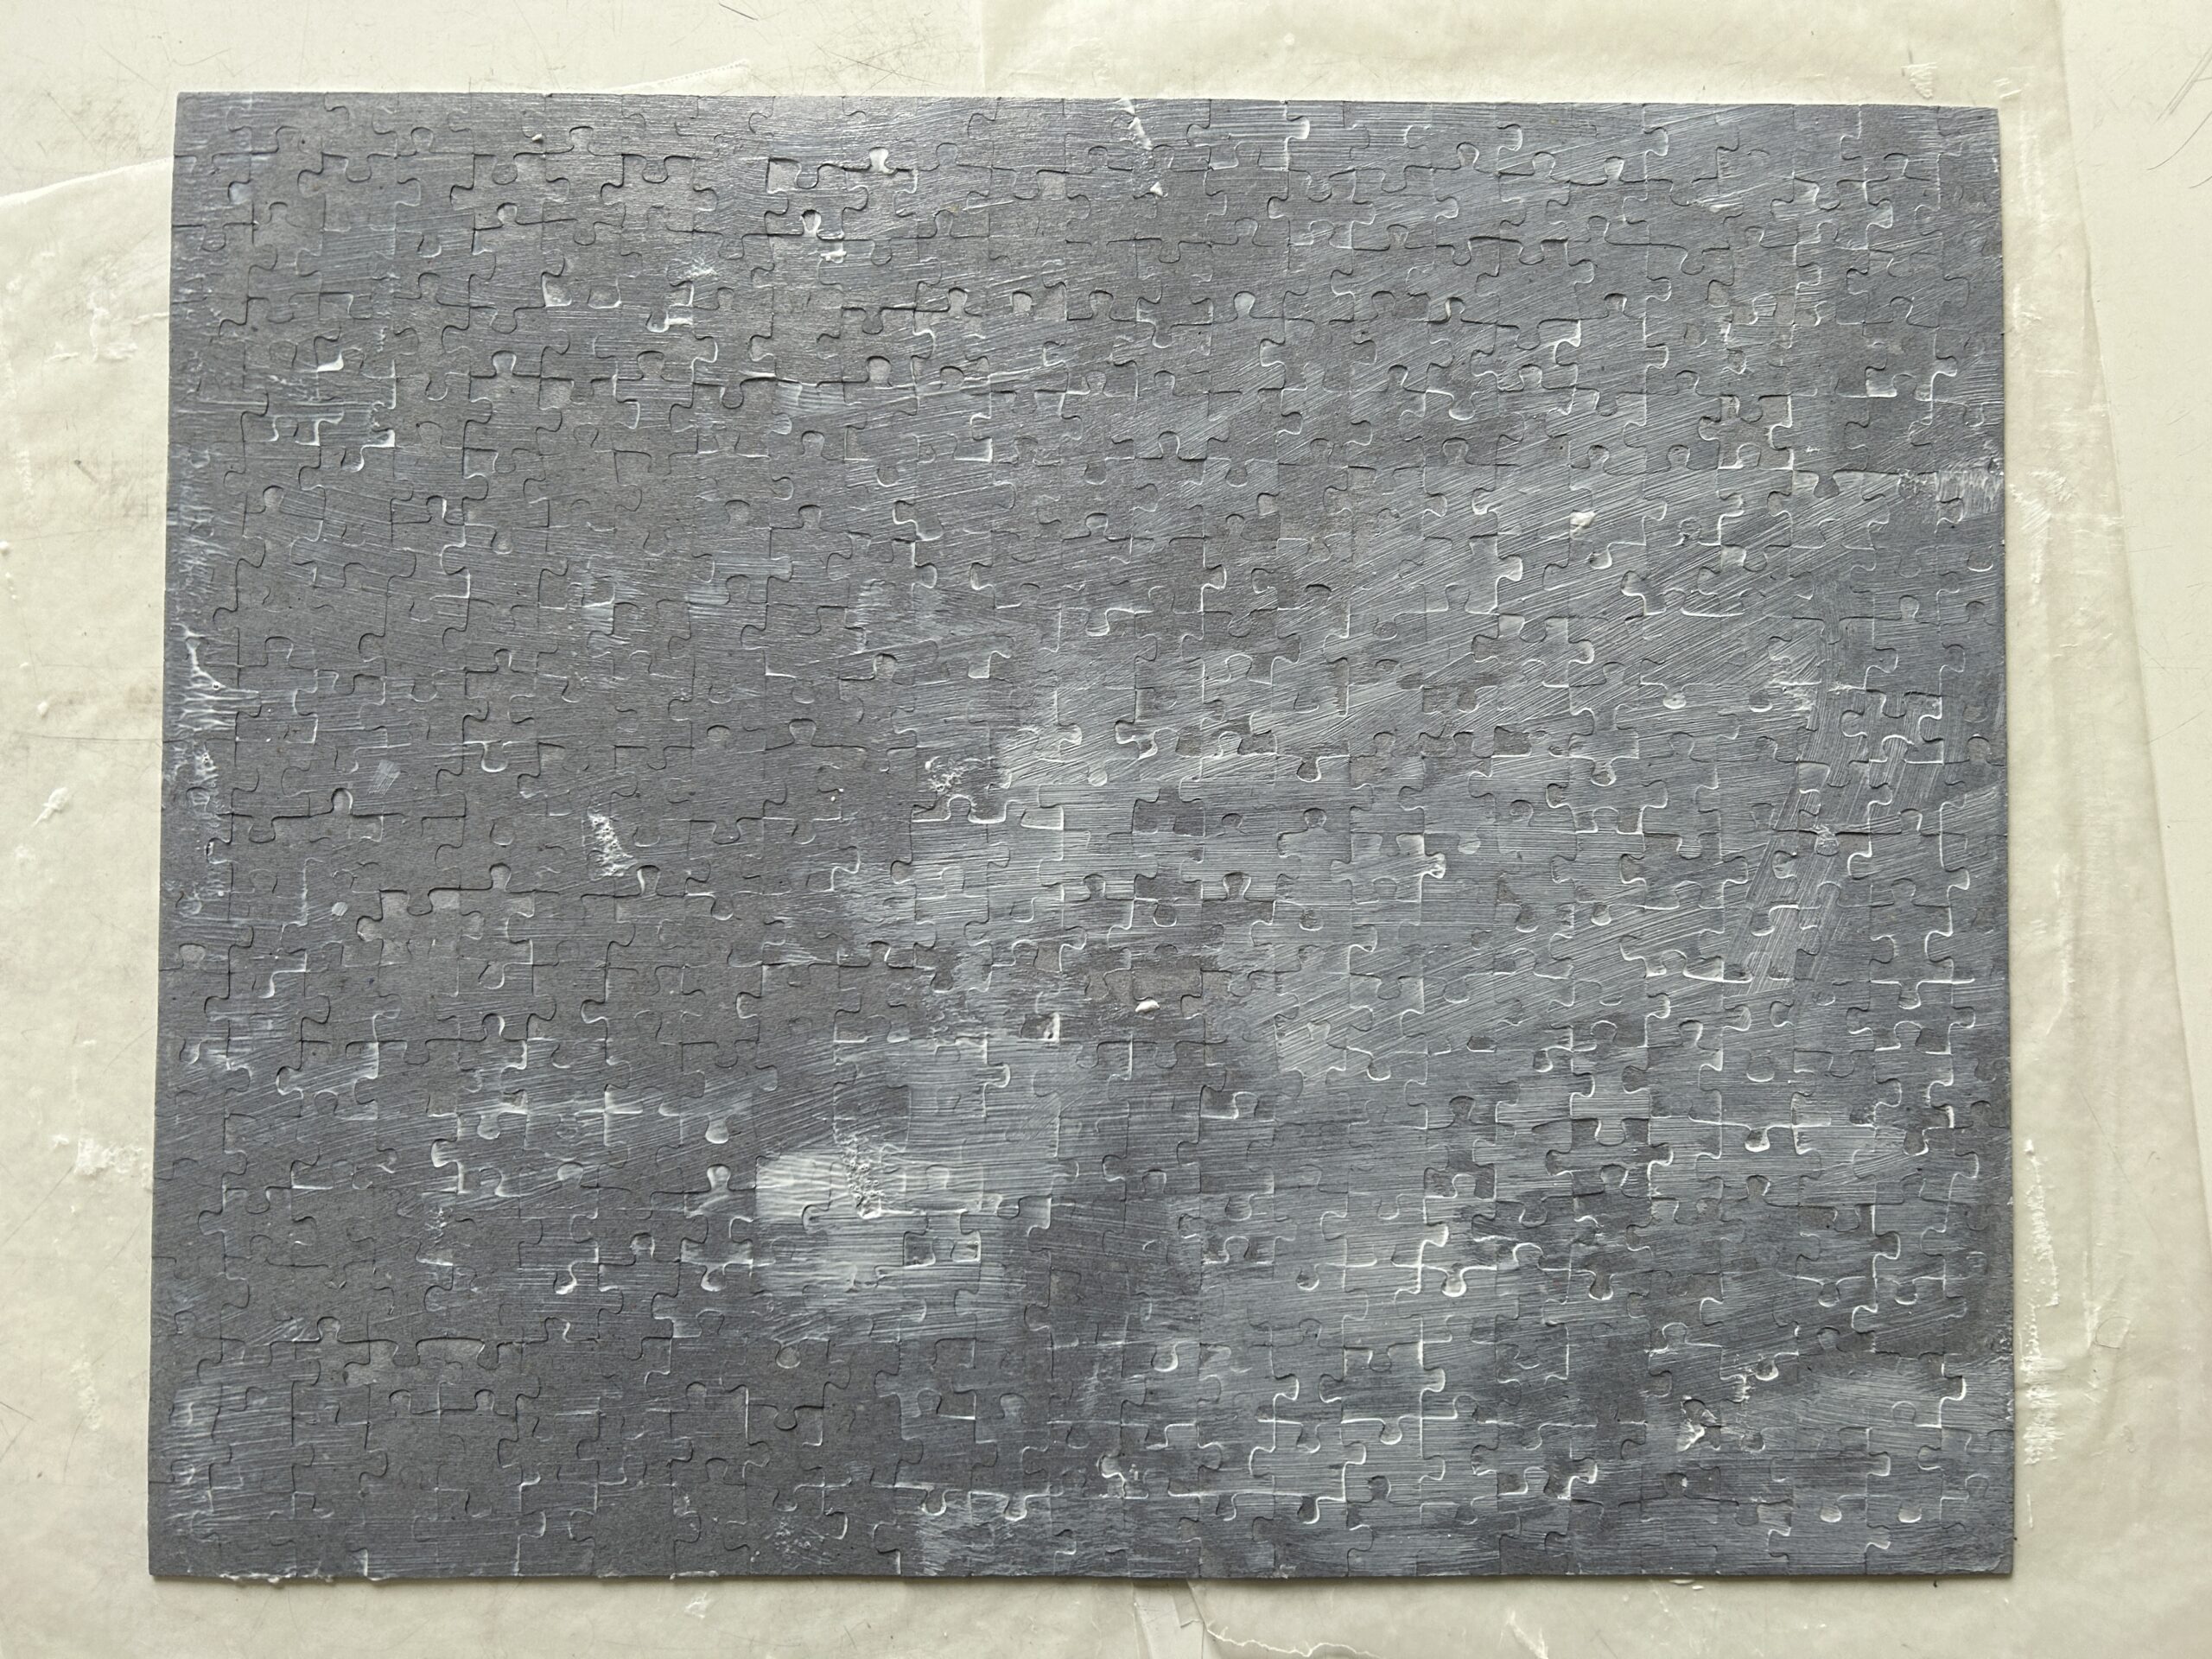
After gluing the front of the puzzle allow it time to dry. Then go ahead and add another coat of glue if you would like. I repeated this process 3 times for my puzzle on the front side and the back side.
Step 4: Framing the Puzzle
Choose a frame that complements the size and style of your puzzle, ensuring that it has a glass or acrylic front to protect the puzzle. You can choose a frame that perfectly fits your puzzle. Or you can find a larger frame with a matte that fits your puzzle.
Once the glue is dry, if there is any excess glue on the edge of the puzzle you can trim it off with a small knife or scissors. The wax paper should have prevented your puzzle from sticking to your work surface.
Next, prepare your frame for your puzzle to be set into it. Put your puzzle face down into the frame. If you are using a frame with a matte on it (like I did) then you will need to be sure your puzzle is centered how you like it.
Then, secure your puzzle in place. There are probably official and fancy ways to secure your puzzle but I found some blue painter’s tape that was extra wide and it worked great to secure the puzzle. I applied the tape all around the edges of the puzzle and it did the trick.
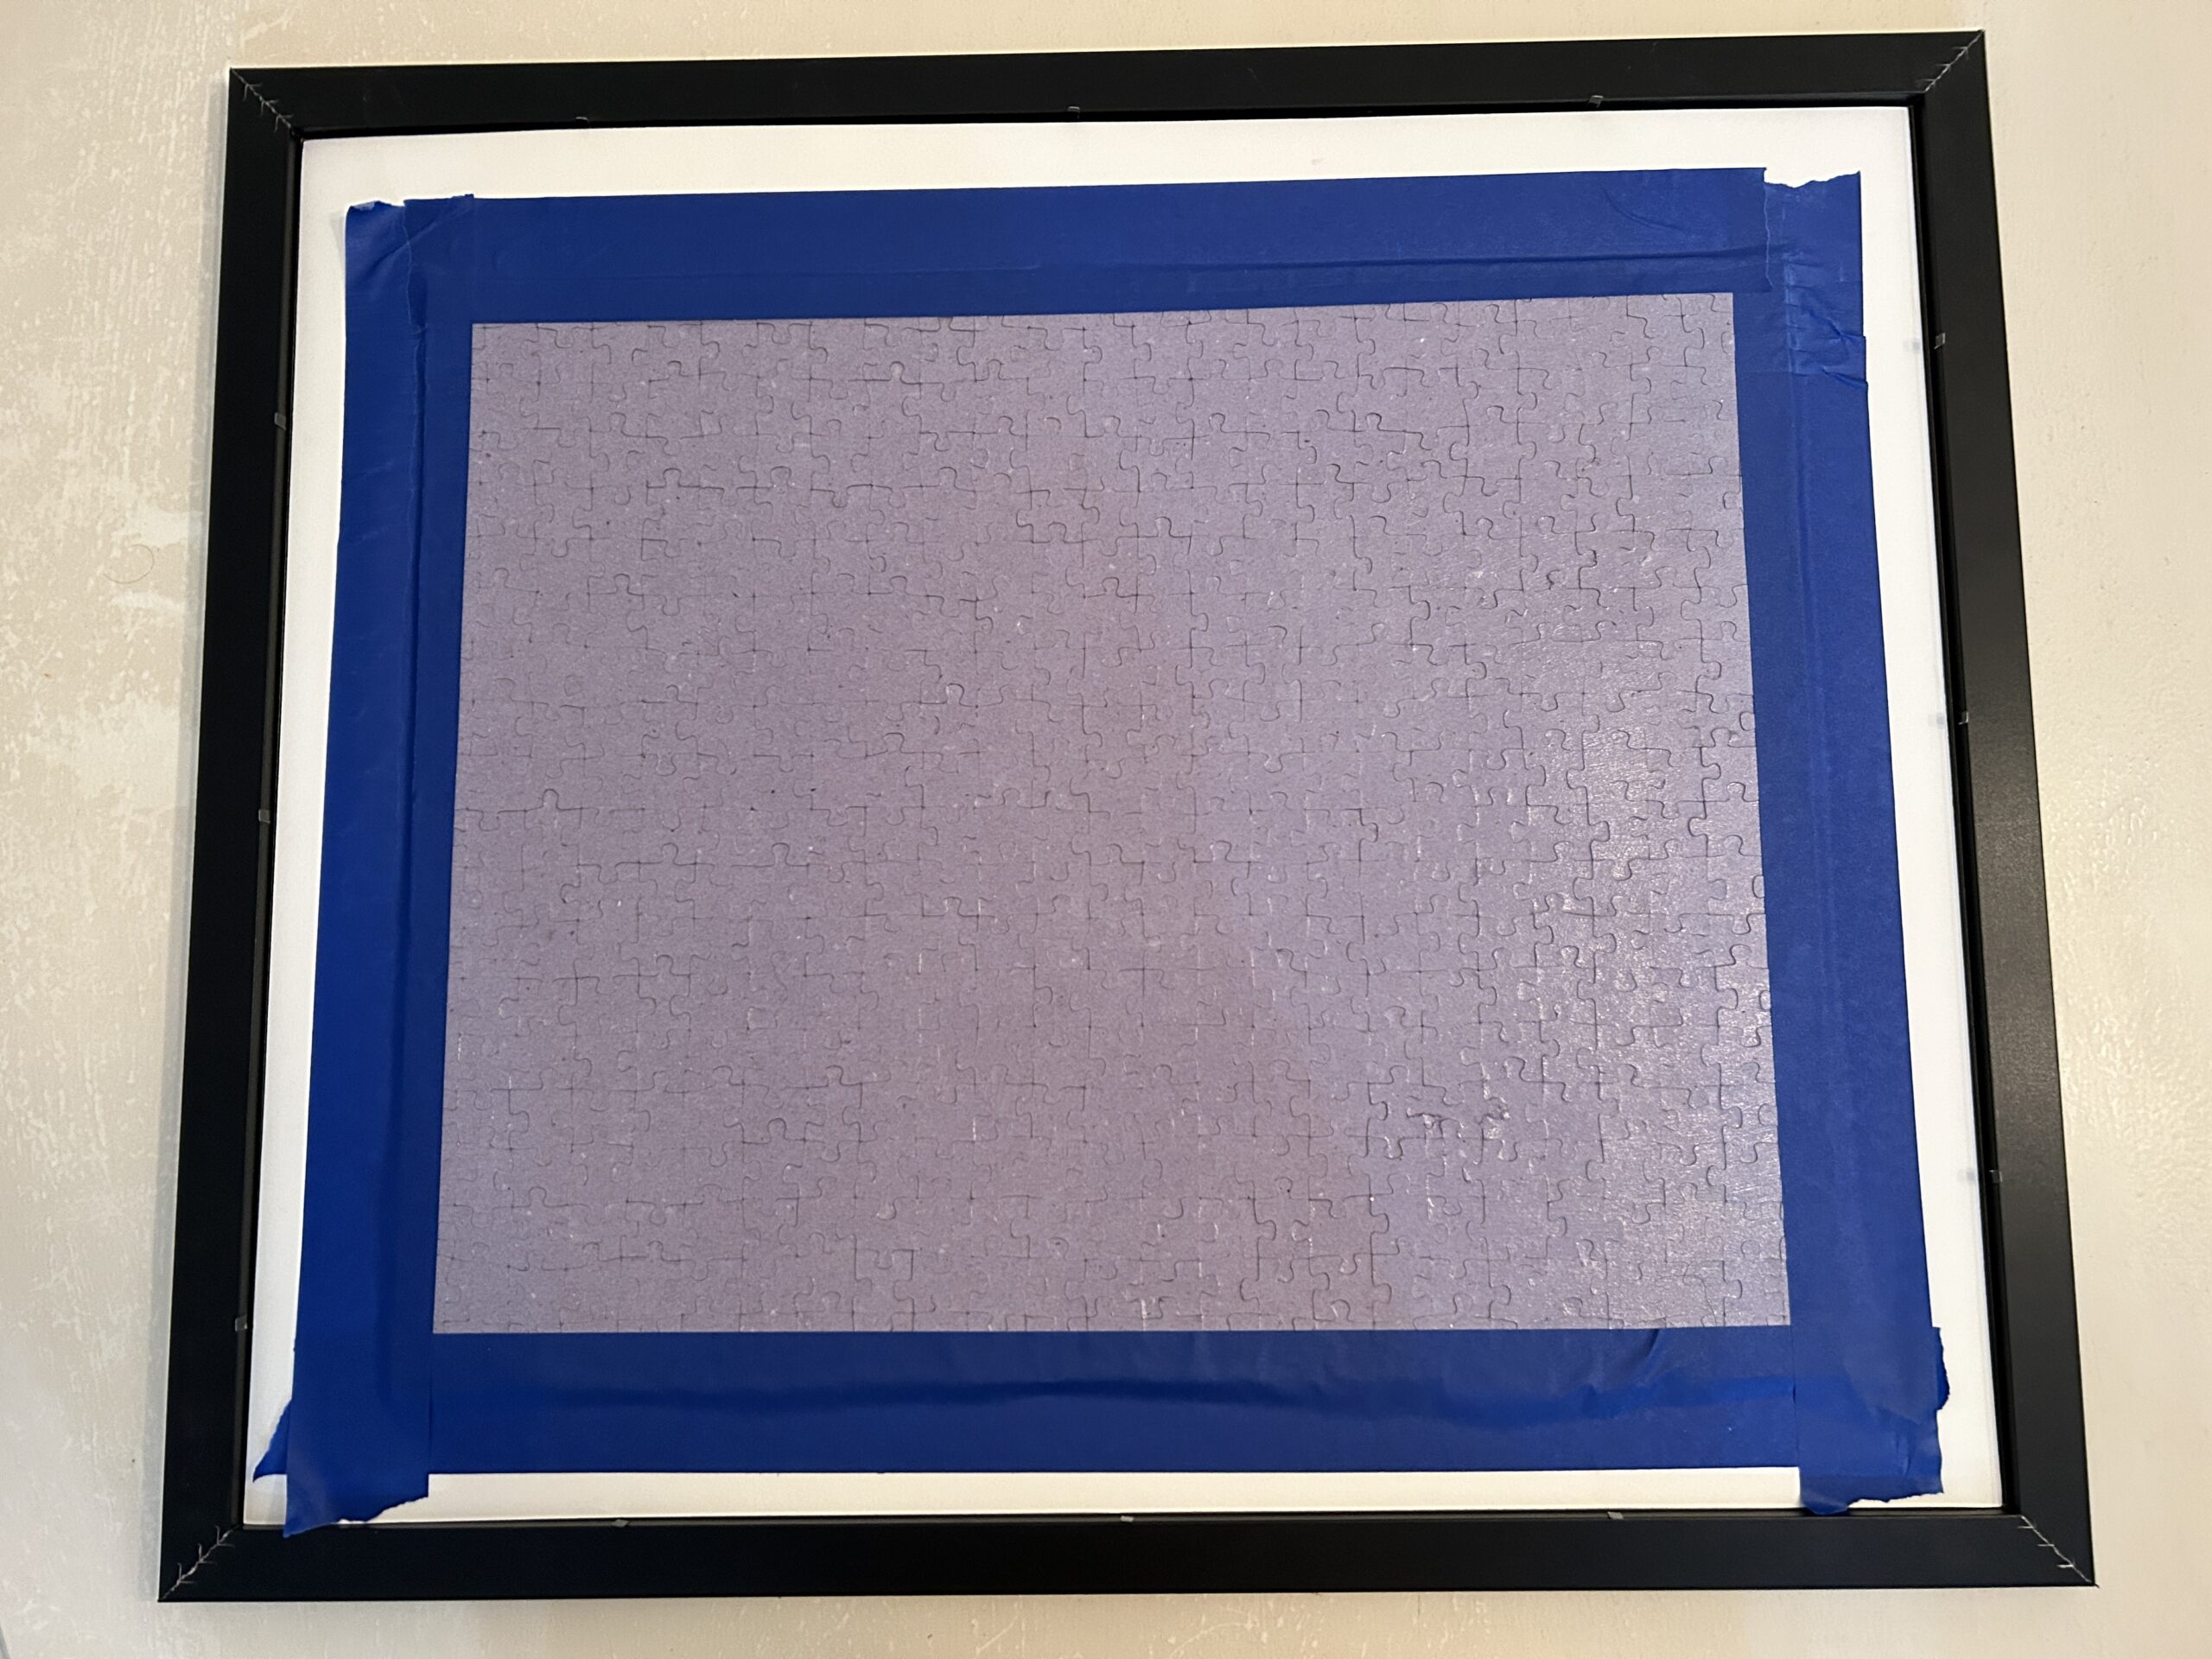
After securing your puzzle (if needed) you can put the back piece of the frame back over the puzzle and secure it in place.
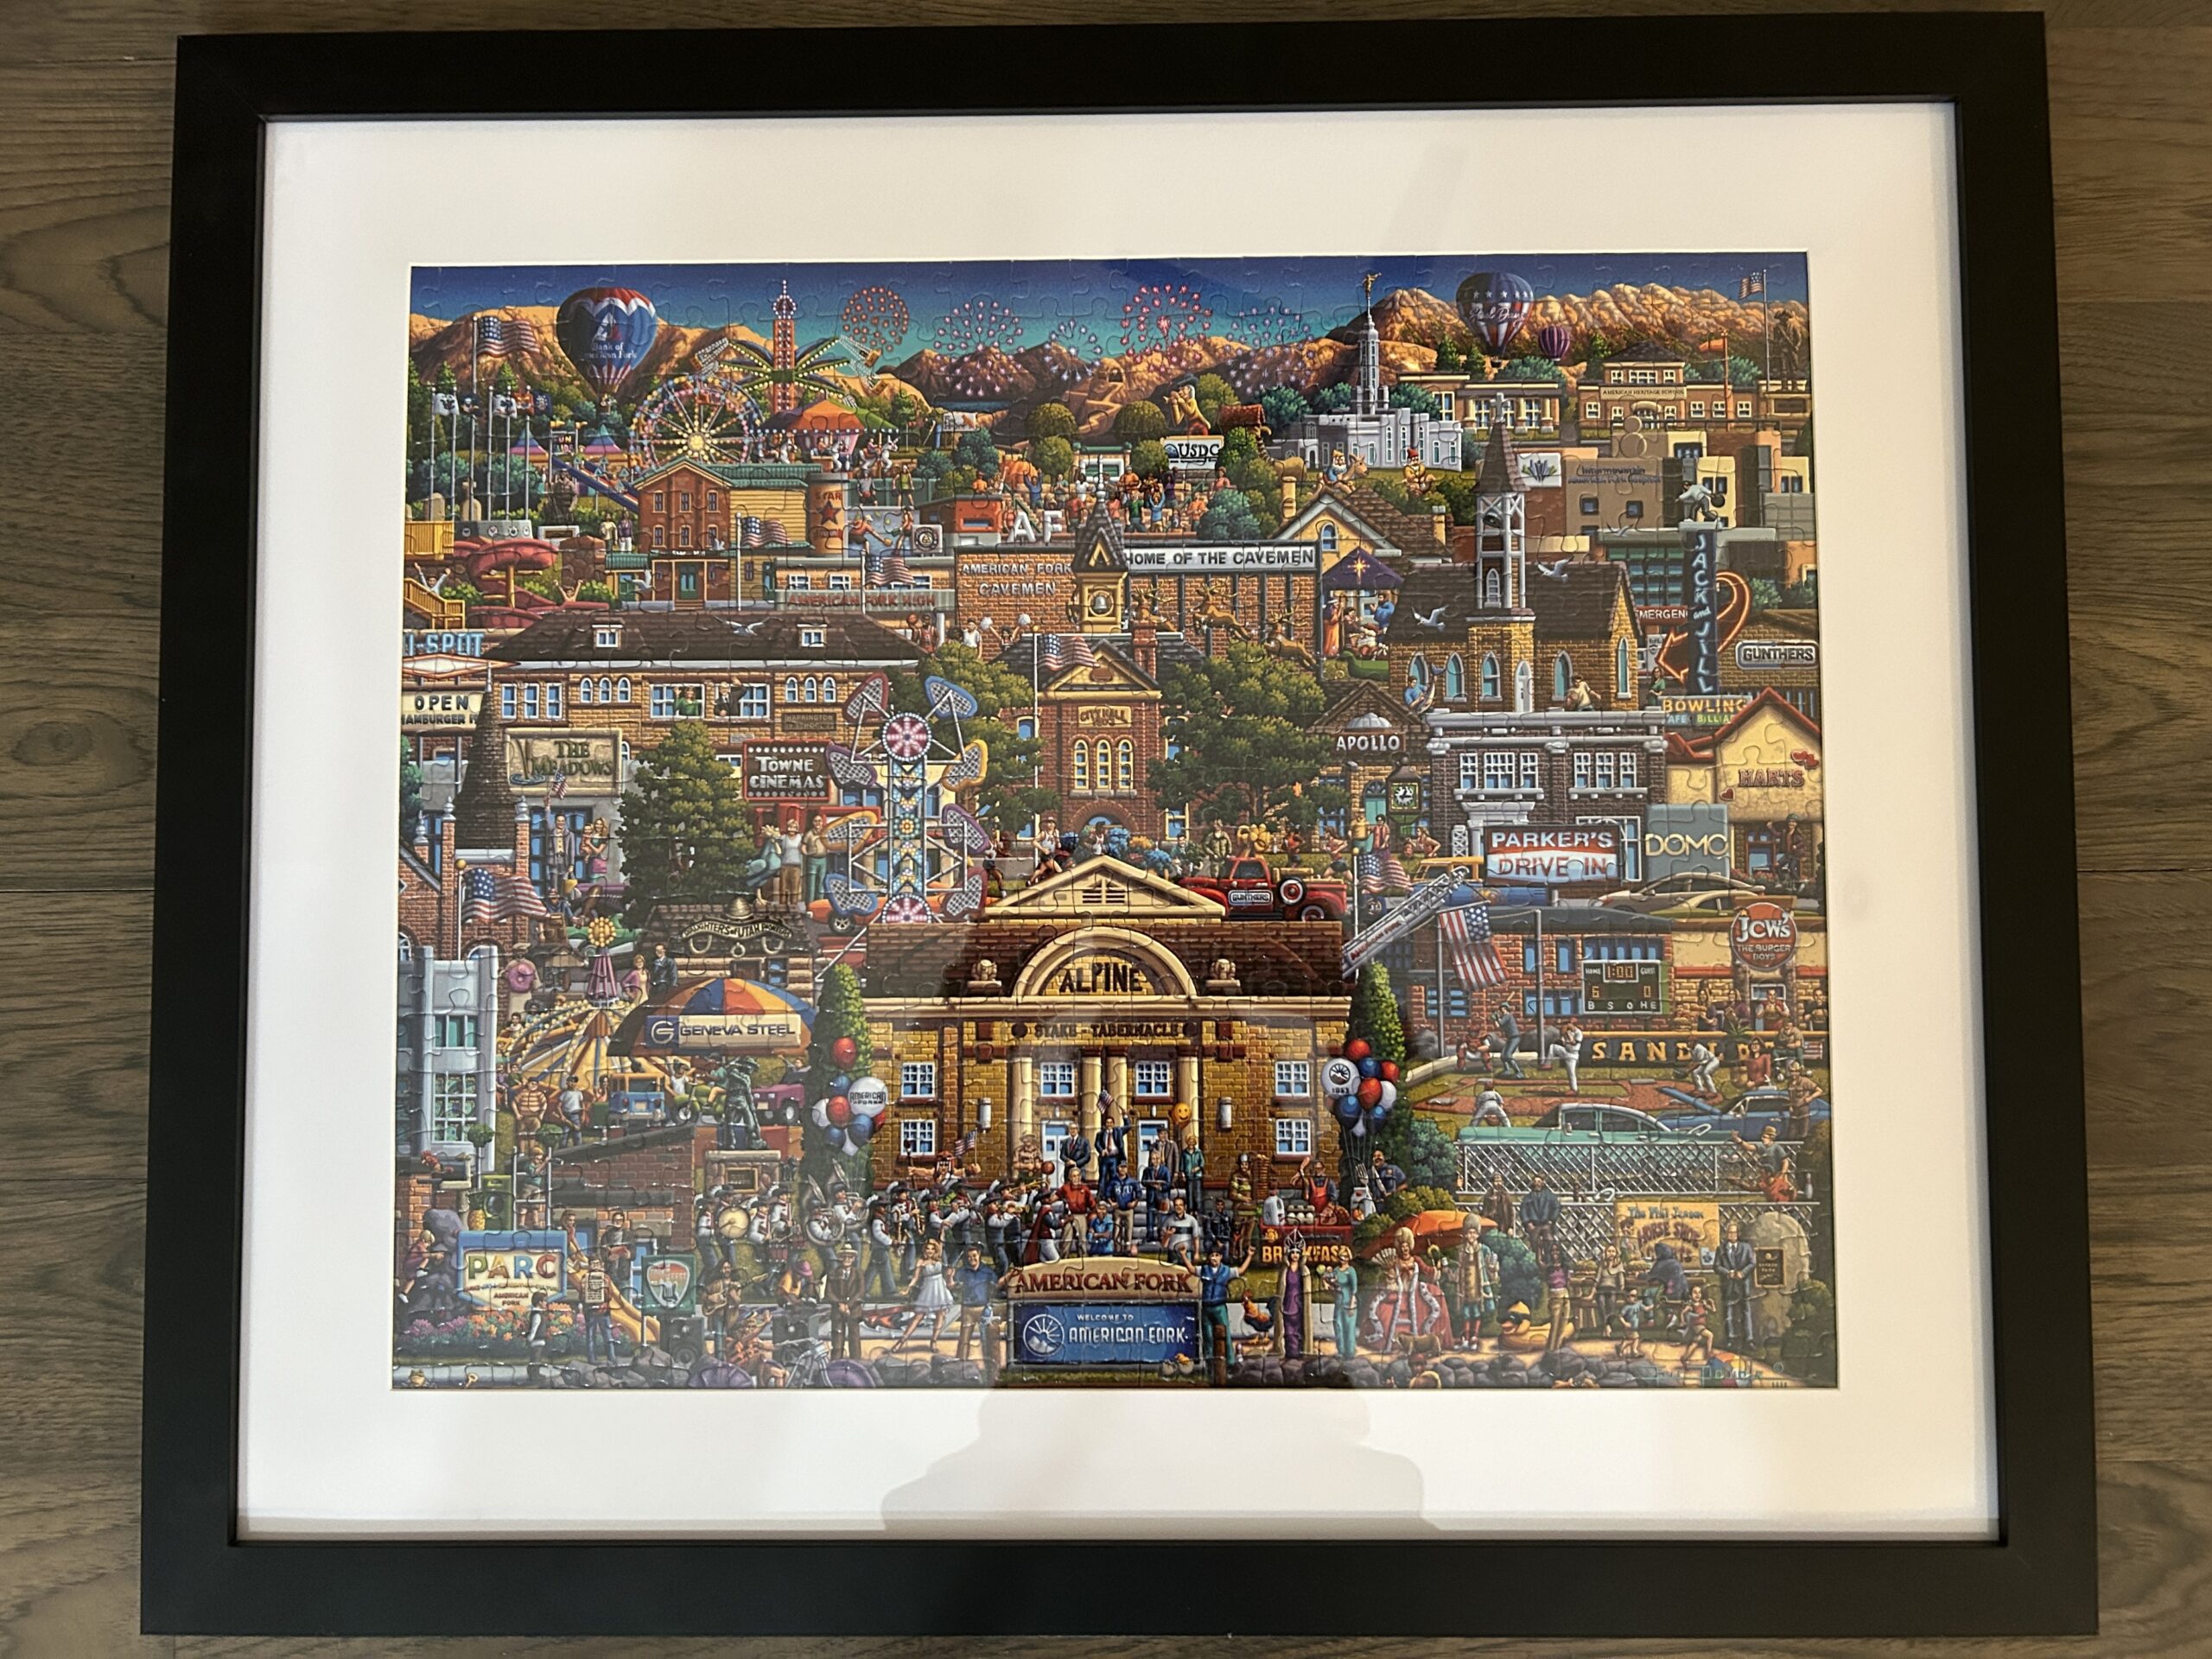
Step 5: Display Your Masterpiece
Once your puzzle is framed, find the perfect spot to display it in your home. Consider hanging it on a wall or placing it on a shelf where it can be admired by all.
Avoid placing your framed puzzle in direct sunlight or areas with high humidity, as this can cause damage over time.
Step 6: Enjoy Your Glued Together and Framed Puzzle
Step back and admire your handiwork! Framing your completed puzzle not only preserves it for years to come but also allows you to showcase your hard work.
The puzzle I chose to glue together and frame was a gift for my dad. It was a puzzle of places and monuments from my Dad’s childhood. He was so happy about the puzzle just as a puzzle. When I was able to glue it together and frame it so he could hang it in his home he had tears in his eyes.
In conclusion, this guide to gluing together and framing puzzles can be a rewarding process that allows you to preserve your hard work for years to come. By following these simple steps, you can create a beautiful piece of art that will be enjoyed and admired for generations.