
Have you seen the fun trend of “rotating photo” displays? These allow you to easily be able to change out the photos in your home or office without rehanging and straightening picture frames.
If you’re looking for more information on how to create one of these rotating-photo-display for yourself then you have come to the right place.
Create a Rotating Photo Display
With modern technology our lives are more documented than ever before. But almost everything is documented digitally, including our photos.
It’s easy for the digital camera roll on our phone, or our digital computer files, to fill up with hundreds or even thousands of photos that hardly get looked at.
Why not print some of your favorite photos and display them in your home? Or even your office? Then you and your family and friends can enjoy them daily. And with a rotating photo display, you can easily change the photos out as often as you want.
Changing Your Photos Out with Each Season
With a rotating photo display, you can even change out your photos for the different seasons.
In October you can print all the past pictures of your kids in their costumes and display it for everyone to enjoy. In December you can switch out the photos to highlight favorite Christmas moments from the past years.
This helps everyone in the family to remember past moments and good times spent together.
Make It Yourself or Purchase One
You can create and DIY your own rotating photo display, or you can purchase a premade one from a store.
Later in this article I will go through a list of the best photo displays available right now, in a variety of stores.
Creating Your Own Rotating Photo Display
I created my own photo display, and now I can walk you through step-by-step how you can create your own too.
I have a horrible case of perfectionism when it comes to hanging things on the walls at our house (I know- first world problems.) But this wasn’t as difficult as I thought it would be.
The first thing I did was order my photos.
Ordering Photos for Your Display
I had ordered my prints off of my Instagram feed, from a company called Persnickety Prints.
Persnickety Prints allows you to sync your IG account and print photos directly from your feed. Which means you don’t have to reupload photos!
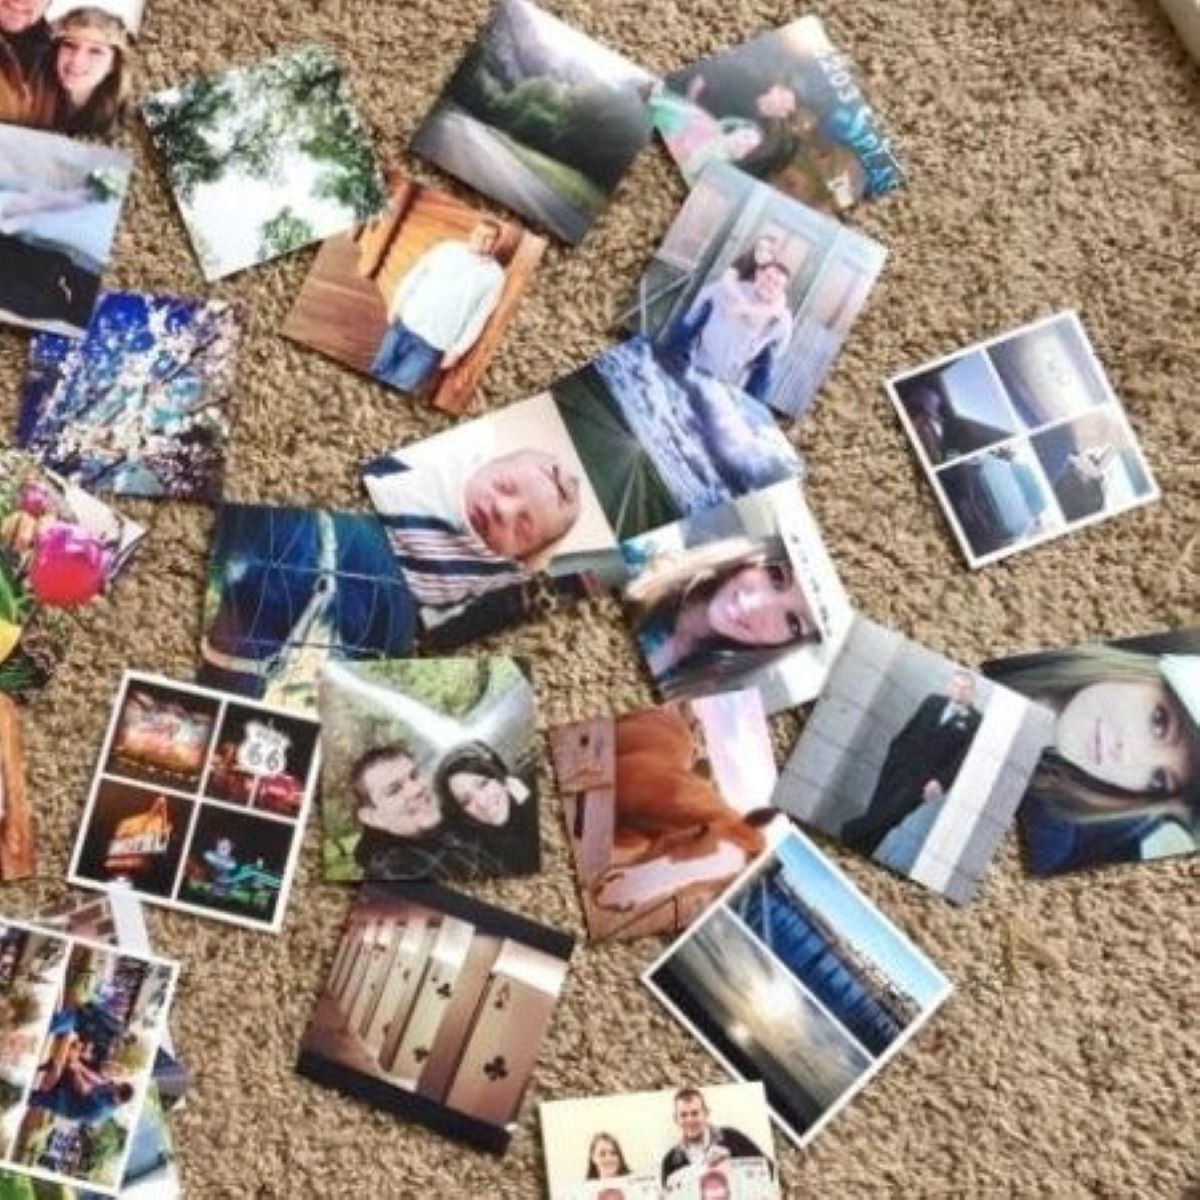
They print them in square 4×4 prints or you can even design photostrips, like the photostrips you’d get from of a photo booth.
After ordering my photos I was lucky enough to find a square frame at a thrift store.
The frame was missing the backing and the glass. But that didn’t matter to me!
Supplies Needed:
The things you’ll need for this project are pretty straight forward:
- Printed photos
- An empty picture frame
- A staple gun
- Jute Twine
- Small decorative clothespins
- Measuring tape or ruler
Directions for Creating Your Photo Display:
I spray painted the frame a green color to fit the color scheme of my home. After the paint dried, I arranged the photos within the frame to gauge where I would need to run the twine across the frame.
Then I used the staple gun to secure the first row of twine exactly where I wanted it.
Be sure to tie the twine in a knot around the staple so it doesn’t slip out.
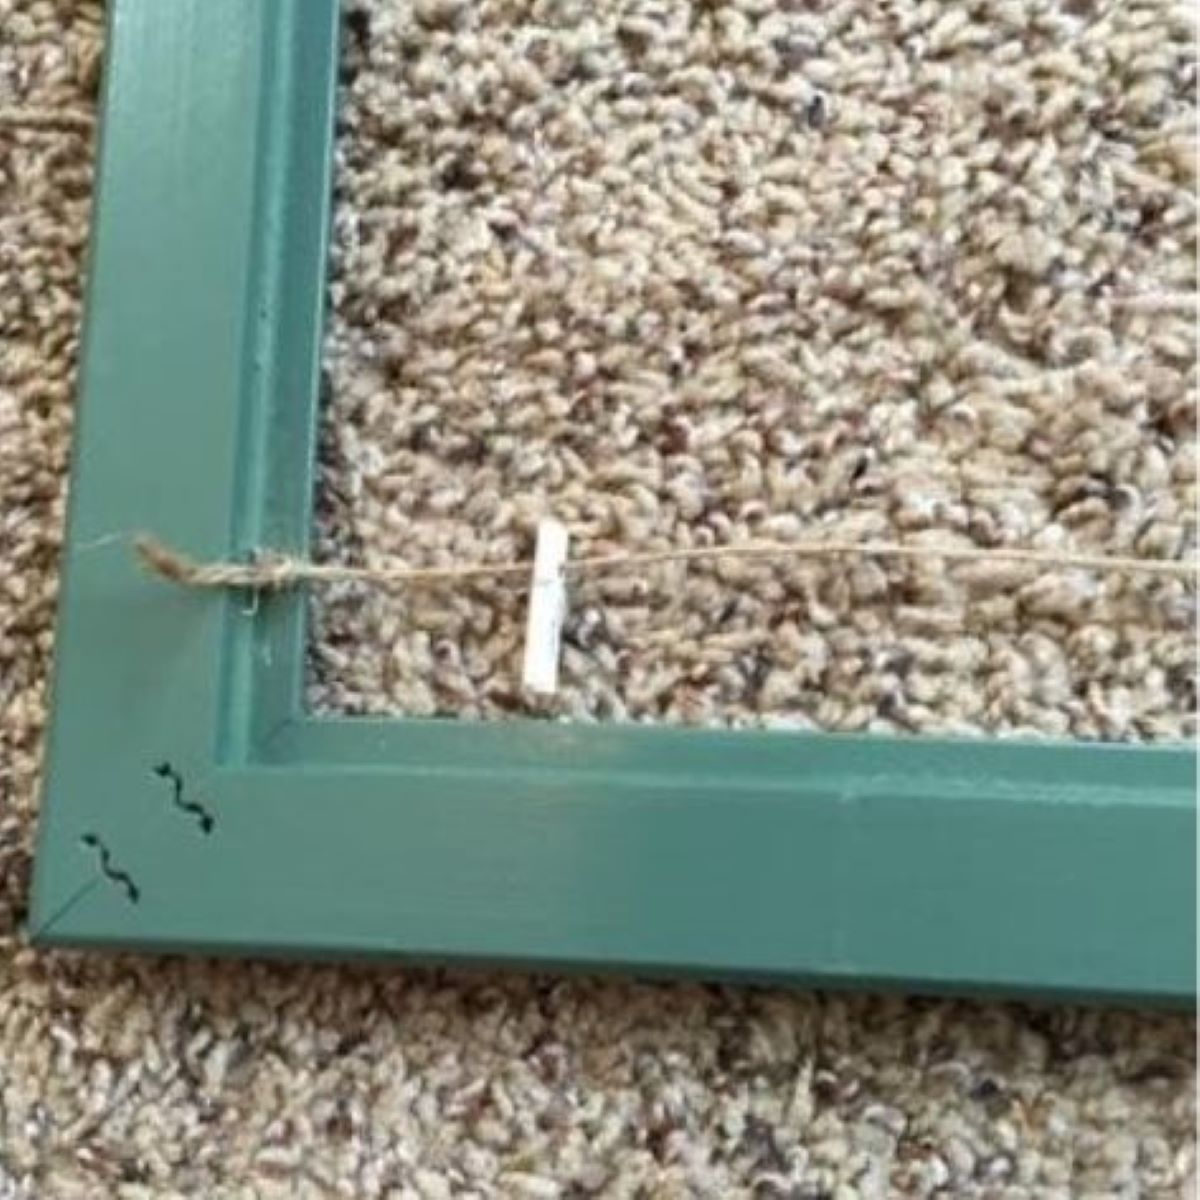
Next, I recommend using a measuring tape to mark the spots where the staples need to go on the frame. That way when you run the twine across the frame, the line will be straight and exactly the same distance on the other side of the frame.
Once I had finished running the twine across, I realized that the twine was still too loose. With the weight of the clips and photos – the whole thing sagged.
To fix the problem my husband just added a second staple right under the original ones to pull the twine tighter.
It worked like a charm! I am in love with how this project turned out.

Where to Purchase a Display
If you don’t have the time to make your own display, don’t worry! There are plenty of photo displays available within a wide price range. You’ll be able to find a display that you love and still have it fit within your budget.
Pottery Barn
The first product I want to highlight comes from Pottery Barn Teen. This is a metal display with a chevron design, and the product is offered in gold or black. This is the most expensive frame on my list. The current cost is $69 dollars, but they are offering free shipping.
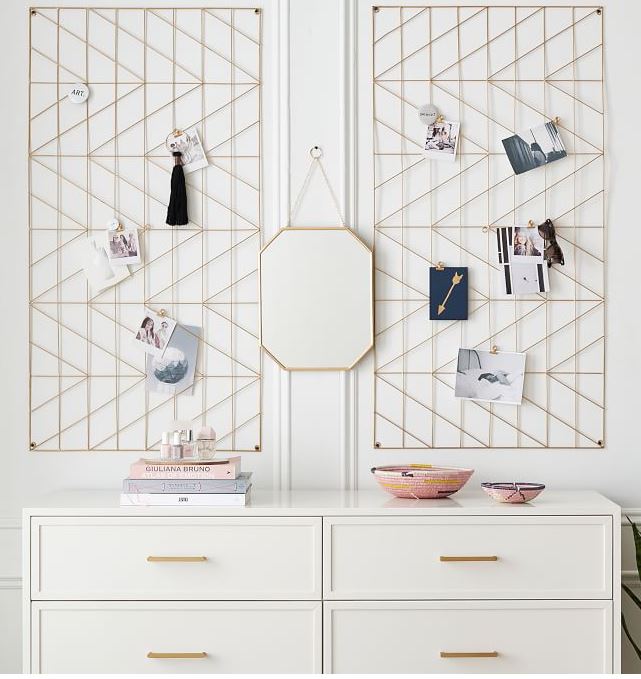
Although this product is marketed towards teens, I feel like it would be a perfect fit for an at home office photo display.
Urban Outfitters
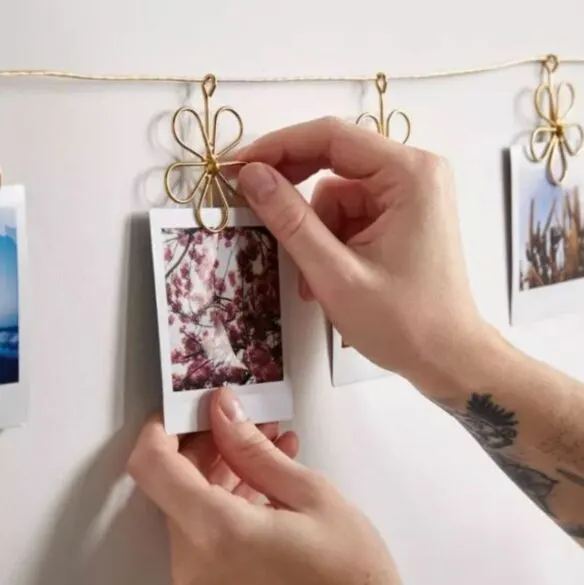
The next two photo displays come from Urban Outfitters. The first is dainty and femine design with a simple metal structure. The length is 45 inches long. They offer it in three different colors: bronze, copper, and gold. The cost is currently $12, plus shipping.

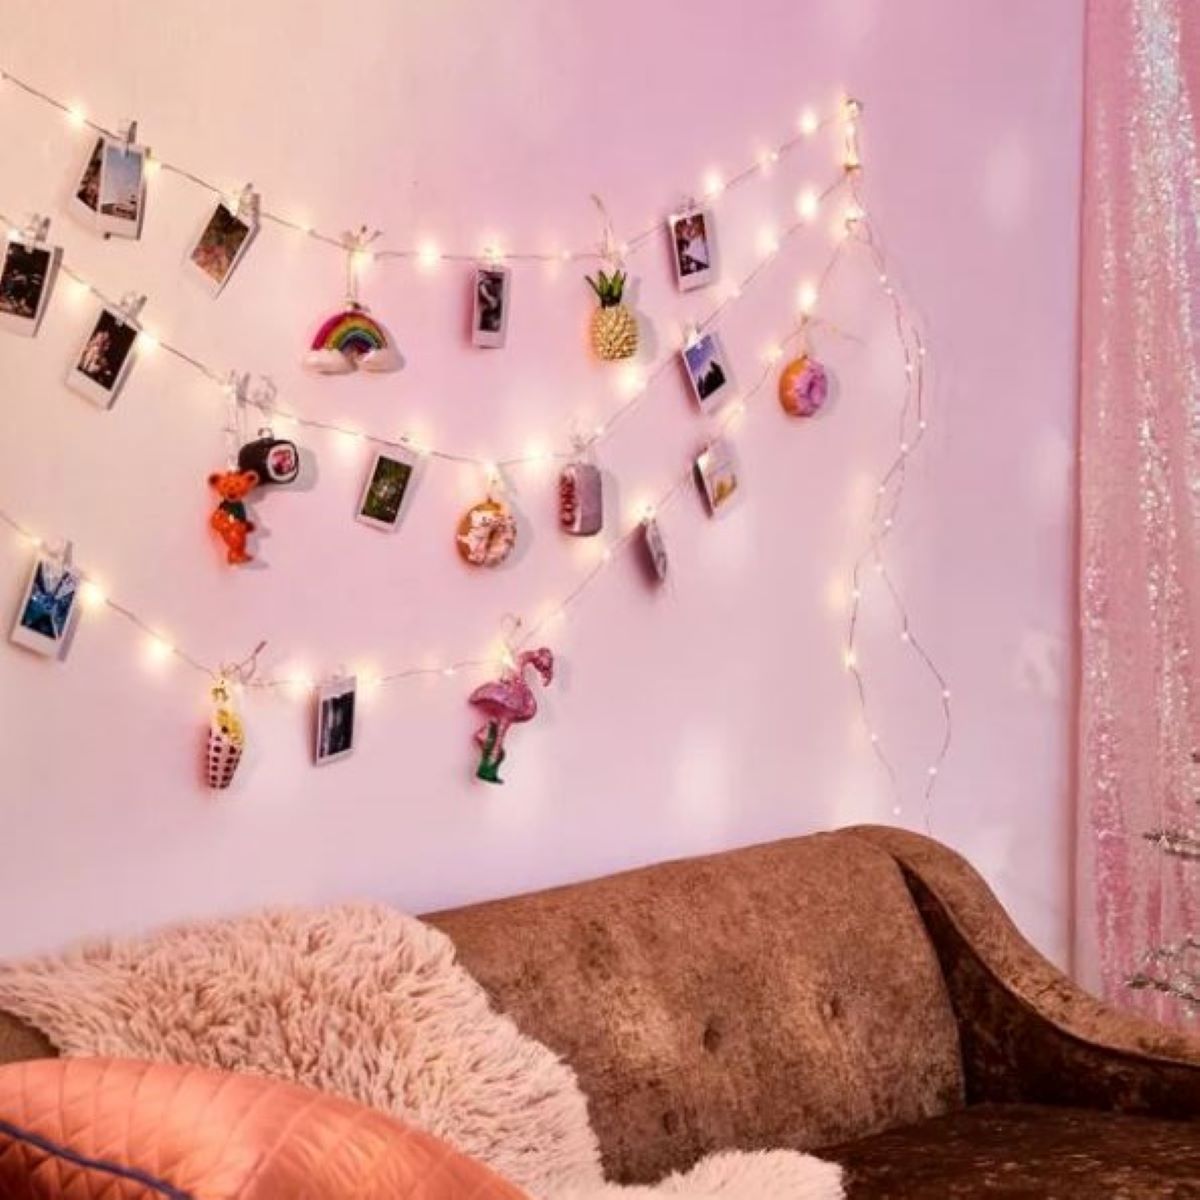
The second photo display from Urban Outfitters is a “firefly lights” photo display. This one is $15 dollars, plus shipping. The lights and photos could add a romantic feel to a bedroom, with pictures of you and your significant other together.
Bed Bath and Beyond
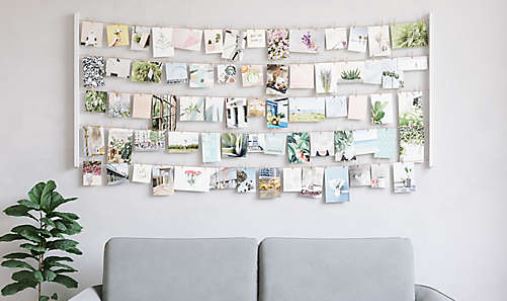
Bed Bath and Beyond offers a 60 inch by 26 inch rotating photo display. This thing is big and beautiful! The cost is currently $27.50, plus shipping.
Target
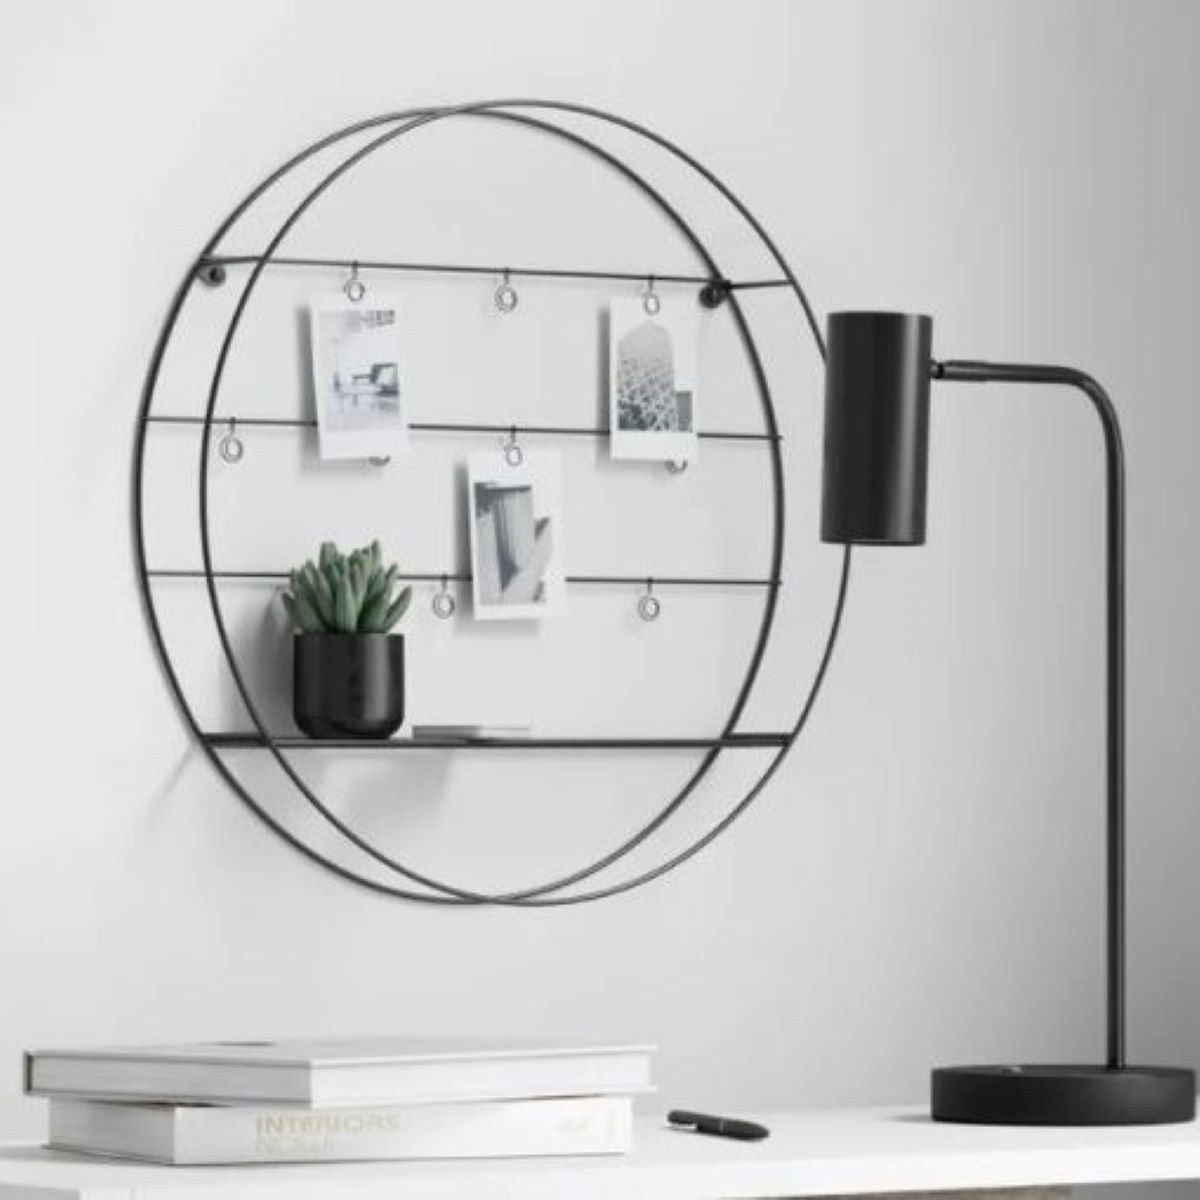
Target also made my list with an elegant 18 inch round photo display. This display has a more “adult” design, with less of a teenage feel about it. For $20 dollars it’s hard to beat.
Amazon
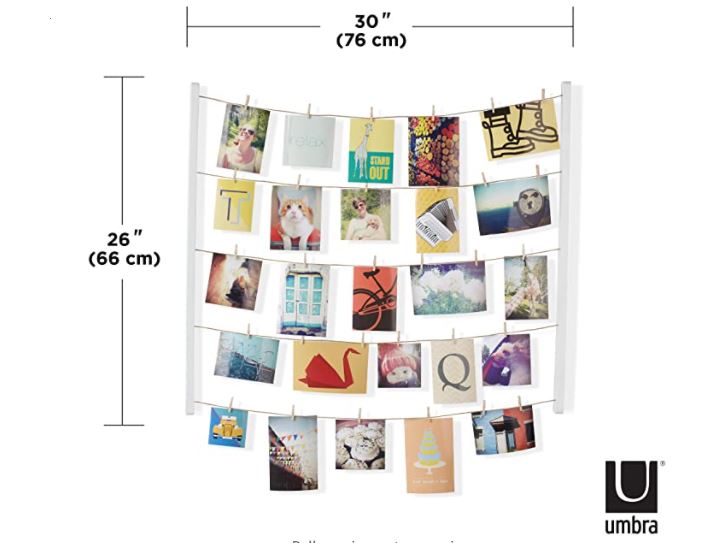
And last but not least, Amazon offers a cute and simple photo display. This one is 26 inches by 30 inches, a perfect size for a small office or bedroom. This display currently costs $20 dollars, and has a 73% five star rating.
I hope this has helped you decide on the right rotating photo display for your home or office.