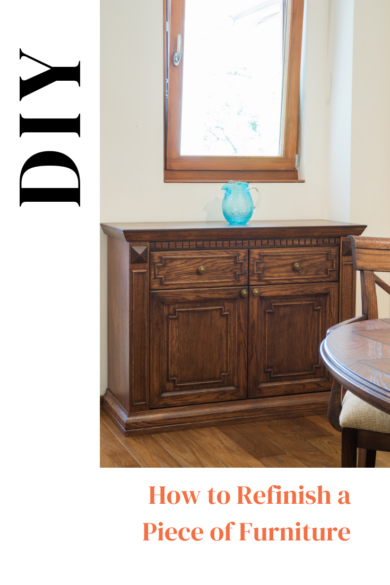


Do you have a piece of older furniture sitting around that could use refinishing? Or maybe you found a gem at a garage sale or thrift store that would look great at your house but doesn’t quite match. If you are intimidated by the thought of refinishing it yourself, I want to encourage you to try to refinish a piece of furniture. It’s not as hard as you might think. Once you have done one piece, you might even be inspired to do more!
In this article, I will give you tips for refinishing a piece of furniture.
Figure out what you want the finished product to look like.
Do you want a flat or matte finish? An antique look? Which color do you want it to be? Are you painting or using a stain? There are several different options when it comes to finishes. If you want it to match existing pieces of furniture, that can narrow it down for you. But if you have no idea, you can look on Pinterest or YouTube or Google for ideas.
Generally speaking, I think it is wise to invest in a higher quality of finish or paint. Higher quality paints tend to go on smoother and leave less brush strokes. They also don’t chip as easily.
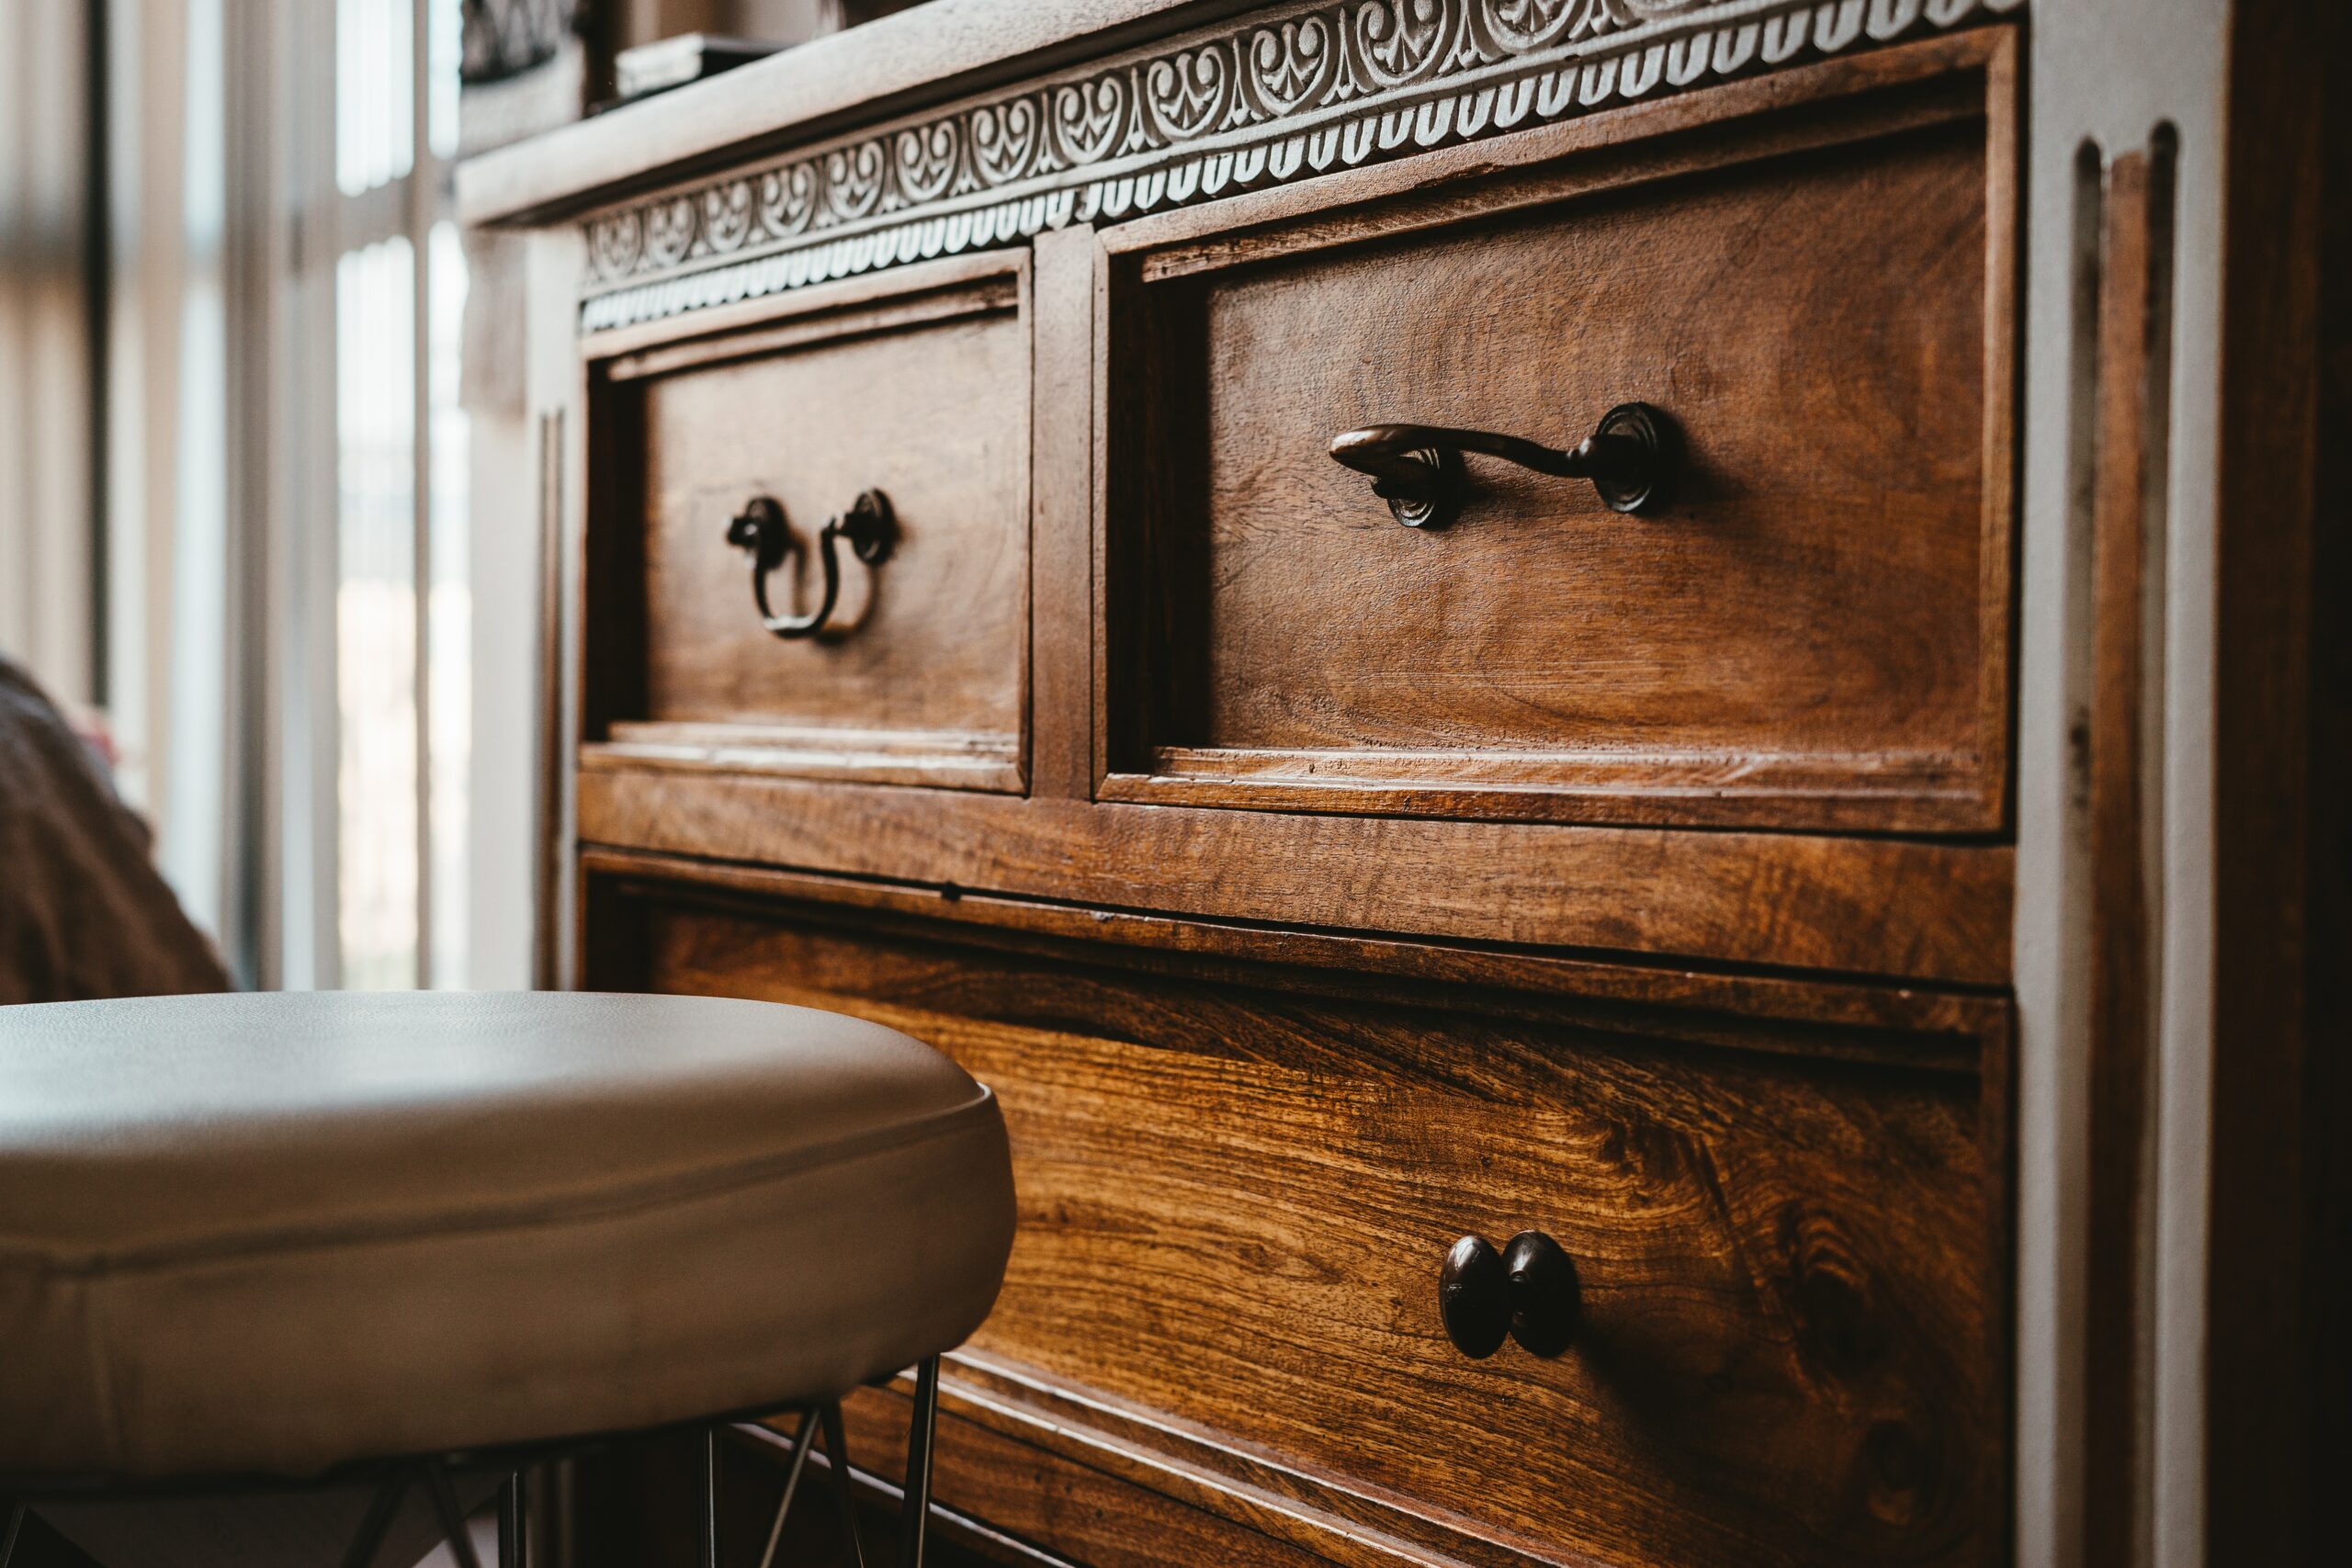
Remove drawers and/or doors.
If your furniture has drawers or doors, it’s a good idea to remove those first. Make sure you keep all hardware (screws, hinges, and handles) in a Ziplock bag, so nothing gets lost.
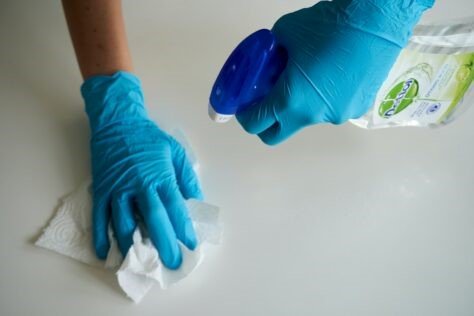
Clean all surfaces.
This is a really important step because you want to start with a clean surface for the best final product. An all-purpose cleaner or degreaser usually will work great for taking off surface grease and grime.
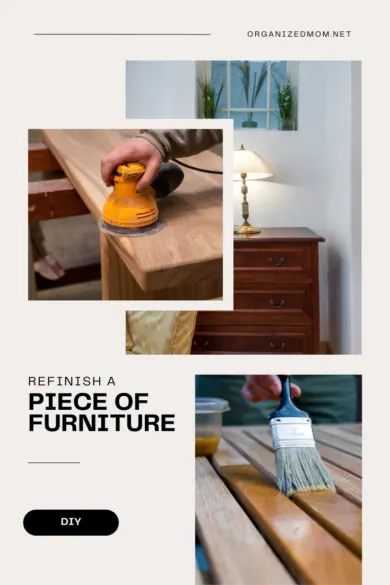
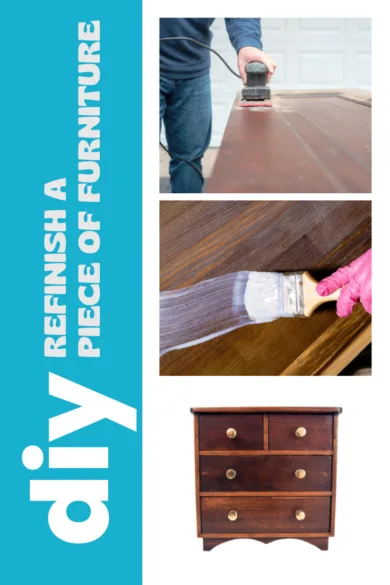
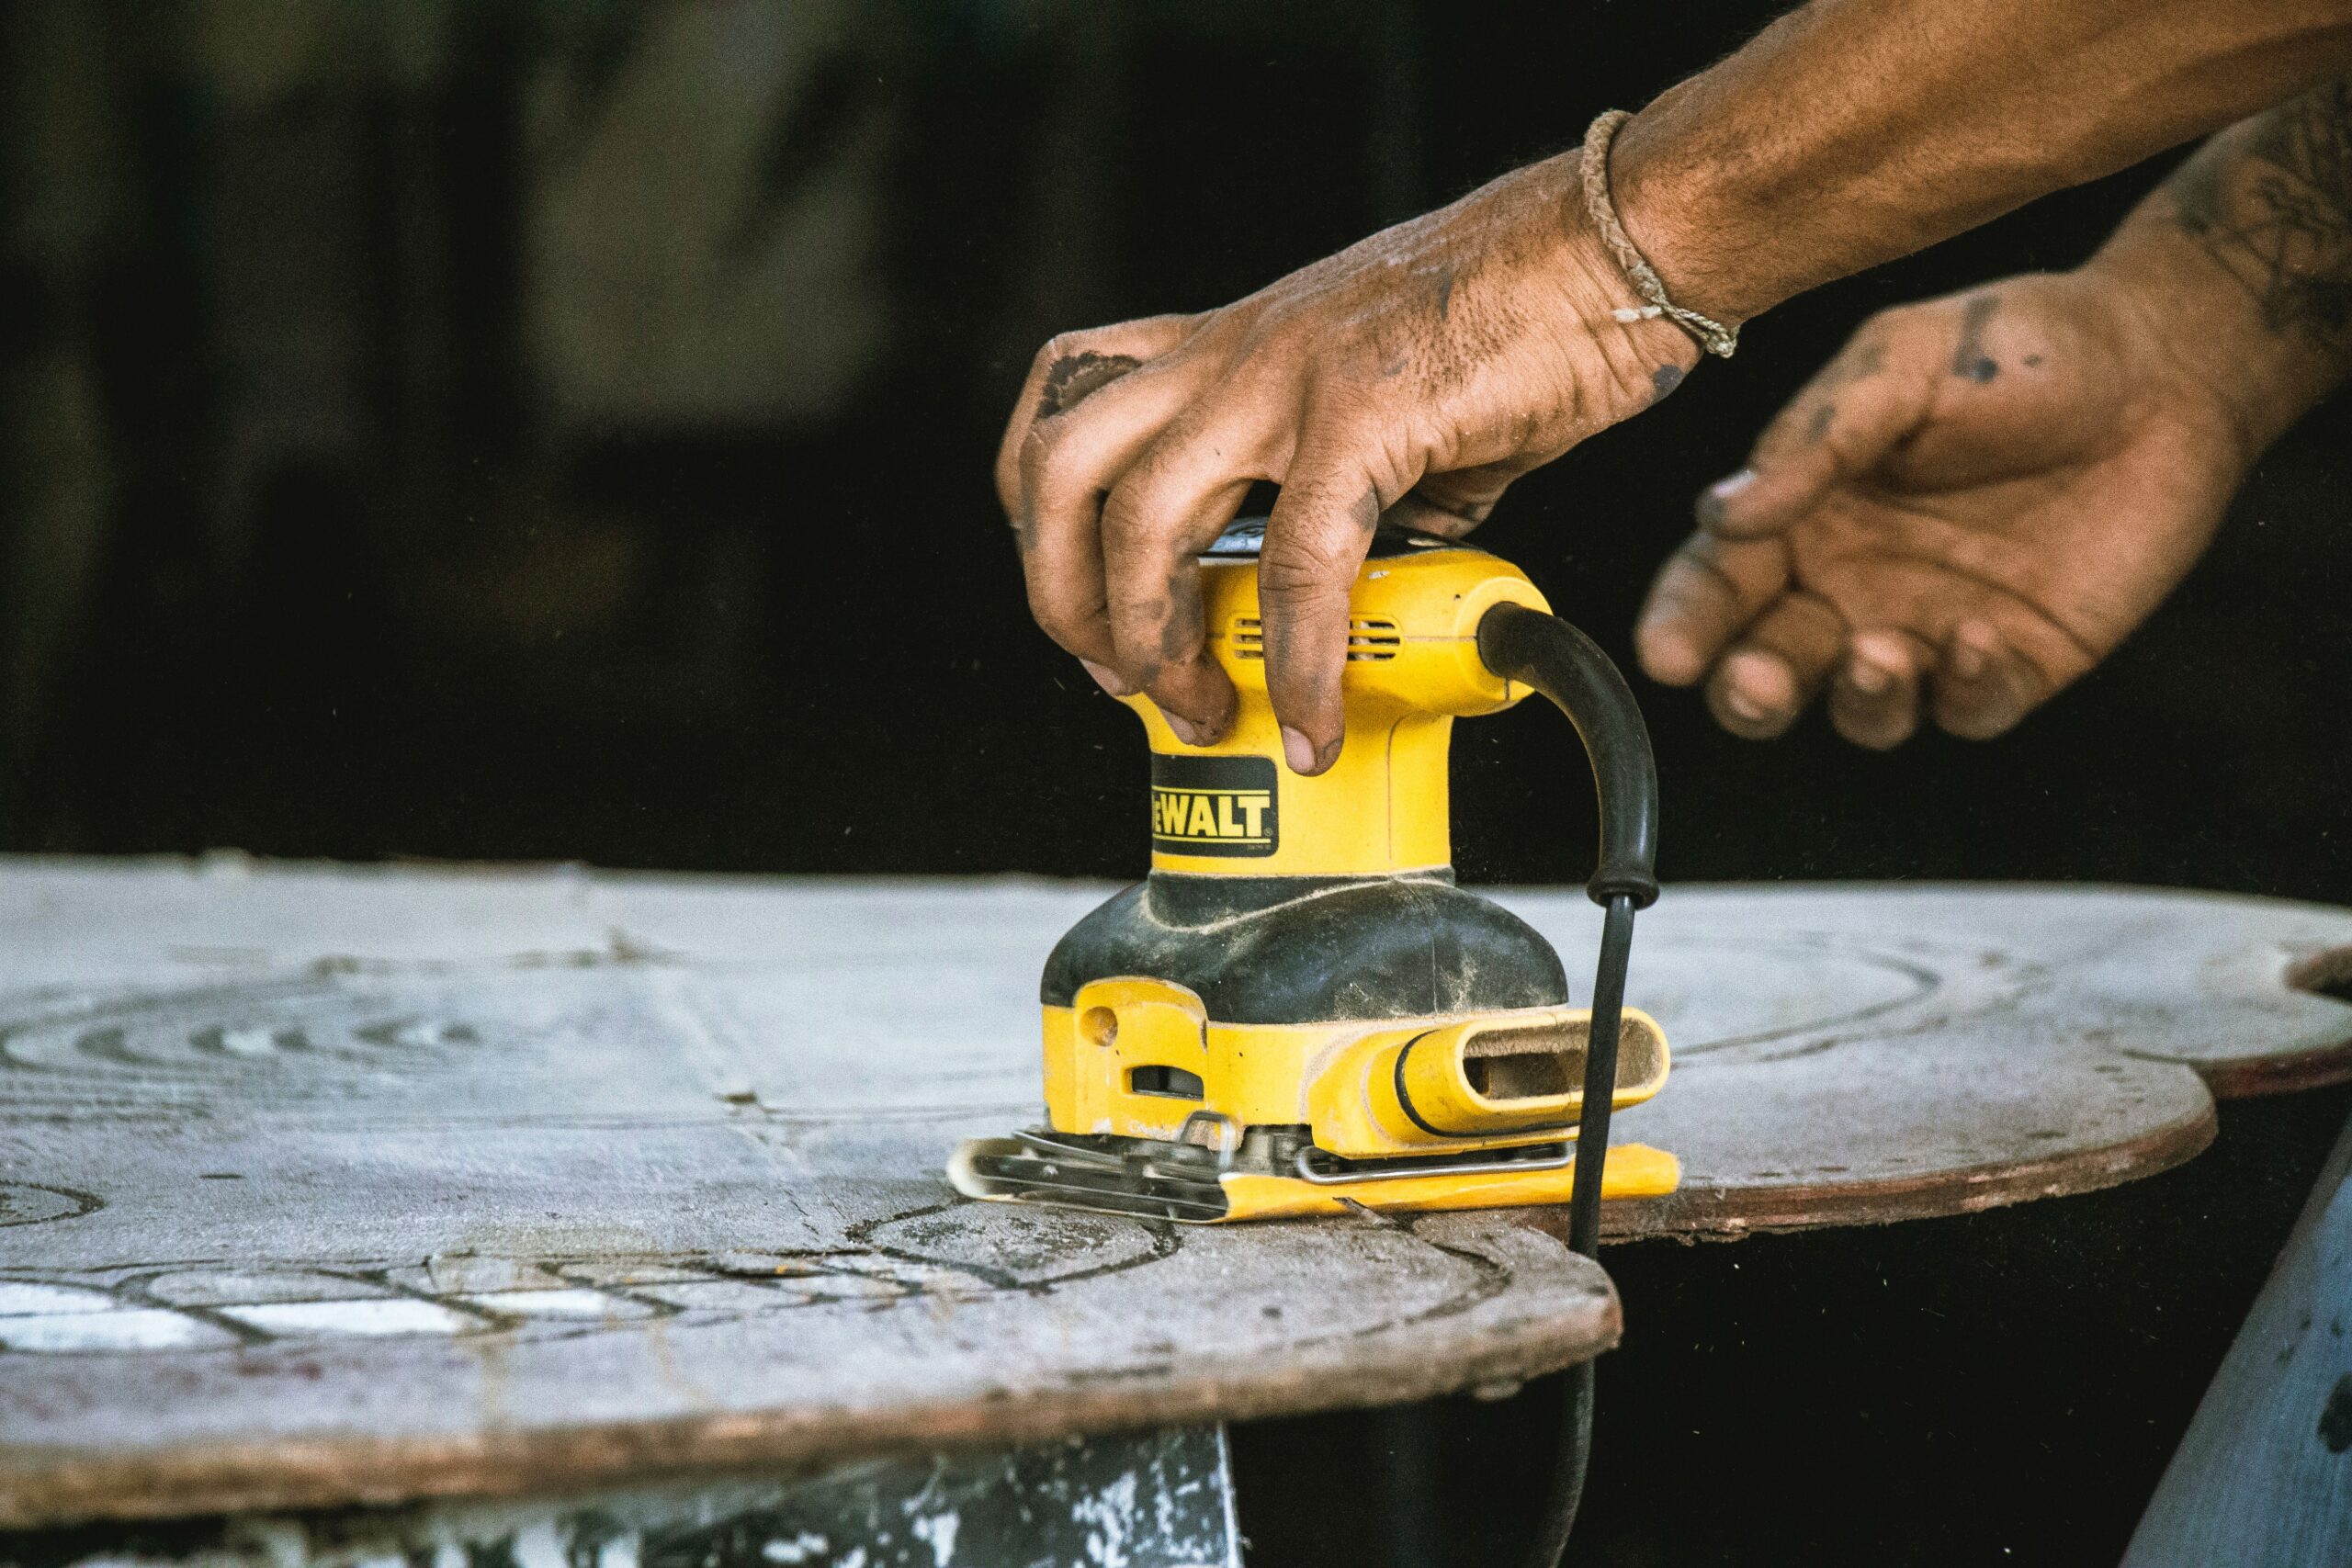
Sand your furniture piece down really well.
Use sandpaper, a sand block, or an orbital sander to sand down your project really well. If it is a larger project, it might be worth borrowing a sander if you don’t already have one. With sandpaper, the higher the number the finer the grit, which means it is less coarse.
If your furniture piece has thick paint or varnish or is uneven in spots, you might need to use a lower numbered sandpaper. Play around with different grits and see what works best.
It’s always a good idea to use eye protection and a mask when sanding, to keep the fine particles out of your eyes and lungs. To lift up all the fine sawdust after sanding, use a tack cloth or a microfiber cloth. Or you can use a wet rag or a quick shot of air from the air compressor. Sanding will help ensure that the primer and paint stick better to your project.
Use a wood filler (optional).
If you are going to refinish a piece of furniture that has a wood grain, you have a couple of options. You can leave the wood grain as is or choose to fill it in with a wood grain filler. That will add some extra steps to the process, but if you don’t want a wood grain to show, it’s a necessary step, even if you are using a darker paint.
There are different types of wood grain filler, and I knew nothing about any of them when I first decided to use one. I simply googled it and found a super helpful YouTube video that gave a step-by-step tutorial and a product recommendation.
Depending on the type of wood grain you are dealing with, you will probably end up needing to apply 2 or 3 coats and will need to sand in between using a 220-grit sandpaper. If you are wanting to achieve as smooth of finish as possible, don’t skip the sanding step! It will help smooth out any rough edges and highlight where a 2nd or 3rd coat of wood filler is needed.
Prime your furniture (optional).
Not all projects need a primer coat. But if you are going from a dark colored piece of furniture to a light one, using a coat of primer can help eliminate the number of coats of paint you will need to use. You can either use an oil-based primer or water-based. Water-based primers are much easier to clean up, but oil-based primers won’t dry as fast, so you have time to fix mistakes, and they are good at blocking stains, if that is an issue.
Wood tannins can bleed through the paint and discolor light colored painted projects. Oil-based primers can help with this, so that is another reason you might consider using a primer. Just remember to designate one paintbrush and/or roller for oil-painting. You don’t want to intermix them with water-based paints.
You can also buy cans of spray primer, and these can be great to use if you don’t want to mess with the clean-up from brushes or rollers.
Once you apply a coat, allow the primer to dry thoroughly (Remember, with oil-based primer, this will take longer). Then you can do a quick sanding with 220 grit sandpaper to get rid of any rough spots. Clean off excess dust and then apply a second coat of primer. Allow the 2nd coat to dry, then do another quick sanding and clean off any dust.
Paint your furniture.
Follow the instructions carefully on whatever paint or stain you buy. They all have different drying times and tips for how many coats are recommended.
Use a clear sealer. (Optional)
You don’t have to add a clear sealer, but if your piece of furniture will be in a place that has a lot of traffic, I would recommend using one to protect your paint from chipping. I would recommend using a polyurethane varnish and applying a couple of coats. Be sure to get plenty of varnish on your brush so you don’t have to go back over areas when it is still wet and accidentally leave brush marks. It dries fairly quickly.
I hope this gave you a quick overview of what it takes to refinish a piece of furniture. There are tons of helpful videos on YouTube if you want to see more examples. Enjoy your newly finished piece of furniture!