Got a great idea for a DIY project? It could win you some really awesome Acer Products!
Note: This post was sponsored by Acer, as part of their Seize the Idea contest, which has since ended.


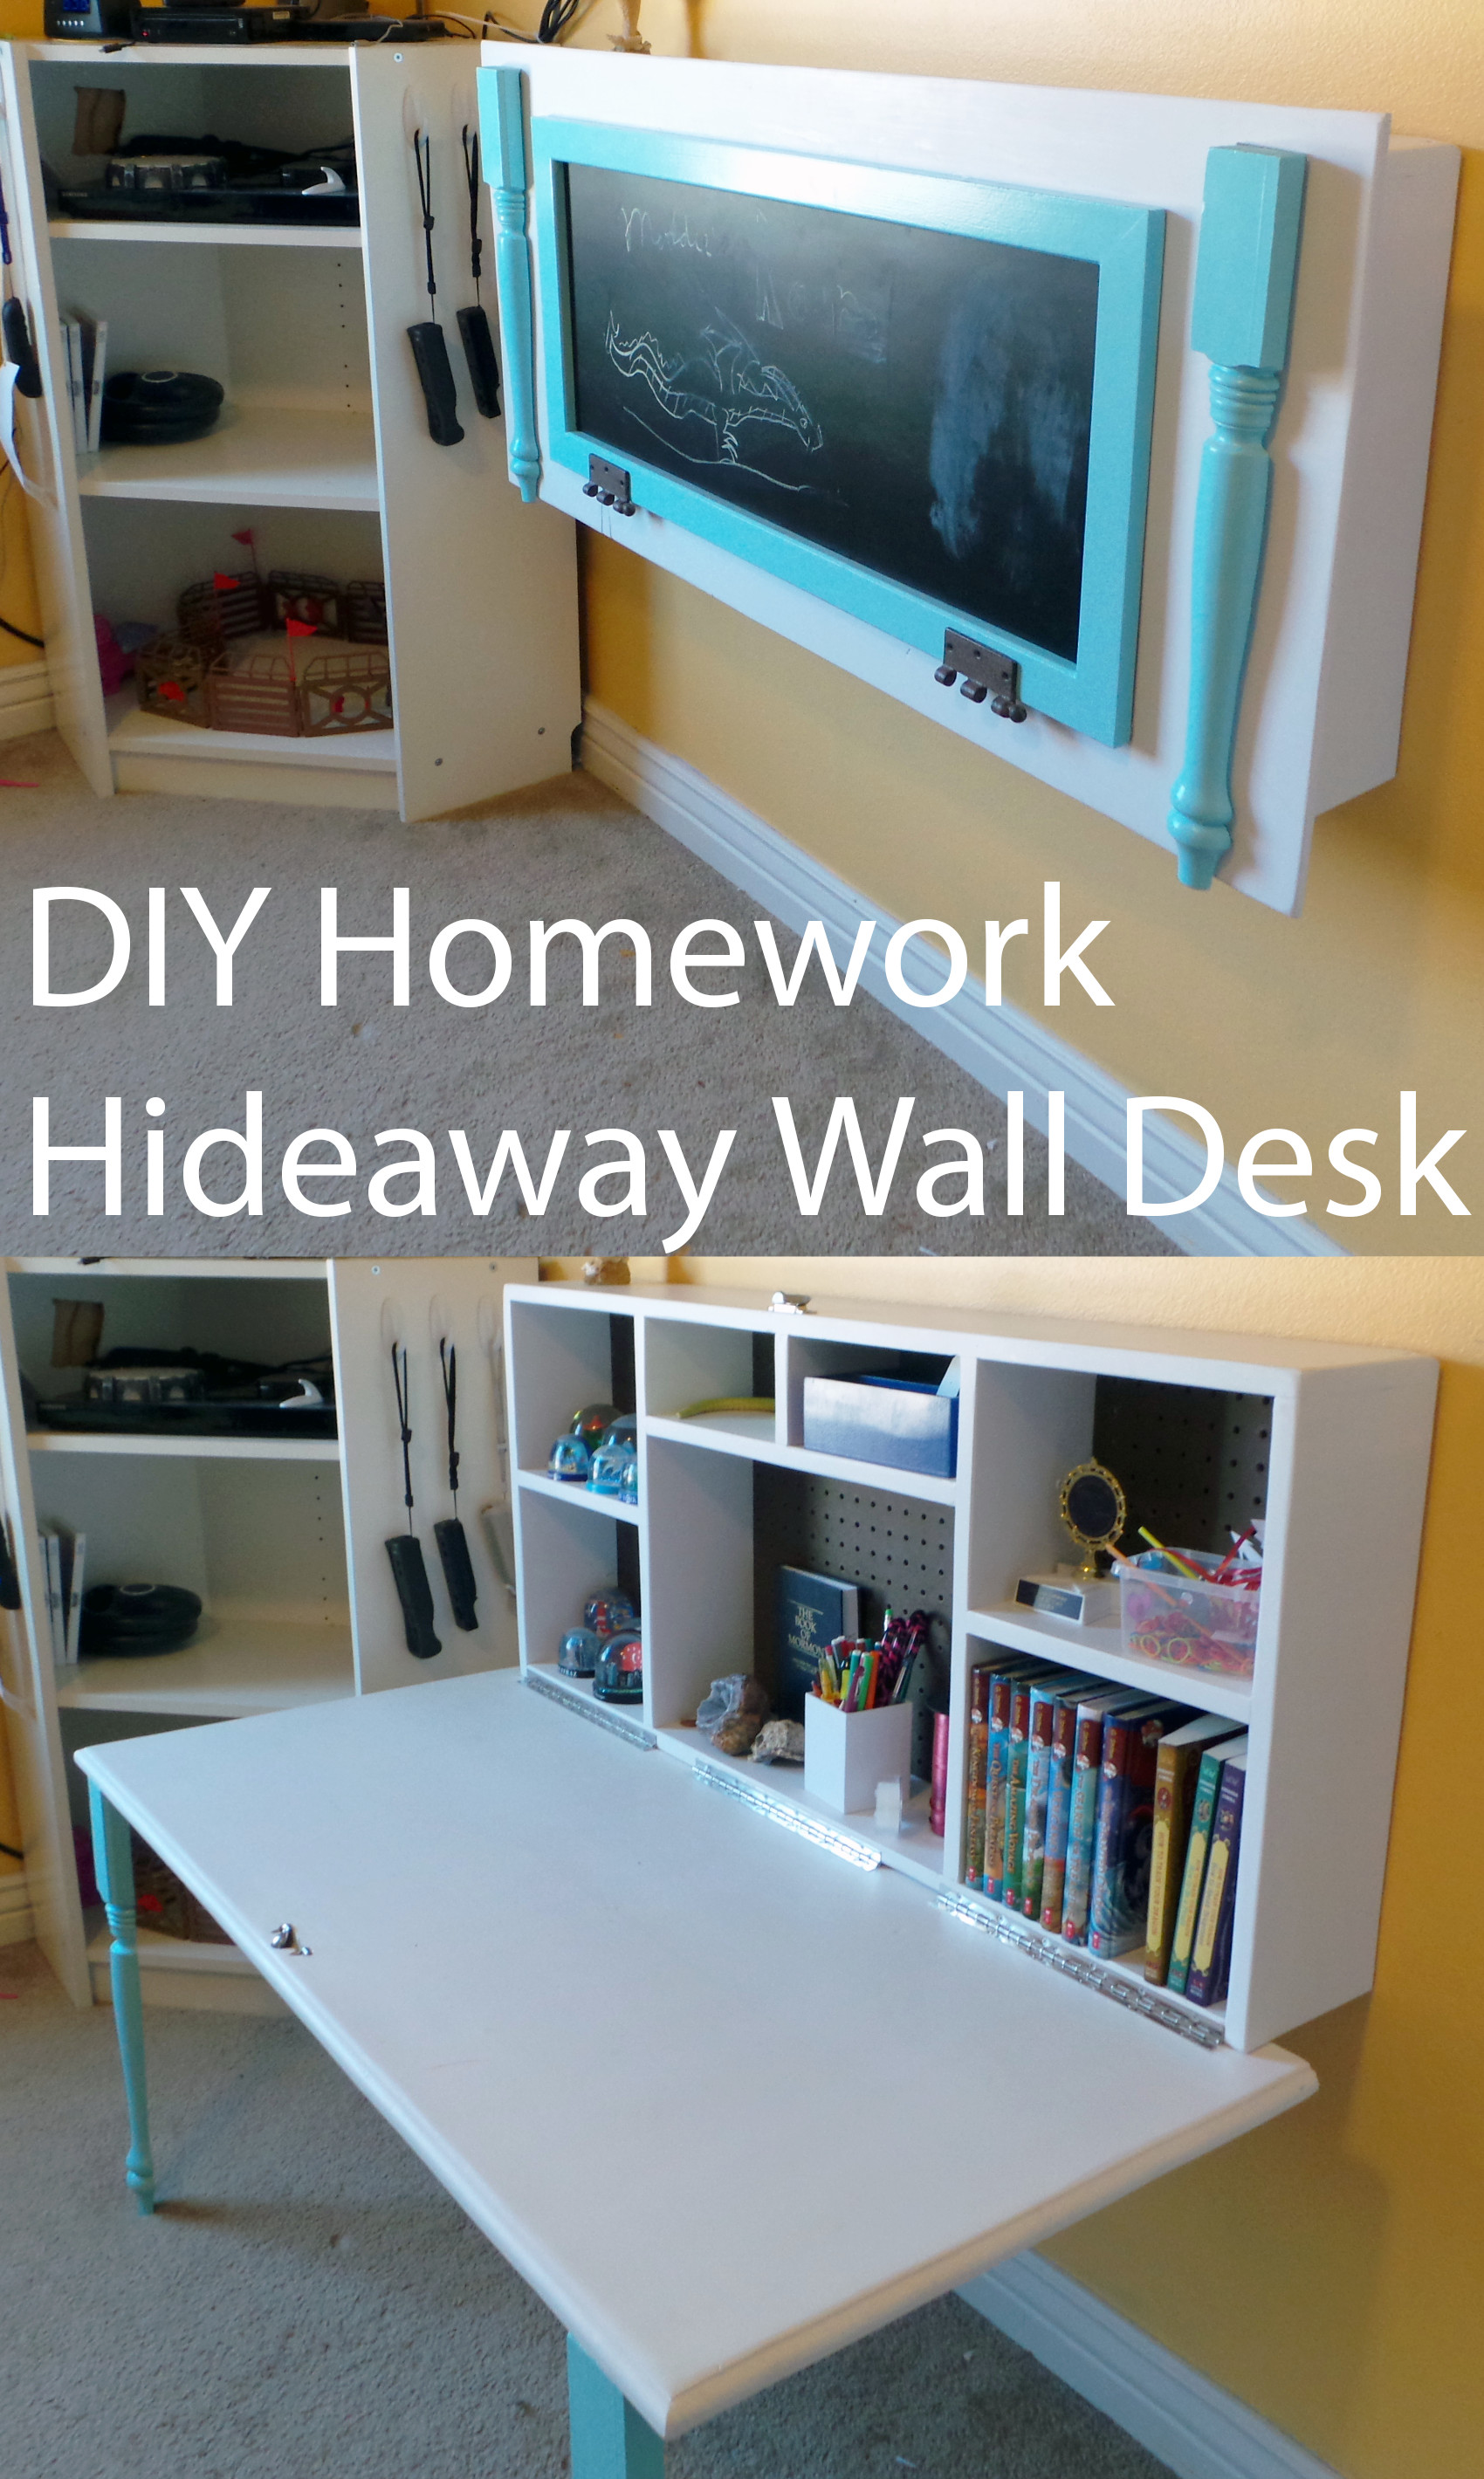
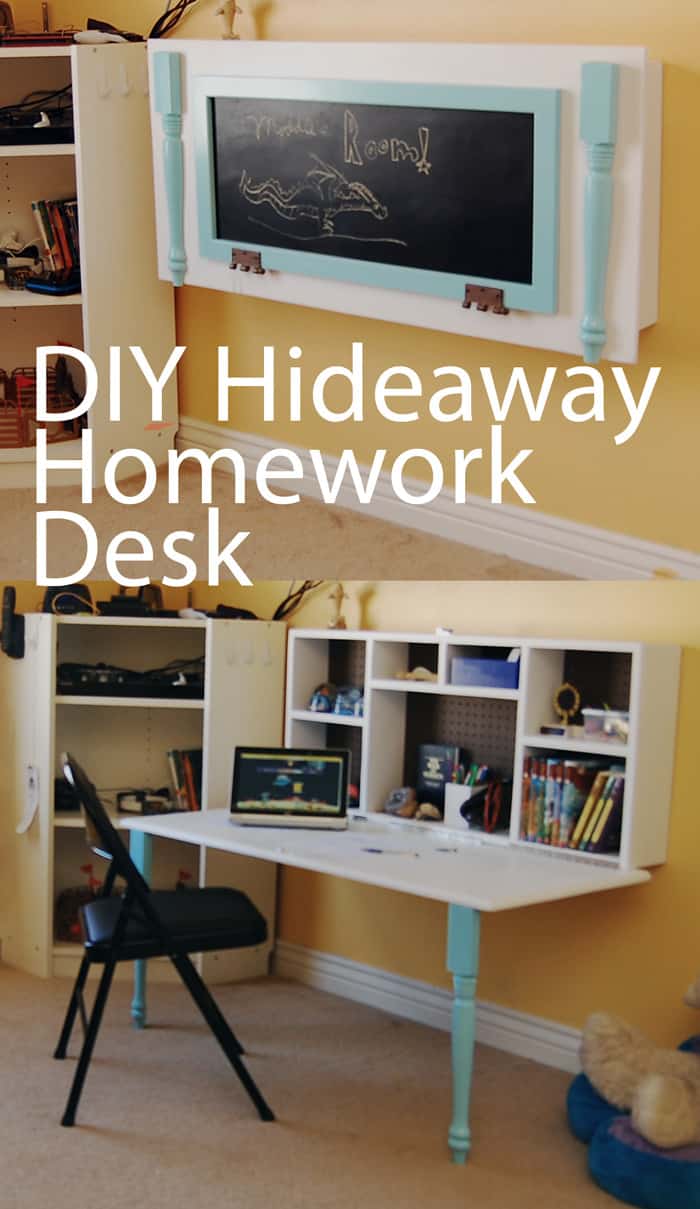
DIY Hideaway Kid’s Desk
Now I’m going to take you step by step on how I built this DIY hideaway Kid’s desk. I’ll also give you a complete list of the materials I used so you can re-create it!
Why I Built This DIY Hideaway Kids’s Desk
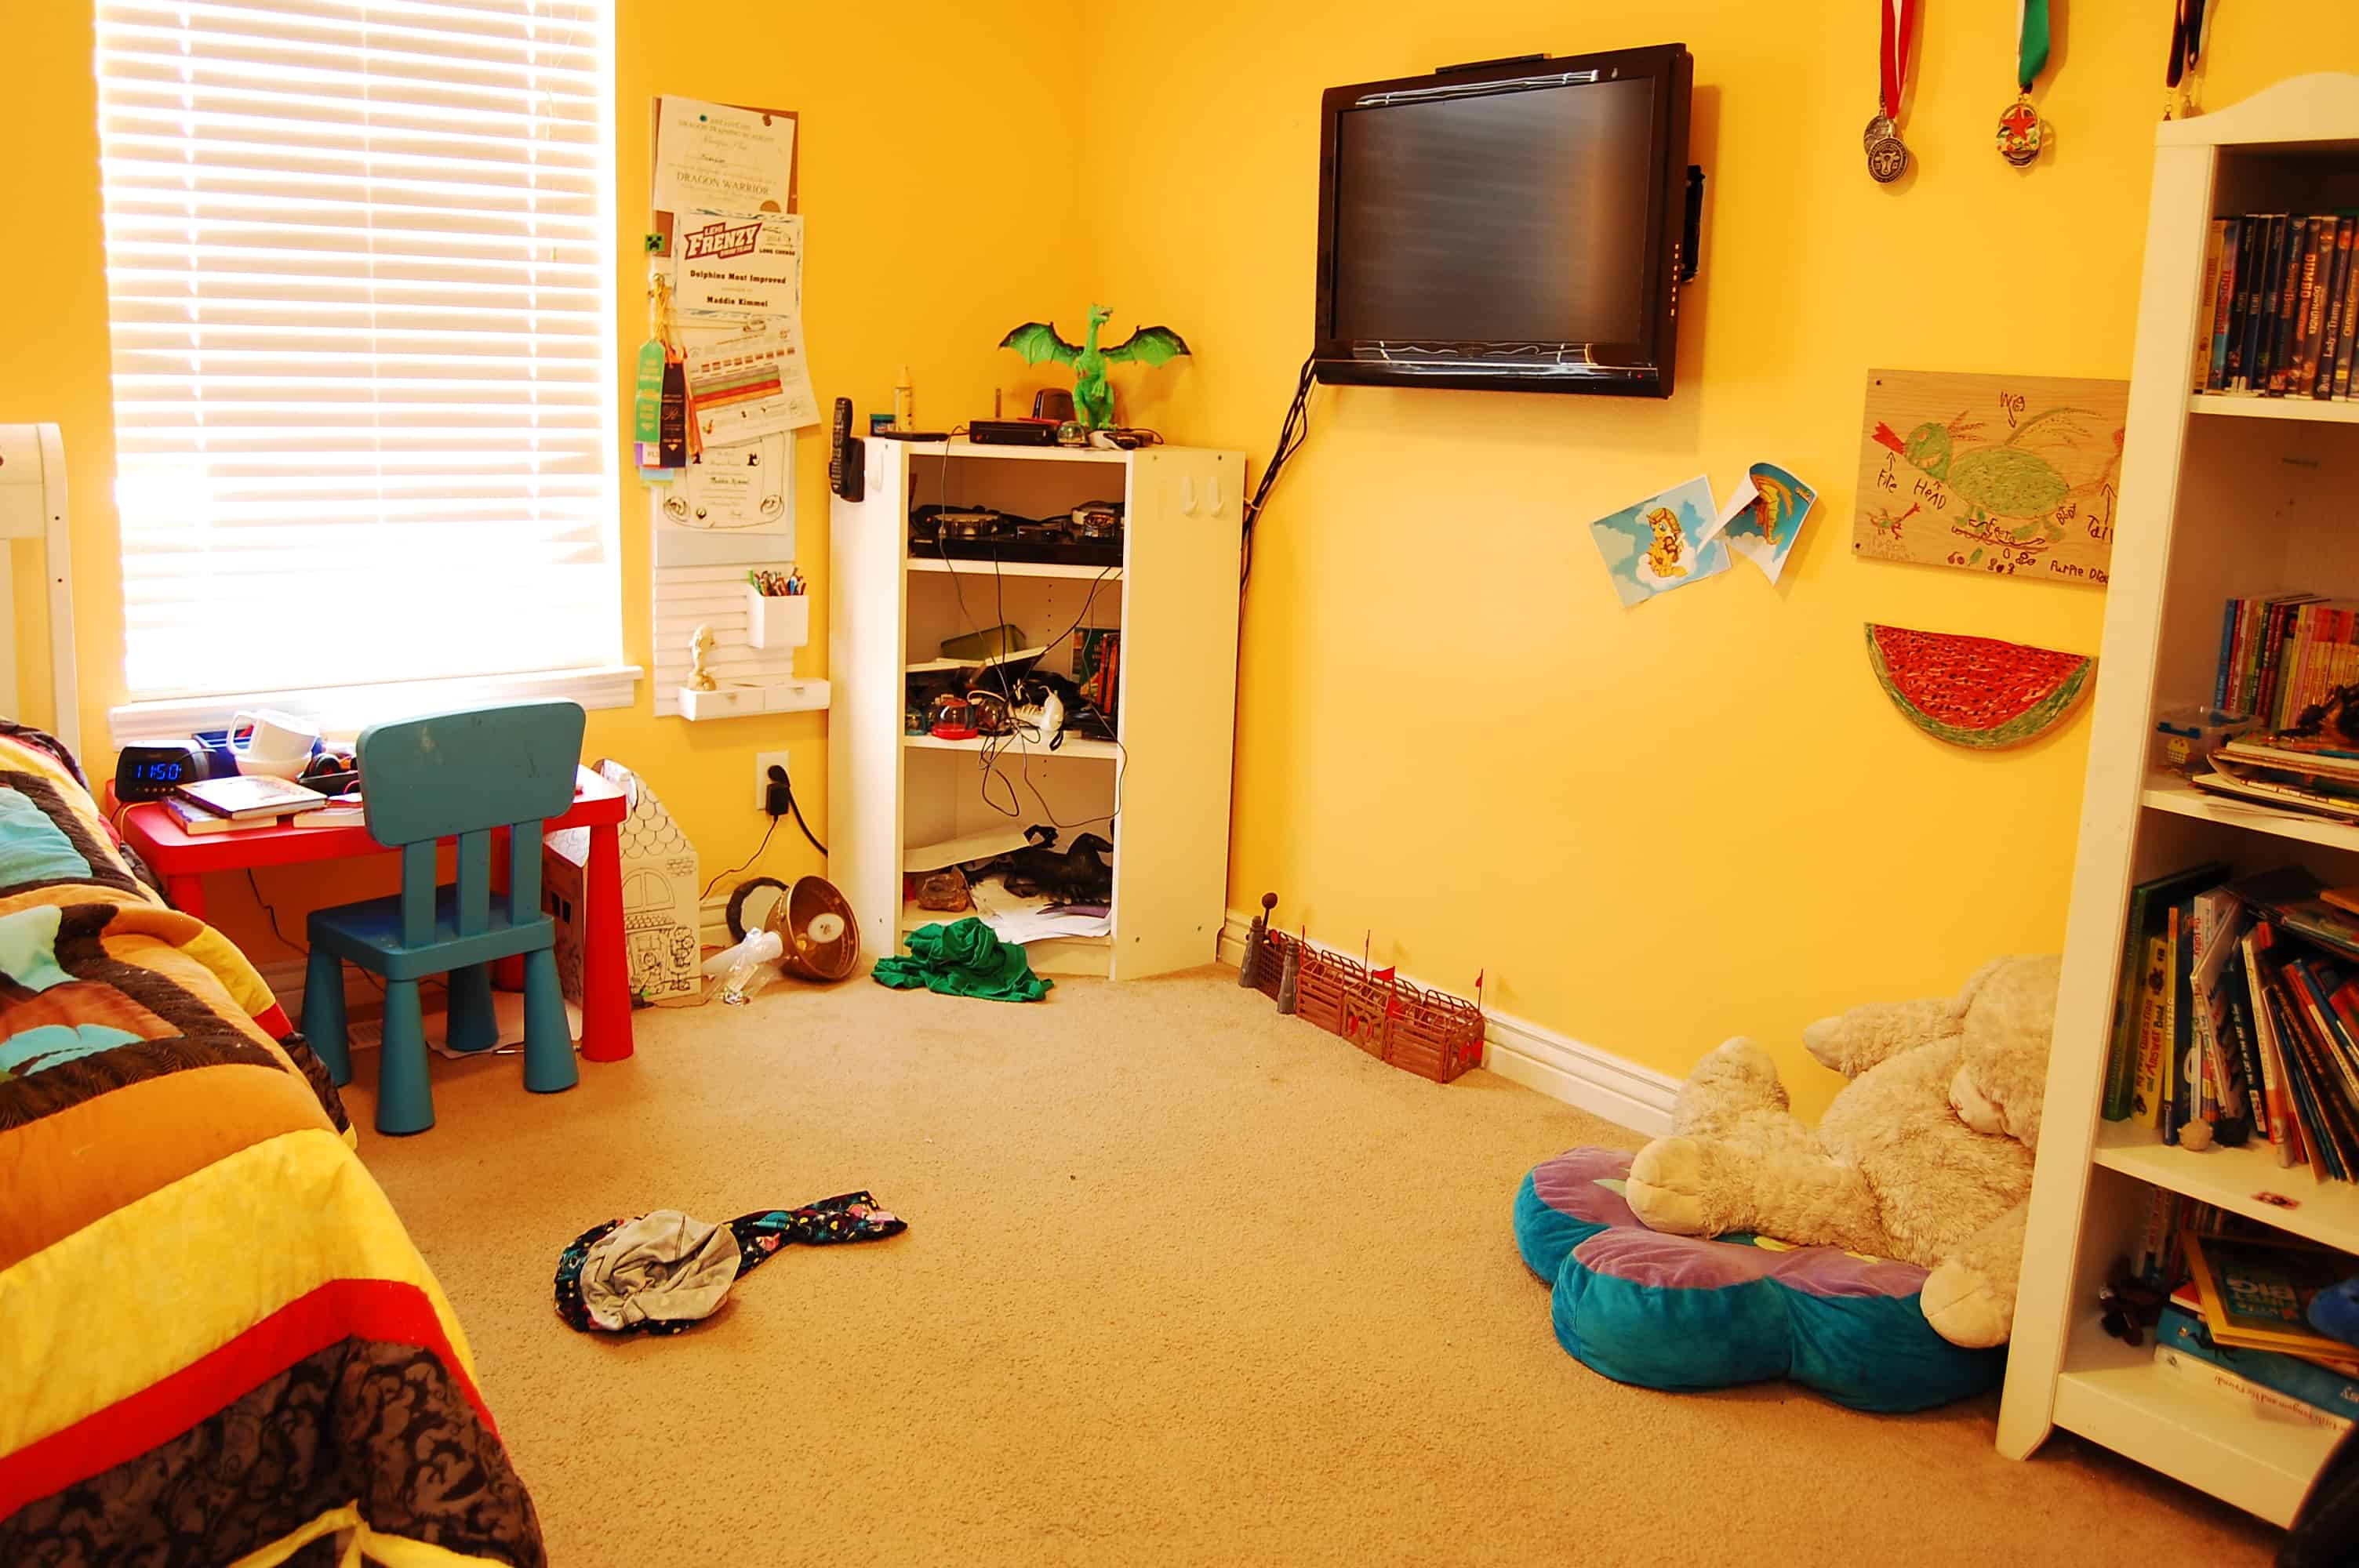
My daughter’s desk area has always been a bit of a problem zone in her room. It was always a mess. It was also one of those areas she was “clutter blind” to. We would tell her to clean up her room before getting more time on her phone, and the room would be spotless, but the desk was still a disaster.
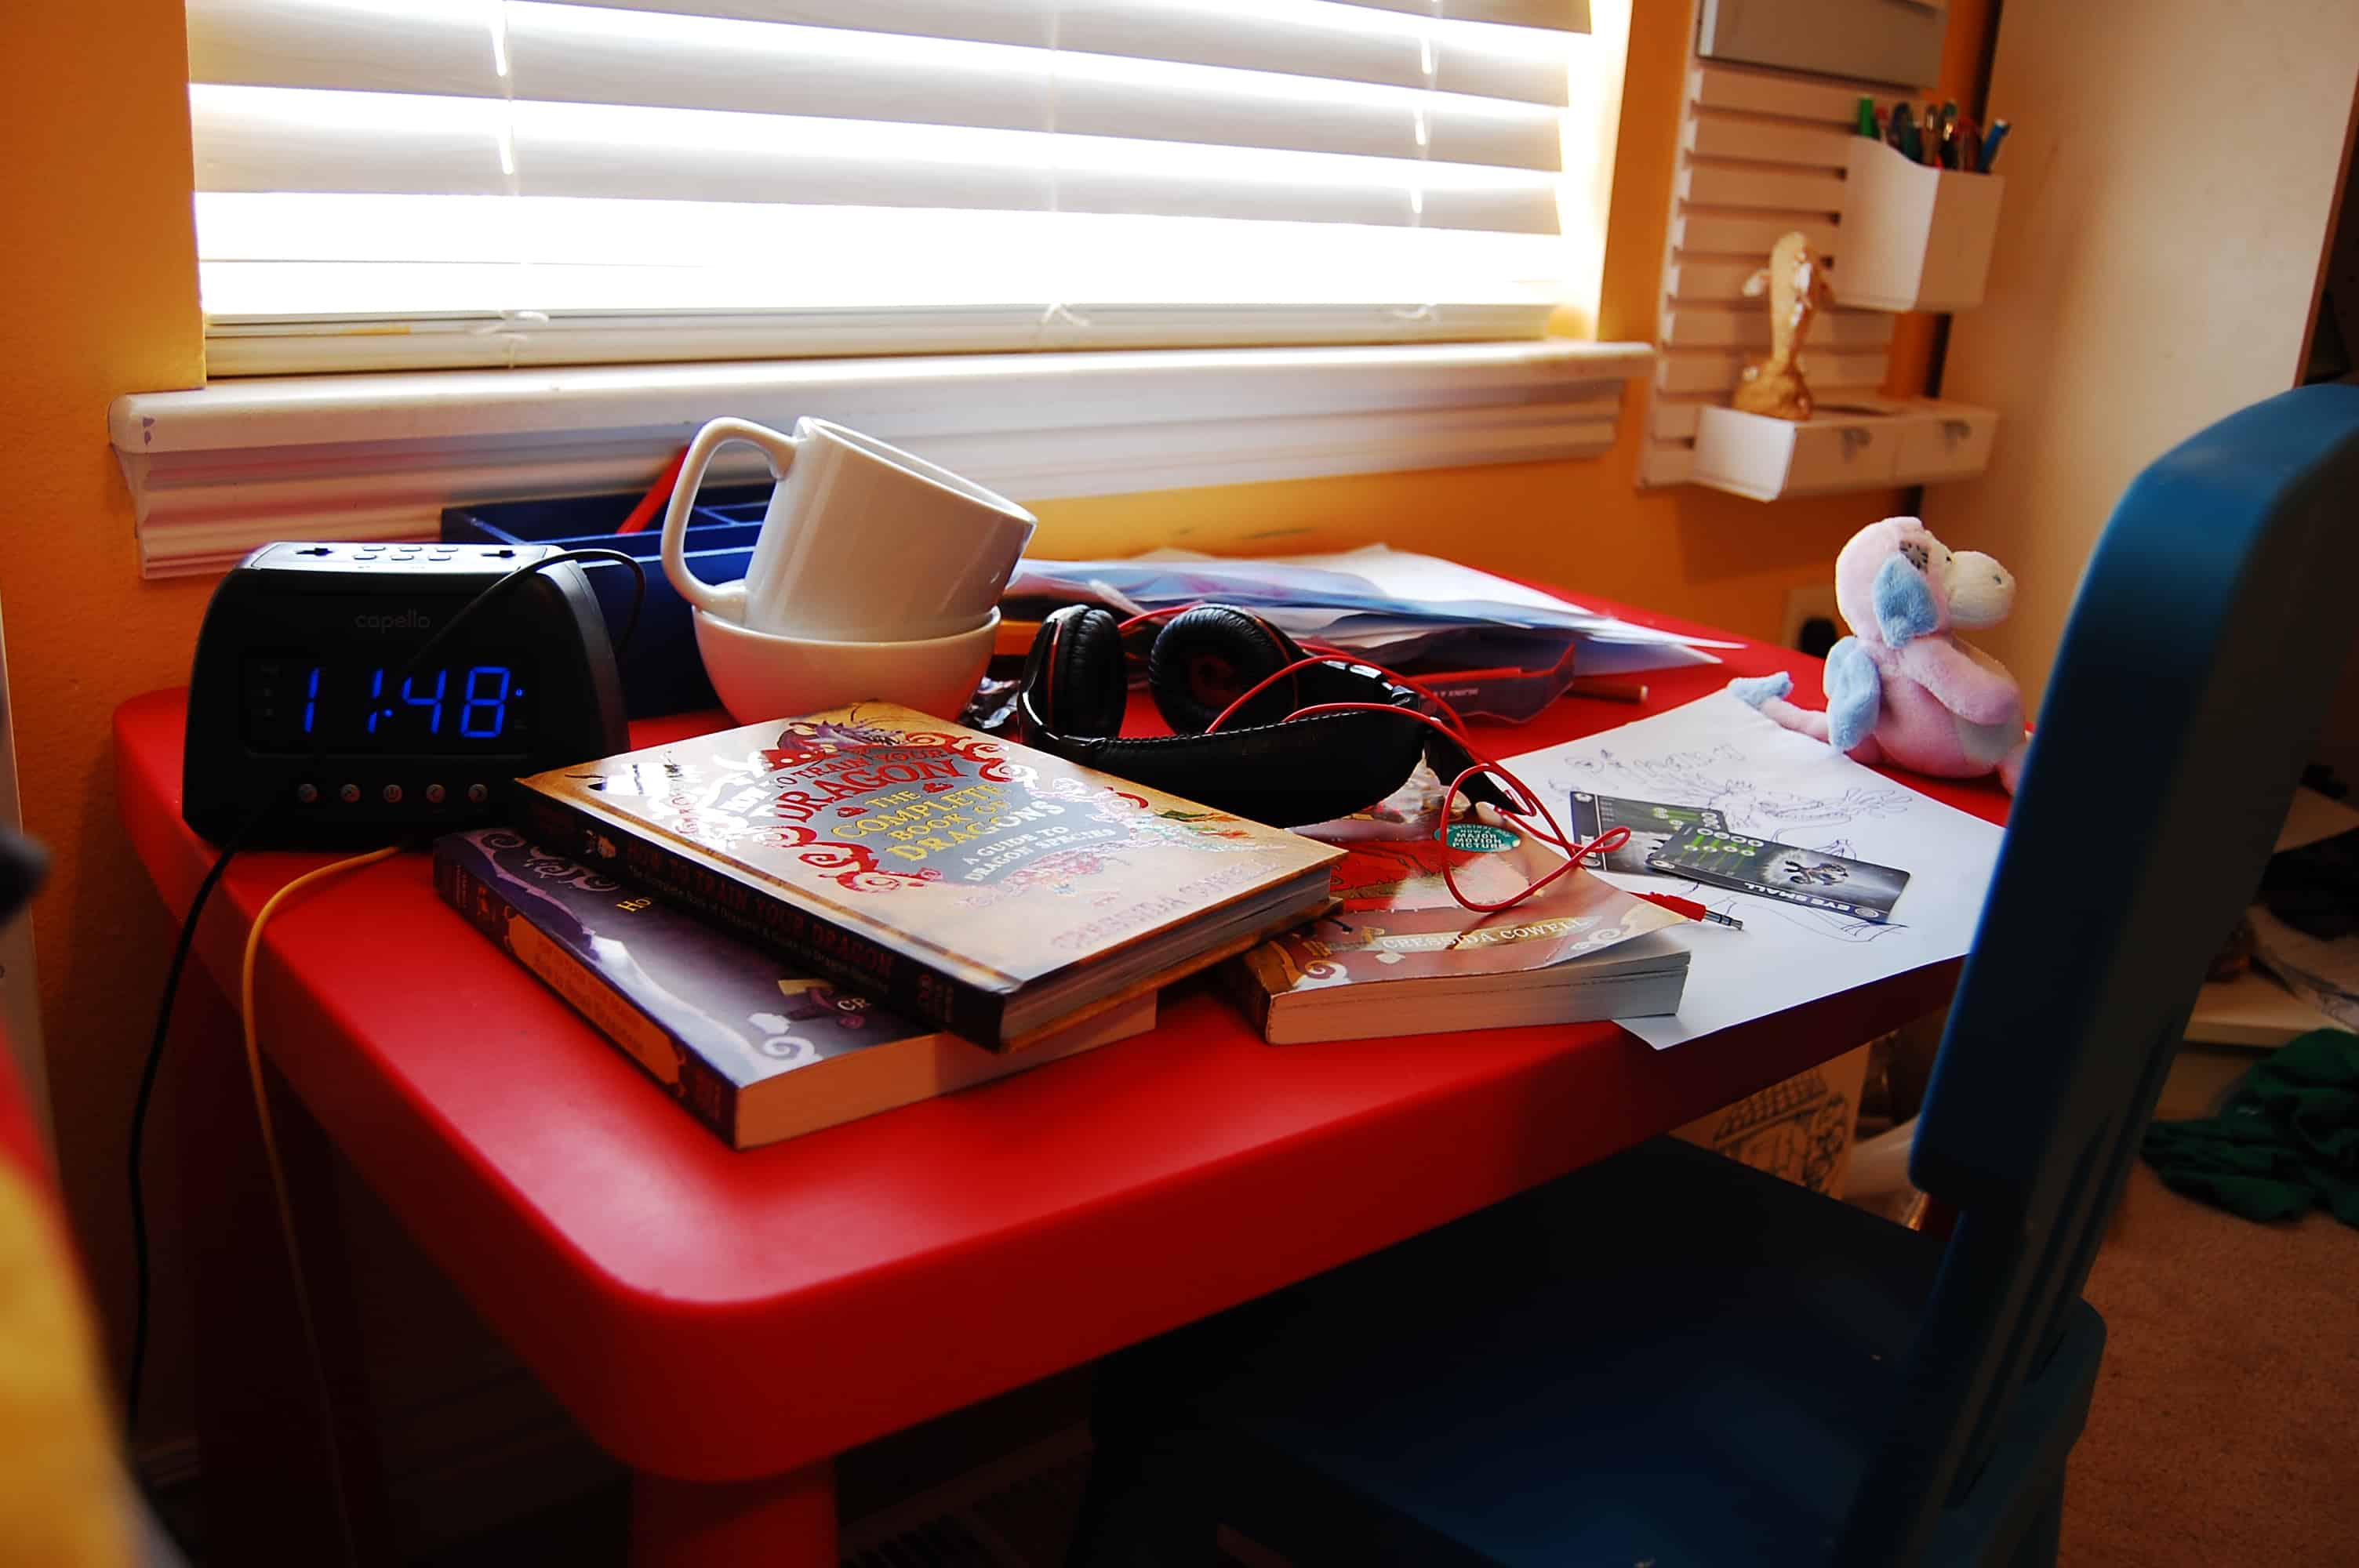
Always old dishes, TONS of paper for drawing, books, etc etc. It’s not entirely her fault. It’s just a flat table. It never really worked as a tween desk because there was no where for anything to go.
Plus the cheap chairs were constantly falling apart. When she would sit down to actually do some homework, there was no where for the work to go because it was always so cluttered. She would take her chair and sit on the floor and do the work on the seat of the chair.
Most of her homework is completed on the computer as well, and, as you can see from the above picture of her table, there was definitely no where to put the Acer Switch to get her homework done!
So, we had a dilemma. She needed a legit desk. I started my search from my Acer Switch, which is perfect for doing this sort of research. The kind that works best on a tablet as you look through pictures upon pictures of desks.
I was coming up empty on all fronts. So, it was time to take matters into my own hands. Where do you go when you need some inspiration for a DIY project? Pinterest of course! I browsed through a ton of projects…
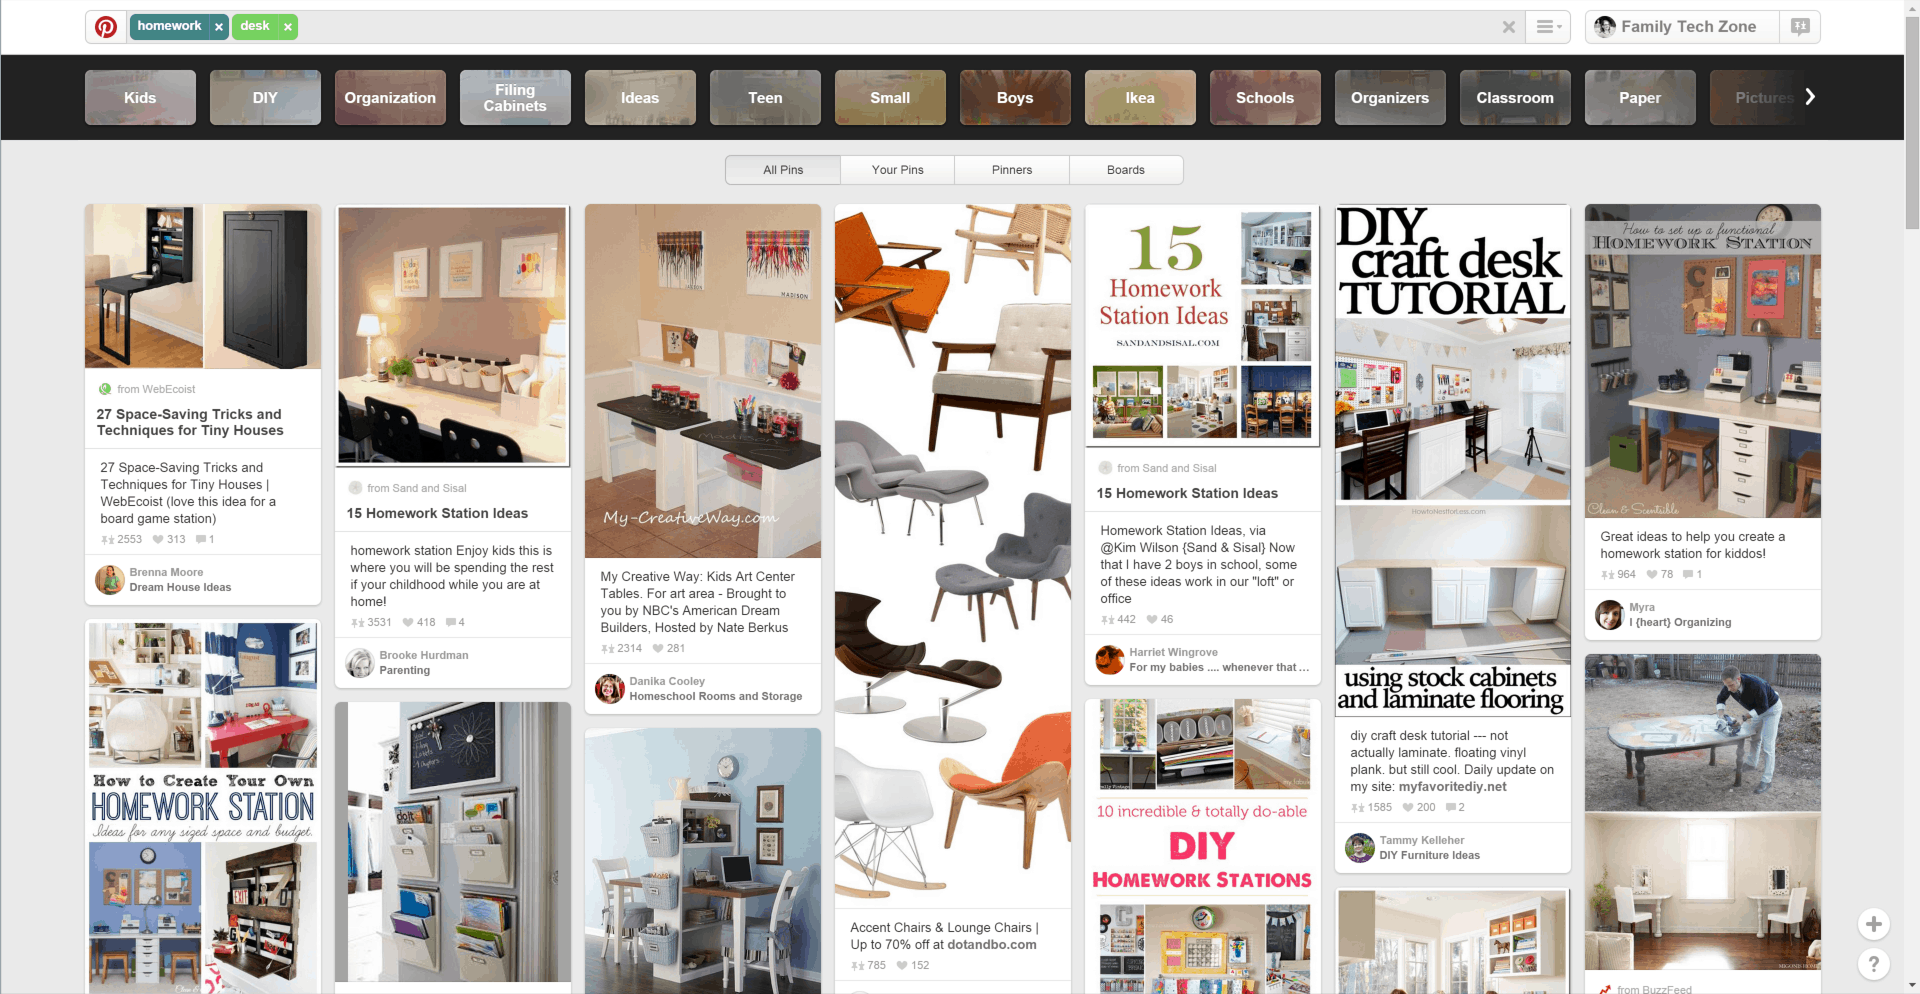
But I still was not quite finding what I was looking for, and taking a queue from the very product I was using to browse with it’s multi-function capabilities, I realized I wanted something multi-function for the desk too! I came across these two gems…
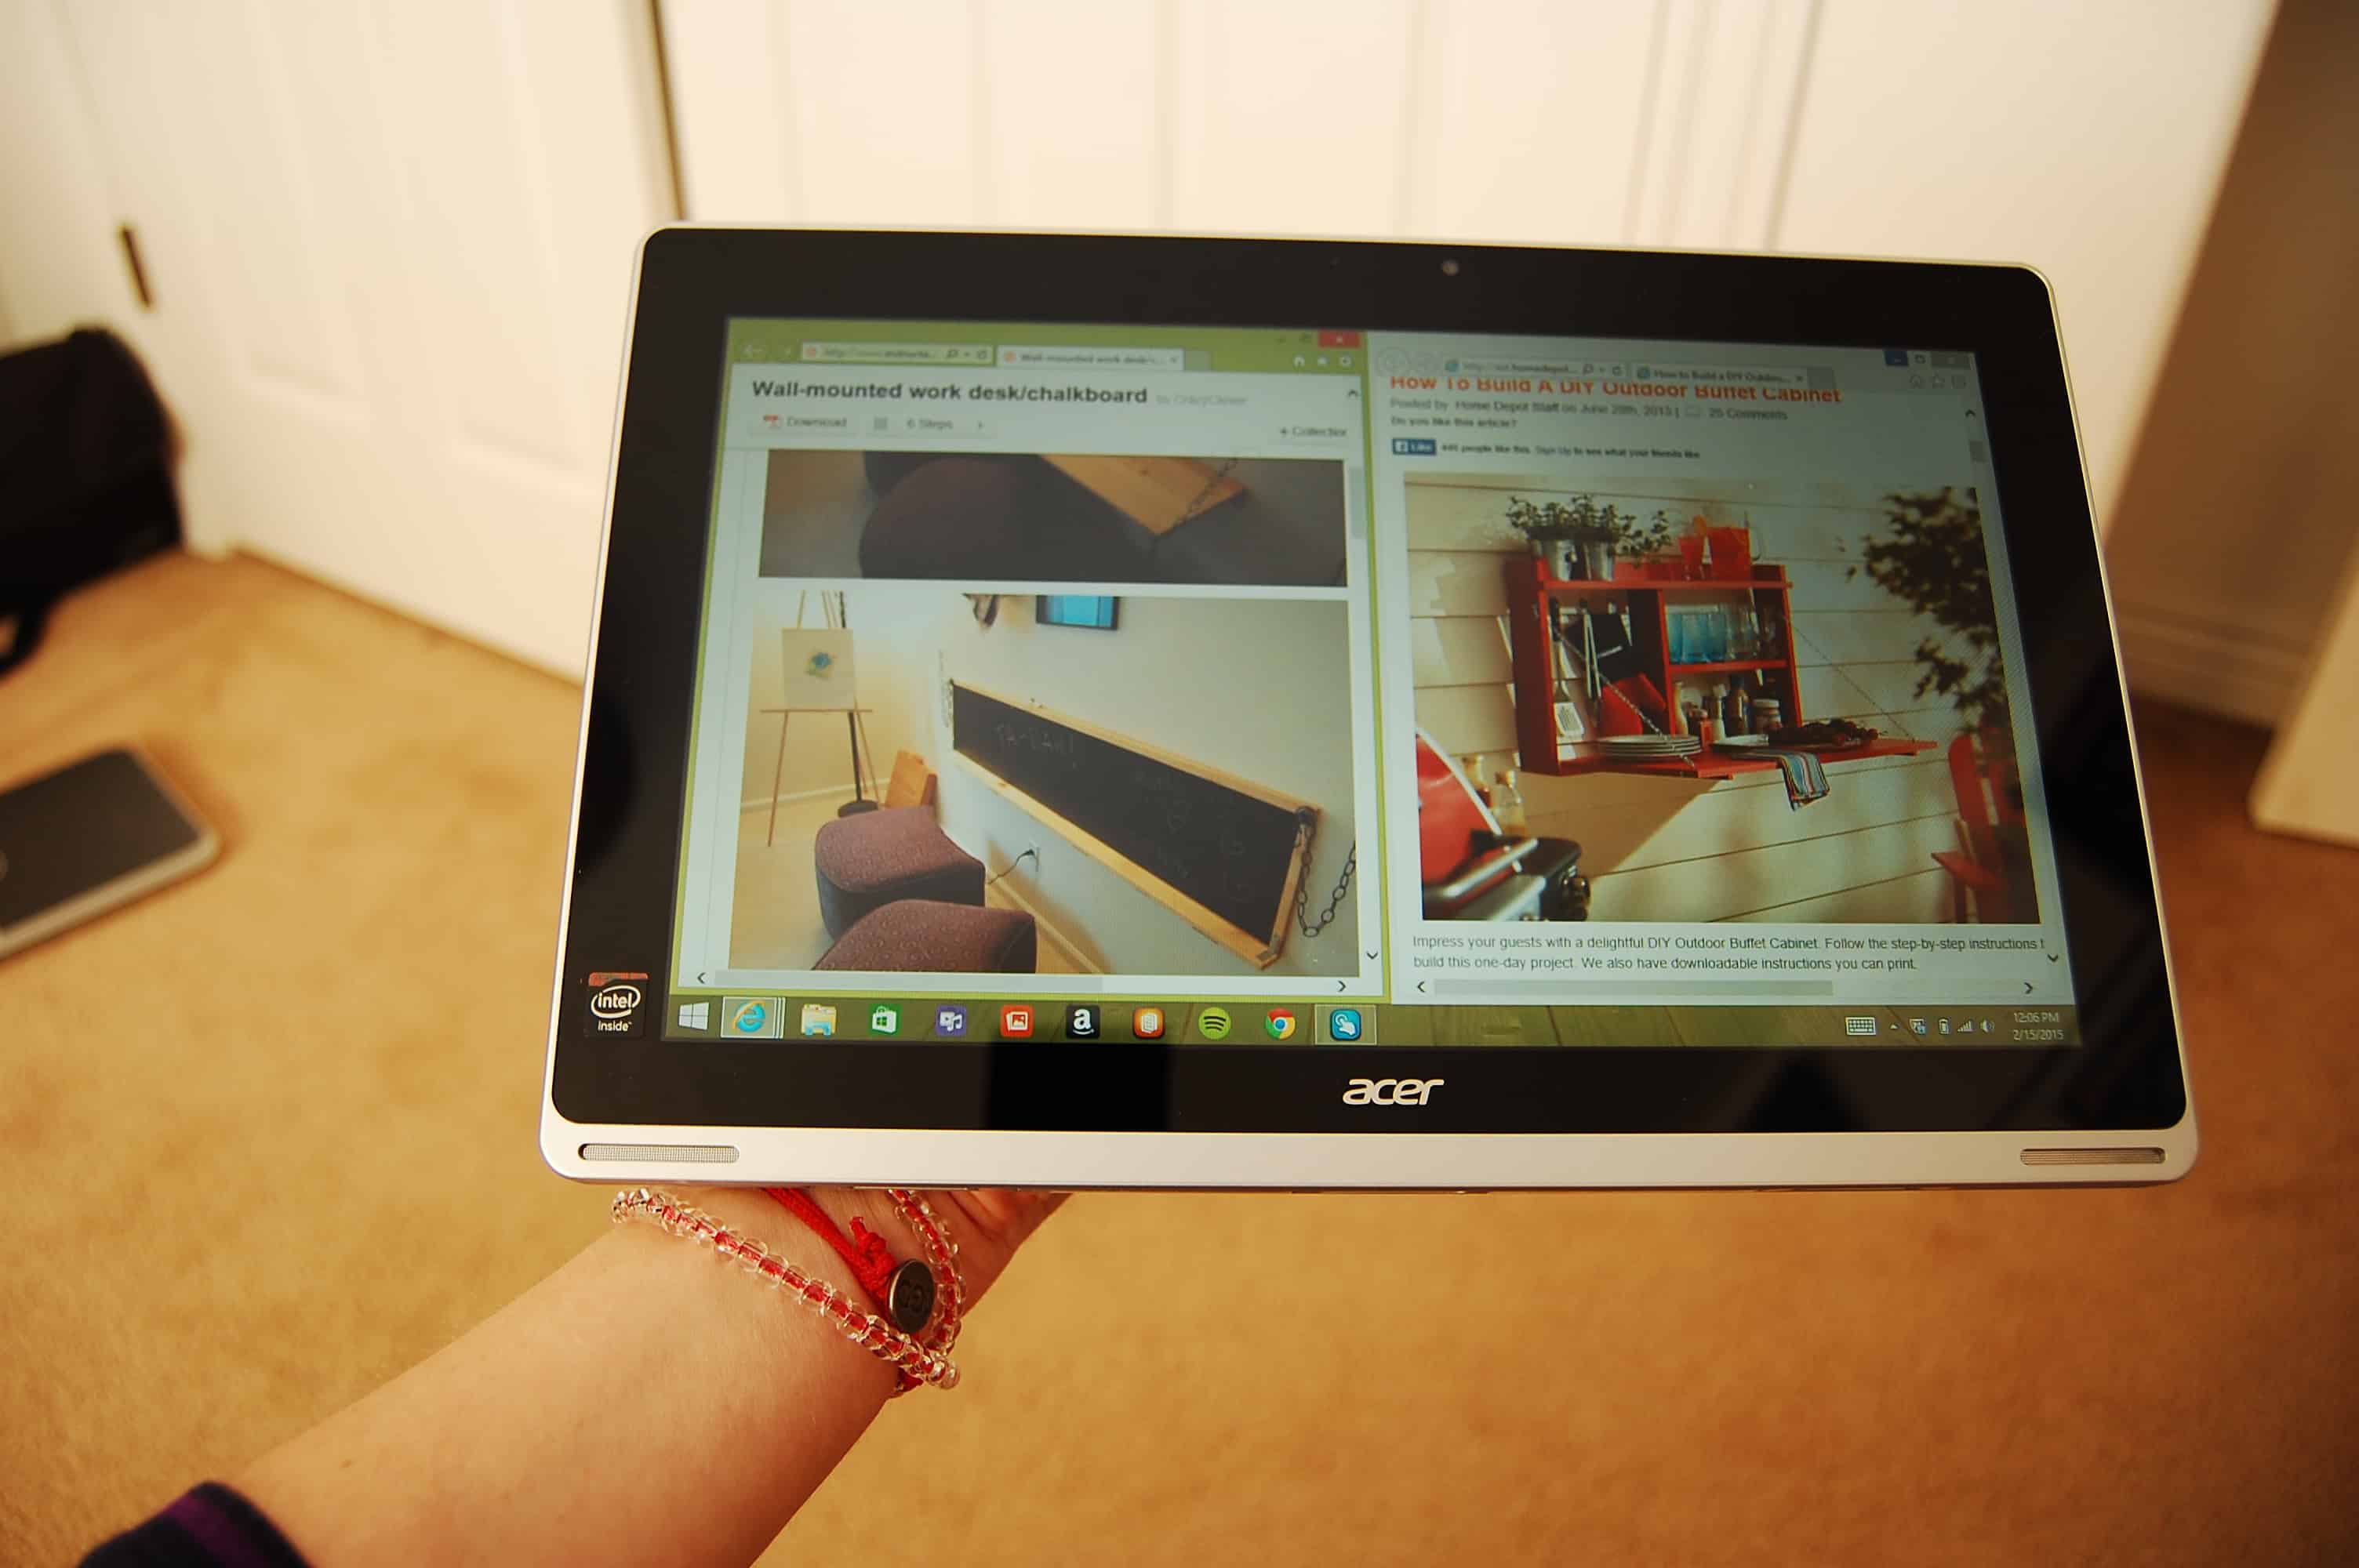
I snapped them side by side, and knew that was exactly what I was looking for. A mix between the first and the second! A desk, with shelving backing and a chalkboard on the front for when you hide it away!
Now it was time to get to work. Admittedly, I came into the idea a bit backwards. I had the space in mind for the desk, so I started with the size I WANTED it to be.
In hindsight, I should have started with a premade chalkboard or white board and based dimensions off of that. This is just a template, you can make it whatever size and front you want! You could even just paint a piece of wood with chalkboard paint, or whiteboard paint and bypass purchasing one to begin with as well.
Materials for DIY Hideaway Wall Desk
Here’s the list of what I used to build this DIY hideaway wall desk.
- 1- 1”x8” x8’ pine $9
- 2- 1’x6”x8” pine $9 a piece
- 1- 1×24”x 48” pine $25
- 1- 24”x48” Pegboard $5
- 3- 12” piano hinges $5 a piece
- 1- Sash window lock $5
- 4 cans of paint $4 a piece
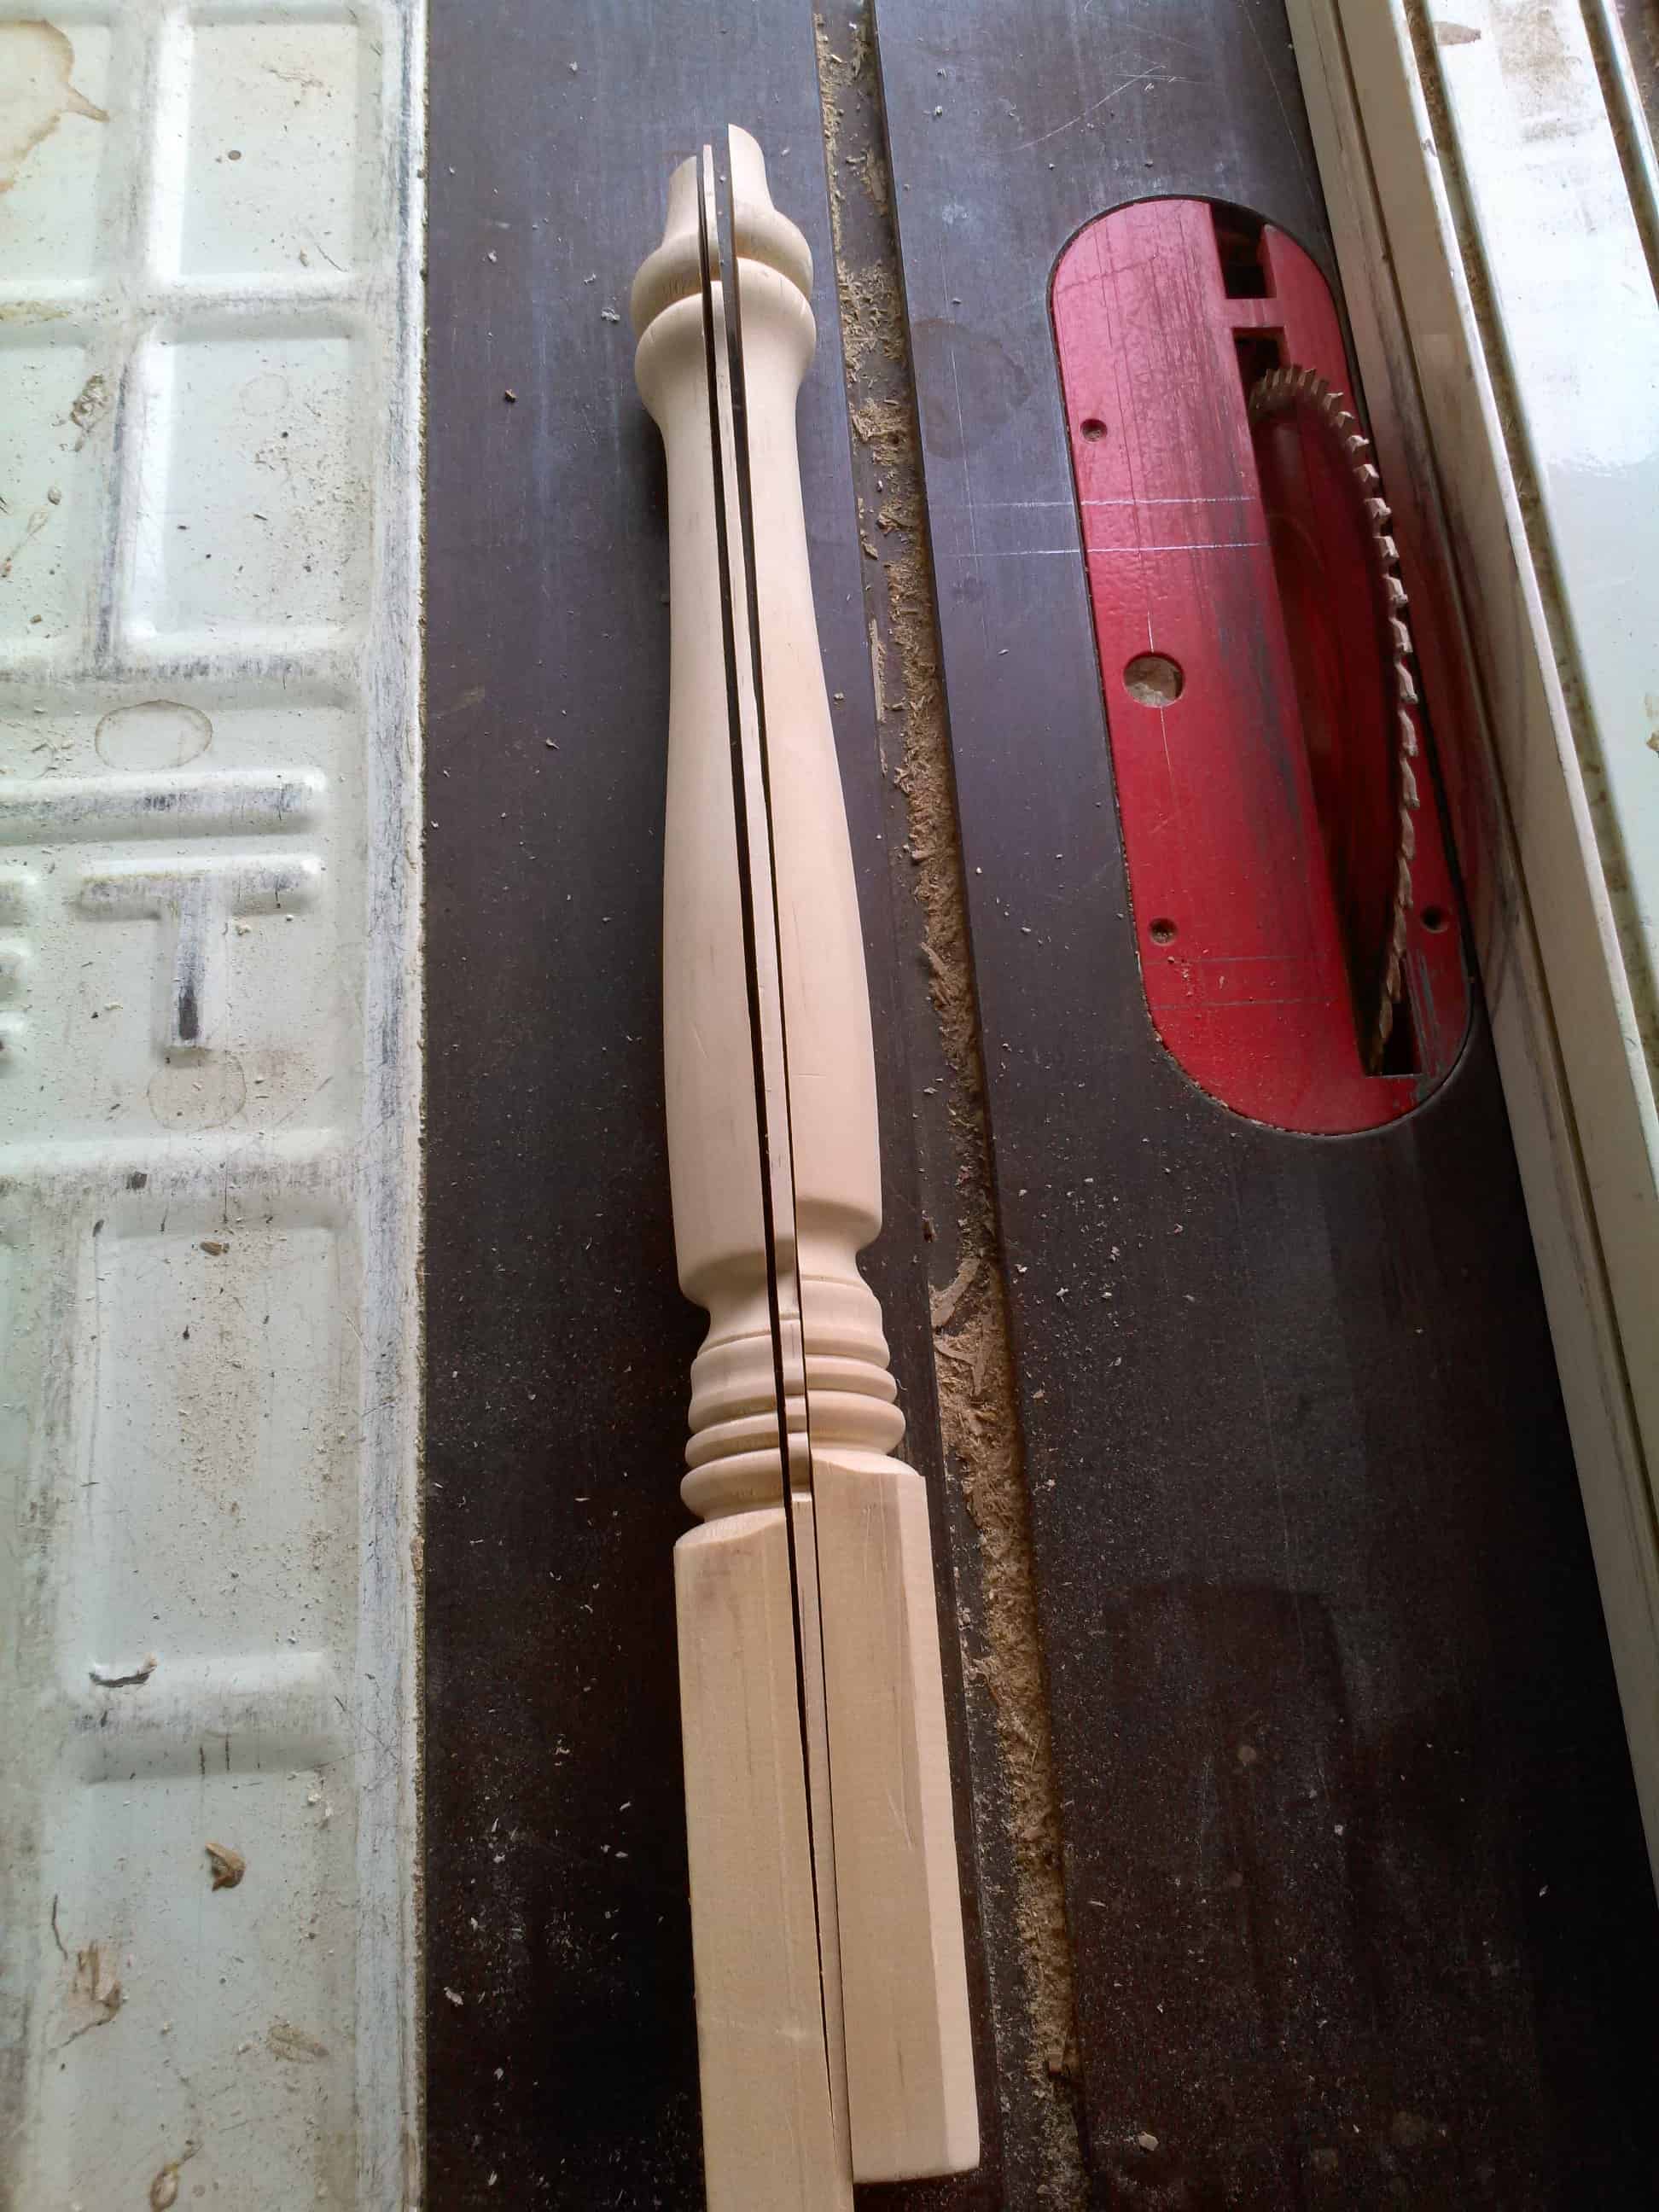
- 1- 21” decorative leg $10
- Liquid nail $2
- Panel nails $1
- 1 ¼” sheet rock screws $6
- 2- 2” hinge $3
Total price at the time of building – $115 (based on the dimensions of your own though you could probably get it done for about half that)
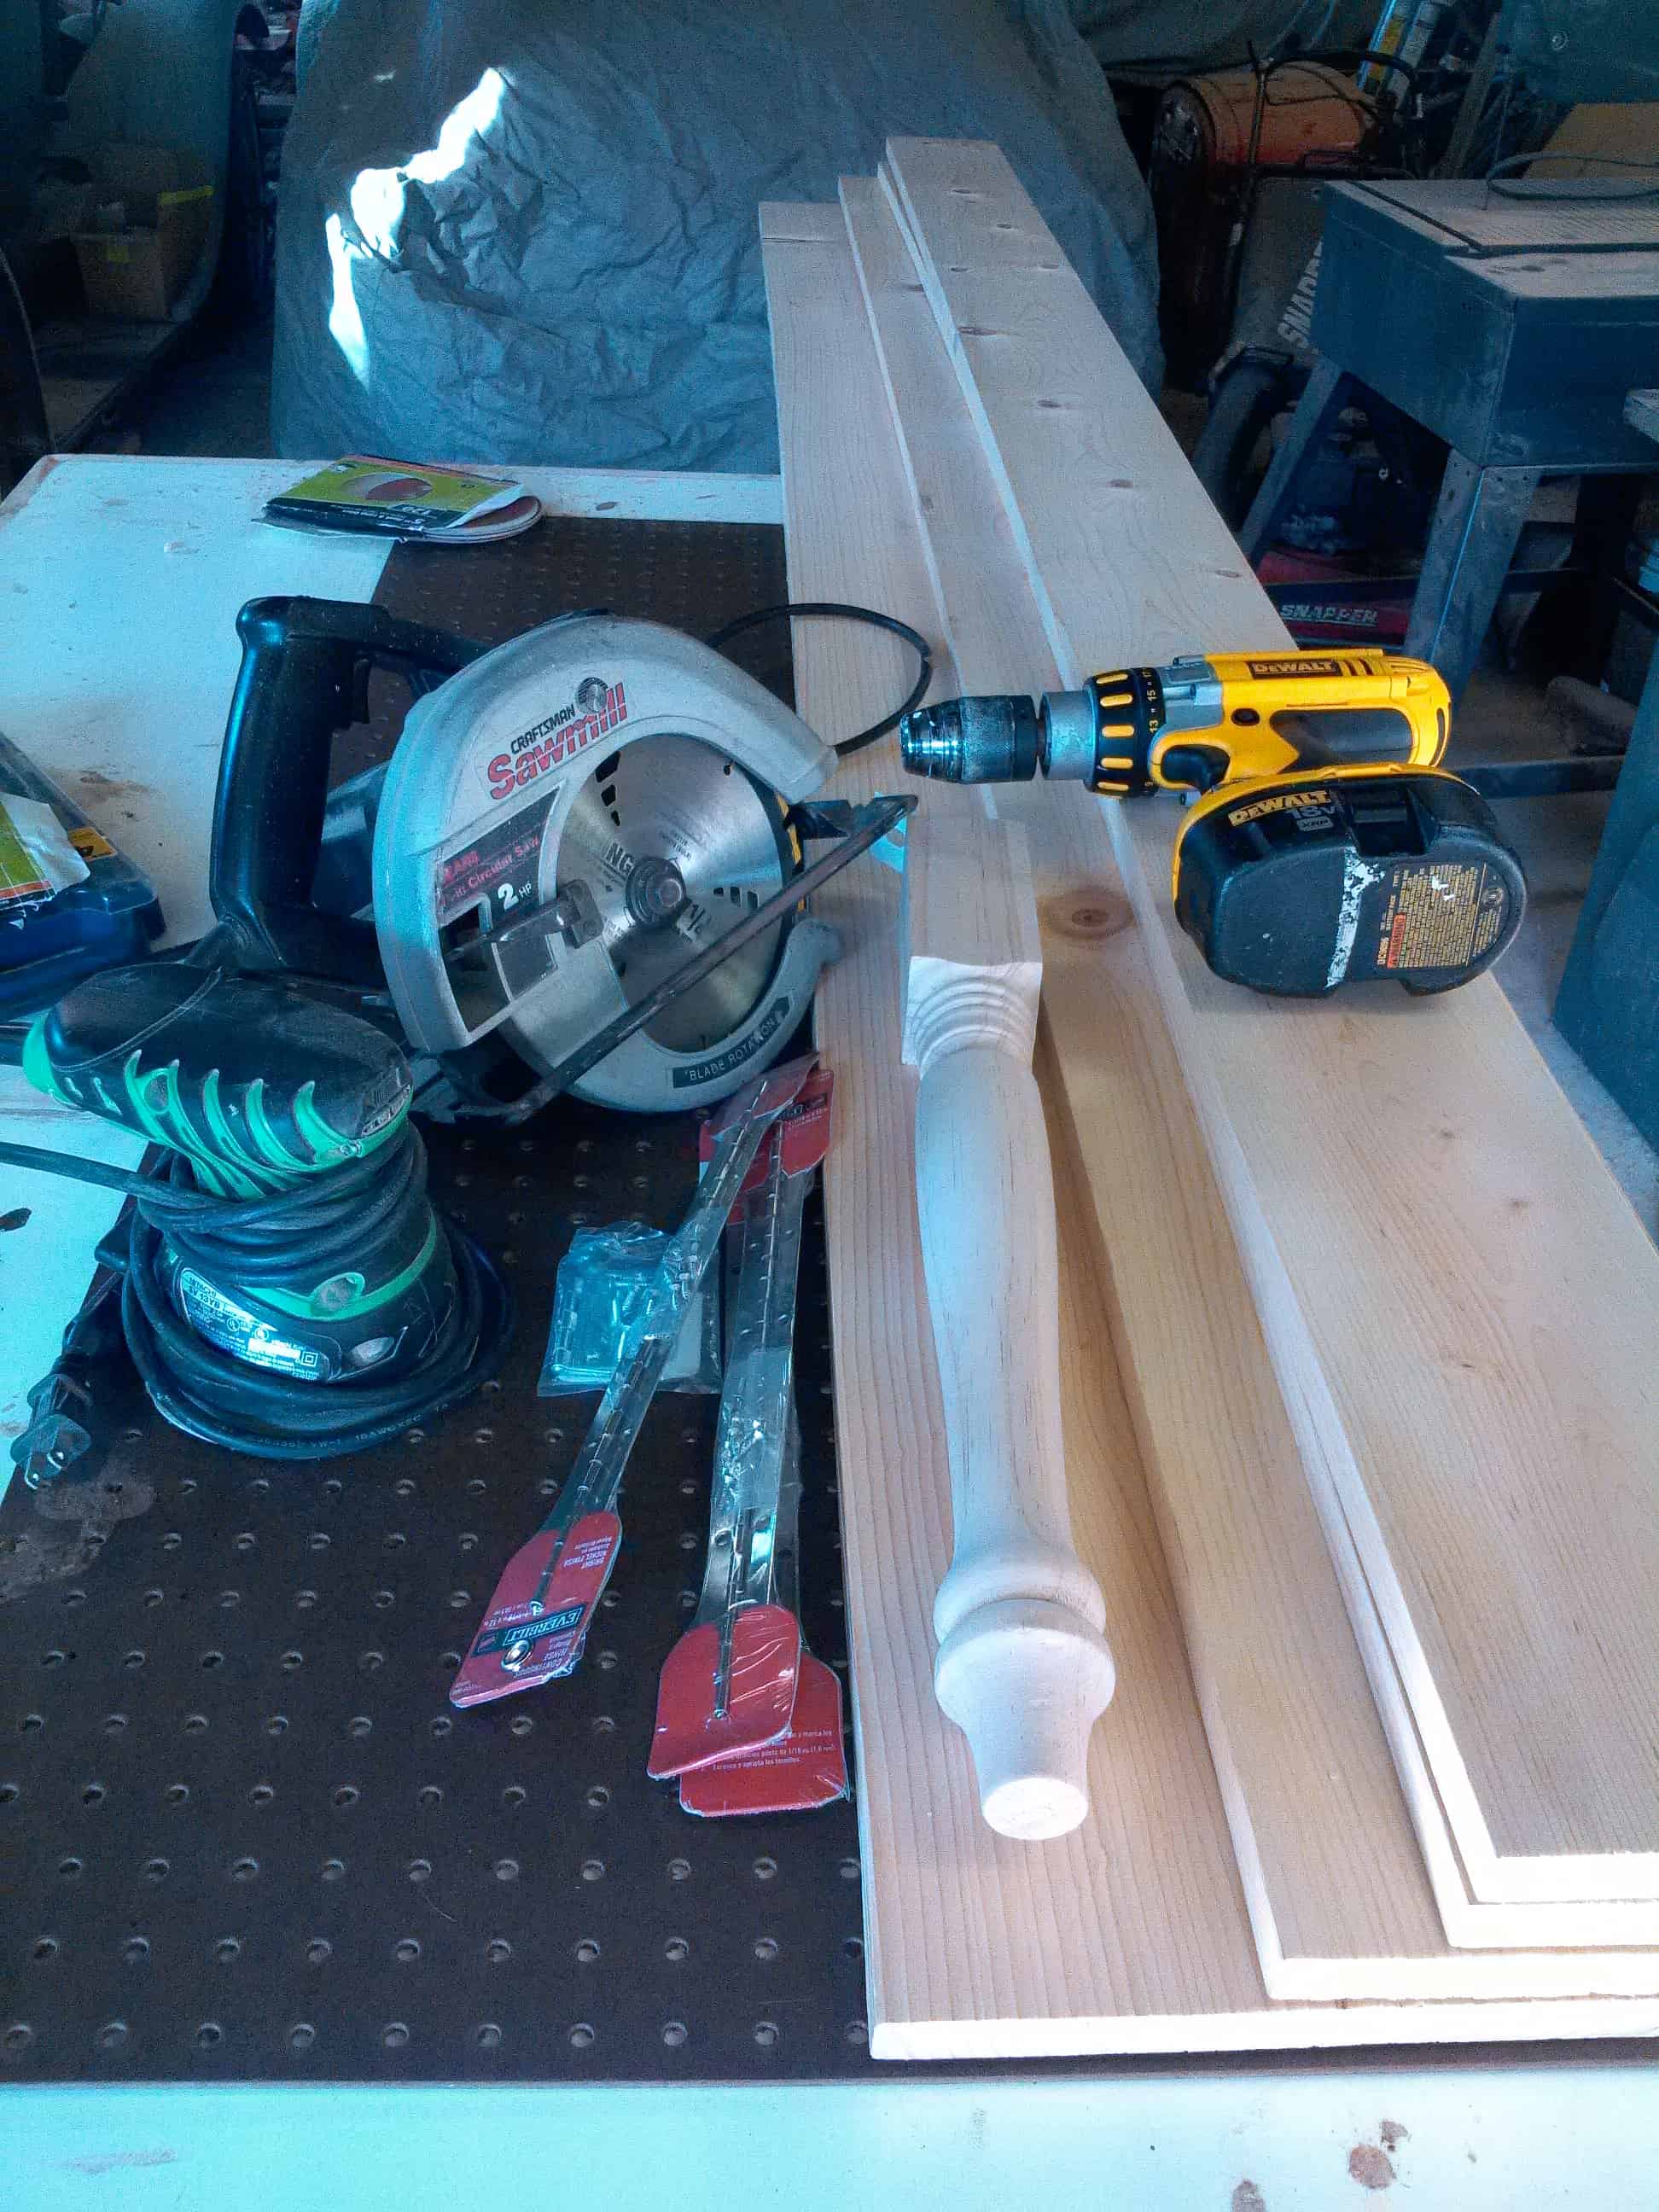
Tools: Hand sander, drill, circular saw (a jig saw would also work), and a table saw to cut the leg in half, a hammer, a Router (not the wifi kind) (for the decorative edge and Dado on the back), Elmers wood glue and putty, (not included in the price list).
I cut all the pieces to length which was dictated by the front board. The front board was 48” x 24”, I made my cabinet dimensions 44” X 19 ¼”
I cut the 8” pine and cut the top board and side pieces 1- 44” and 2- 18 ½”. The 8” pine allows a dado to be cut where the backing will be inserted,
I cut each piece of wood to fit in the place where it would fit together. I made marks to indicate where each board would go. Fitting the pieces together before hand is really important because if it doesn’t fit with no screws in, no screw is going to make it work.
A Dado is then cut using the router along the inside edge of the 8” top and side, this will be ½ wide. It will need to be flush with the edge of the back of the 6” boards .
We are also doing a wider dado cut for 3 reasons; 1- to allow for the pegboard backing to slide in. 2- for a groove for a “french cleat” to hang the desk when it is all done. This makes putting the desk up on the wall SO much easier then trying to screw the actual desk piece into the wall 3- to leave space behind the cabinet so pegs to be inserted.
Next, I cleaned it up by puttying any flaws and sanding all surfaces with 150 grit sand paper.
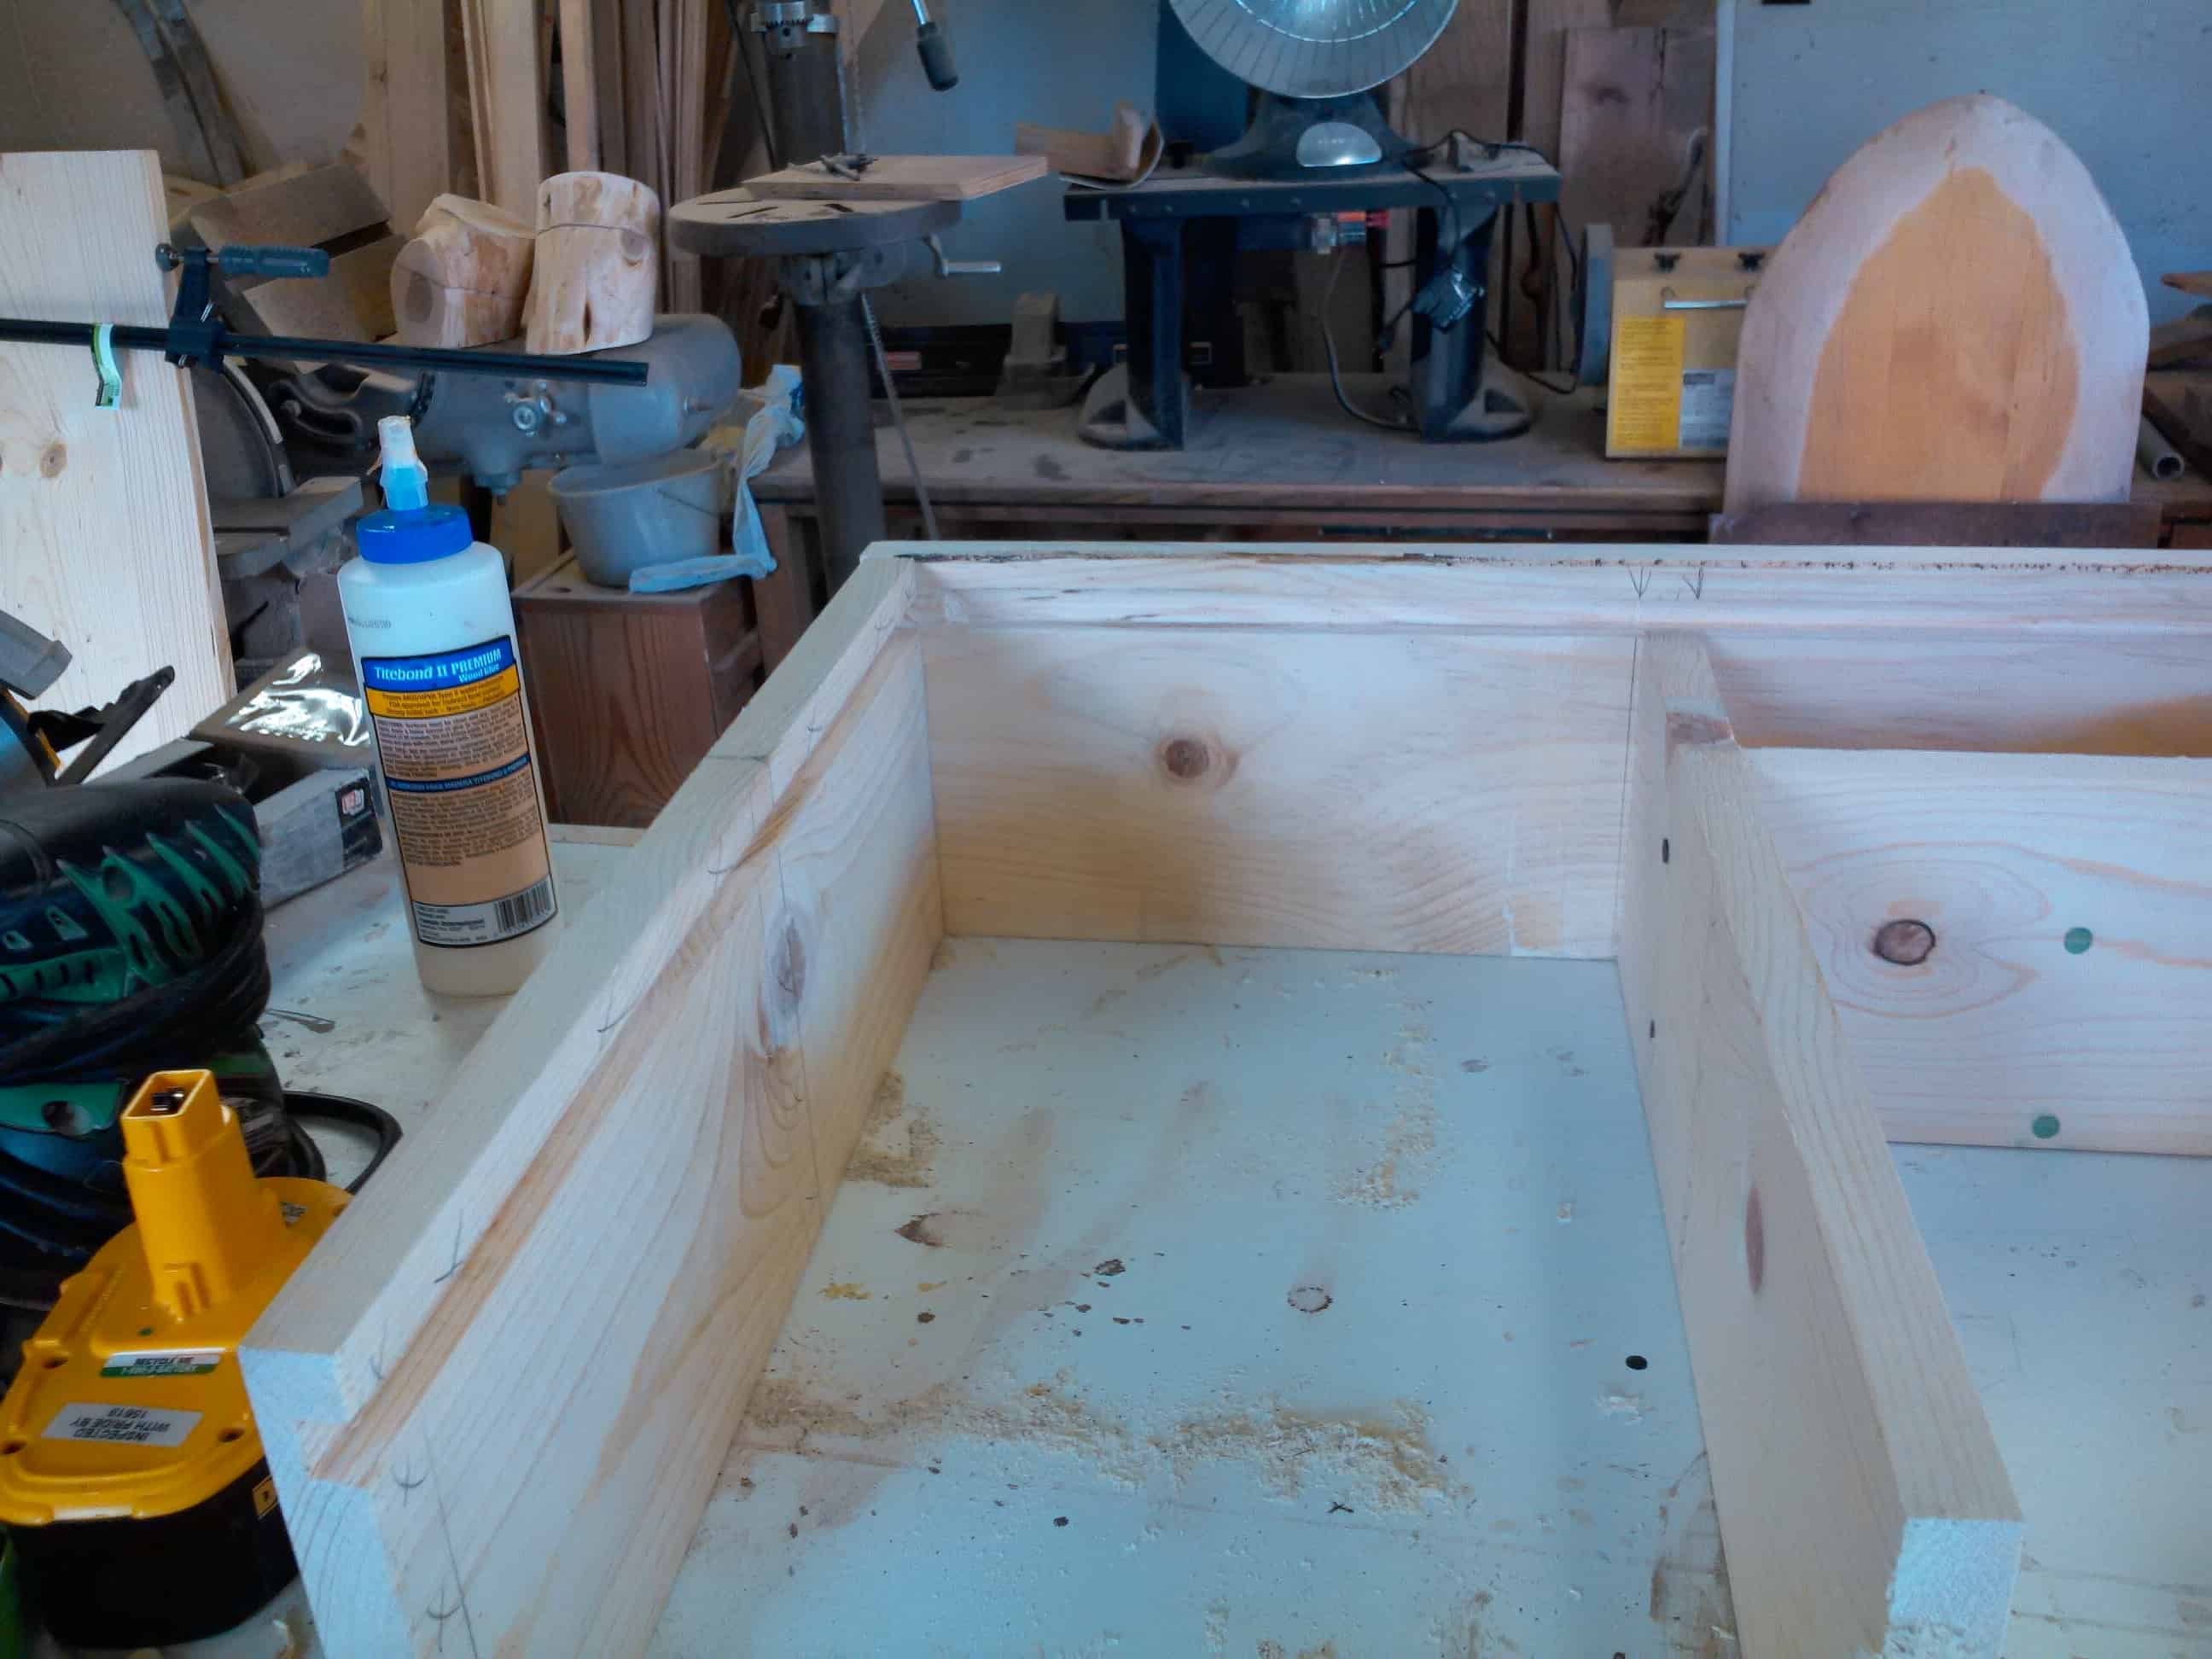
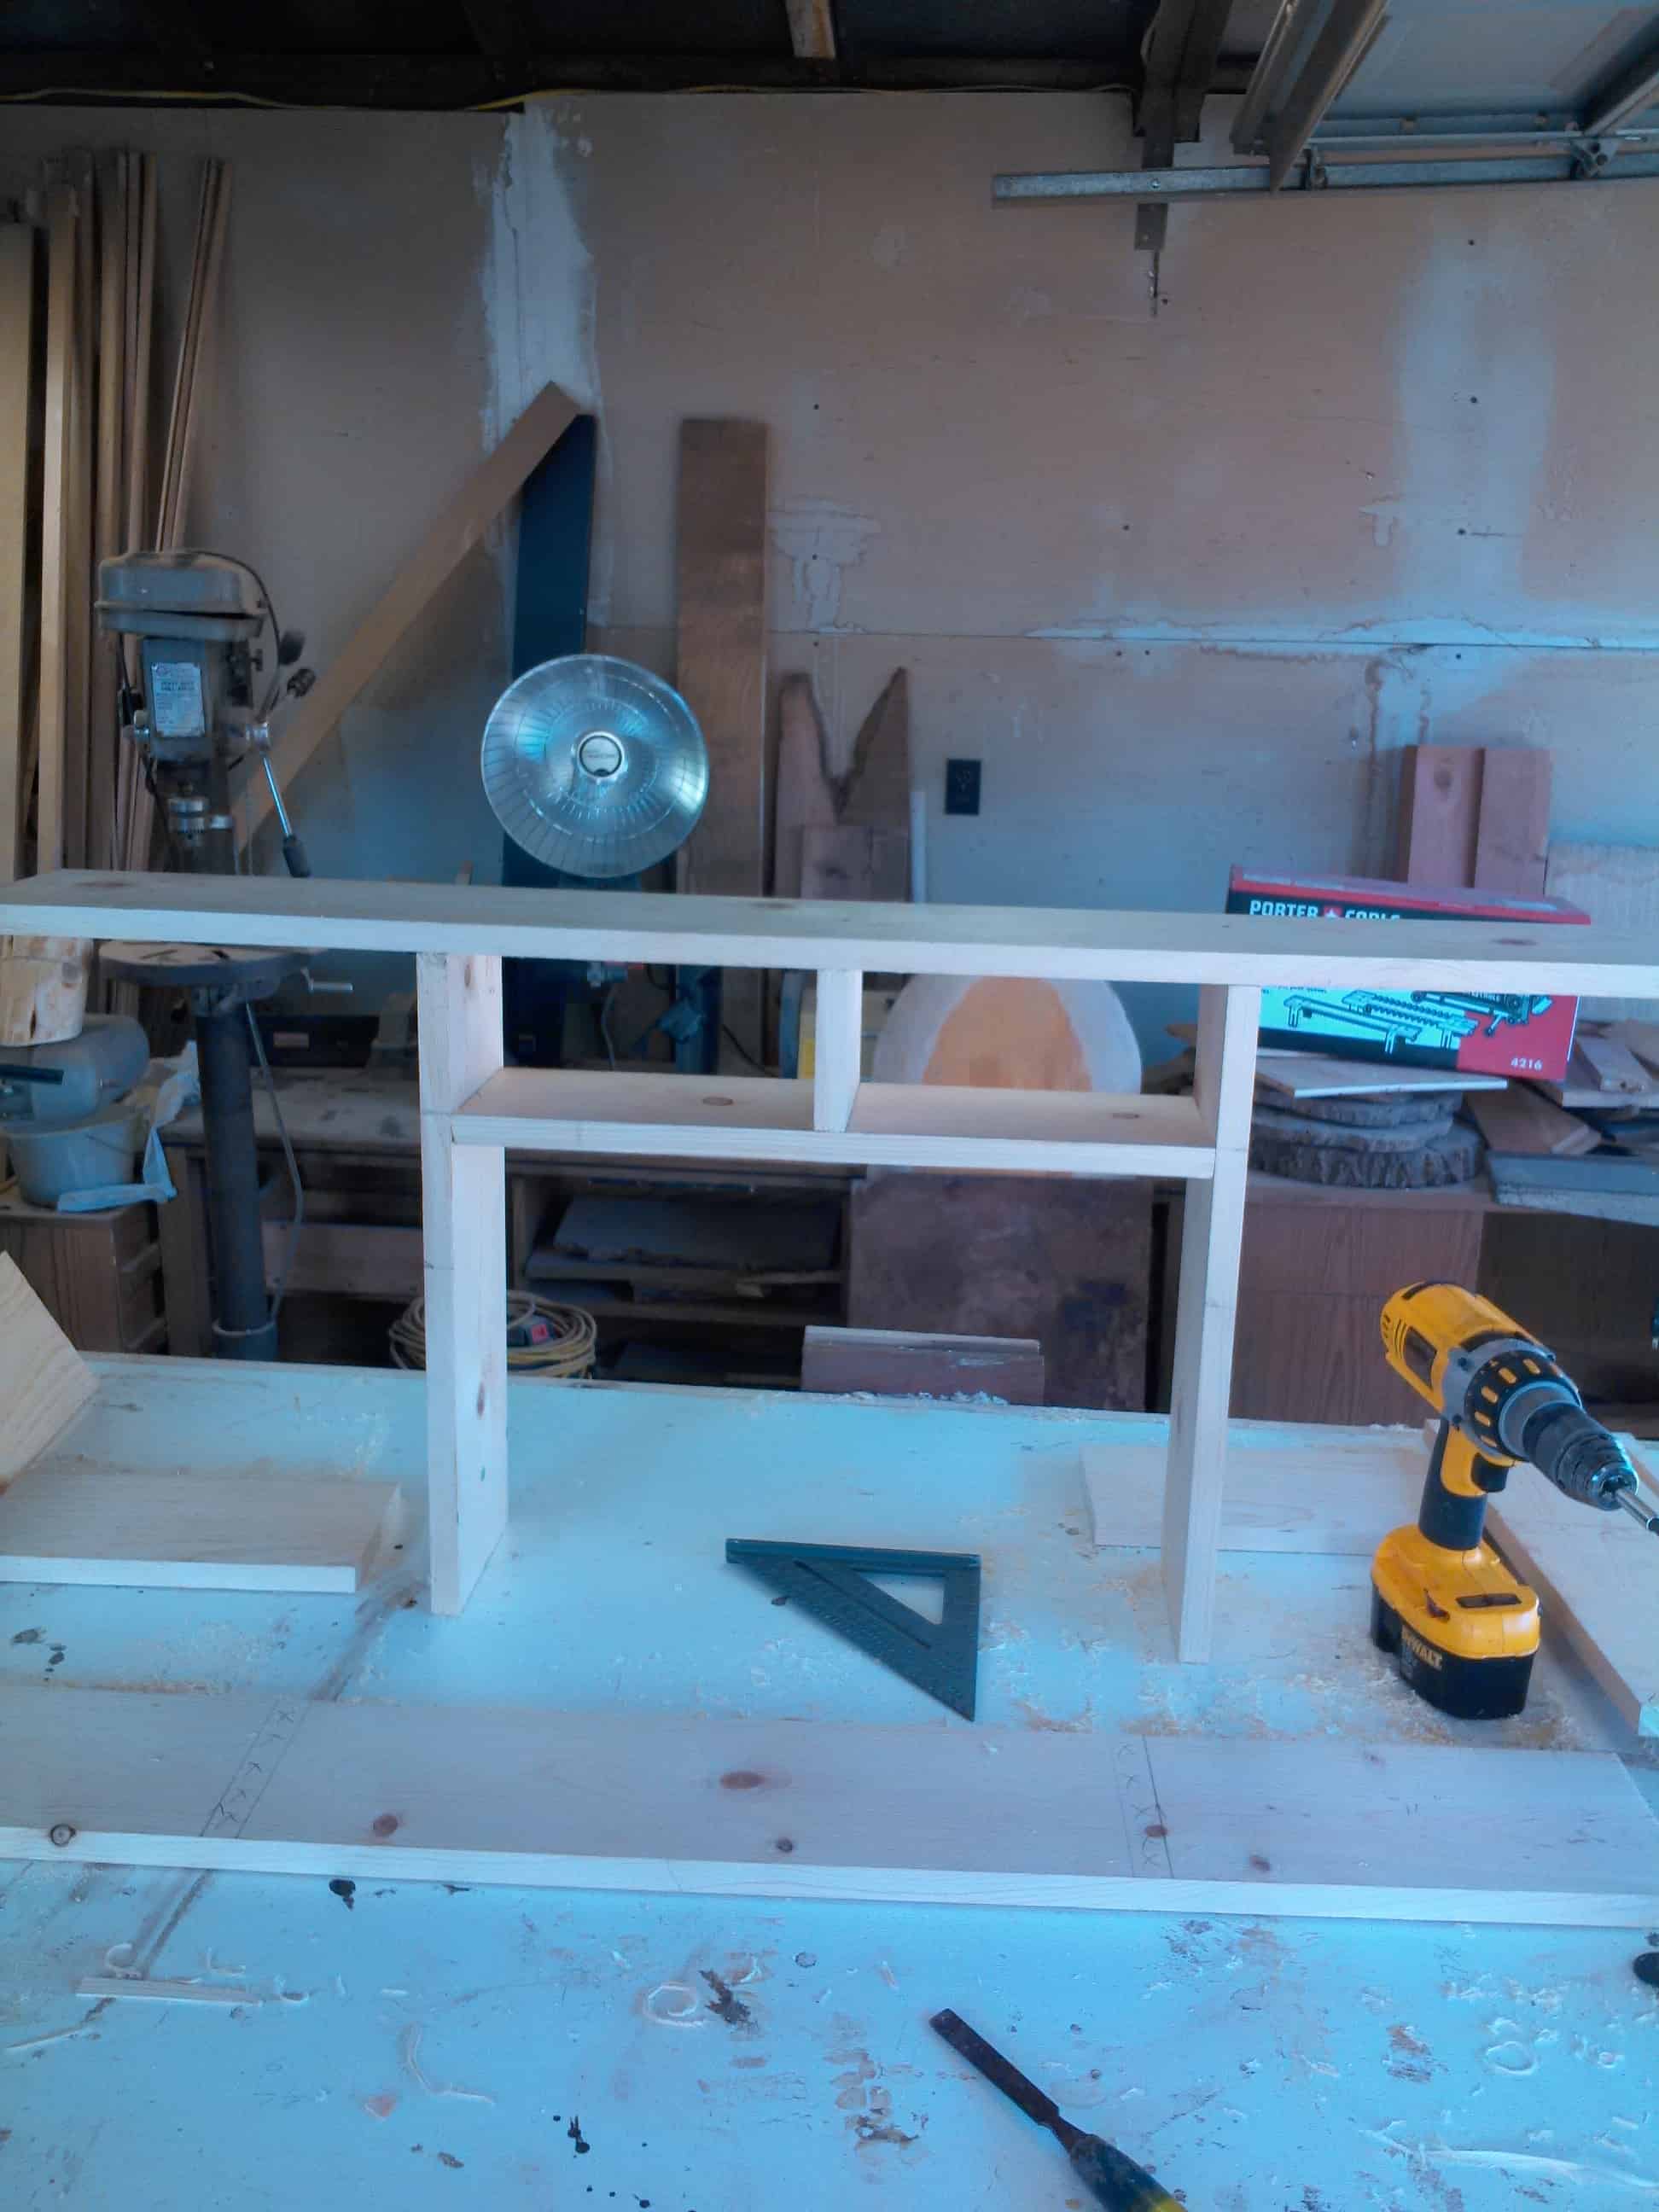
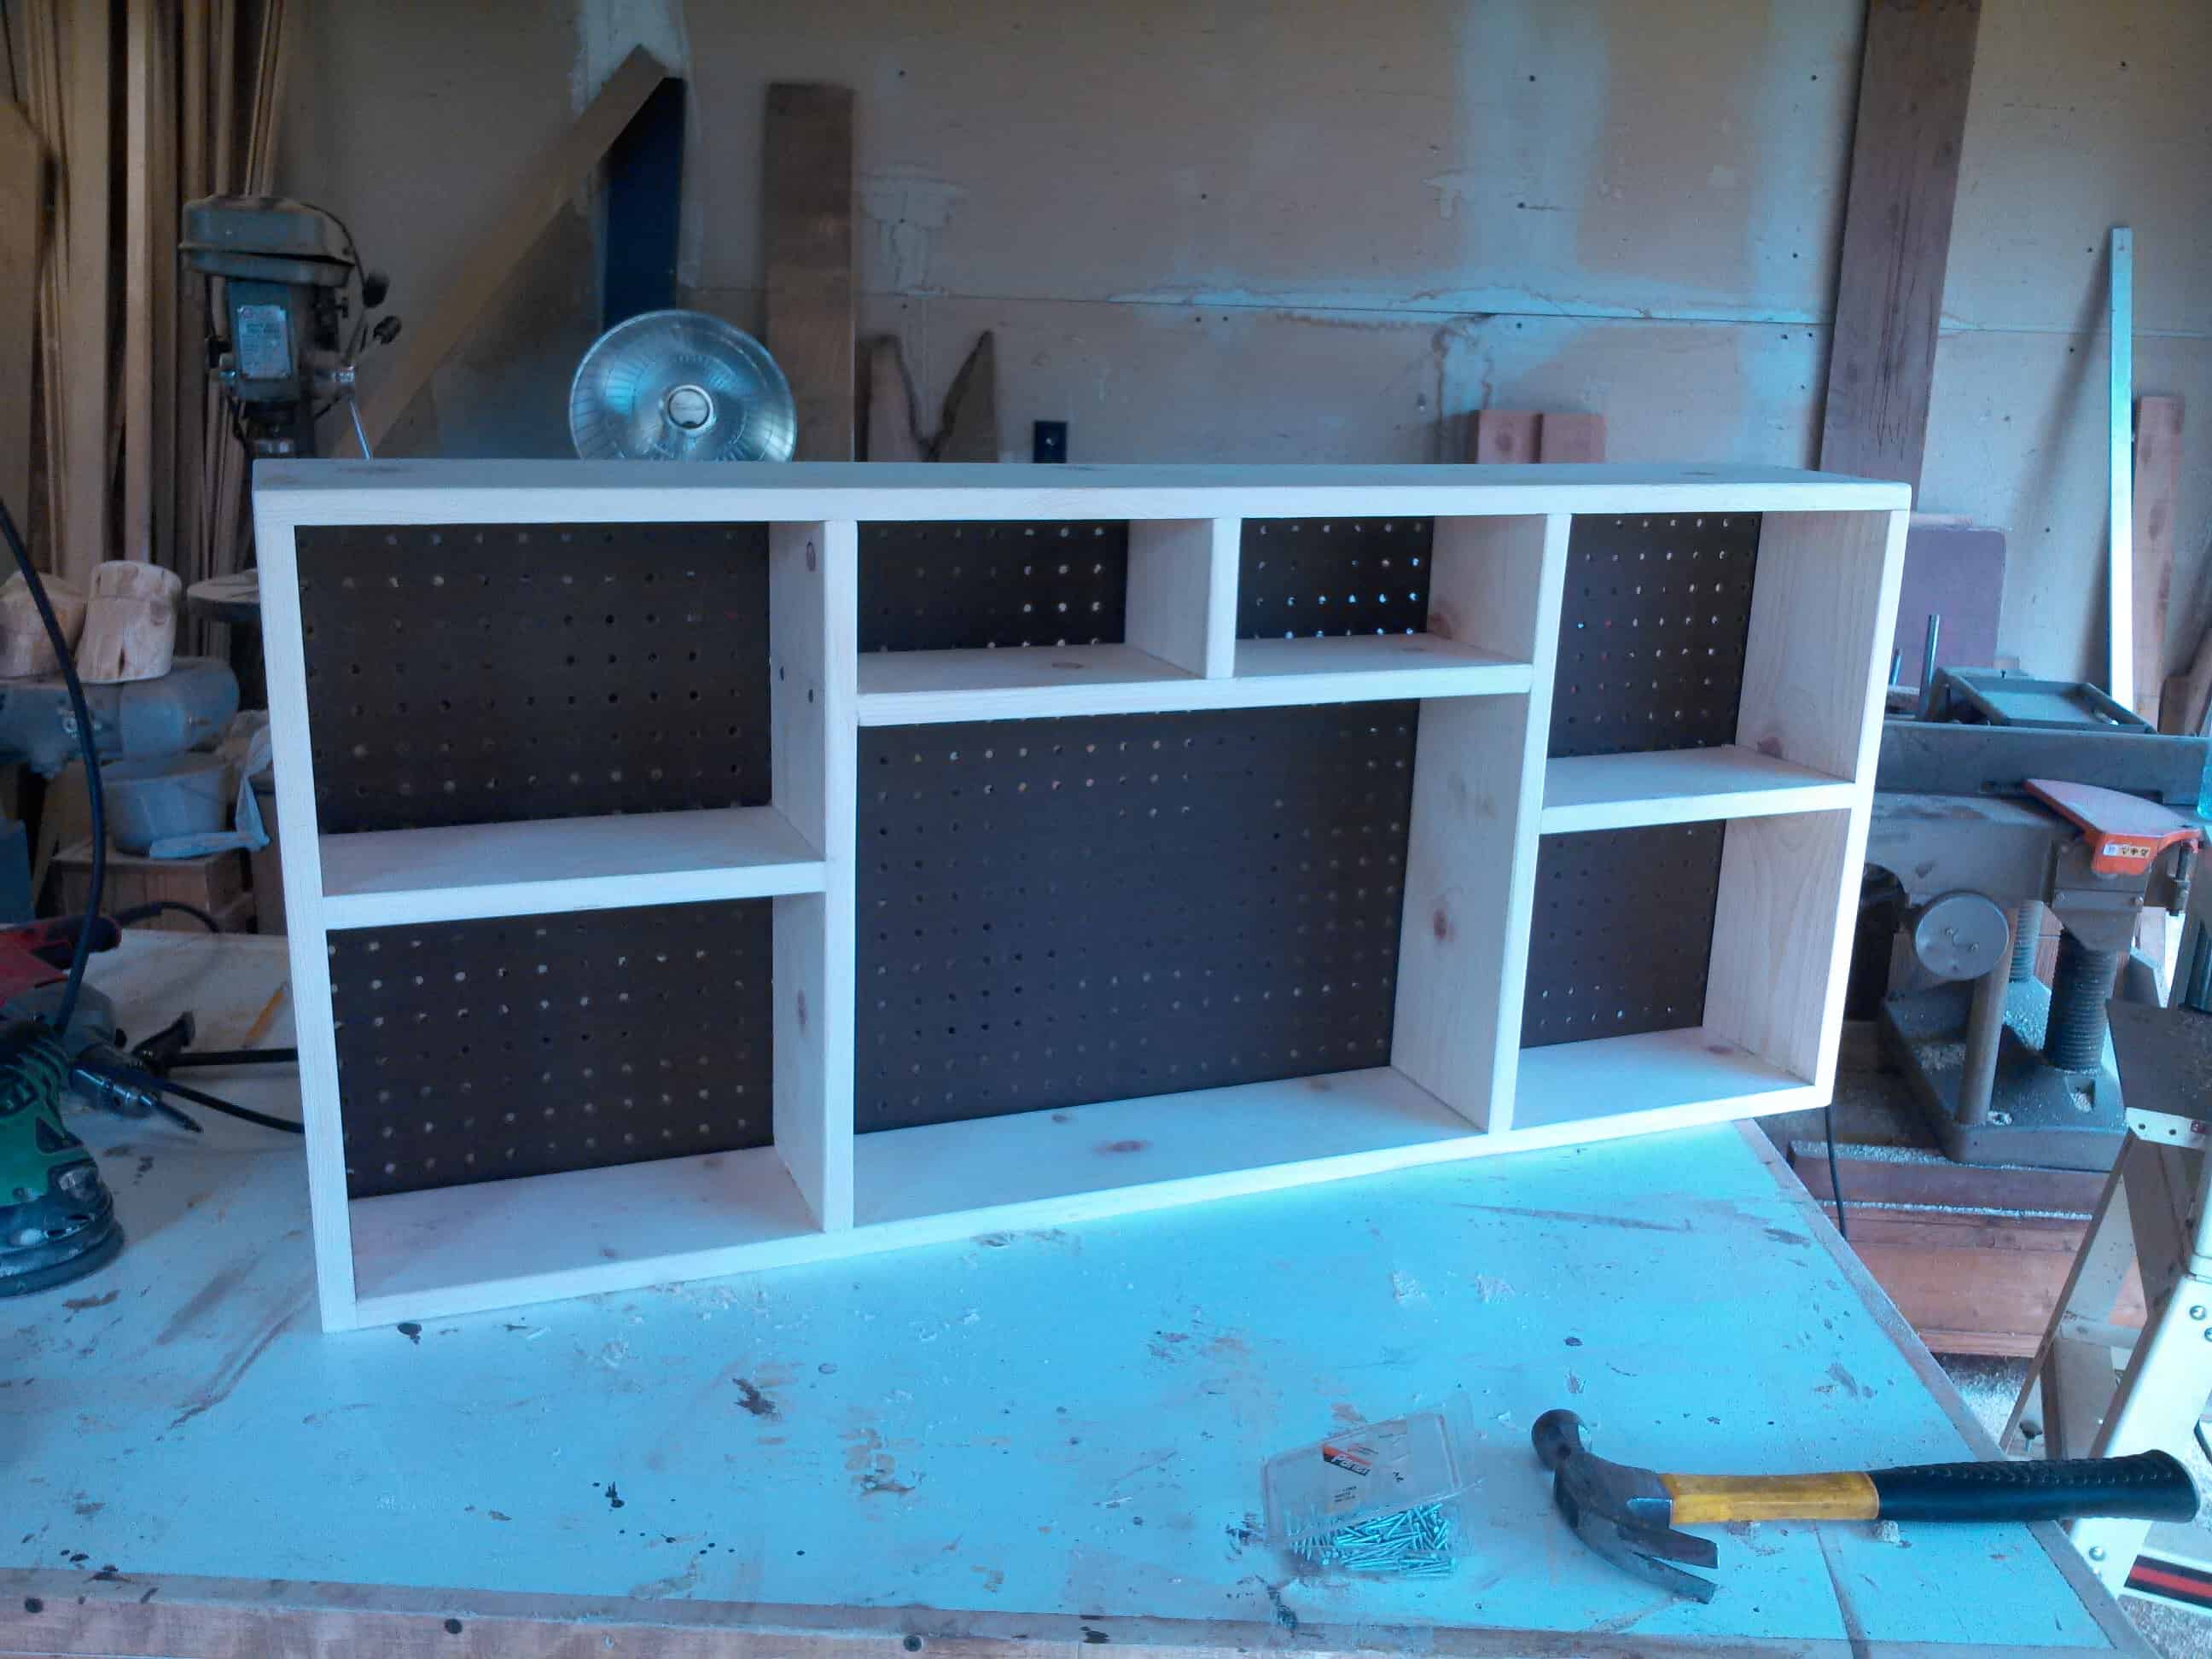
I then fitted, glued, and screwed the middle shelves and top board together. If you do the middle shelves after you put in the sides you do not have enough room to fit your drill in to sink the screws from the side.
Then I added the outside boards (8”) and bottom (6”). The Side shelves are placed in last. If you end up with gaps, that is what putty and Caulk are for 🙂
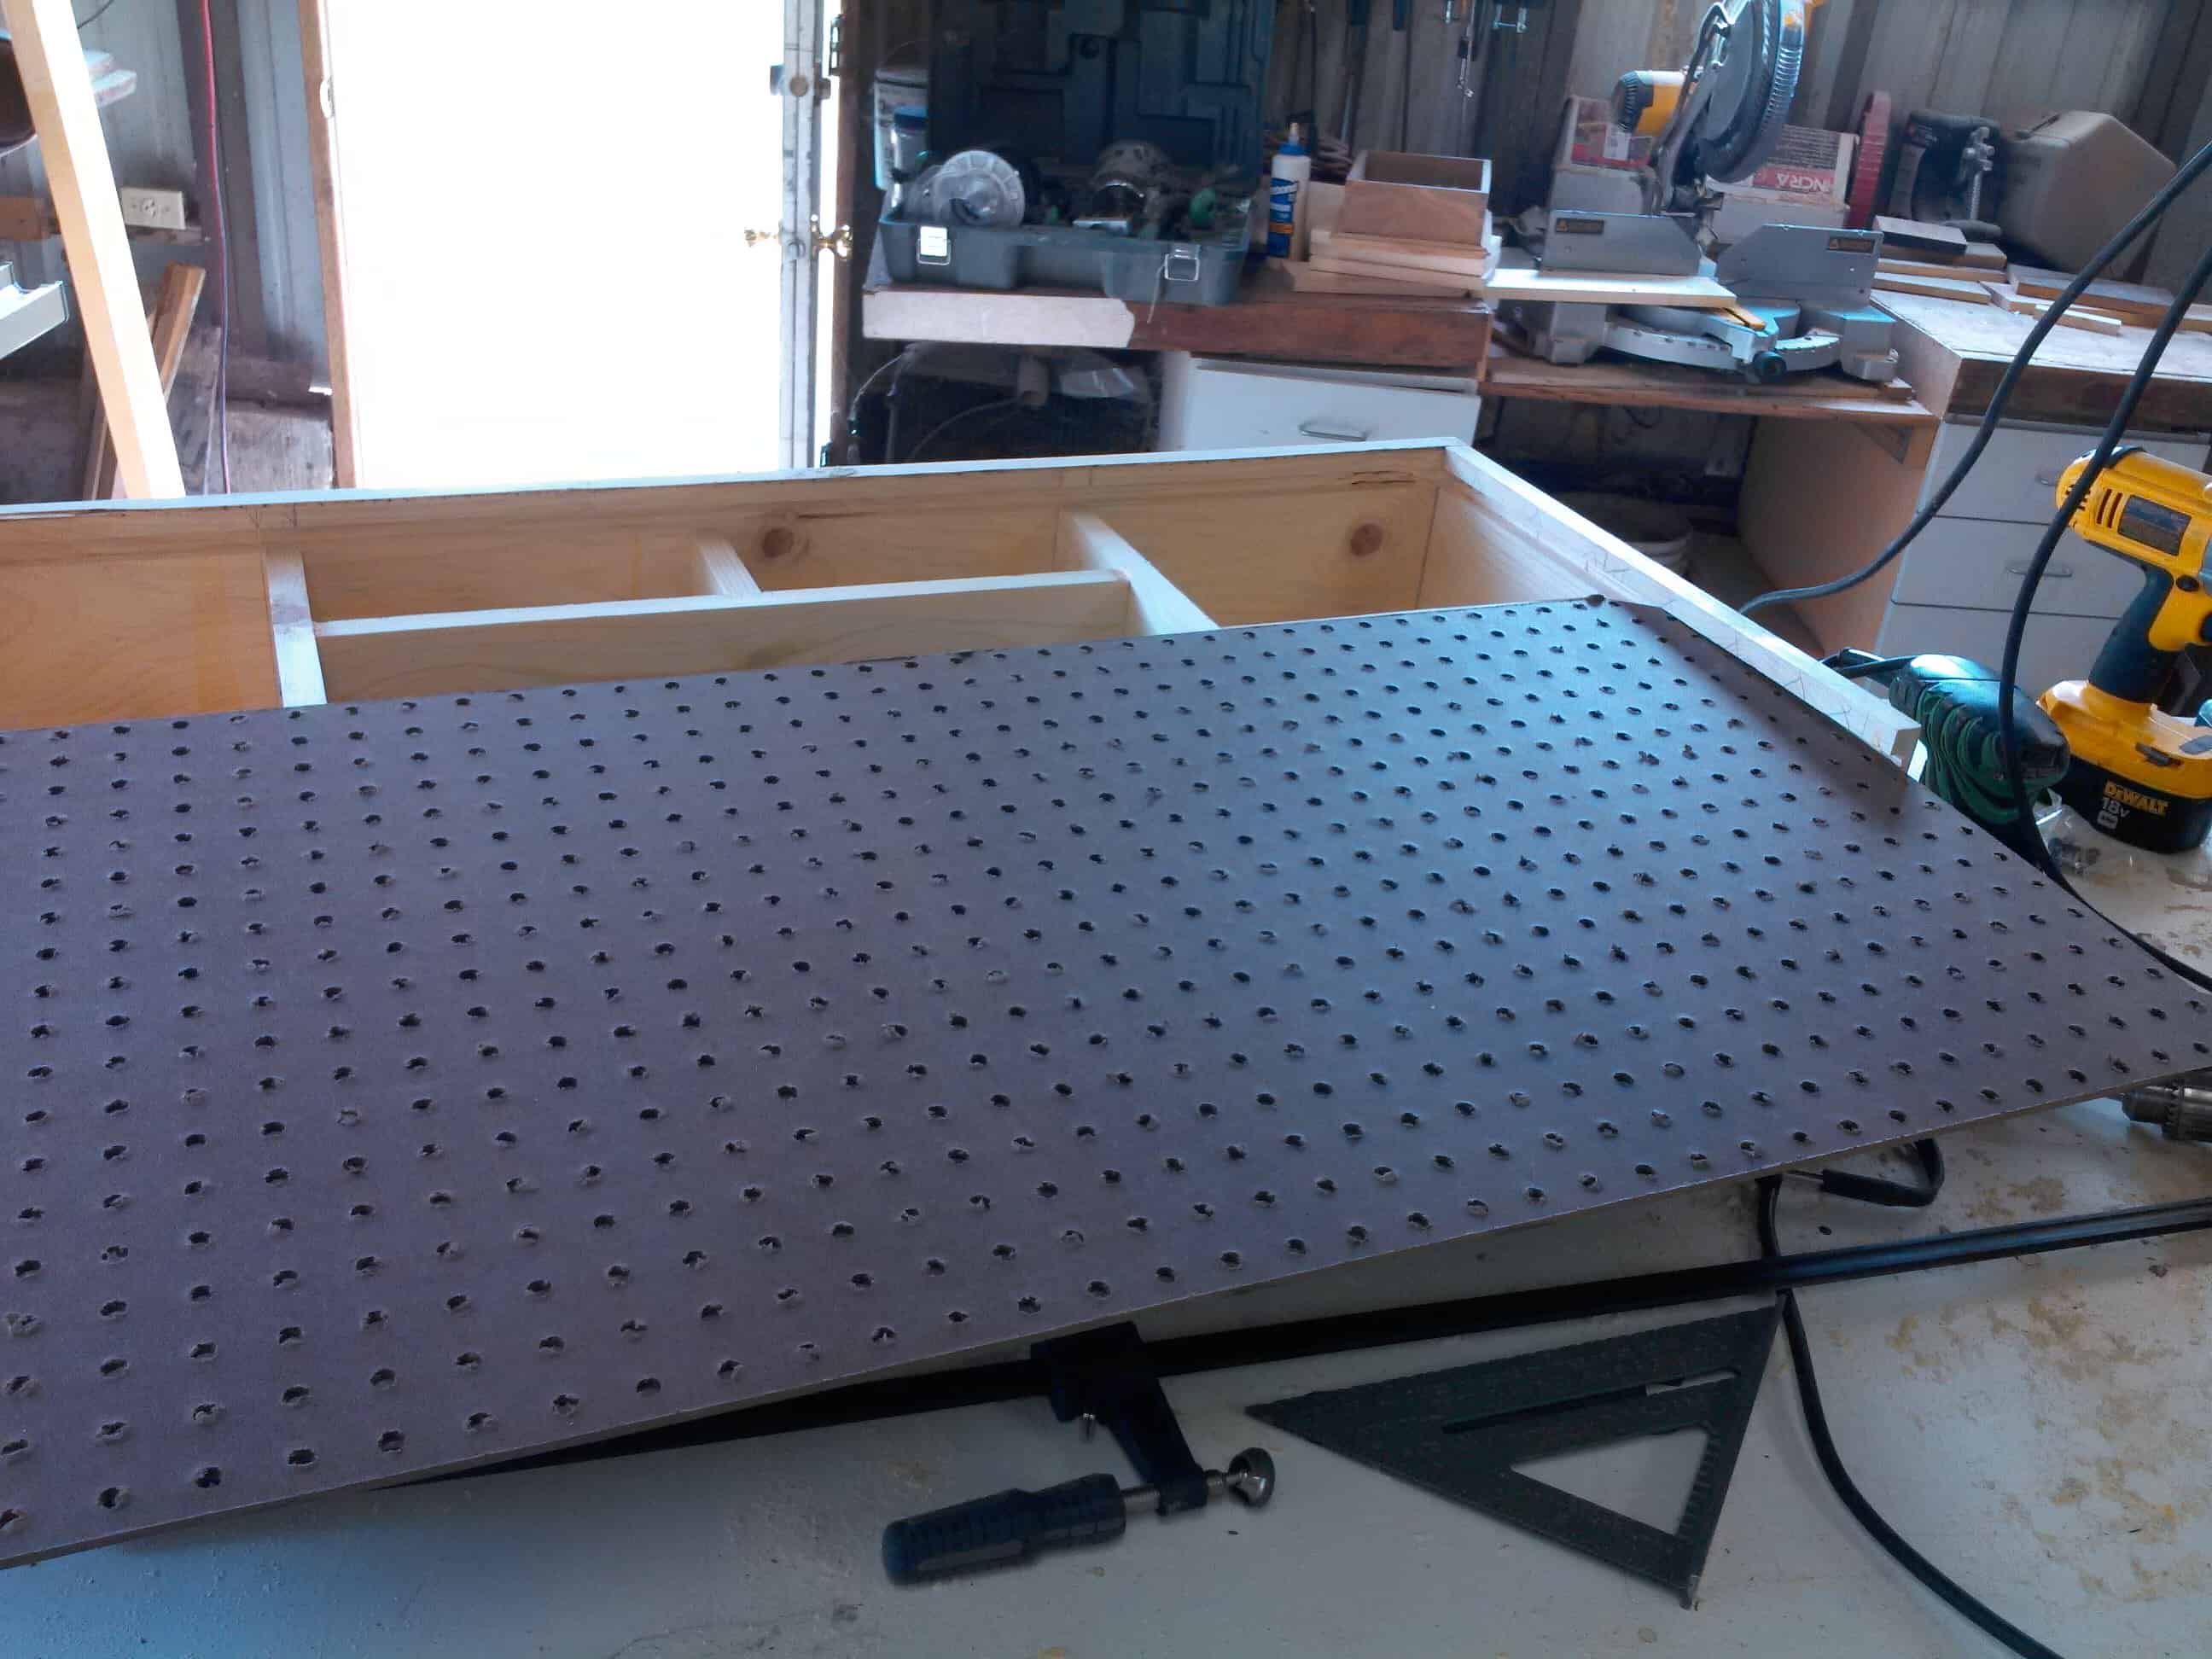
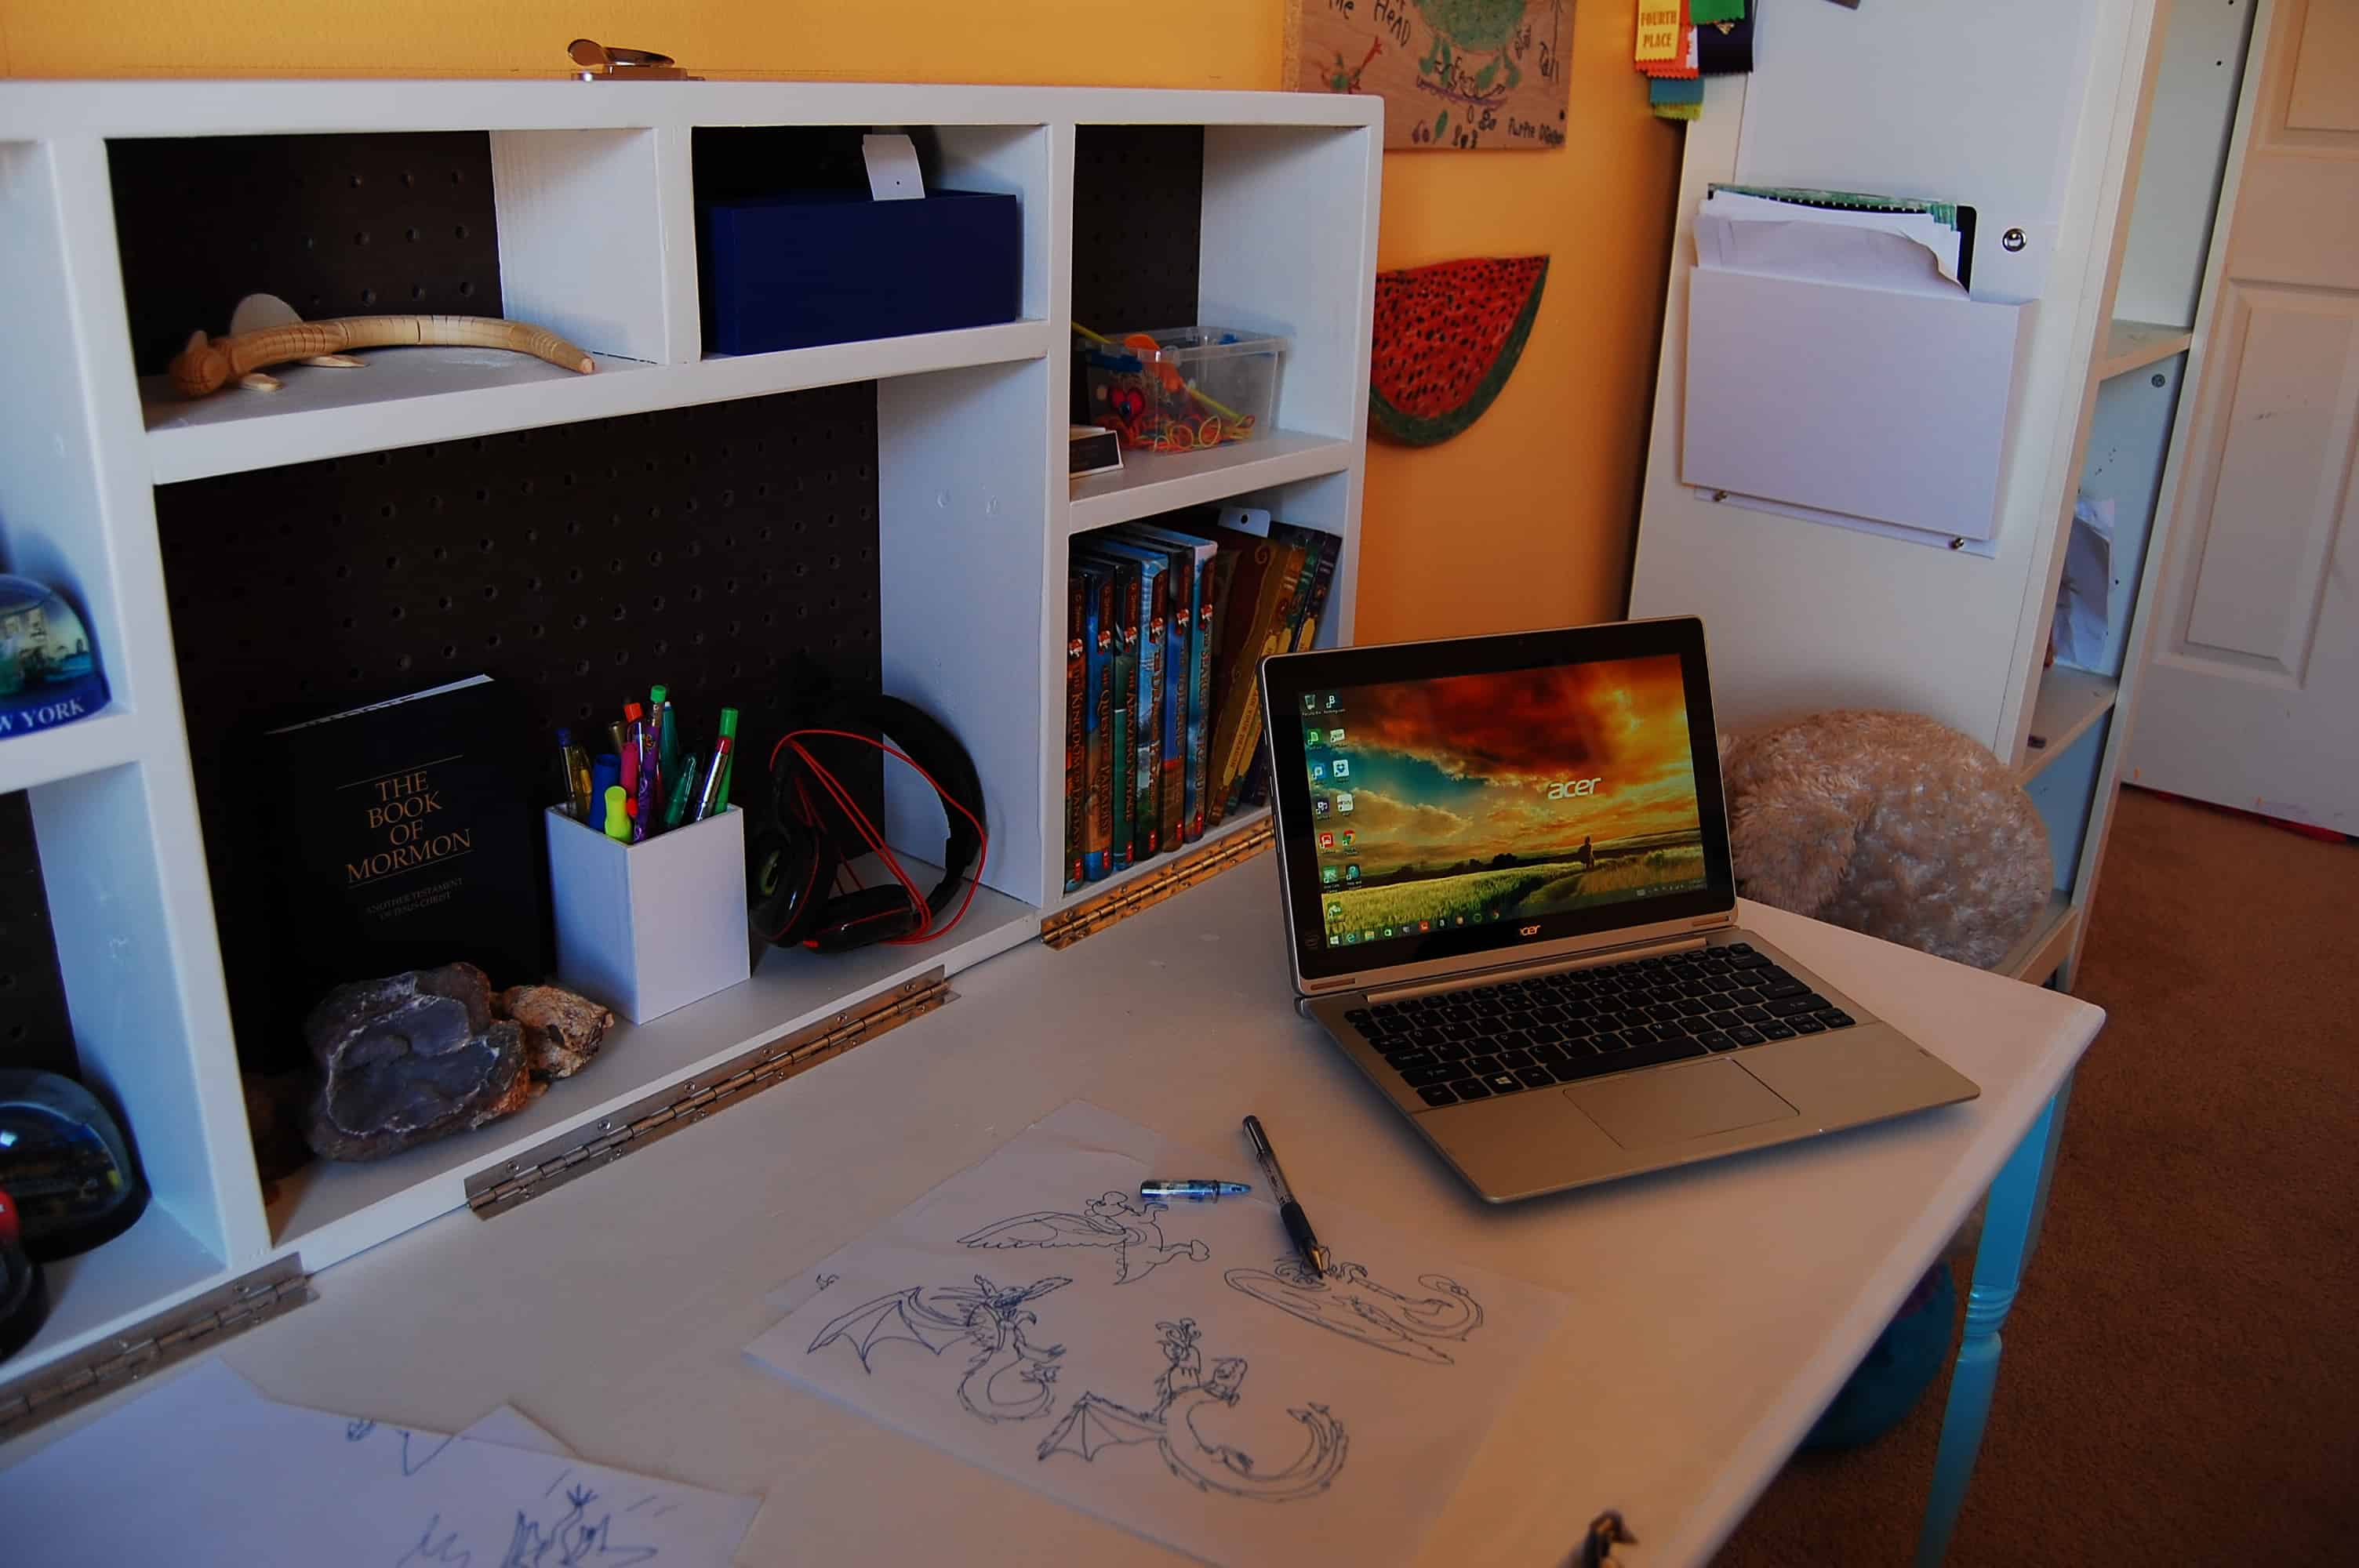
In the end all of your shelves and the outside edges should be flush on the front edge with your Dado groove in the back. this leaves you with about an inch hanging off the back of the cabinet which will receive your Pegboard which will be cut to length and width but not nailed into place.. yet.
the 21” leg is then cut on the table saw in half (not sure how I would do this safely with out a table saw)
Using the router you will route a decorative edge on 3 edges that will be on the desk top edge.
I then spray painted the cabinet and desk top using regular spray cans. I think you could save some money if you had your own supply of paint and wanted to brush the paint on for a different look or if you have the paint and a sprayer.
After the paint dried I inserted the pegboard and nailed it into place using panel nails.
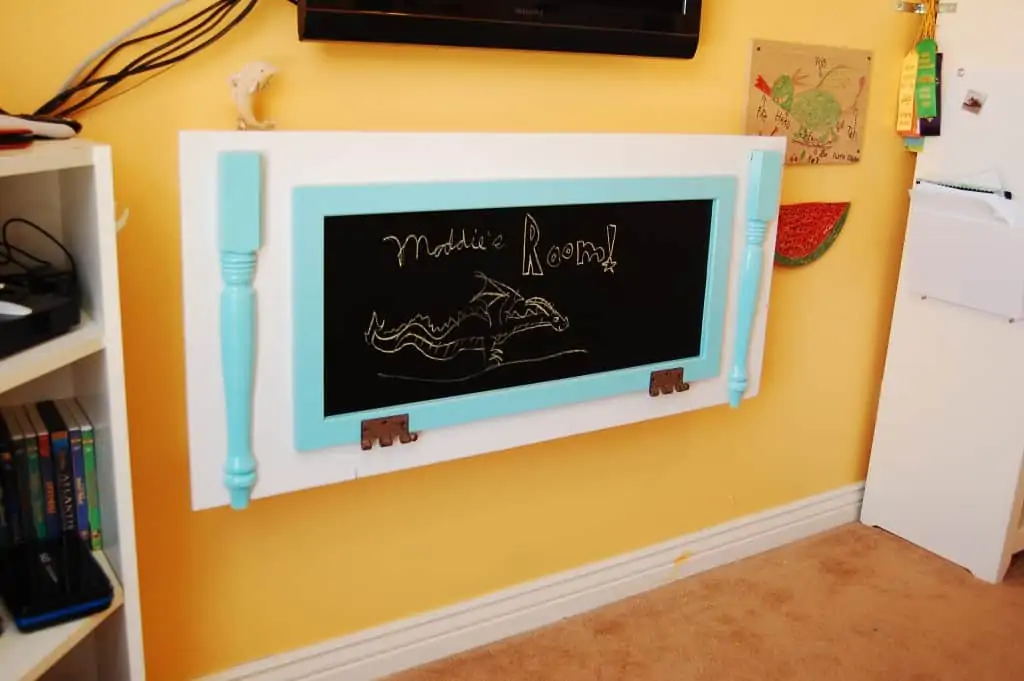
To secure the top of the desk top, when it is not in use I used a Sash window lock which was routed into place. I have to admit that if i was to do this project again I would have gone with just a hook and an eye bolt. Fitting the sash hinge was the hardest part about the project and I am still not sure I like.
I then fitted the 12” hinges. I used 3 for strength.
I fitted the hanging legs with a hinge and secure our black board with liquid nail.
I am SO thrilled with how it turned out! Seriously, my daughter was SO excited when we finally hung it in her room. Plus, the “hideaway” desk part helps her make sure that her desktop is clean when she puts it away. No more clutter blindness, since it won’t close if there are things on it!
Before…
After!
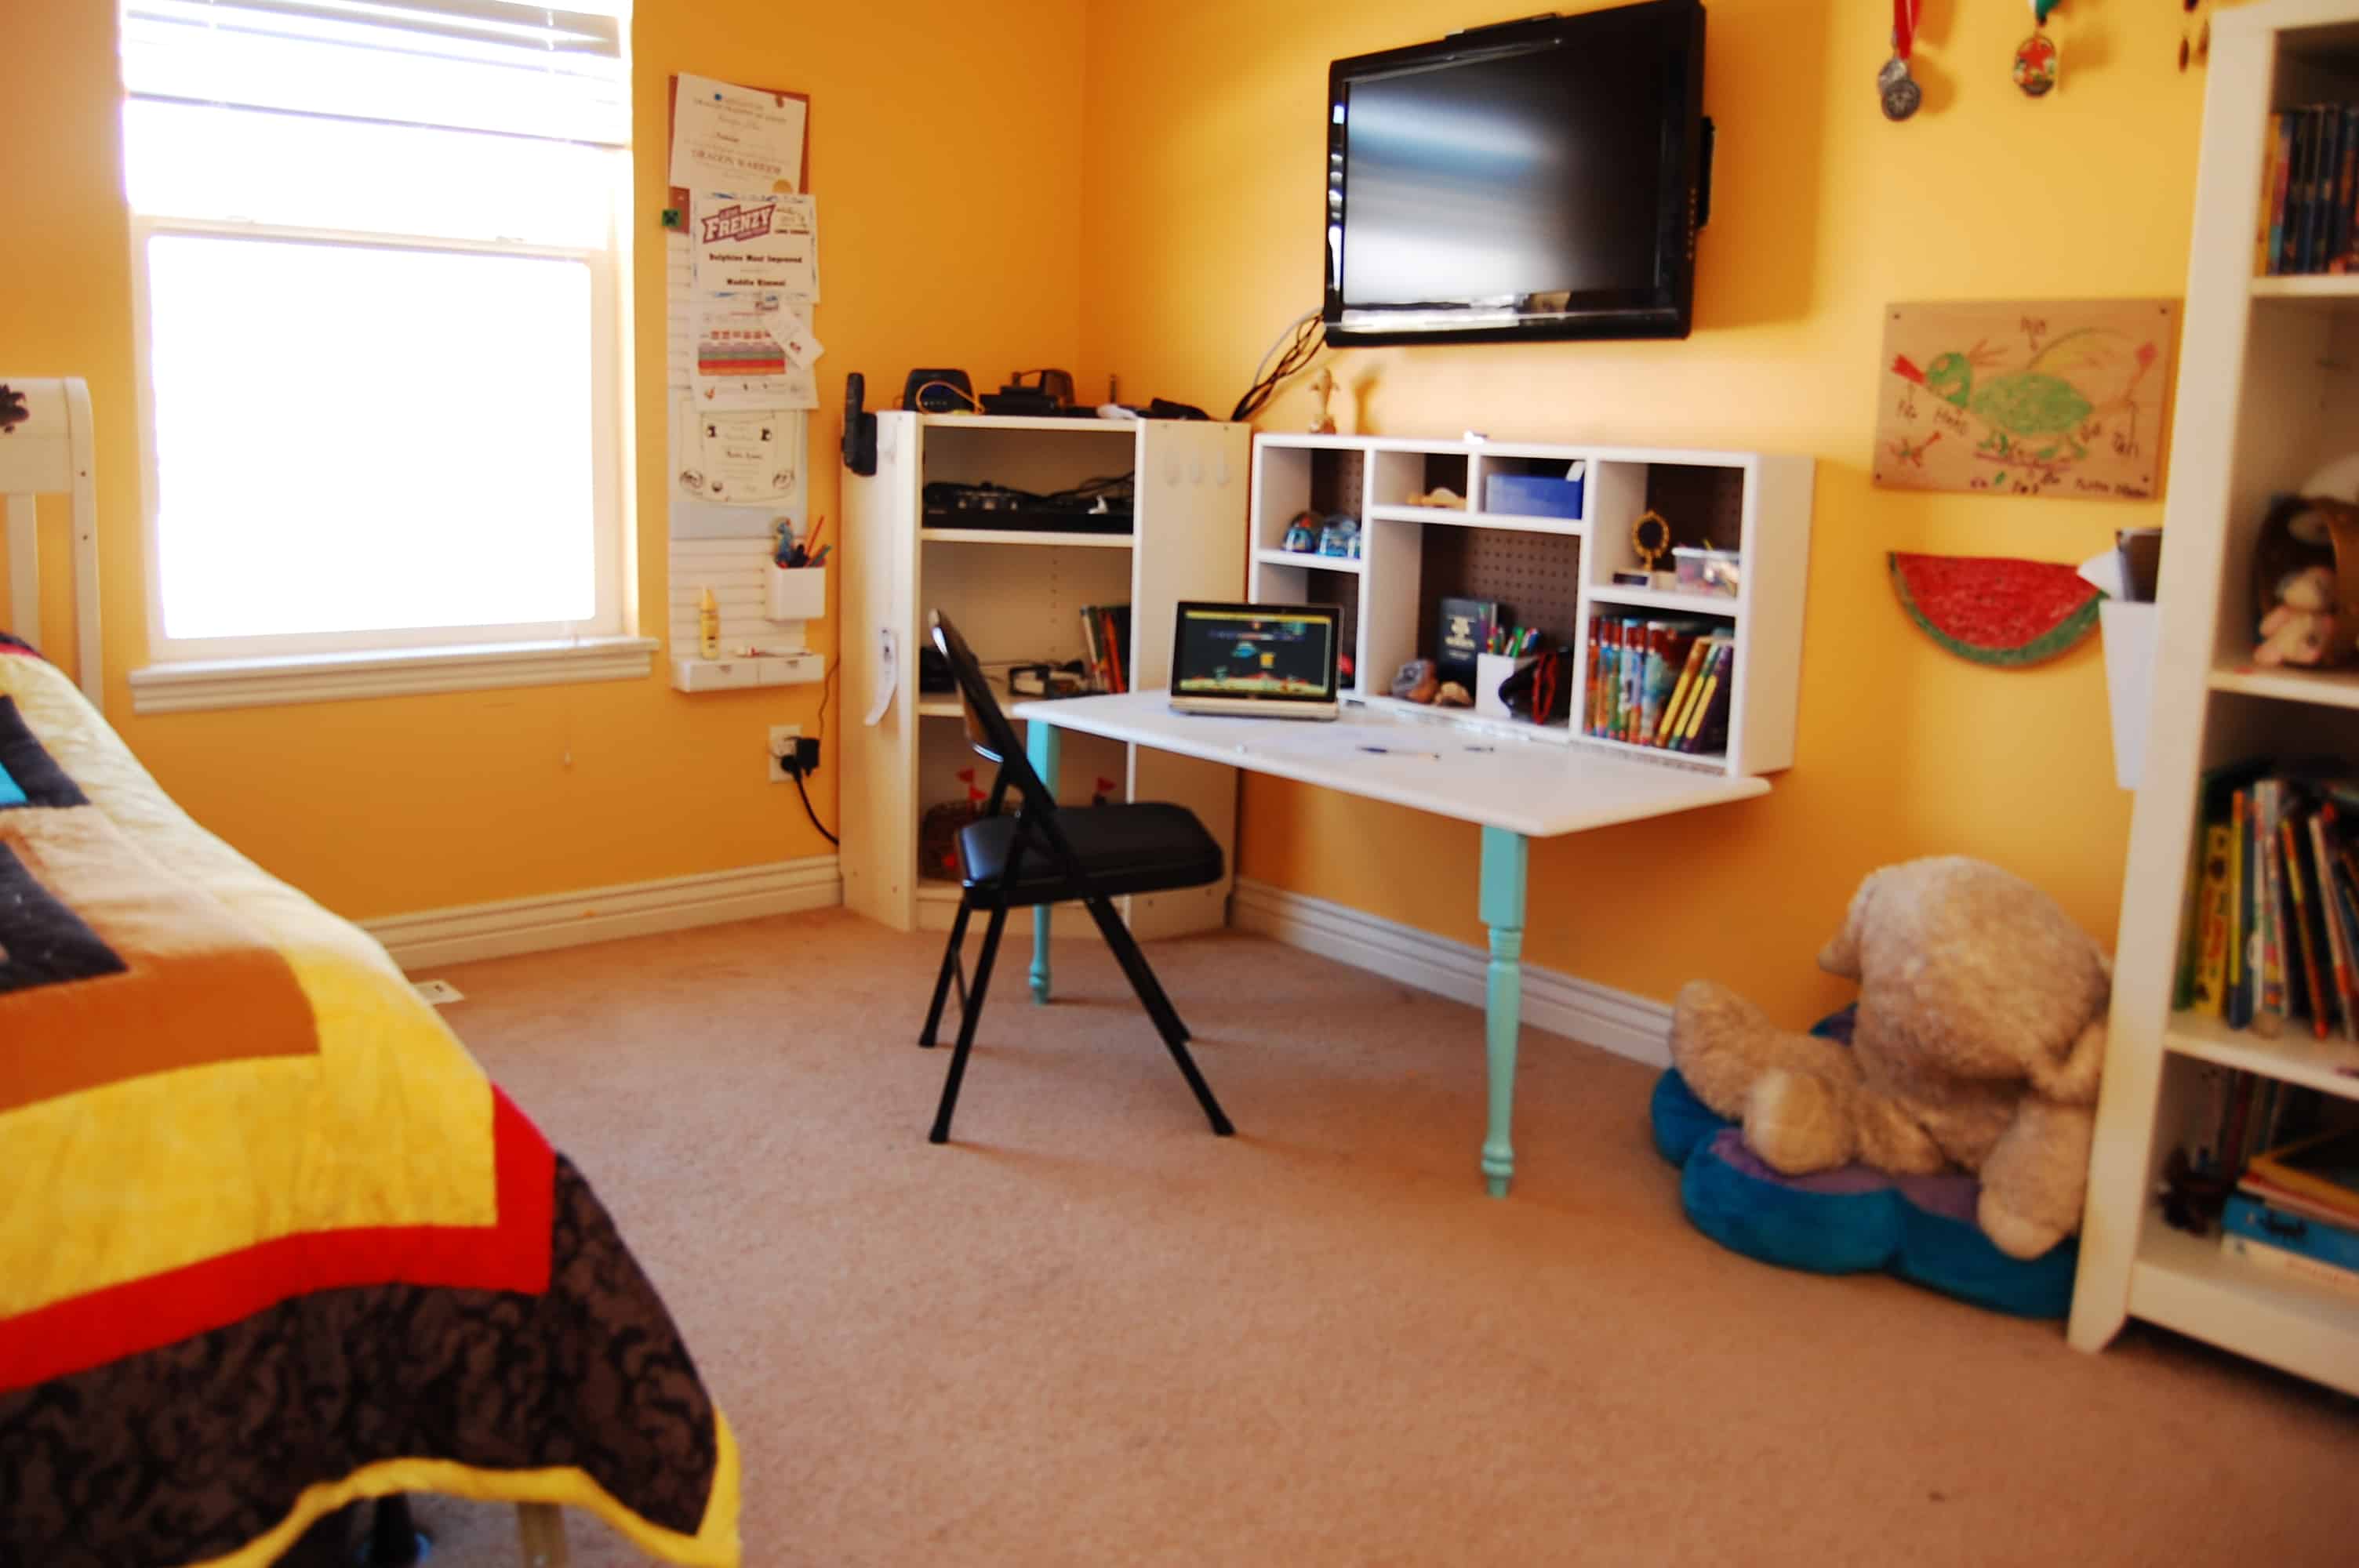

and now, she has a place to do her homework!
18 DIY Kids Room Storage Ideas | RedHeaded Patti
Wednesday 19th of April 2017
[…] Found on- Organized Mom […]
15 Creative DIY Organizing Ideas For Your Kids' Room - The Veranda of ideas
Thursday 9th of February 2017
[…] Source […]
15 Creative DIY Organizing Ideas For Your Kids’ Room | homedesignfind
Thursday 9th of February 2017
[…] Source […]
30 DIY Organizing Ideas for Kids Rooms - DIY Joy
Sunday 5th of February 2017
[…] organizedmom […]
DICAS PARA APROVEITAR O ESPAÇO
Monday 7th of November 2016
[…] Imagem: Organized Mom […]