If you’re like most people, your bathroom isn’t exactly the biggest room in your house. Once you add a spouse and kids, it can feel downright tiny — and you’ve got so many things to keep in there!
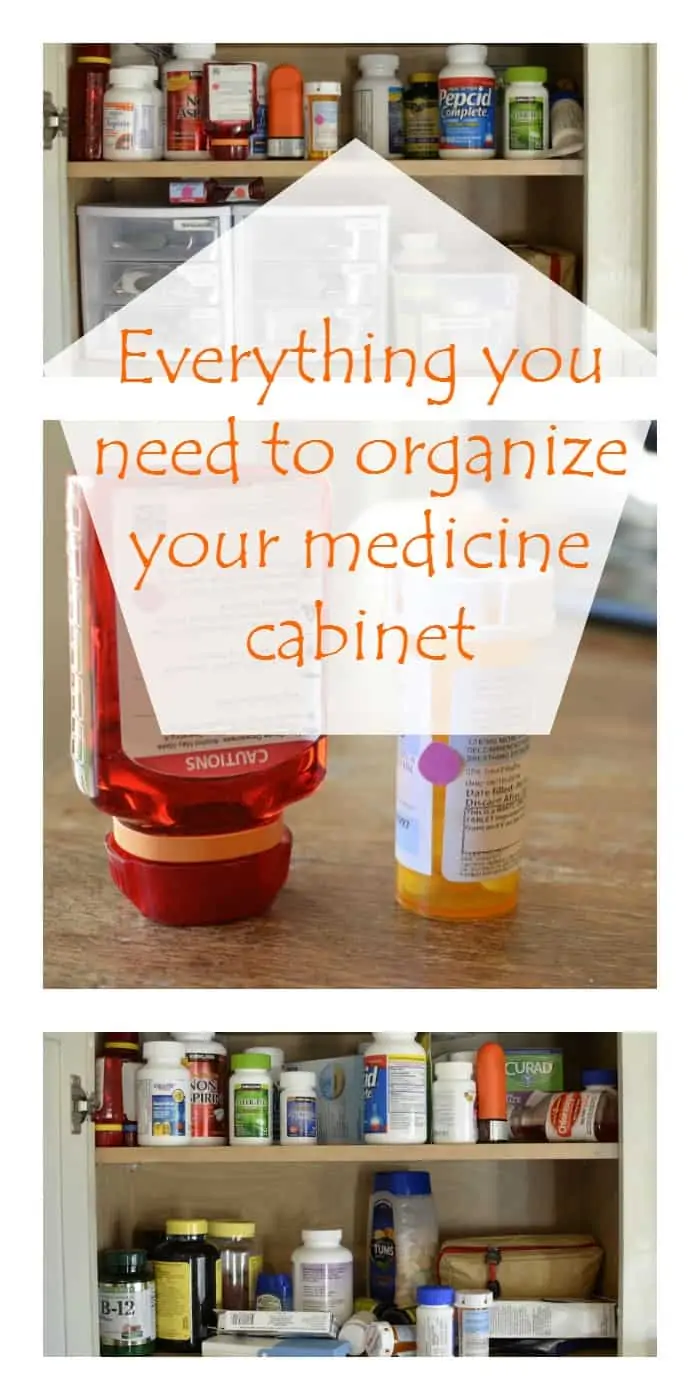
While shower caddies and cute baskets can help you get a grip on the rest of the room, your medicine cabinet may stay stubbornly resistant to organization. There’s not much space there, but it holds some of the most important — and potentially dangerous — items in your house. To keep your whole family safe and your sanity intact, follow these easy steps to tame your medicine cabinet.
4 Fast Steps to an Organized Medicine Cabinet
Step One: Gut It!
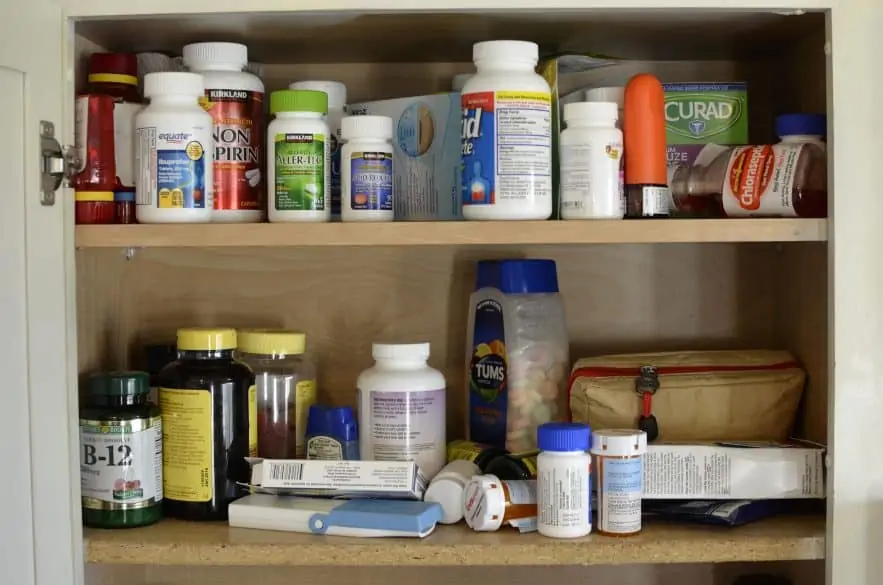
Start by removing everything from your medicine cabinet. Just about every bottle of pills and little pot of ointment has an expiration date, and you need to check them. If something has expired, toss it. Once you’ve emptied and sorted your medicine cabinet, wipe down the shelves to rinse off any sticky residue that’s built up over time.
Step Two: Add Infrastructure
If you rely on your medicine cabinet to store items your kids use on a daily basis (toothpaste, dental floss, or perhaps some detangling spray for their hair), arrange these items on the bottom shelf for easy access. If you need to make space for these larger supplies, adjust the shelves as needed — most medications come in very small packages and can handle less space between the remaining shelves high up in your medicine cabinet.
Consider adding small storage trays and caddies to help you make the most of your remaining shelf space. As you shop for these, remember that a medicine cabinet is typically only about four inches deep. There are shelf caddies and shelf organizers that are made to fit, and they’re are worth the small investment to corral oddly-shaped items like tweezers, thermometers, rolls of gauze, bandage tape, or scissors.
Step Three: Deal With Expiration Dates
Before you begin to put medications back into your medicine cabinet, take a few minutes to mark the ones that will expire in this calendar year with a simple red dot sticker on the cap or front of the box. (Make sure to leave a space for these stickers in your medicine cabinet as you fill it back up!).
On New Year’s Day, it’s time to toss last year’s medications and put stickers on the ones that will expire next year. This simple system makes it easy purge your medicine cabinet of old prescriptions and over-the-counter meds to keep your family safe. 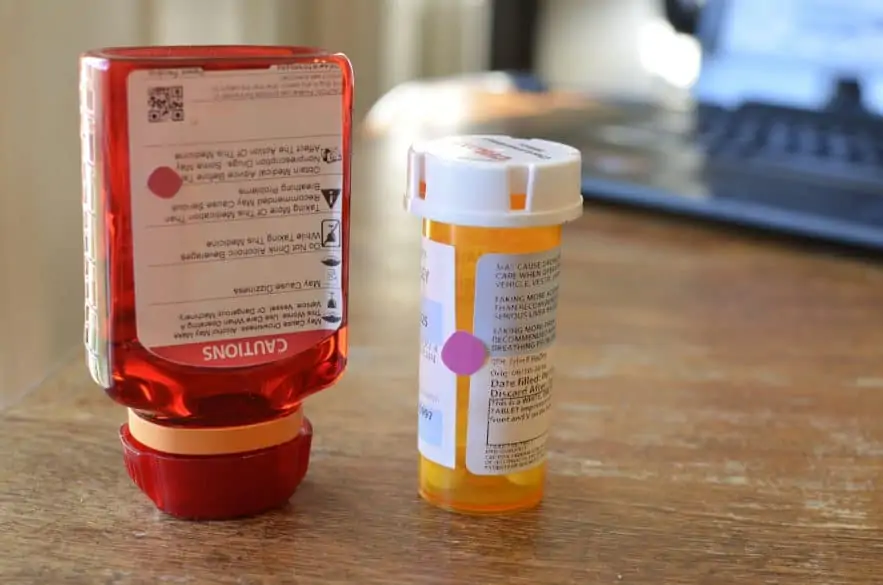
Step Four: Organize According to Use
Now that you’re ready to reload your medicine cabinet, start by putting the safest things at the bottom and working up to more dangerous drugs as you move to higher ground. Make up and hair products might be messy, but they’re not going to cause a dangerous overdose, so they can be on intermediate shelves. The harder it is for little hands to reach your scrips, the better!
Consider arranging items not by size, but by how you use them: cold medicines in one section, antacids and tummy remedies in another. I like to use medicines that come in boxes like bookends to help mark where one category of medicine ends and another begins.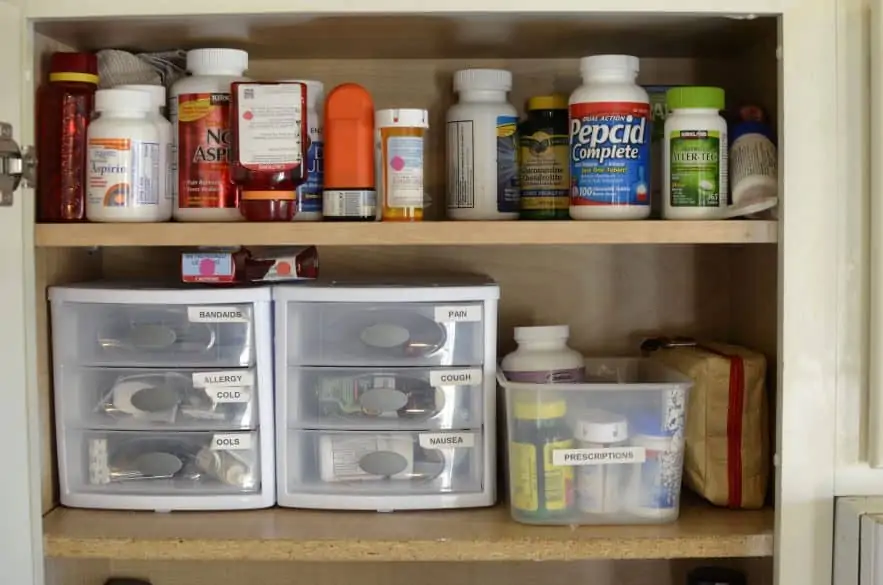
Step Five: Give a Tour
Organizing your medicine cabinet should only take an hour or two, max. Once you’ve finished, be sure to give each member of your family a guided tour through the space to highlight where their things are — and where they should be put back. Keeping your medicine cabinet organized is easy when everyone’s on board with your new system!
Elizabeth Trach is a writer and editor living in Newburyport, MA. She also sings in a band, grows almost all her own food, and occasionally even cooks it. You can catch up on all her adventures in organization and extreme gardening at Port Potager.
Elizabeth Trach
Monday 26th of September 2016
5