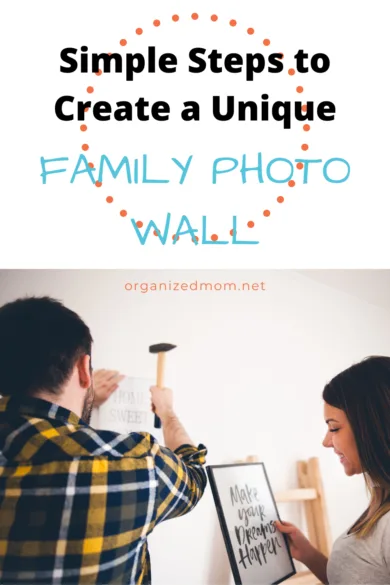
Do you have an area in your house cluttered with family photos? Mine was the fireplace mantel. Each holiday season, I would have to take them down so I could decorate the mantel and hang up our stockings.
After being inspired by others’ creativity, I finally decided to create a family photo wall and de-clutter our fireplace.
Here are the simple steps to create a unique family photo wall.
Choose Your Subjects
Do you want your photo wall to include only pictures of you, your spouse/significant other and kids? Or do you want it to include siblings, cousins, and grandparents? Perhaps family pets as well?
Choose Photos/Sizes
Depending on the photos you want to use, you might not have as much flexibility with sizing. For example, I have an 8 x 10 picture of my grandparents’ wedding photo. It is an original copy from 1946, and that is part of what makes it so unique. Rather than scanning it and printing a smaller version, I have chosen to just use the original.
If most of your photos are digital, or can be scanned and reprinted, then you have a lot more flexibility. The photo size you choose will probably depend on the space you have available. If your wall space is limited, then you might want to use smaller photos so the wall doesn’t appear too crowded. if you have a larger wall, you might want to fill it with larger frames so your photos don’t seem to be drowning in too much empty space.
Because I had photos that were both old and new, I ended up with a variety of sizes, and I think it made my photo wall more visually interesting. So you can be creative with sizing.
If you are printing larger photos, be sure that the resolution is high enough to avoid them turning out blurry.

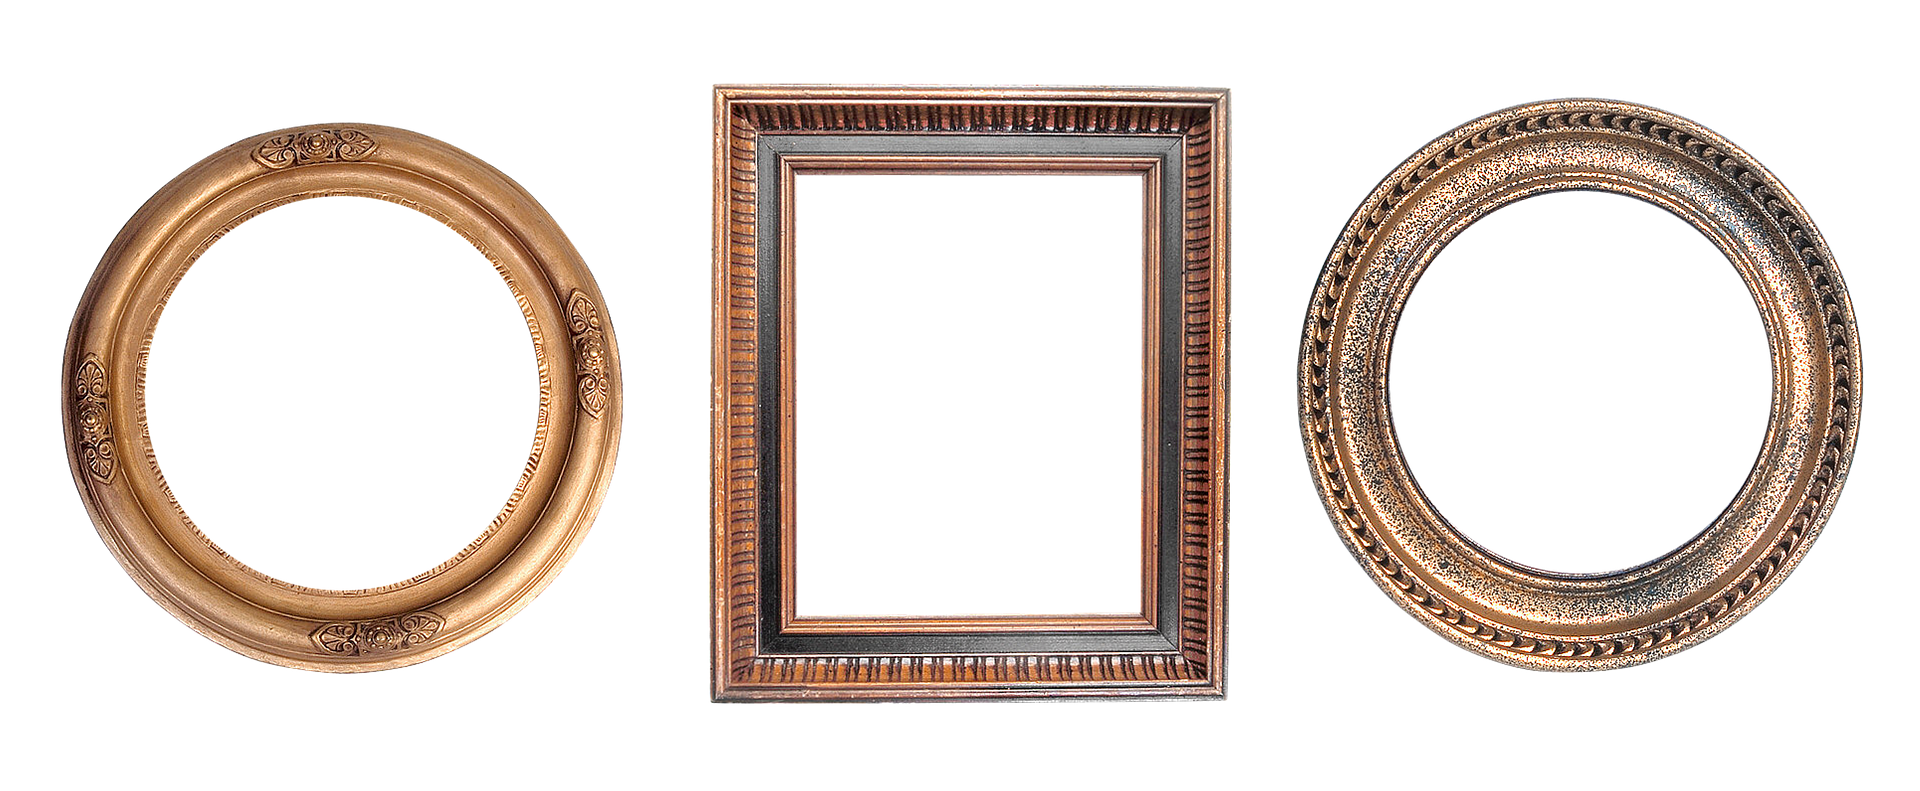
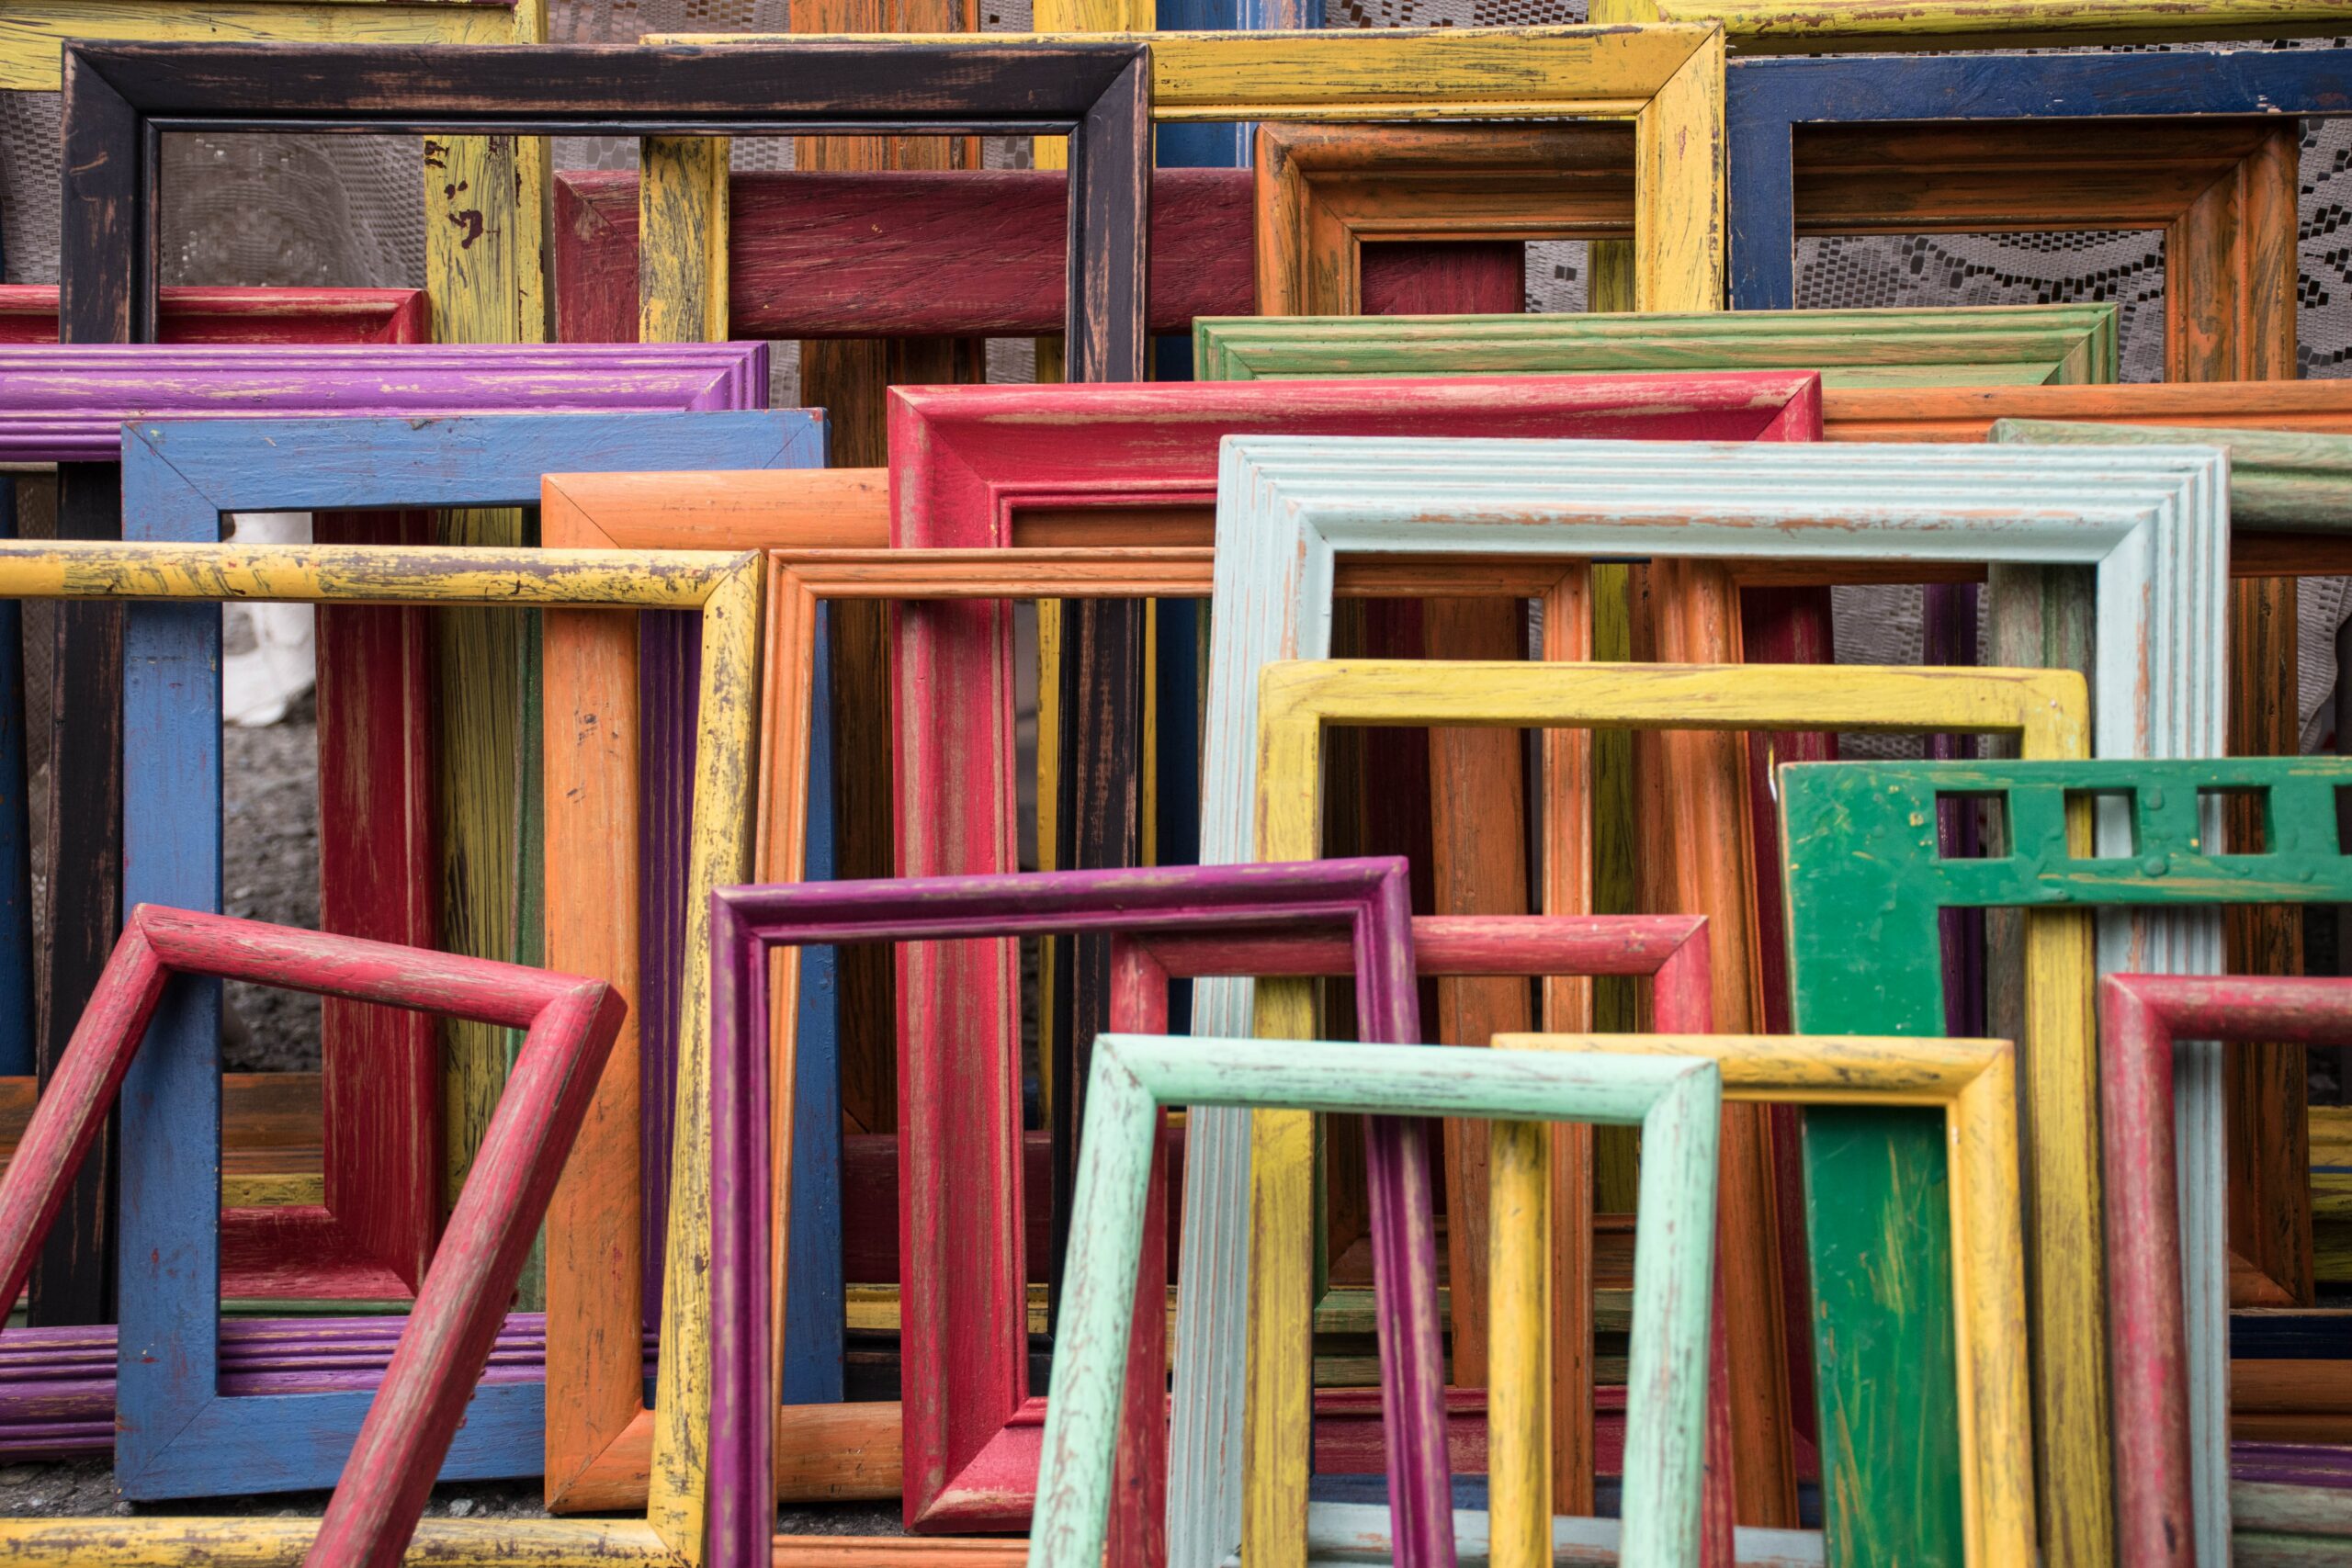
Select Frames for your family photo wall
This is where you can get really creative! You can choose frames all made out of a certain material—rustic wood, metal, plastic, etc. You can use all one color or just a few colors. (The frames I used were various shades of gray, and I used a combination of wood, metal, and plastic.)
Craft stores like Hobby Lobby, Michael’s and JoAnn Fabrics will typically have a larger selection of frames, as well as box stores like Target and Walmart. But often department stores will also carry a selection of frames, so don’t forget to look there as well.
If you want to save even more money, check out your local dollar store or thrift store.
An alternative is to have your photos made into canvases or glass tile prints. These options are becoming more and more popular. Check out Groupon for deals.
Add a Sign as a Central Focal Point
Nowadays, if you go into any craft store, you can find a variety of preprinted signs. A sign can be hung in the center of your photo wall, and your photos can be arranged around it.
You can also order a customized sign with your last name or a favorite saying through a web-site like Etsy. Or, if you know of someone with a vinyl cutter, have them cut the vinyl letters/words for you. Then you can choose the type of wood and paint colors you would like to use.
Old pieces of barn wood are very popular, or you can buy a piece of wood and paint or stain it. The vinyl letters are then used as a stencil.
Prep Frames if Needed
Some frames will come with a sawtooth bracket on the back of one or more sides, and others will have a triangular bracket that you can use to hang over a nail or other type of picture hanger. Unfortunately, some frames (especially smaller frames), might not have a bracket. In this case, you will need to add one.
Generally speaking, it is much easier to add a bracket to a frame made out of wood, or the outer wooden frame on a canvas. You can buy a small package of sawtooth brackets or a larger kit that comes with a variety of hanging options.
I like to use nails to hang photos because you can pound in the nail close to the wall and the frame will end up fairly flush with the wall. But if you are using heavier frames, you will probably need to use something that will offer more support. You can find a variety of photo hangers on Amazon or at any craft or hardware store.
Design Your Arrangement
Is there a certain overall shape you want to achieve with your photos? Do you want your photo wall to more linear looking or more random? I definitely recommend playing around with different arrangements on a table or floor before you start hanging any of them up. Take a picture of each design as you go and then you can choose the one you like the best.
Create Your Photo Wall
If you are less type-A then I am, slightly crooked or unevenly spaced frames probably won’t bother you. Centering them on the wall might not matter so much either. But if you are like me, having frames hung up neatly and evenly spaced will be important to the overall aesthetic. In this case, accurate measurements will be crucial!
If you are using a sign as a central focal point, I would recommend hanging that up first. Use a measuring tape to measure your space both top to bottom and left to right. If the sign is large and requires multiple hangers, use a level to make sure it is hung straight.
Once the sign is hung, you can use it as a guide when spacing your other pictures. When measuring the smaller spaces between the pictures, it can be easier to use a small ruler rather than a tape measure.
A photo wall is easy to update with different frames for a fresh new look, and as your family grows, you can continually add to it. So have fun with it and let your creative juices flow!