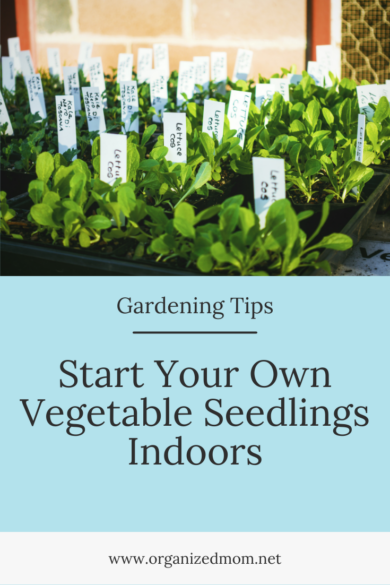
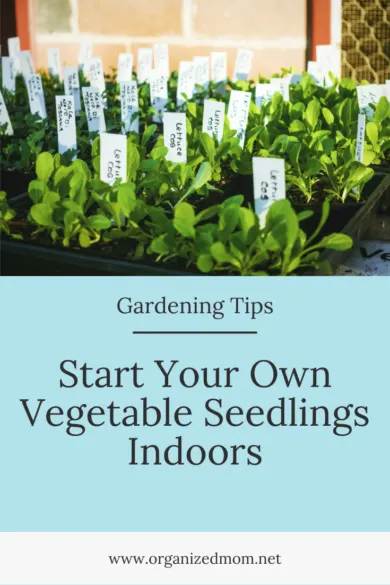

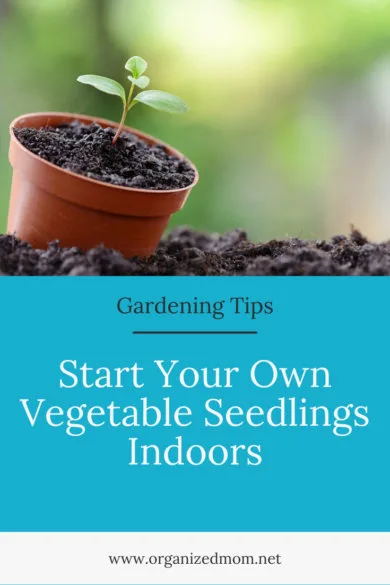
Gardening is a hobby anyone can enjoy, and it can be a great family activity. If you feel like you weren’t born with a green thumb or have no garden knowledge whatsoever, you can still achieve a bountiful garden. It does take time to plant and tend to a garden, but it is really satisfying to see your plants grow and then get to enjoy fresh vegetables during the garden season. Starting vegetable seedlings indoors may seem a little intimidating, but trust me, you can do it!
In this article I will explain how to start your own vegetable seedlings indoors.
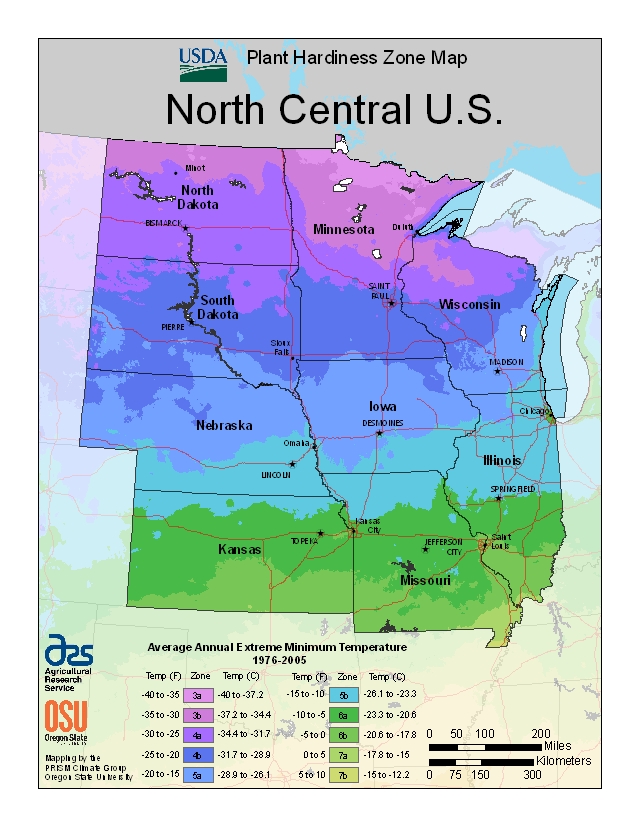
First, figure out which zone you live in.
The United States is divided into several growing zones. Each zone has a different optimal growing season. Knowing which zone you are in is important when you are trying to figure out which types of seeds to plant and when is the optimal time for planting them.
I live in zone 6a which means I don’t have a very long growing season. When I start seedlings inside, I usually start them in April sometime and then move them out into my garden near the end of May or early June, depending on the weather. But if you live in a much warmer or more temperate climate, then you will likely have a much longer growing season and can plant things throughout the year.
This web-site from the United State Department of Agriculture is a great resource when trying to figure out your zone.
Choose which vegetables you want to start inside your home.
Since I have a shorter growing season, I choose the veggies/fruit that take a while to grow as starter plants inside. My four favorites are pumpkins, watermelon, tomatoes, and cucumbers. I used to always buy my tomato plants, but a few years ago I started some seedlings inside and they did great. Starting tomato seedlings on my own easily saves me $20 to $30 dollars each year that I would have spent on plants at the nursery.
On the back of every seed packet, there is information about each particular vegetable including when to plant it, how to plant it (depth and spacing) and the approximate amount of time it will take until you are able to harvest it. If you are located in a zone with a short growing season, you need to pay special attention to this information when you are buying your seeds. This information will help you decide which plants to begin indoors.
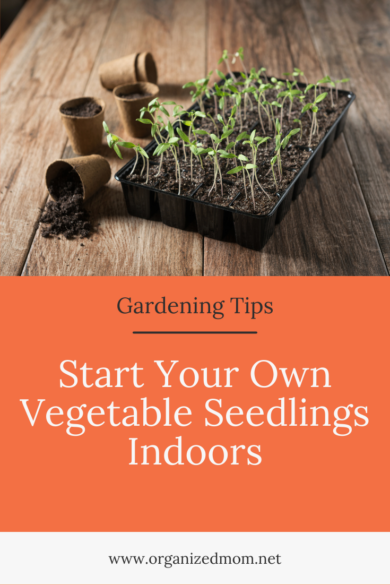
Gather up potting supplies.
There are several options as far as what pots/containers you can use for plant starts. You can use individual small pots, plastic containers with several small sections specifically designed for plant starts, biodegradable containers that you can actually put directly into the ground, or recycled containers from your home.
Whatever you use, make sure the containers have adequate drainage on the bottom. I would also recommend buying potting soil specifically for plant starts. Once you have your seeds, potting soil, and containers, you are ready to start planting.
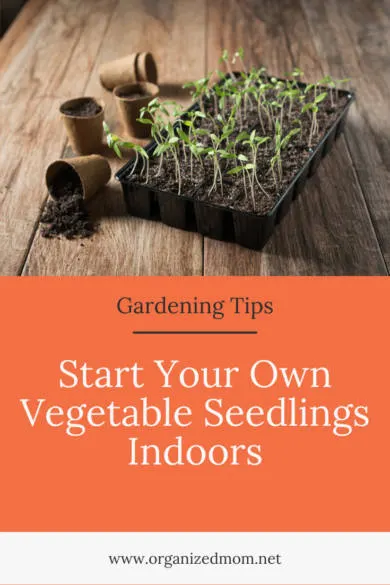
Plant and label seeds.
I would highly recommend labeling your seed containers, especially if you are new to gardening. Each seed has a different amount of time it takes to germinate. So as your seedlings are growing, you can know approximately when you should start to see plants popping through the soil.
Also, when you are planting, be sure to pay attention to the depth at which you are supposed to plant the seedling. Add some potting soil to your container, place the seed on top, and then lightly cover the seed with however much potting soil was recommended on the seed package. Lightly pat the soil with your fingertips. If you pack it down too hard, the seedling will struggle to break through.
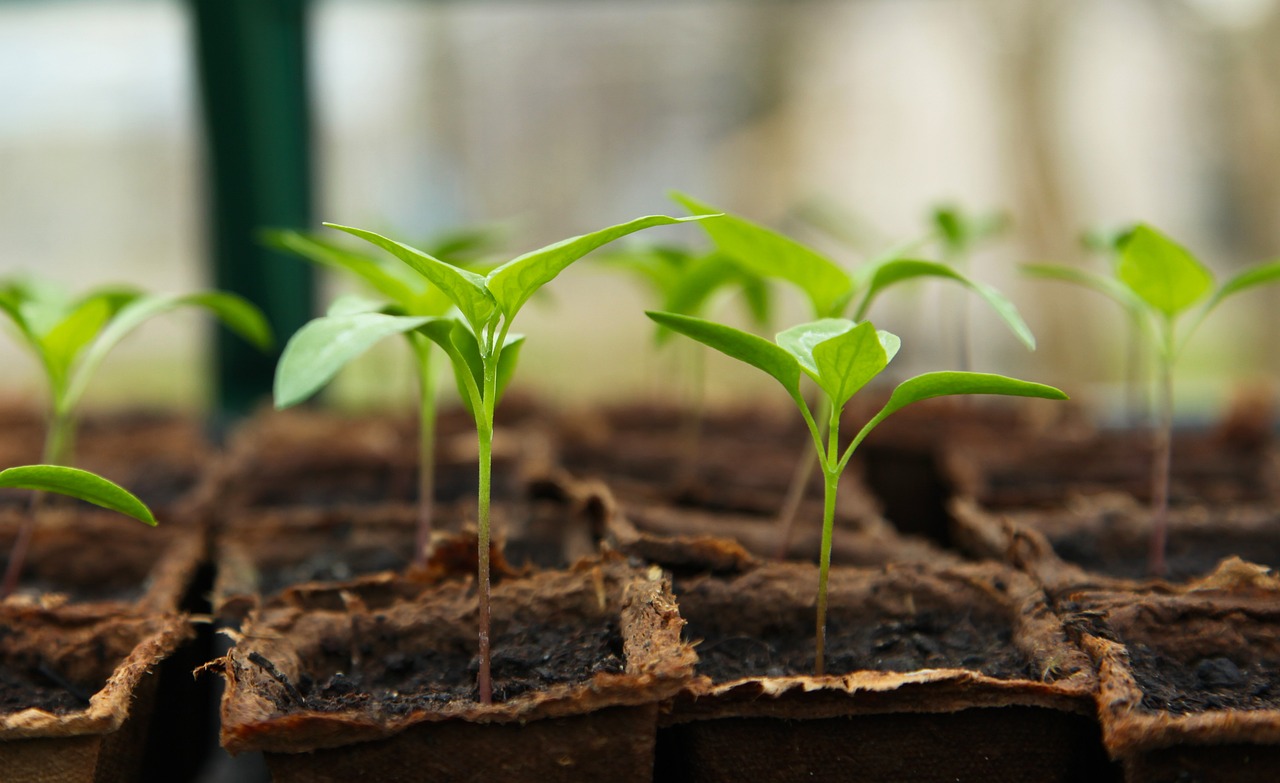
Carefully monitor your containers and keep the soil moist.
Before the seeds have germinated and popped up, keep your containers out of a direct sunlight. You need to make sure the soil is kept moist, and preferably not too cold. To help plants stay warm and moist, you can cover your containers with saran wrap.
To keep plants moist, I like to use a spray bottle. This allows you to wet the soil slowly so you don’t have to worry about flooding the dirt and displacing your newly planted seed. Once the seedlings have sprouted, you can take off the saran wrap, and move them into a window area.
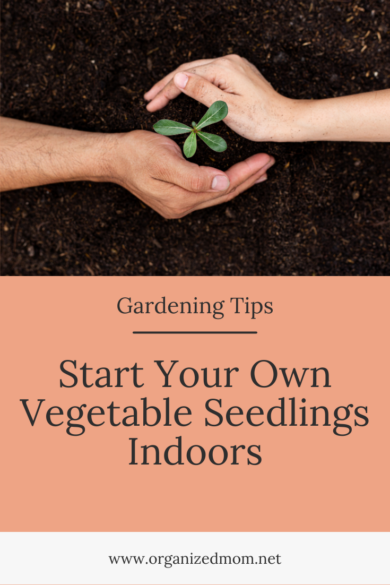
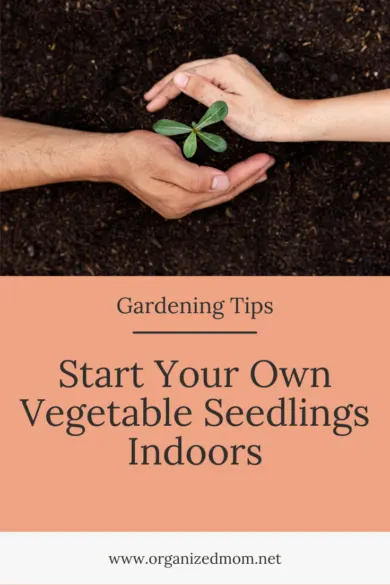
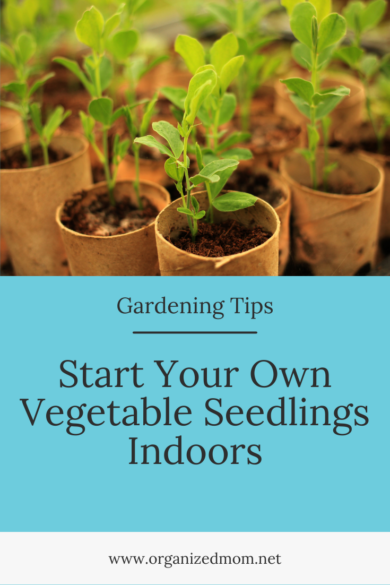
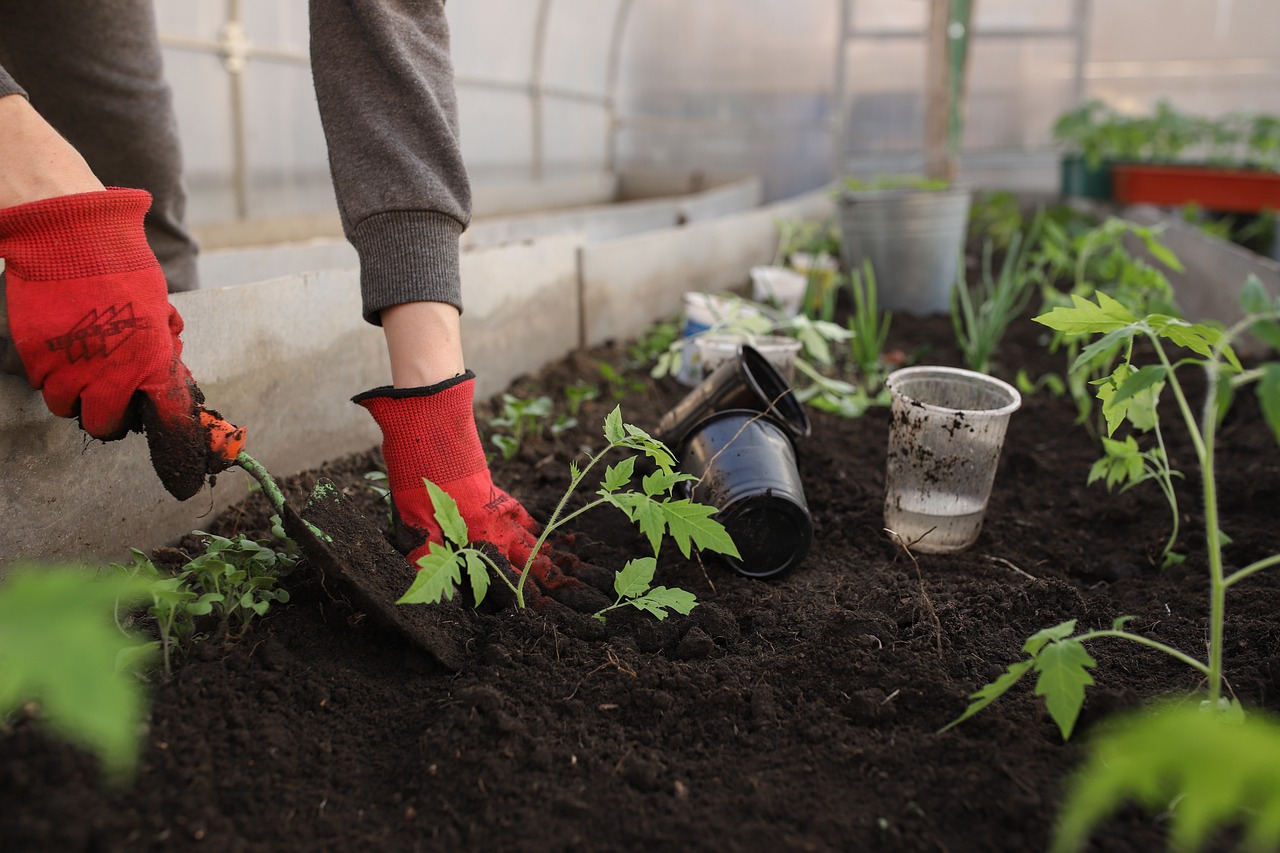
Transfer your plants to your garden area or larger outdoor pots.
Wait until your seedlings have at least two to three sets of leaves before you transplant them outside. When it is time to transfer your plants to the garden (after there is no chance of further frost if you live in a colder climate), you need to give them time to adjust to being outside before you plant them in the ground. Otherwise, you can cause your plants to go into shock and they will start to wilt shortly after transplanting.
Seven to ten days before you want to plant them in your garden area, start bringing them outdoors. Find a well-shaded spot and let them be outside for a few hours. Gradually build up the amount of sunlight they are exposed to, and the amount of time spent outside each day. Bring them in each night.
Once you are ready to plant them, there are still a few things you can do to help them adjust to being in their new home. Keep plants well-watered so their roots don’t become too dry. Protect the plants from strong winds as much as possible. Plant on a cloudy day or in the evening so plants can adjust without being in the strong sun all day.
You can also add a little nutrient solution to the roots when you plant. This can be found at any garden center. Look for one containing phosphorus. This helps minimize transplant shock.
And that’s all there is to it! Soon enough your little seedlings will grow into big plants full of delicious fresh veggies and you will get to enjoy the fruits of your labor! Happy planting!