
We all have those spaces in our houses that we KNOW need to be organized, but we just never get around to it. Instead of doing something, we just close the doors and pretend those spaces don’t exist! One of the biggest reasons for ignoring these projects is the overwhelming feeling of not knowing where to start or how to go about organizing those problem areas. Today, I’m going to give you a little help with that. Here is my step-by-step guide to organizing any space. I’m going to show you the steps I went through to organize my friend Kay’s pantry, but this guide will lead you through the process of organizing any space, large or small. So, let’s get started!
Kay’s pantry before we started the organization process
- Step #1: What is the Purpose of the Space?
The first step of the process is to decide what you are going to do with the space. What is its purpose going to be? Are you converting that unused spare bedroom into a home office? Do you intend for that hall closet to house holiday decorations and party supplies? Is that cabinet in your bathroom going to be used to hold hair care products or extra linens? The reason it is important to decide the purpose of the space at the beginning of the process is because this will dictate many of the decisions you make later on. So, the clearer the defined purpose is at the start, the easier the rest of the decisions will be. For Kay’s pantry, the purpose was, of course, to store her family’s food.
- Step #2: Empty Out the Space
Next, take everything out of the space. This serves a couple different purposes. First, it will give you a chance to really clean the space. Sweep it out and wipe down the shelves. This will give you a fresh start. Secondly, by taking everything out, you will be able to see exactly what you have. This will help when deciding what types of organizational products you need. And, chances are, you will find some things that need to be housed in other areas of your home. Kay had a panini press, mugs, and plastic food containers in her pantry that we moved to new places. Another good reason to take everything out is that it will make it easy to toss things that need to be thrown away. Kay was able to pare down by getting rid of expired food and some things that she never used.
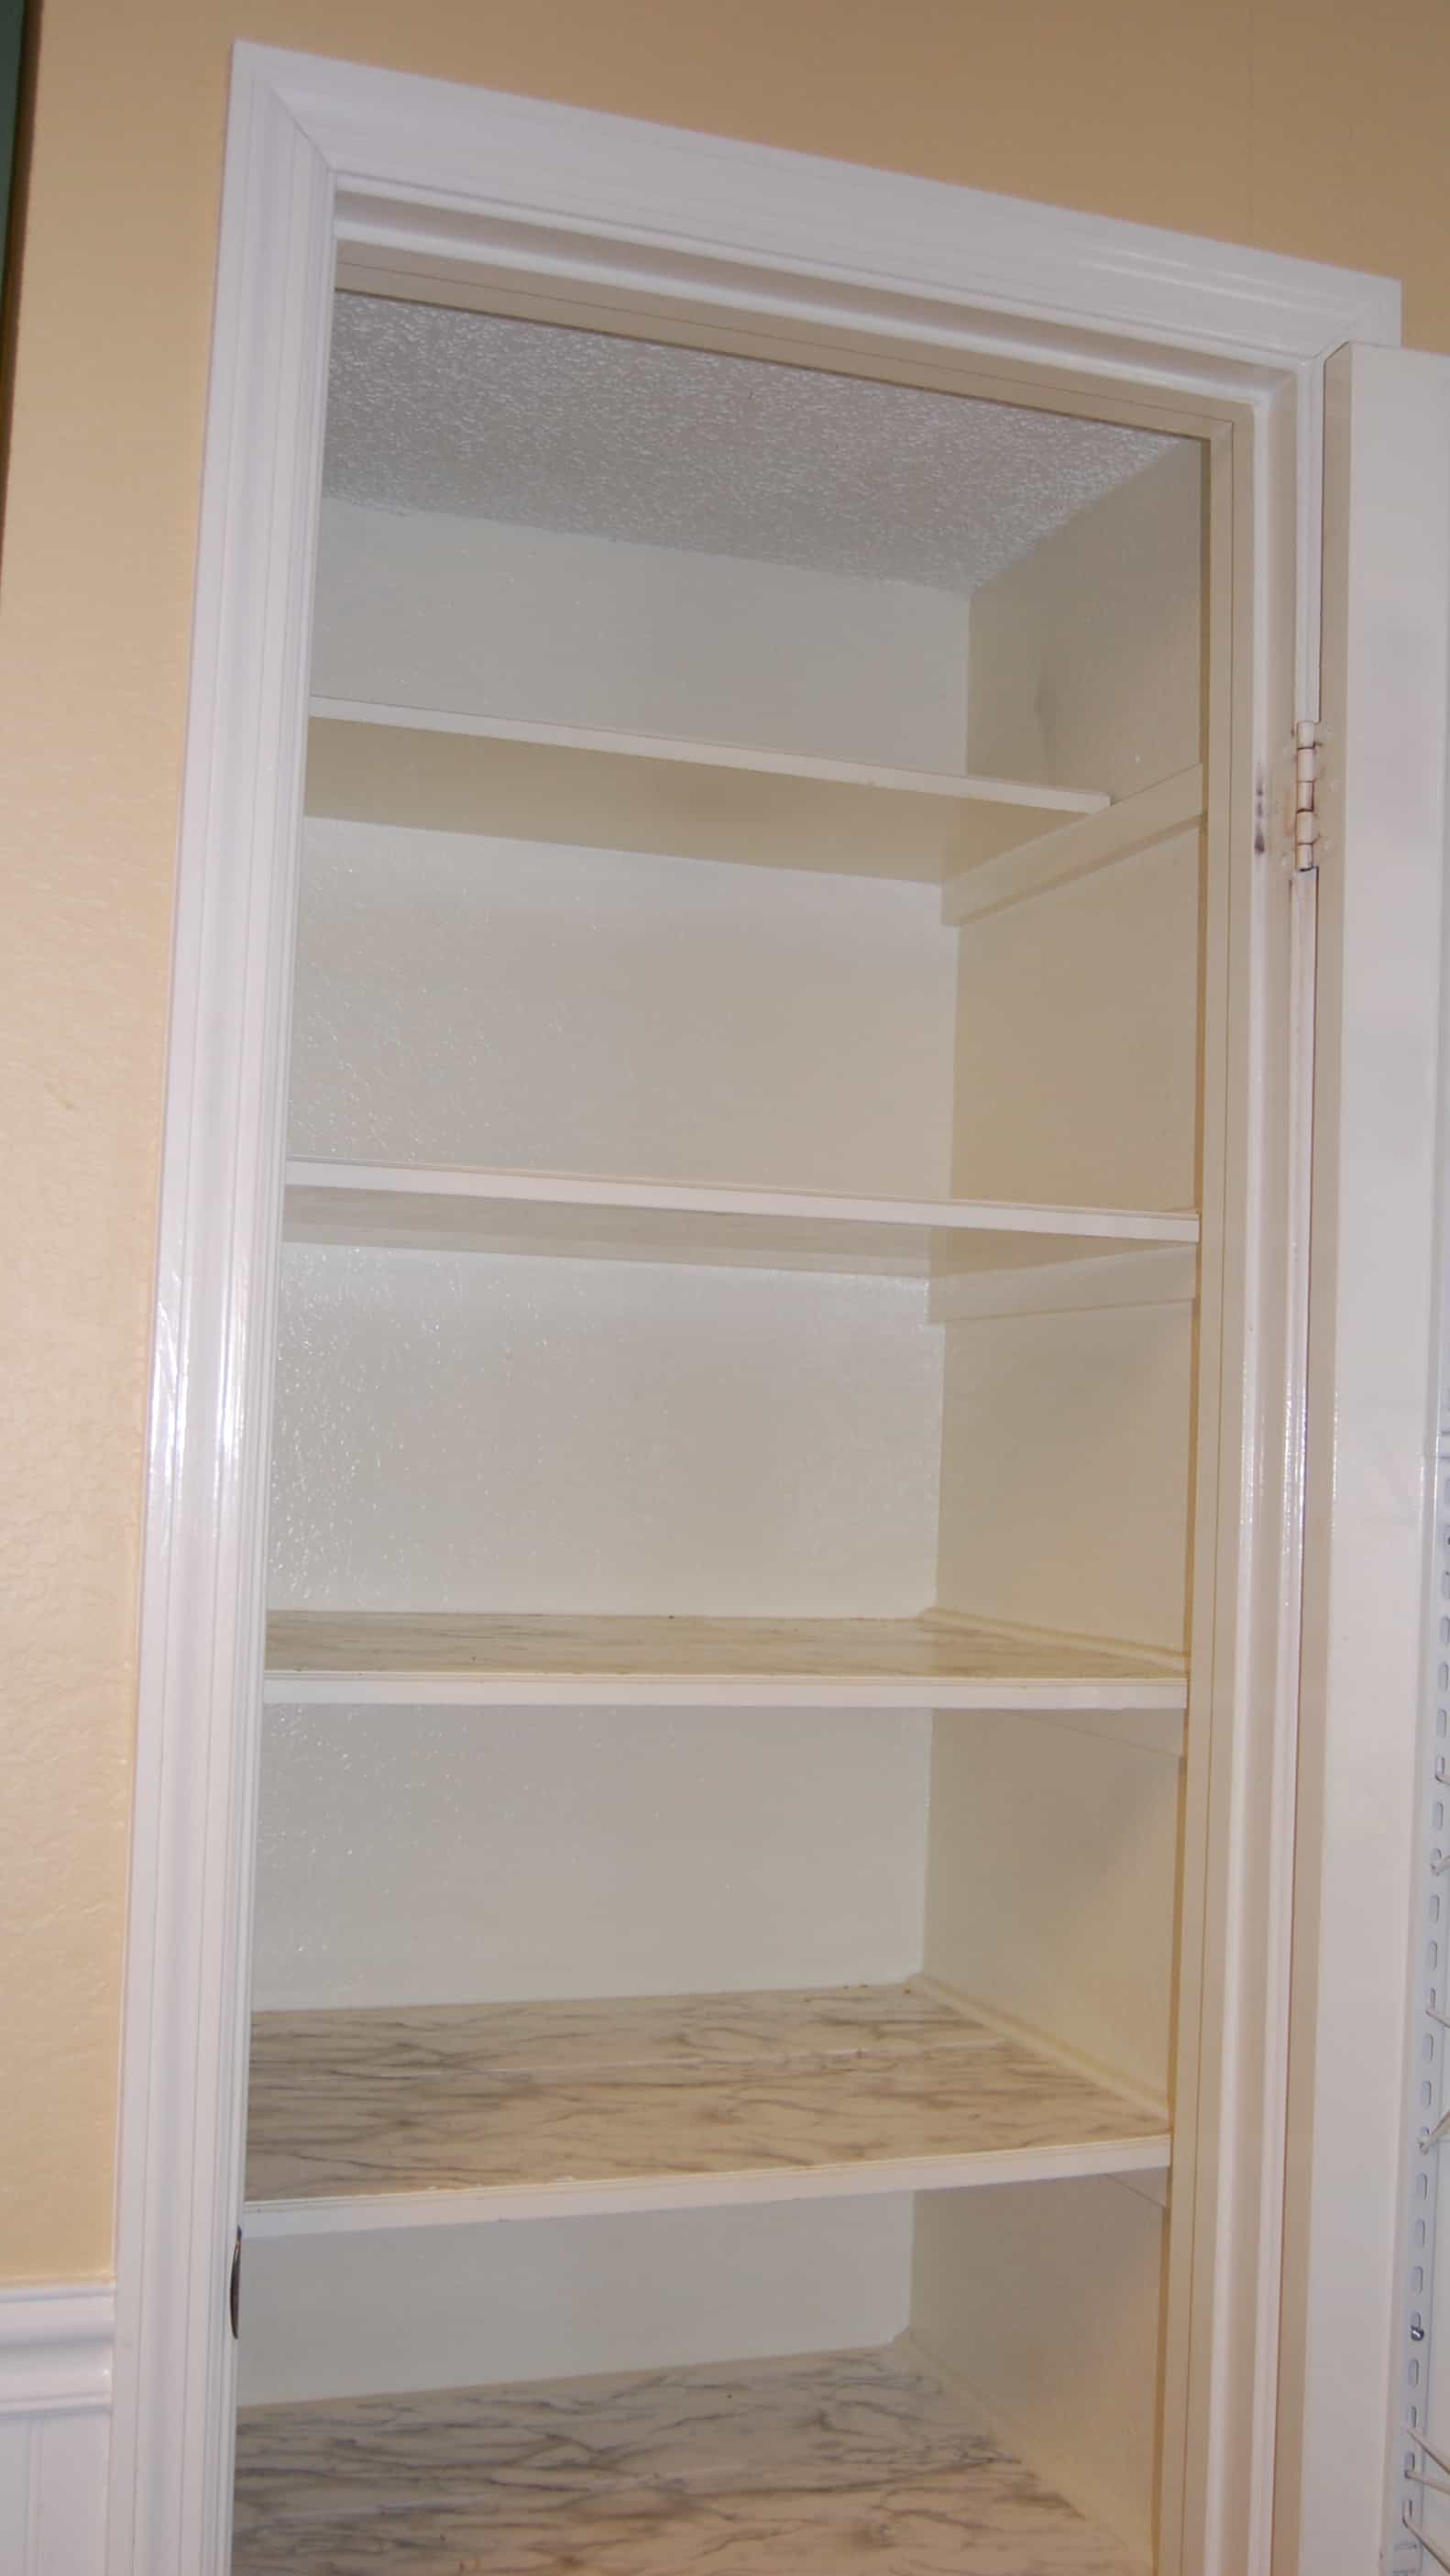
Kay’s empty pantry
- Step #3: Group Like Items
While you have everything out in the open, take a few minutes to group like items together. Make little piles of all the things that need to go back in the space. For instance, we made piles for breakfast items, cereal, baby food, canned goods, condiments, drinks, and nonfood items like plastic bags and aluminum foil. What your piles are is completely up to you and how you plan to use the space. If you are organizing your closet, you may want to group clothes based on color, season, or activity. If you are making a home office, your piles may be things for the desk, things for the bookshelf, and things for inside the filing cabinet. Make piles that will make sense to you.
The reason you want to do this step is because when you start to put everything back up, you want like items to be together. Getting them all together while out in the open area will make it easier later on. It also lets you see how much of each thing you have, whether you need to restock, and what types of storage you will need to house those items.
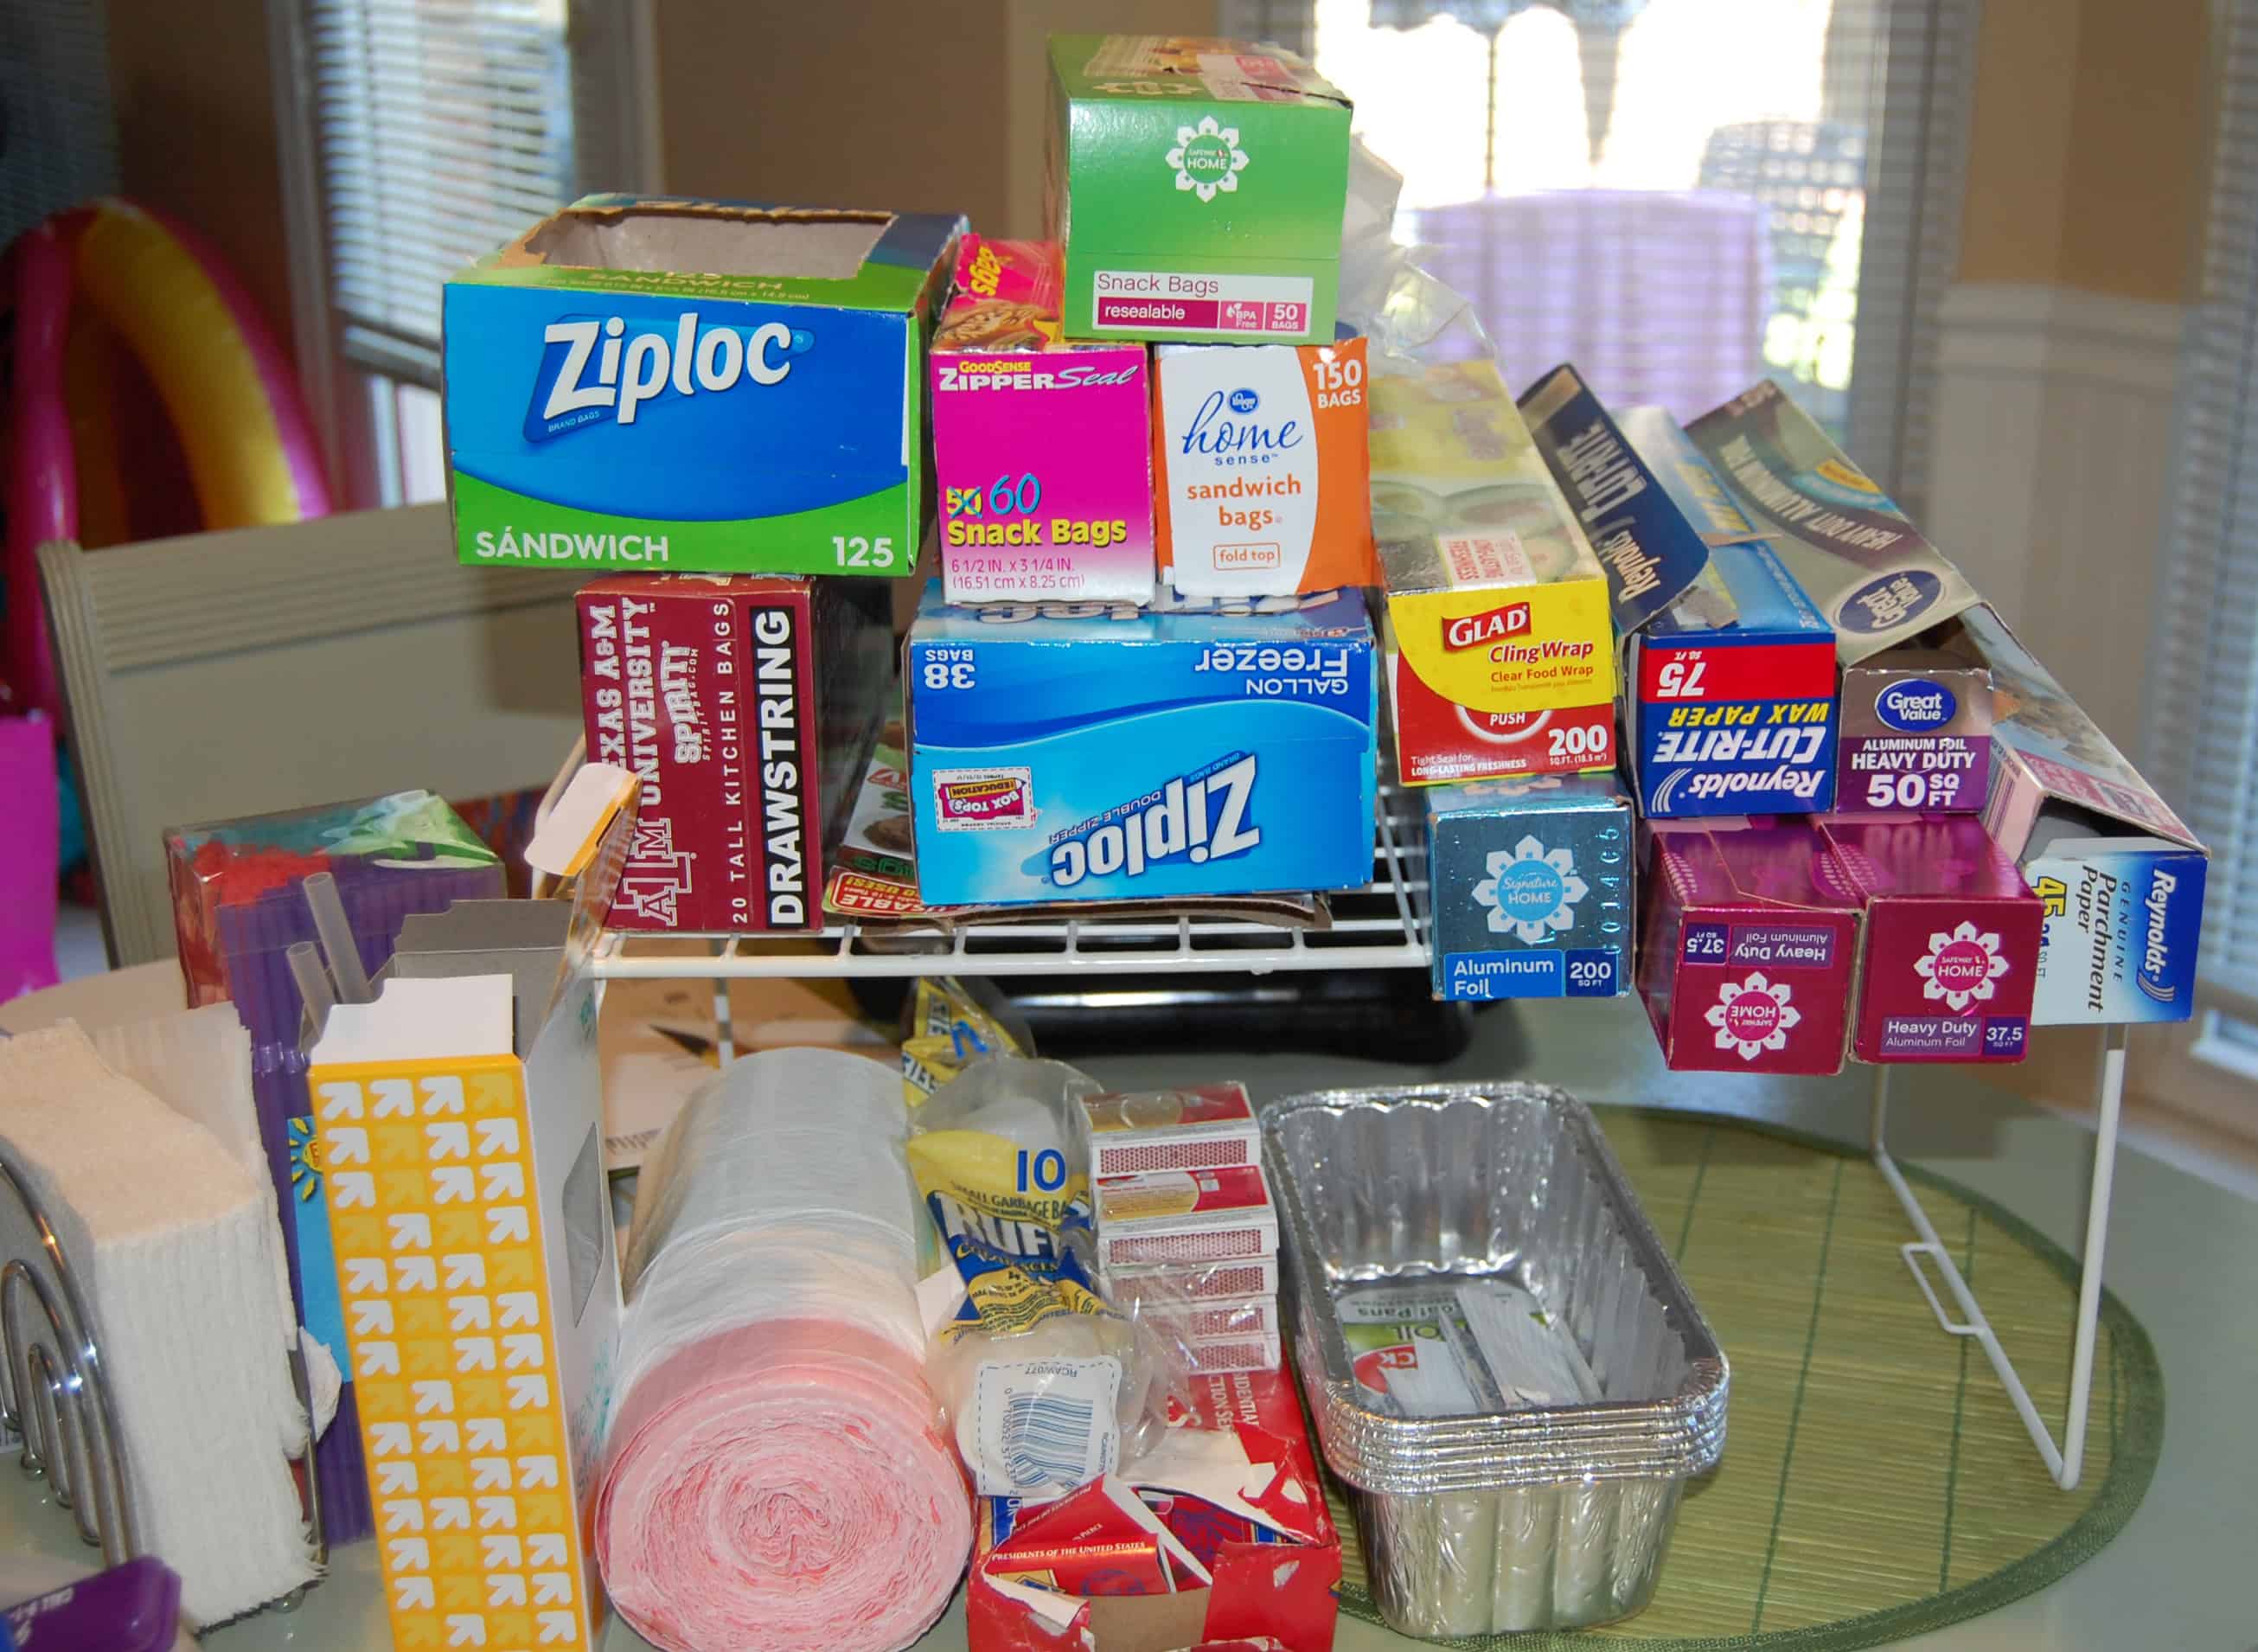
Kay’s nonfood items grouped together
- Step #4: Where Will Everything Live?
Once you have your groups of like items and your empty space, you can start to decide how and where you are going to put everything. You need to put things that you use regularly in easy-to-reach areas. Those items that you only use occasionally, can go in the back of the closet or up on a high shelf. Don’t forget to think about who in the family will need access to certain things. For example, put your kids’ snacks on lower shelves where they can easily reach them.
- Step #5: What Storage Items Do You Already Have?
Take inventory of any storage items that you already own. You probably have some bins, containers, or hooks that will work for items in this space. You may have already been using some of these products in this space. Gather those items up. Start putting stuff into the storage containers you have. Think outside the box on this too. Could you use a pencil box to hold gravy packets? What about using a spice rack for baby food jars? A bookshelf may be perfect for your shoes. As long as the product works for your things and in your space, then it doesn’t matter what the intended purpose was, use it!
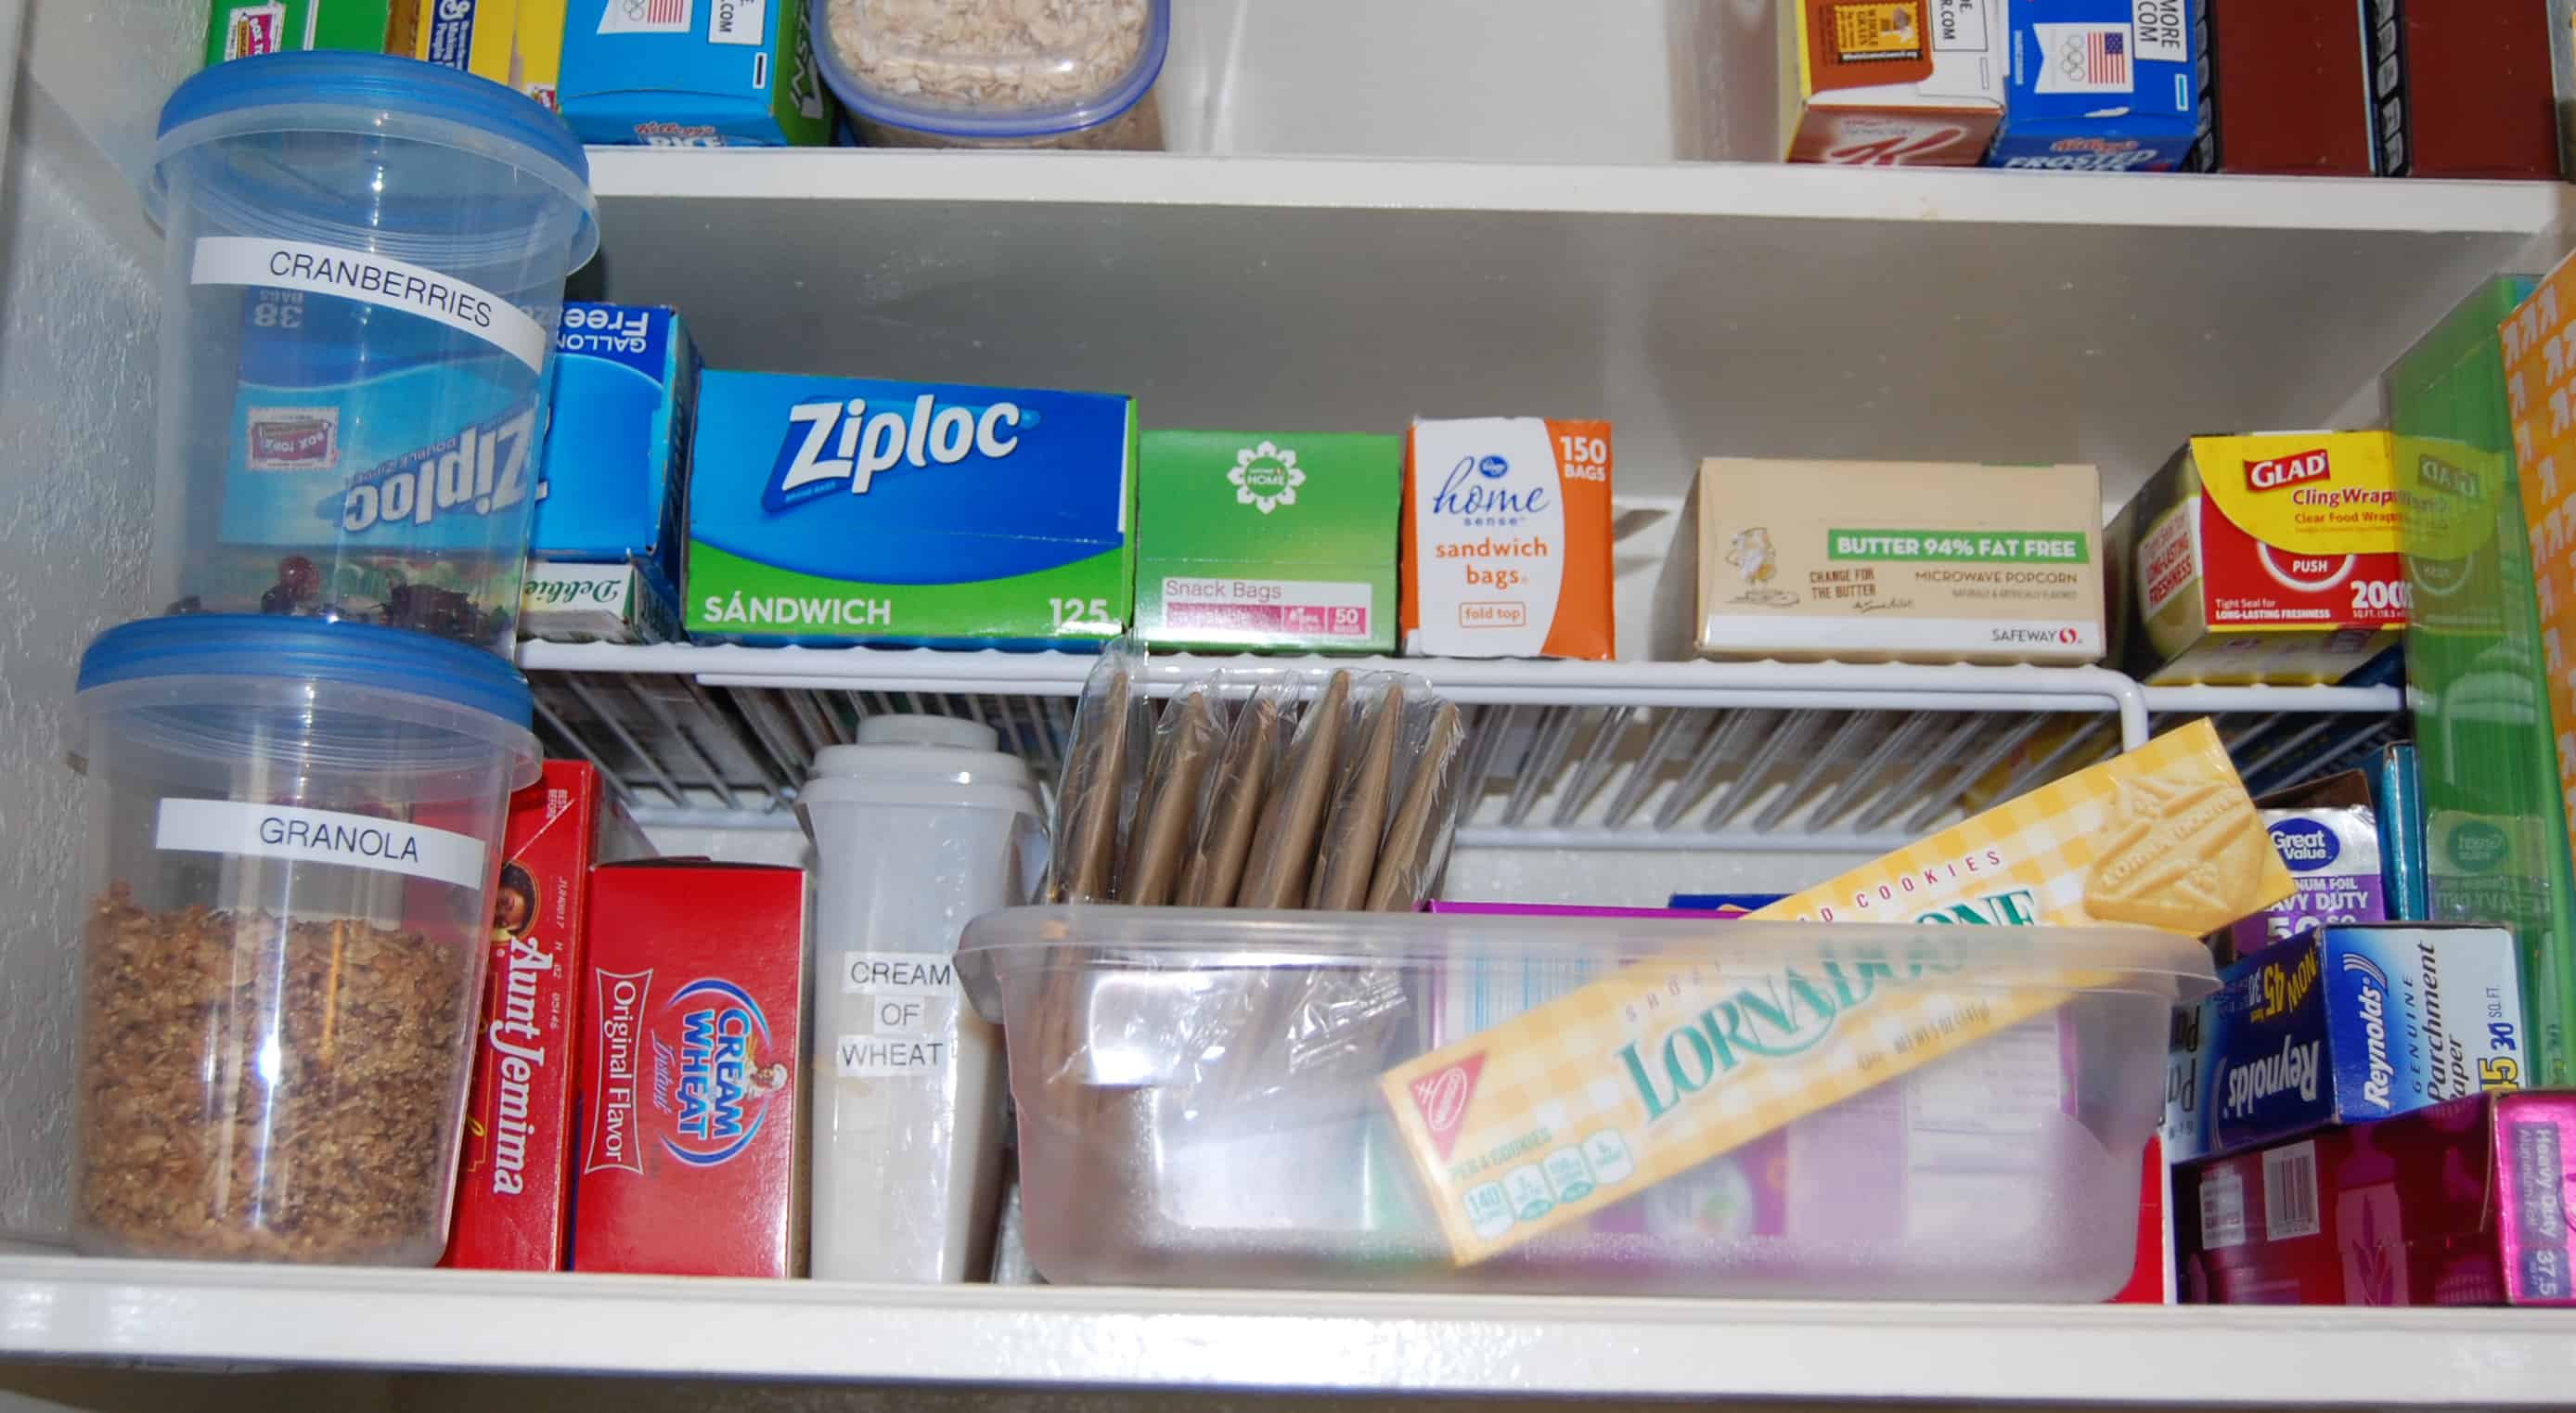
Think, too, about taking your things out of their original packaging. It may be that you can transfer things into storage containers that will take up less space than the original packages. In Kay’s pantry, we put her oats in a plastic container that fit on the shelf better than the original round container did. We also took things like pecans and almonds that came in bags and put them in stackable containers to make better use of the space. If you are stuck for ideas on what to use, check out some of the ideas here at Organized Mom or search on Pinterest. Both sites have tons of great tips to help inspire you.
- Step #6: Take Some Measurements
At this point, you need to do some measuring. Measure (and write down) the length, height, and depth of any shelves and cabinets you have. You also want to take note of how big the items you are already using are. How much shelf space is that bin you bought last year going to take up? Also, note how big the items you intend to store are. If you have big things to store, know exactly how much space they will need. Make a list of all of these measurements. Also take a count of how many of each type of container you will need. For instance, if you want to get a series of jars to hold your pens and markers, know how many jars you need. Make a second list of needed items.
The portable shelf and dollar store containers we bought for Kay’s pantry
- Step #7: Buy Additional Storage Products
After you have made use of the storage items you already owned, taken measurements, and made your lists, then it’s off to the store to get the additional pieces you will need to make your space work efficiently. I would suggest starting at your local dollar store. They usually have a storage section. You may be able to find most of what you need relatively cheap. Kay and I found several containers that we used to hold some of her oatmeal toppers at the dollar store. After you have shopped the dollar store, move onto other stores for the remainder of the items needed.
If you have tall shelves and are planning on storing short items, consider getting either an under mounted shelf or a portable shelf to fit on the built-in shelf. This will effectively double the amount of space you have for your stuff. One of Kay’s pantry shelves was taller than the others. So, we placed a portable shelf on it, giving her twice as much space on that shelf. Also, if you have deep shelves, think about using a lazy Susan to make things easier to see. We used two of these turntables in Kay’s pantry. They worked great for her!
Using plastic sheets as dividers in drawers and wardrobes is a massively cost effective way to save space.
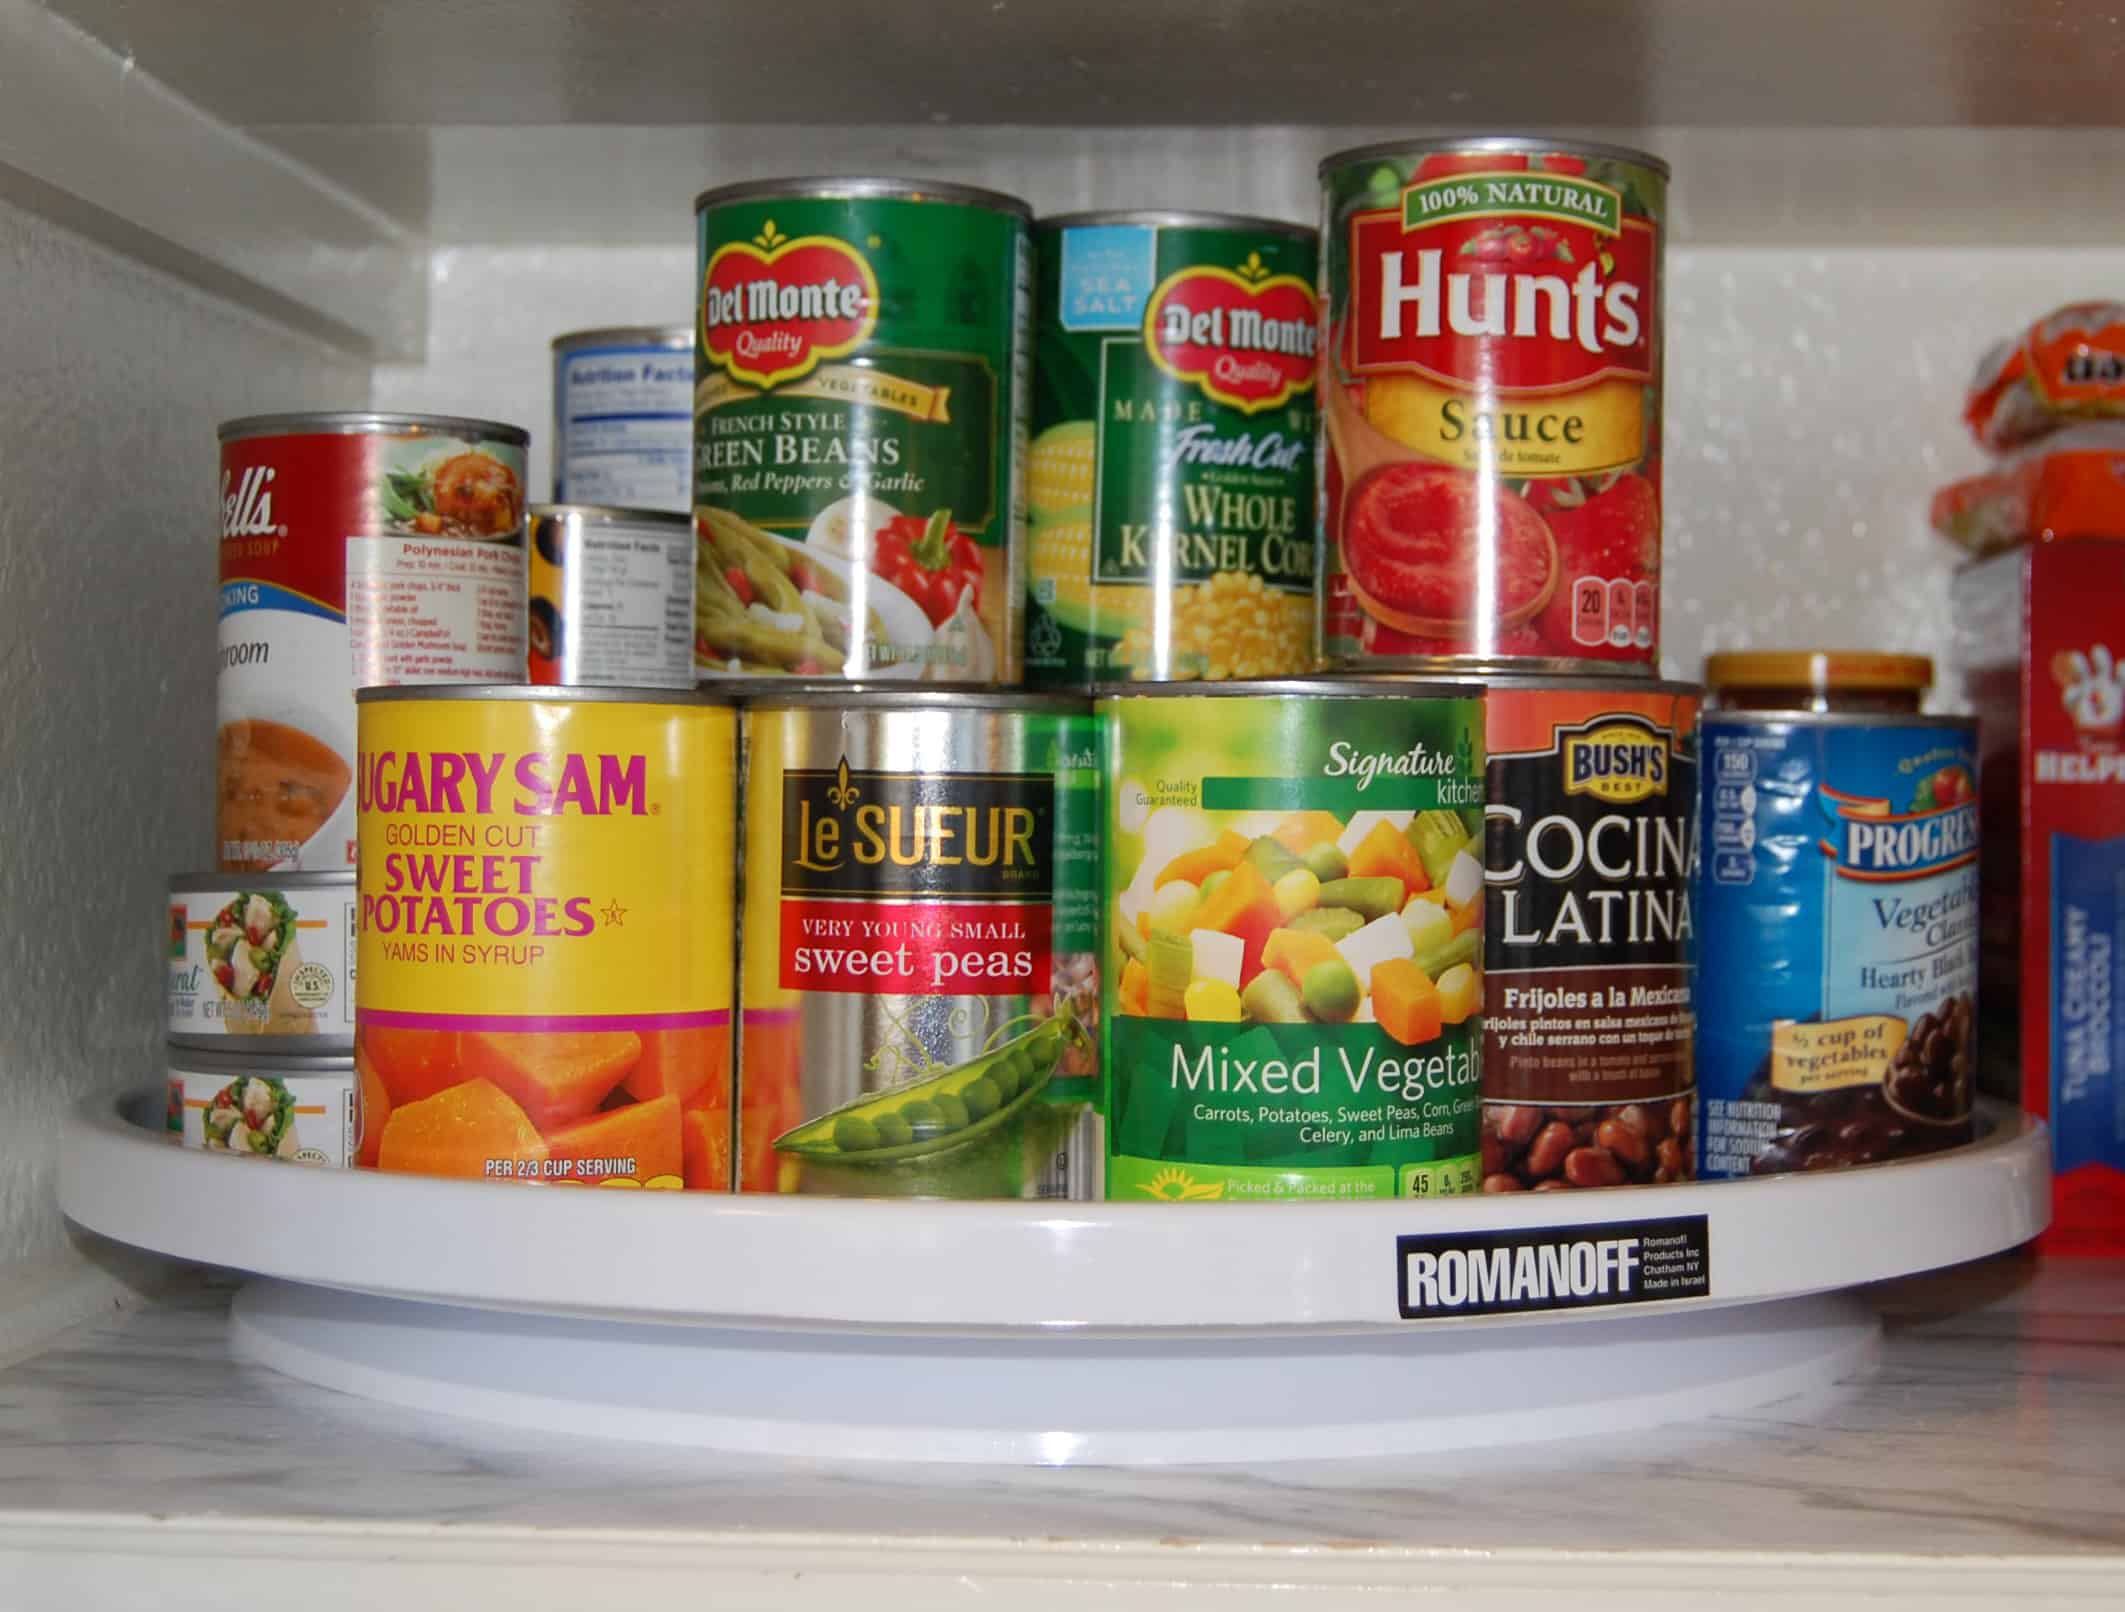
Kay’s lazy Susan holding her canned goods
- Step #8: Fill Up Your Containers and Label as Needed
Once you get back from your shopping spree, place all of your things in their new storage homes. Make labels for the storage vessels as needed. If it is see-through and the items inside are easily identifiable, you may not need labels. However, if you have similar looking things in identical canisters, or if the boxes are not clear, you will probably want to label the outside. This will also give your space a neat, finished look.
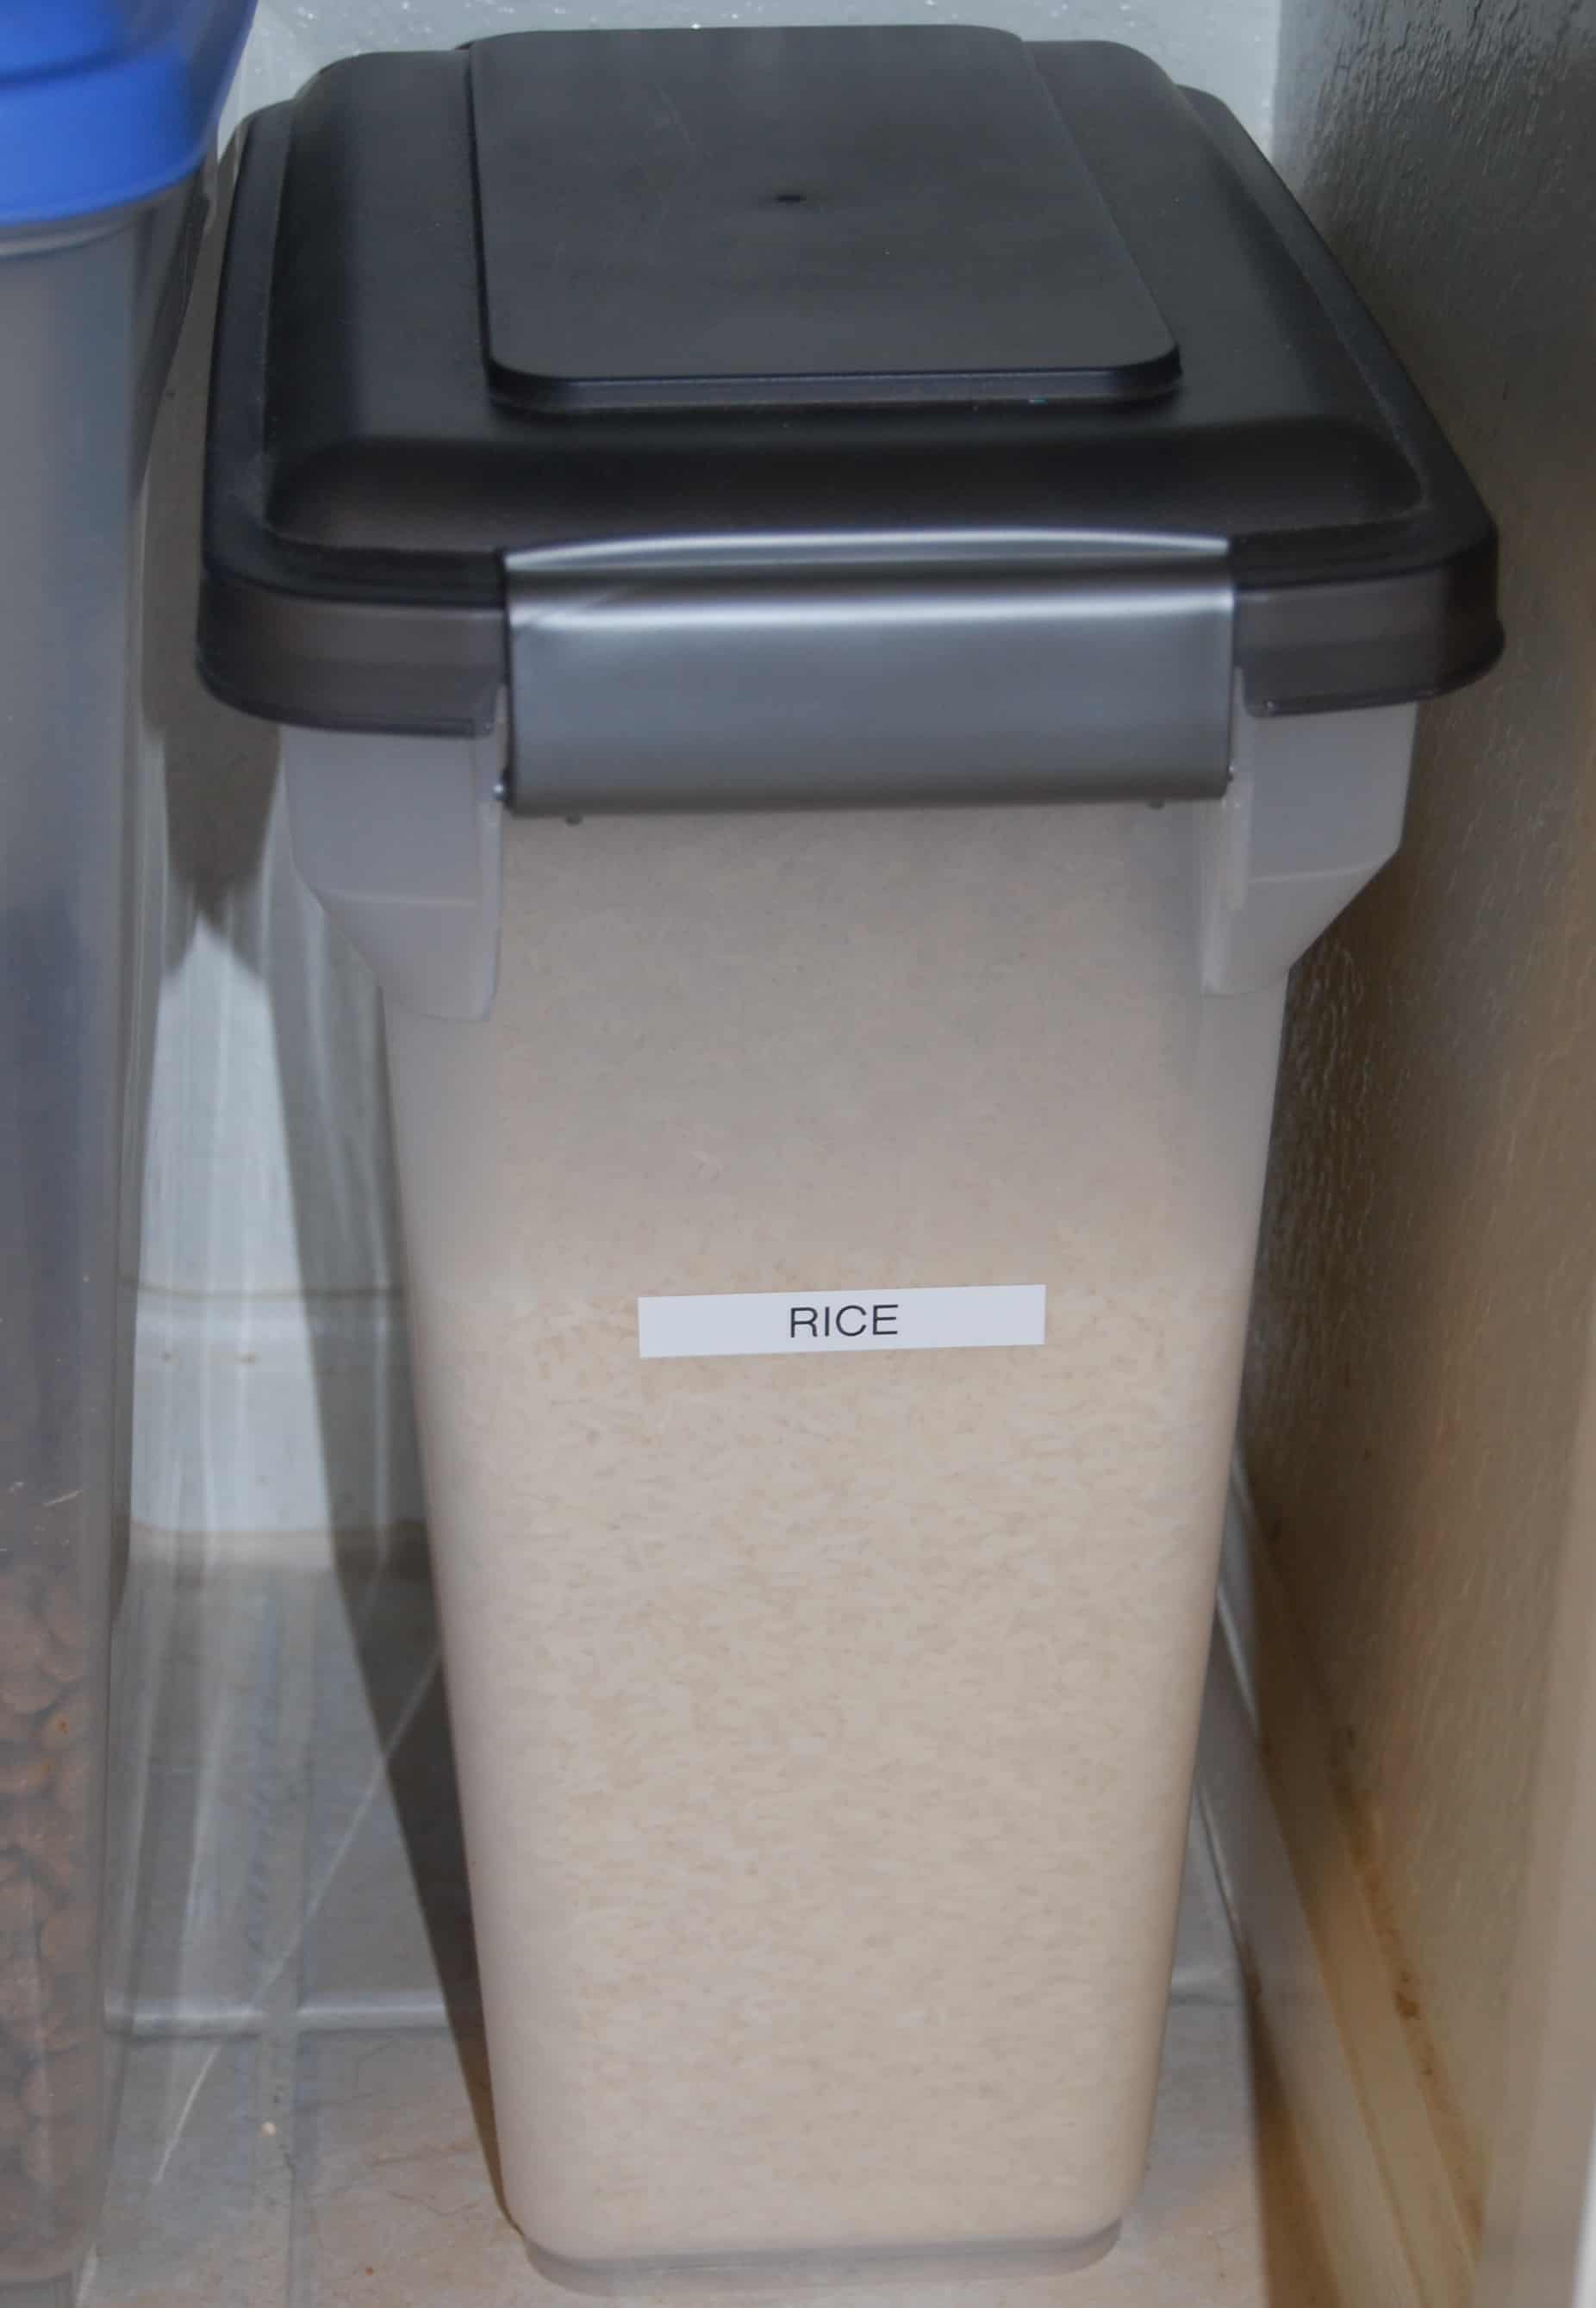
Label containers
- Step #9: Put Everything Back in Place
Put all of the newly contained stuff back into the space in a neat and orderly fashion, keeping in mind the decisions you made in Step #4 above. If you find that things won’t quite fit the way you thought they would, you may have to play around with the arrangement in order to get everything to work together in the most logical way.
- Step #10: Stand Back and Enjoy the Fruits of Your Labor
Once everything is in it’s new home, take a step back to admire your work. If you are anything like me, you will feel a great deal of satisfaction when you look at what you accomplished! If you are happy with the final product, then make your family members come in to look at your handiwork. Then, make sure they can keep it organized!
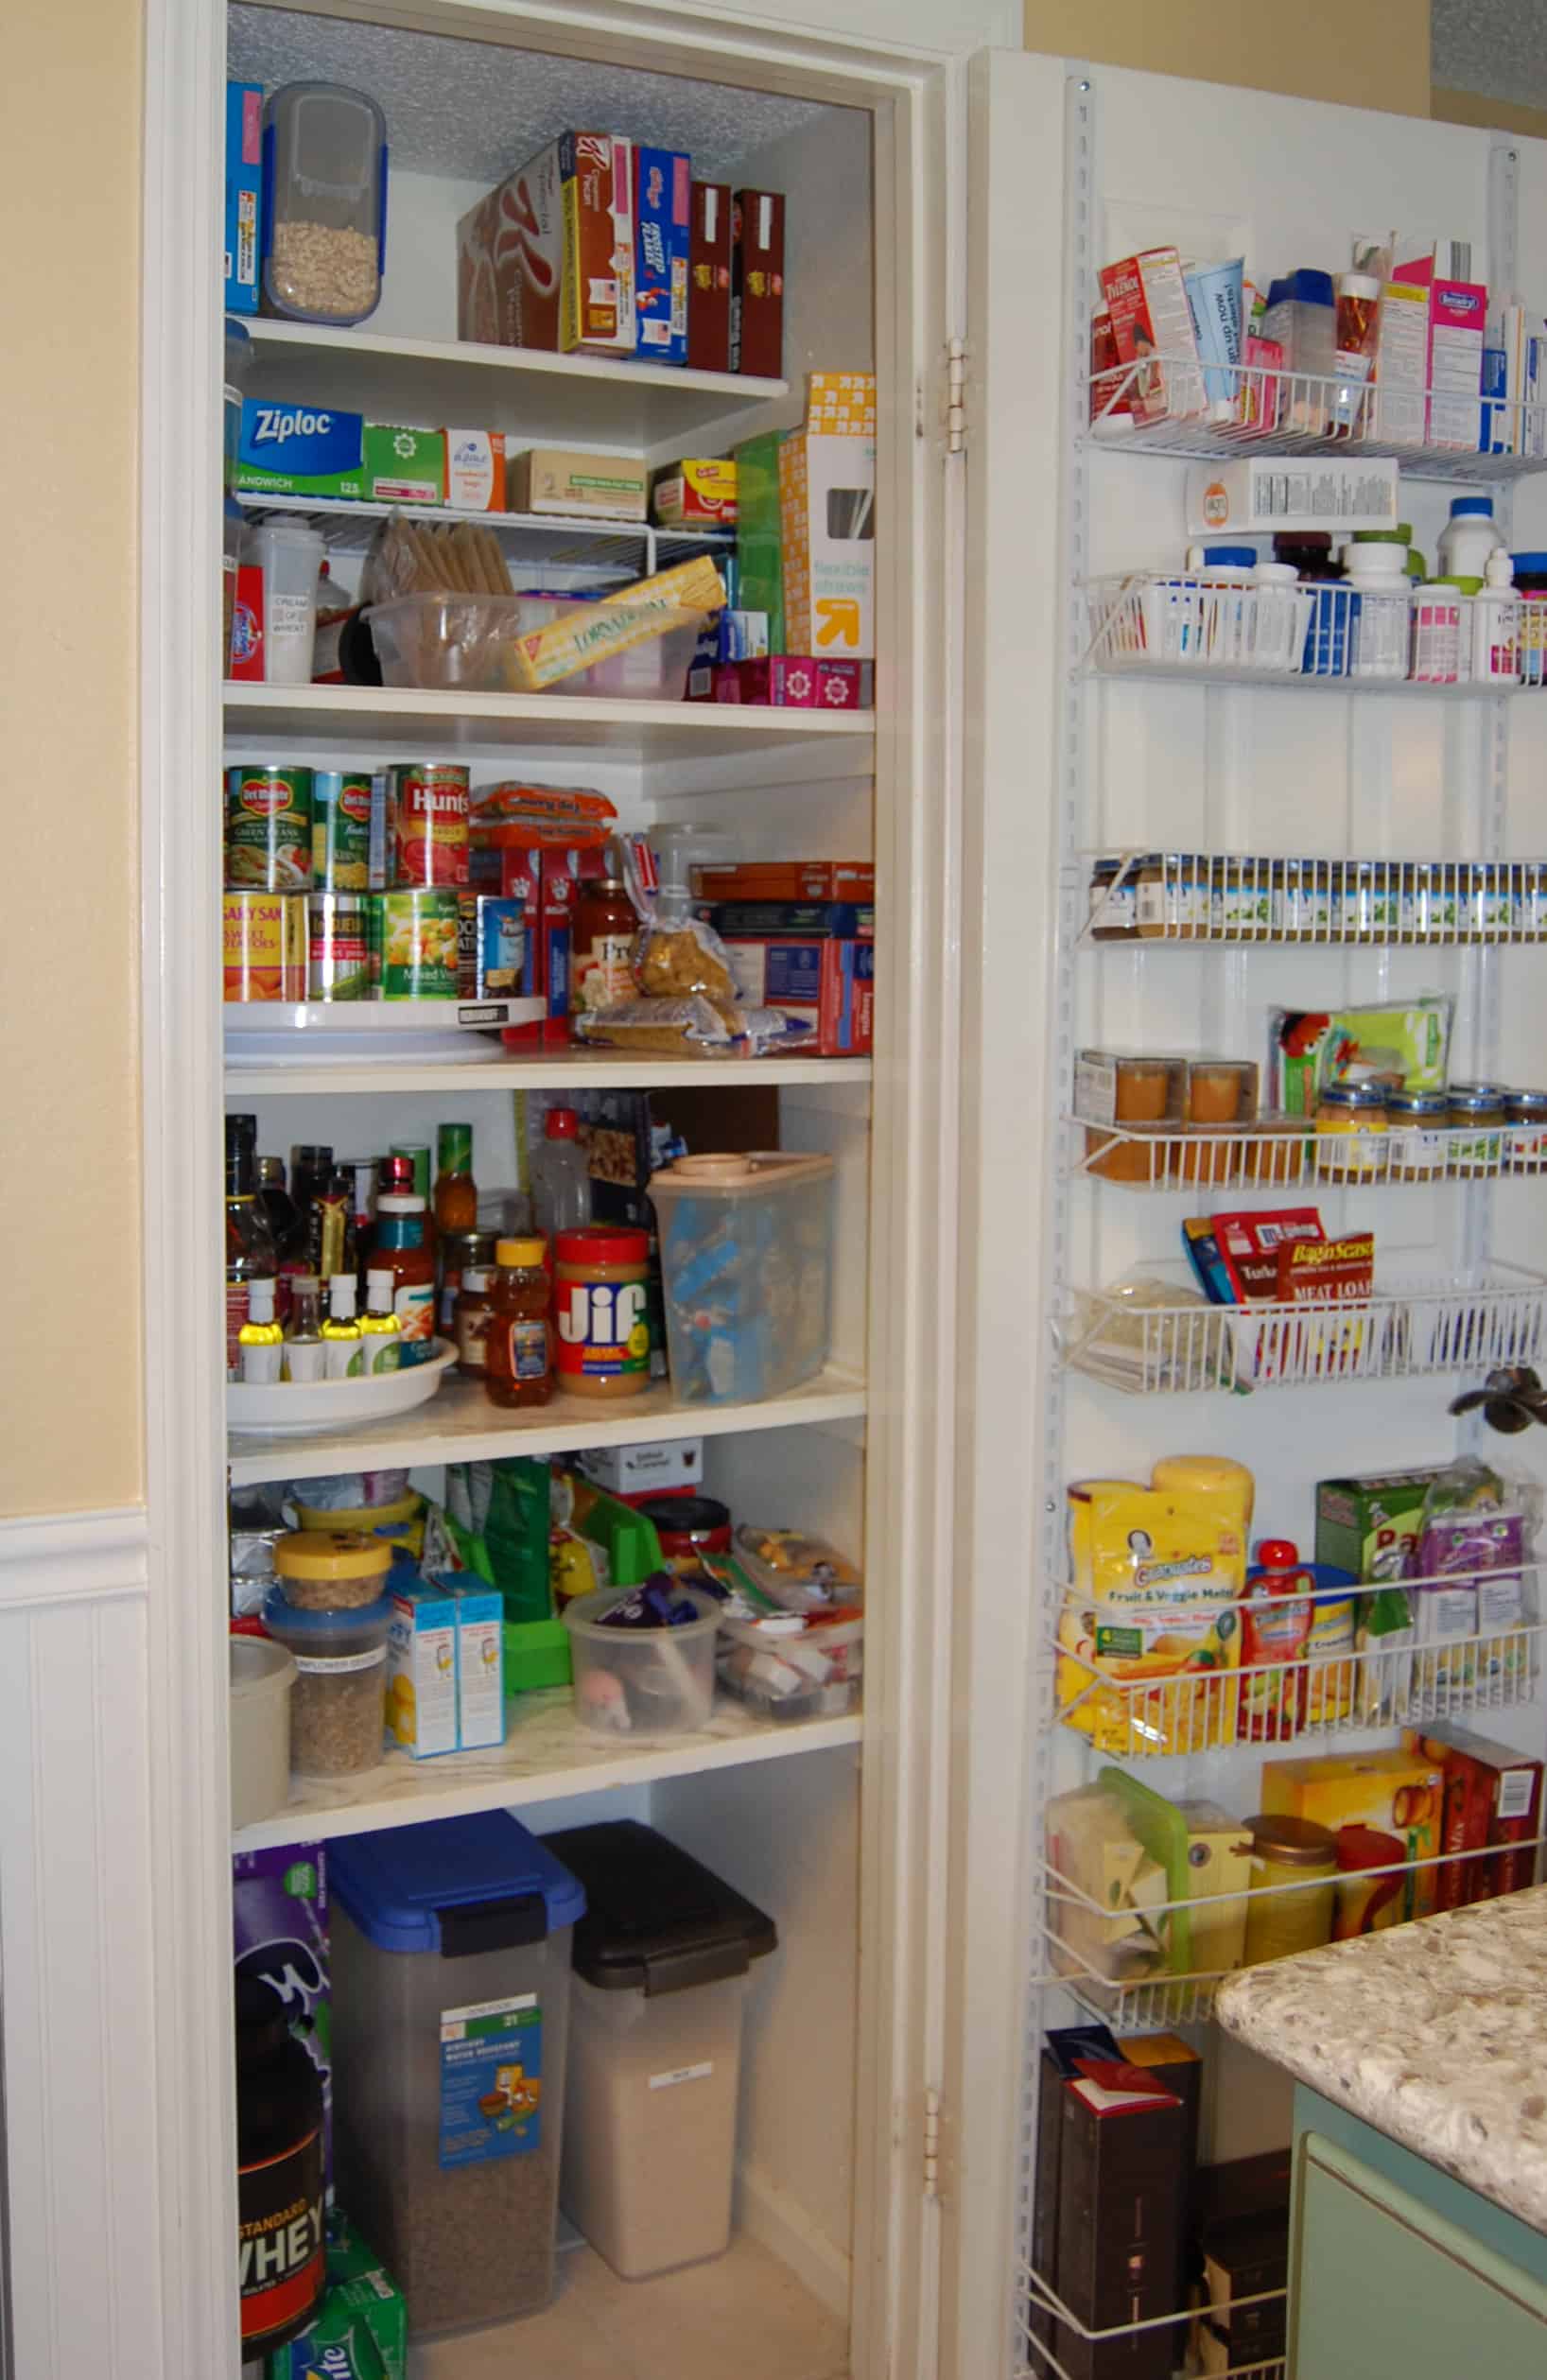
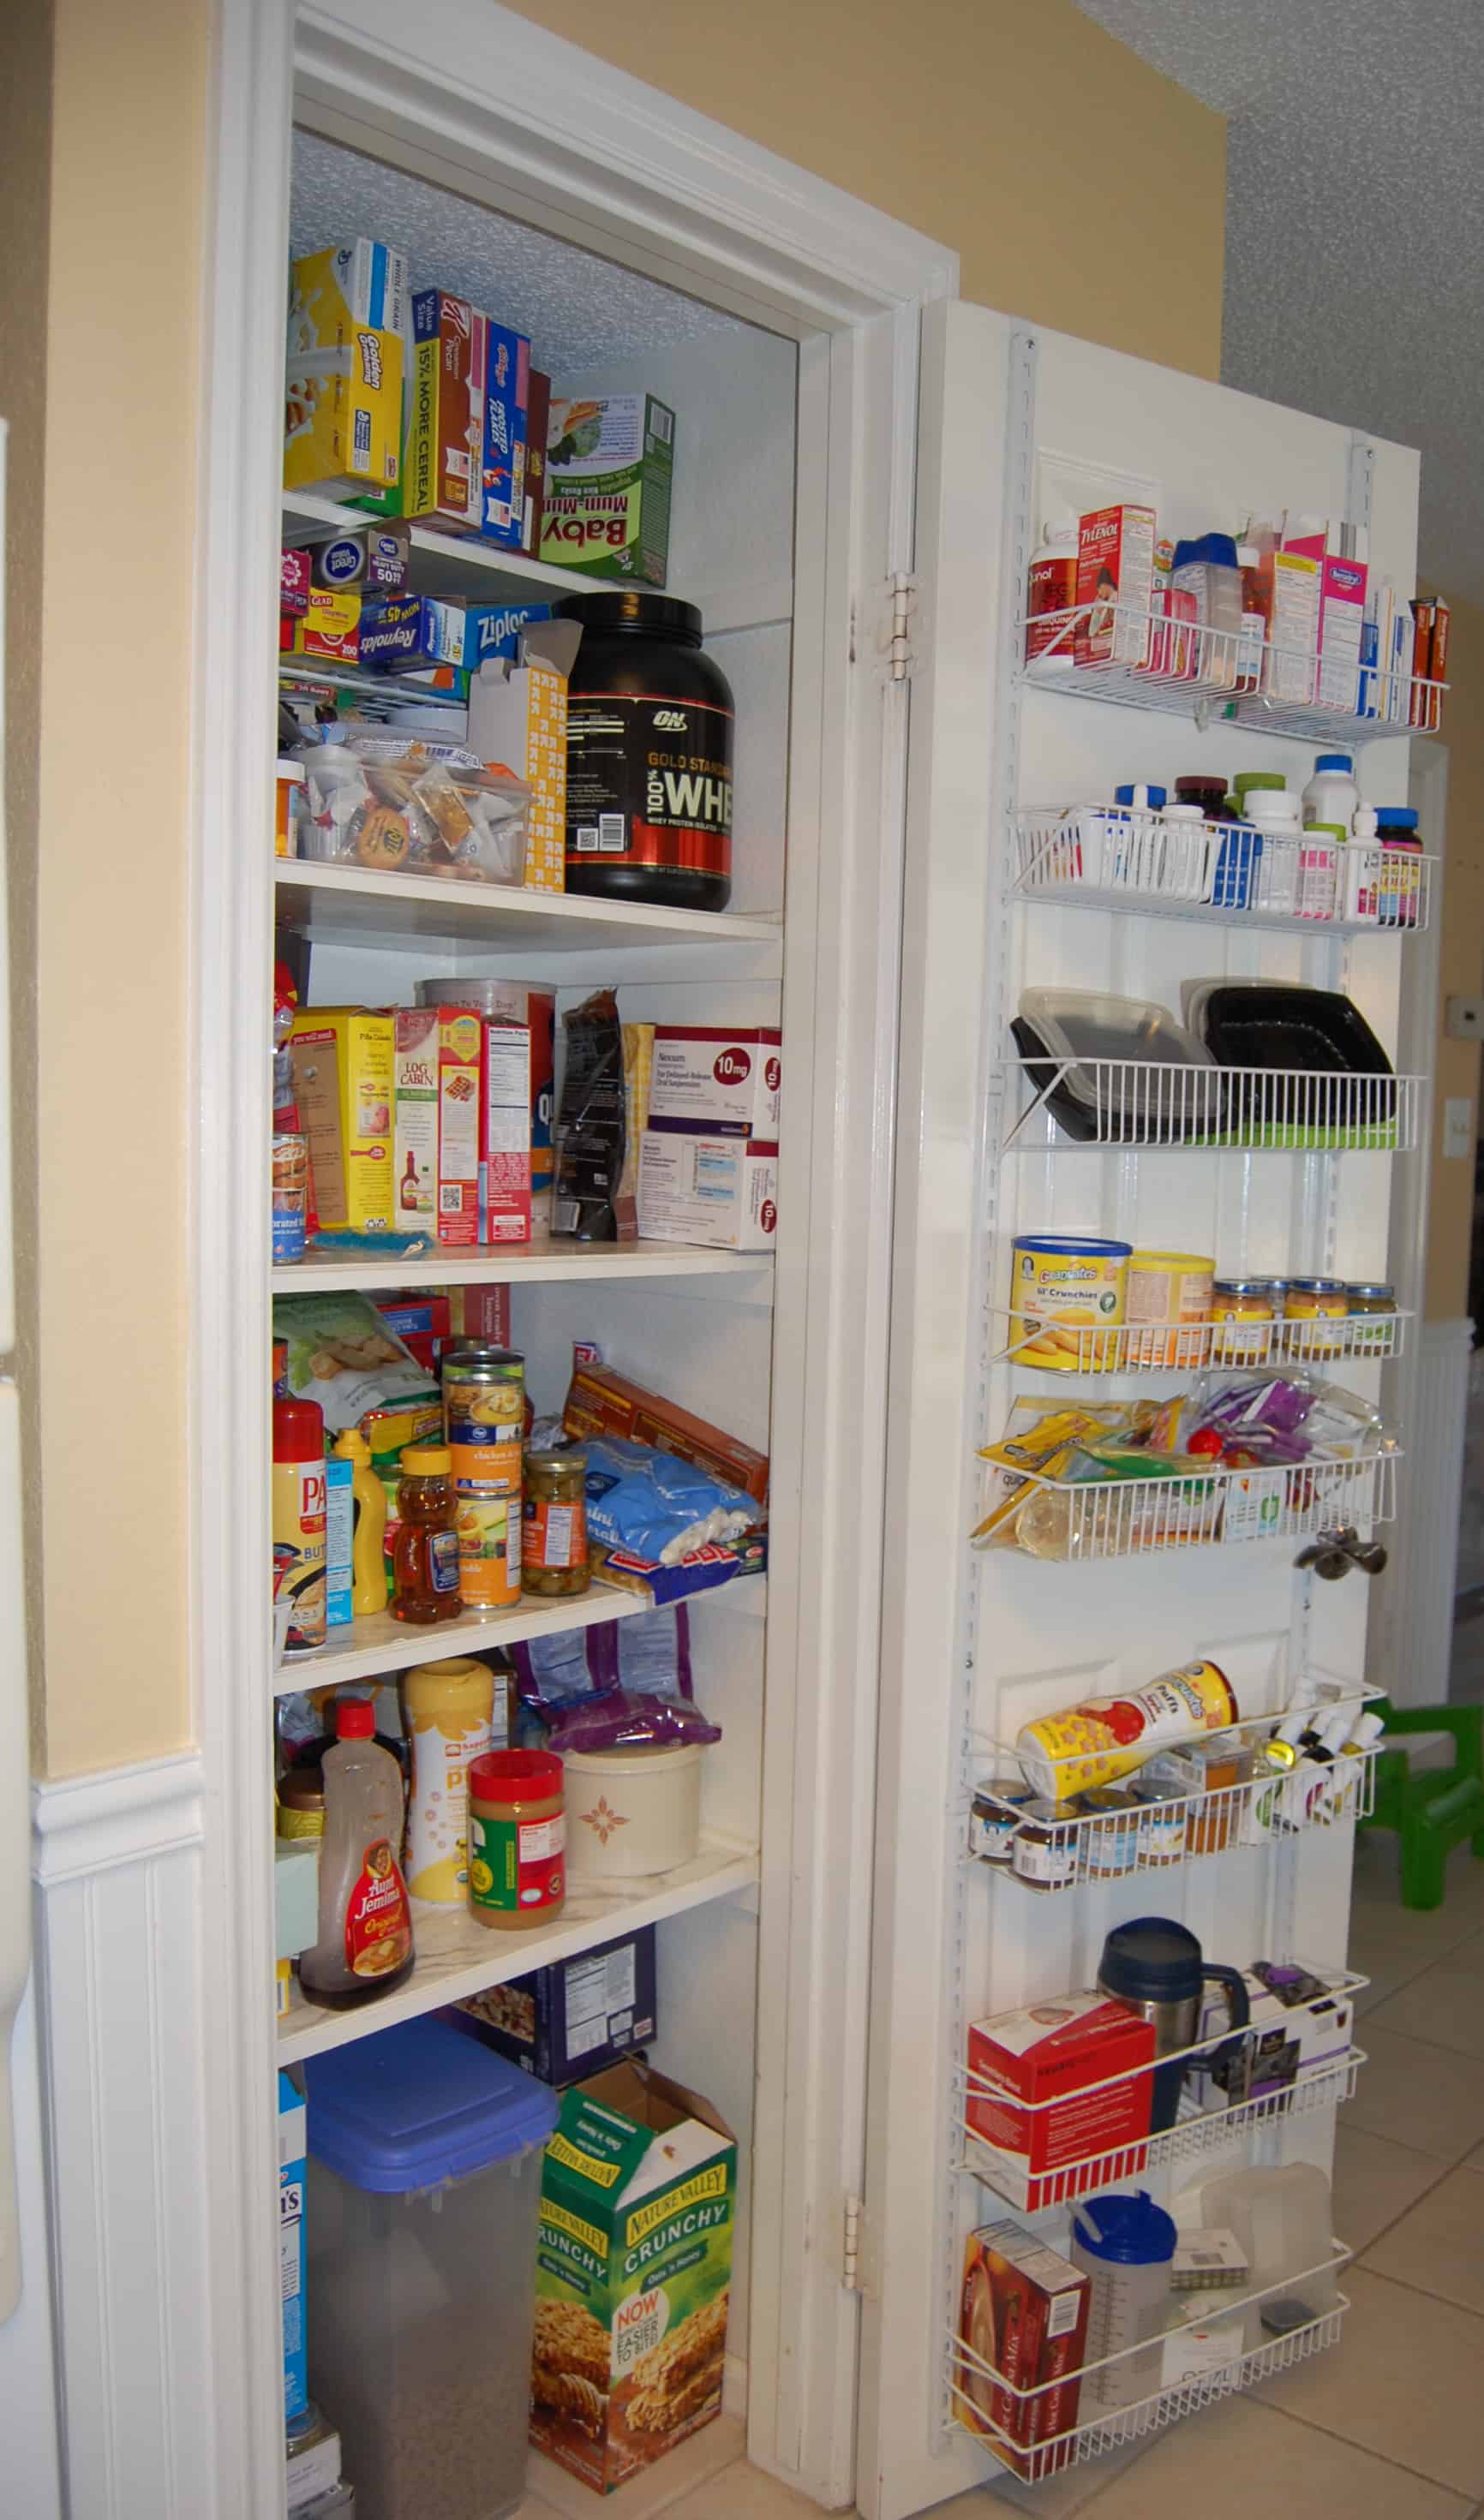
Kay’s pantry after the organization process
There you have it: a step-by-step guide to organizing any space in your house. If you follow this plan, you can get past those feelings of being overwhelmed and get onto having a better flow through your house. I know that this process will work for you as well as it works for me. Good luck!
Kay J.
Saturday 15th of October 2016
Thanks to Christy for organizing my pantry!! Three weeks later and several trips to the grocery, I find that the space really works for us. The large Lazy Susan is PERFECT for my can goods. Even after stocking up on soup last weekend I can still store, see and access all of my cans. I used Christy's model in organizing that pesky tupperware/plastic cup cabinet today. I cleared out the space, purged the items that were broken or missing tops, and brought in a Lazy Susan that I received as a gift last Christmas and had never opened. Now when I open the door to get my travel coffee mug I get a zen feeling! -Kay