


I love the yearly tradition of taking family photos. It’s a perfect way to document the fleeting years of childhood and to make sure you have tangible memories to share and cherish for years to come.
The only downside is that family photos can get expensive. Between paying for a professional photographer and purchasing everyone in the family a new coordinated outfit, the cost can quickly add up.
So if you’ve found yourself unable to afford to pay for family photos this year- we are here to offer some help!


How To Take Your Own Family Photos
In this article, we’re going over tips and tricks to help you DIY your own family photos for a fraction of the cost.
Equipment
First, let’s talk about the equipment you’ll need to take quality family photos.
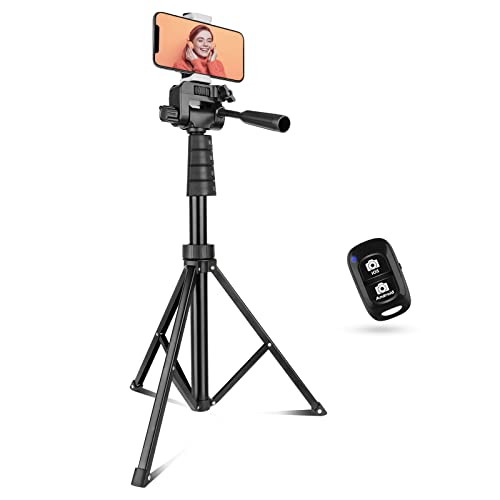
Tripod
If you don’t have a tripod, now would be a good time to purchase one. This is an article about saving money, so don’t worry, you won’t need anything expensive. Amazon is selling an affordable tripod, designed to hold either a phone or a camera, that would be perfect for taking family photos.
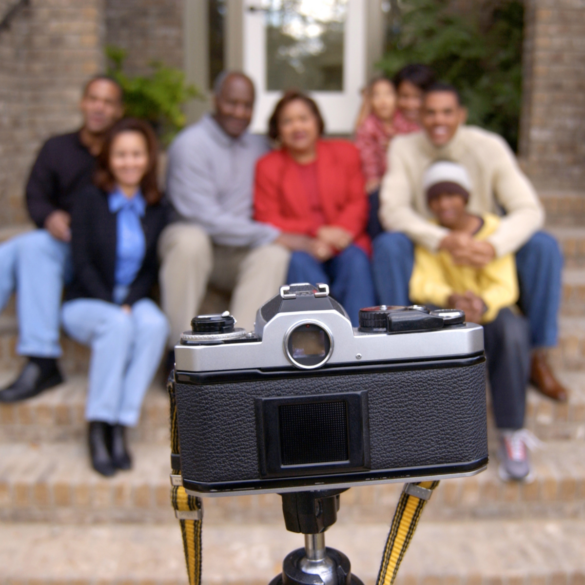
Camera or Phone
You’ll obviously need something to take photos with. This could be a camera or even just a quality cell phone camera. Using a camera will usually result in better photos than a cell phone camera. But it is possible to elevate the quality of your cell phone photos.
Tips for Taking Better Pictures with Your Cell Phone Camera
Use the “Rear Facing” Camera
When taking photos on your cell phone it’s tempting to take photos with the “front facing” camera so that you can see the picture as it’s being captured. But front-facing cameras are usually not as high quality as the rear-facing. So when you set your phone on the tripod, you won’t be able to see the screen, but your pictures will have of better quality.
Use the Self-Timer or Your SmartWatch
Find the self-timer button on your cell phone so that you can position the camera and then have enough time to jump into the photo. Most cell phones have a three-second or ten-second timer.
You can also use your smartwatch to “snap” pictures on your phone. You’ll just have to be discrete about it.

Avoid Wide Angle Lens
Most cell phone cameras shoot with a slightly wide-angle lens. Wide-angle lenses tend to “stretch” faces slightly which creates less flattering photos. To avoid this, always use “portrait” mode on your cell phone. If your phone doesn’t have that setting, then it will help to slightly zoom in the camera before taking the photo.
Other DIY Family Photography Tips
Choose Good Lighting
Avoid taking photos in the middle of the day when the sun is directly overhead. This can cause harsh lighting and overexposure. There are certain times of day that photographers call the “golden hour” which is usually an hour after sunrise or an hour before sunset. Usually, during these times of the day, the lighting is “softer” and it’s easier to get better photos.
If your family isn’t able to take photos during this time, then your next best option is to try and find a shady spot. Just make sure that everyone is in the shade, and that no one’s face is half in the shade or half in the sun.
Shooting Angle
It’s important to set the tripod so that the camera is centered between the tallest and shortest person. If the tripod is set to too low, then everyone will have their neck tilted downward and it doesn’t create the most flattering photos. Try setting the camera about five feet away from where your family will stand, this is usually a good distance to get everyone into the photos while still being close enough to capture details.
Choosing a Good Location and Background
It’s important to consider the location and background of your photos. There shouldn’t be anything distracting or anything to draw the eye away from your family. Some of the best locations to take family photos are in woodsy or beach areas. You could also find a background “wall”. These walls are typically painted or antique brick. These “walls” could also be sides of barns or tall fences. This gives texture to photos without being distracting.
Faking a Laugh
If your family is looking too stiff and posed for your photos, try fake laughing together. Often this will lead to real laughter and you’ll be able to capture genuine smiles and emotion in your photos.


What to Wear for Family Photos
Choosing what to wear for the family photos can be the most stressful aspect of taking pictures. So I’m just going to give you a few general guidelines and recommendations on choosing what to wear.
Choosing What Colors to Wear:
You’ll want to take into consideration what the background of your photos will be. If your family is in a green woodsy area, then wearing bright reds and yellows may clash with the background colors.
A few years ago it was popular to have everyone wearing the exact same color or even the same shirt. But that has mostly fallen out of popularity now.
I would suggest choosing a “color pallet” and sticking to those colors along with added neutrals.
You can choose a monochromatic color pallet, where the color scheme is made up of different forms of one color. For example, you could choose a pallet of blues. Have some people wear navy blue and others wear light blue, then throw in whites and creams for the neutrals.
Or you can choose any number of different color schemes including, complementary, split complementary, or analogous. You’ll just want to be sure that the colors are a good representation of your family’s personalities.
Other Tips
One thing you’ll want to avoid is narrow stripes on shirts or cardigans. The stripes are sometimes difficult for the camera to pick up and can cause a blurry effect.
Another thing to consider when deciding what to wear is the texture of your clothing. Often families will wear all the same textures, for example, all cotton or poly blends. But if you can add pieces that have texture it will help add an extra dimension to your photos.