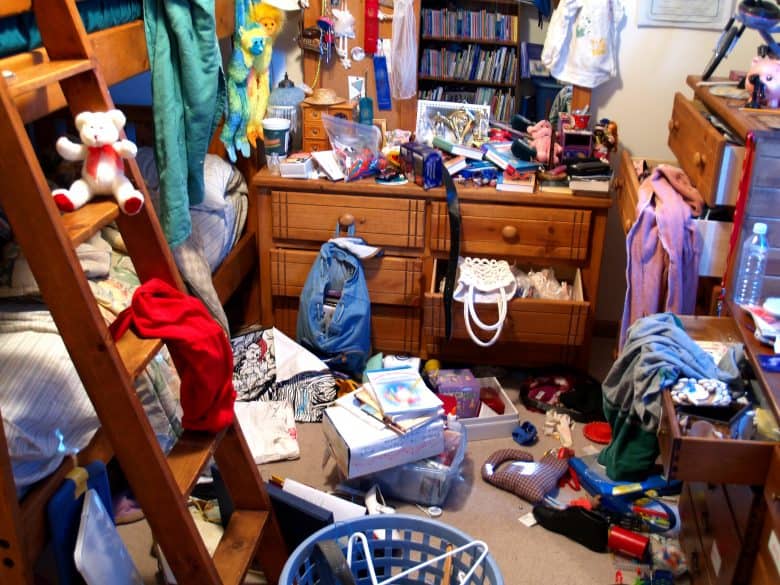
You are ready!! You are sick of cleaning your house, organizing your things, and taking care of stuff you never use! TODAY IS THE DAY!! If you were inspired by the idea from Marie Kondo that you truly only have to declutter one time in your life, and your house will stay clean and you will never have to do it again, then you don’t want to delay this event any longer. I can tell you from personal experience that a child who is the recipient of massive amounts of hand me-downs will never have a clean room. Once we removed all but 1 weeks worth of clothes, her bedroom FINALLY stayed clean! It was a true miracle.
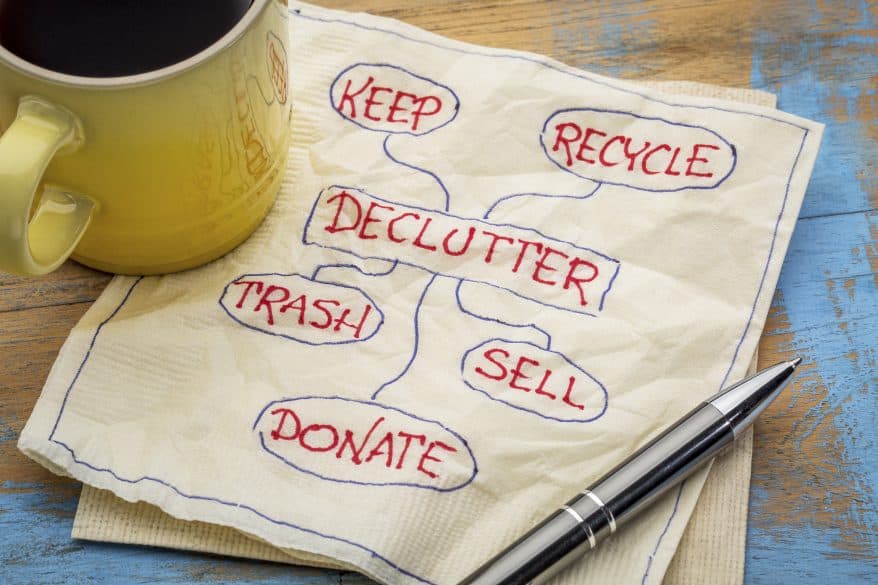

So, if you are ready for this to be your reality too (easy to keep your house clean) than you need to know my three principles of decuttering. Those are:
- If I haven’t used it in over 1 year, get rid of it.
- If it doesn’t bring me joy in some way (a’la Marie Kondo), get rid of it.
- and lastly, if I can replace it for under $5, I don’t even think twice about getting rid of it!
So, in that vein, let’s get started. These 8 steps to declutter your house will get you closer to a clean house than any other activity could! Spend just 20 minutes on each step, and in 8 days your home will feel fresh, new, and best of all, manageable!
☑ STEP 1 WHOLE HOUSE- REMOVE THE OBVIOUS STUFF
With two very large bags (one for trash, one for donations), make your way throughout your house to remove all the obvious clutter. These things are clearly making it difficult to keep your cleaning under control because they are out, in the open, where everyone can see them, and no one is using them! Move stuff around to expose these things, but do anything you can to take care of them! These things include:
- extra kitchen appliances (out and never used)
- winter clothes/hats/gloves that no one is wearing
- notes taped to the fridge for events in the past
- Coupons– even if not expired- will you ever use them??
- Garbage! Chances are, your kids have wrappers on the floor, broken toys, etc.
- Stained clothes- how long will you keep these and never wear them?
- Junk mail


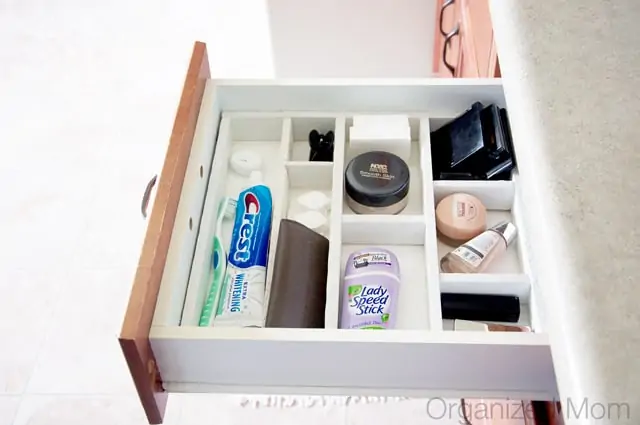
☑ STEP 2 PUBLIC DOMAIN DRAWER DAY
Grab your two large bags and open every single drawer in shared areas of your home. The famous “junk drawer“, drawers in the Kitchen, bathrooms, entry way, coffee tables, living room pedestal stands etc. This is where I really employ the mindset of, if I haven’t used it in under 1 year, AND it cost less than $5 to replace, it’s GONE! Focus on getting rid of
- buttons,
- flyers,
- random paper,
- empty tape dispensers,
- old remote’s,
- extra wooden spoons,
- Small kitchen gadgets you don’t use like an apple cutter or garlic press
- Magazines
- Old batteries
- the pair of dull or crappy scissors you hate! (scissors are CHEAP to replace- just get rid of ones that don’t work well!)
OPEN EVERY SINGLE DRAWER and find these things!

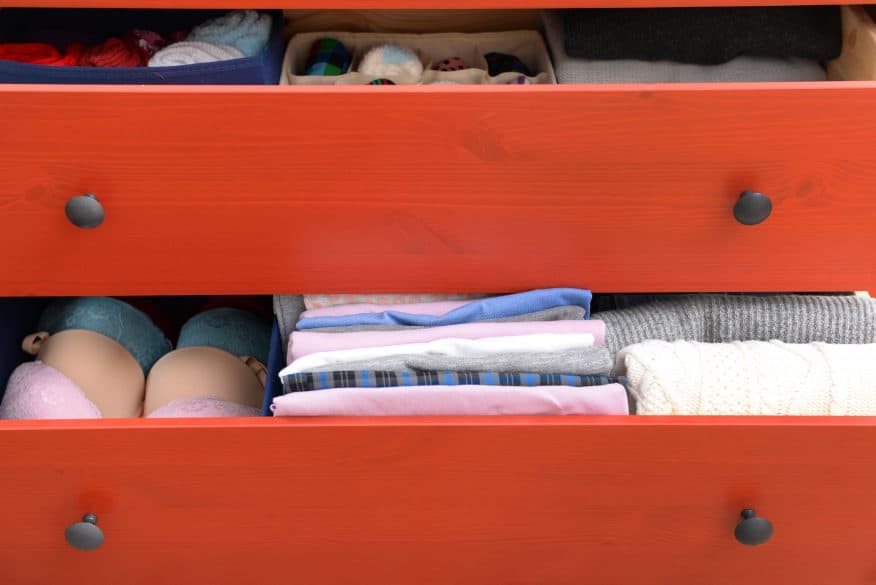
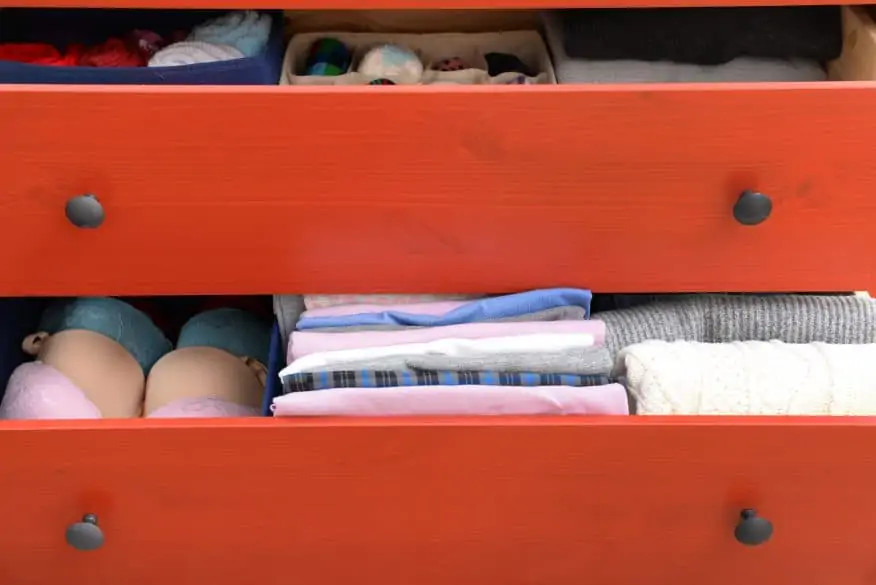
☑ STEP 3 BEDROOM DRAWER DAY
If this task takes 20 minute PER person, or per room, spread it out over several days. Otherwise, get tackling!! Some of the things you’ll be getting rid of out of a bedroom drawer is
- unmatched socks,
- the clothes your kid outgrew last season, and
- the pair of shorts you are never going to fit into!! If you do lose weight, than you can buy new shorts!
- Worn out bathing suits
- Under clothes that will never ‘look’ clean.
Chances are styles and interests have changed since the last time you tackled your clothes situation. Even if something has only been worn once or twice, if you no longer love it, you no longer need it. In the case of kids when you may hand something down, prepare a box and label it very clearly with only the clothes that stayed in the best shape.
☑ STEP 4 CUPBOARD DAY
This session is going to tackle kitchen cupboards and bathroom cupboards. Are you hanging onto empty yogurt containers, butter containers, etc. because they’ll make a handy container for something else some day? Do you have old Tupperware items with no lids? It’s impossible to keep a cupboard organized and clean when it’s stuffed with too much stuff, and when that stuff is no longer useful! The things you can get rid of out of a cupboard include:
- DUPLICATES- How many cake pans do you really need?
- Empty cleaning supplies
- Old sponges
- Cleaning supplies you no longer can identify what they are.
- Garbage (like old yogurt containers you thought you would use forever)
- Tupperware without lids.
- Any container you haven’t used in over 1 year (lunch boxes, etc.)
- Broken items
- Excessive amounts of dishes. Do you really need 50 plates? 25 bowls of different sizes? I’ll answer that for you, you don’t!
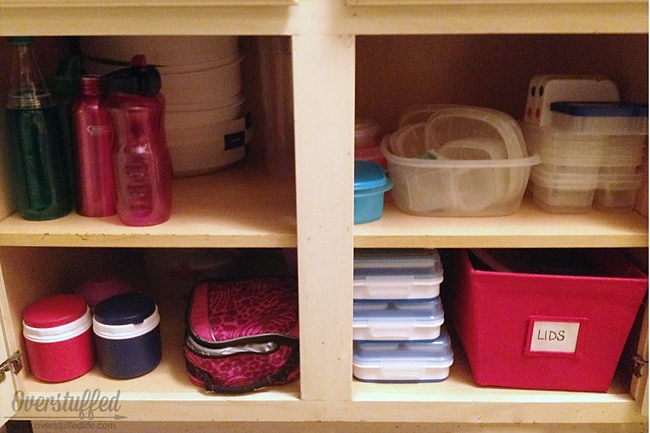
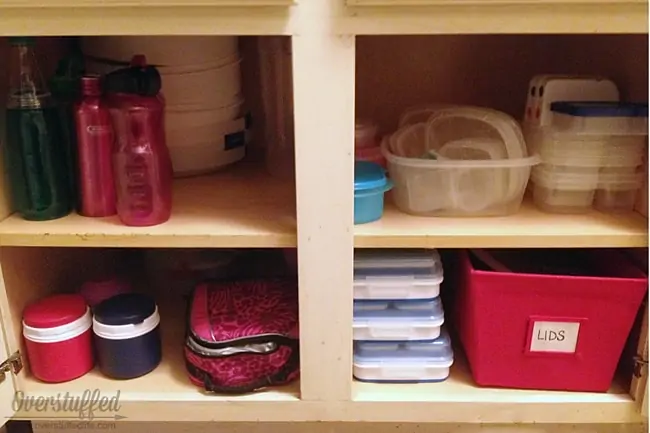
(tips on tackling the cupboards from Overstuffed here!)
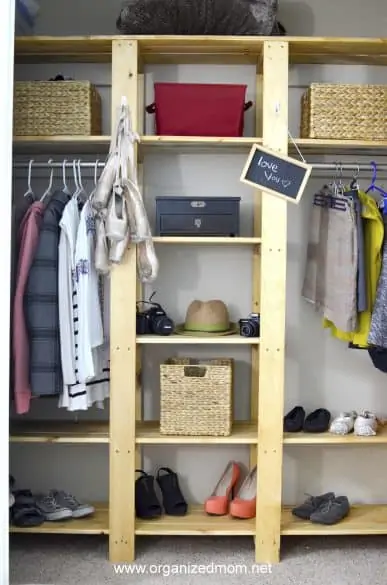
☑ STEP 5 CLOSET DAY
Have your closets gotten out of control? Our coat closet is equivalent to our junk drawer. Everything without a home gets tossed into the coat closet. We have soccer balls, free disposable toys (like paper airplanes), gloves without a match, etc. Our bedroom closet is a catch all for clothes you never knew you had! Decide which closet to tackle (it may be only one closet per day), and get your bags to remove any items or clothes that is making it so your closet is never clean. These items will include:
- clothes that don’t fit
- Clothes with stains
- Clothes that are too worn out.
- Clothes you haven’t worn in a year or longer
- Ugly clothes- clothes that are out of style, or simply don’t look good on you.
- gloves, socks, etc. with no match.
- Old or worn out shoes.
- Those shoes that have always been super uncomfortable, yet you are keeping ‘just in case’.
- Coats that no longer fit or you haven’t worn.

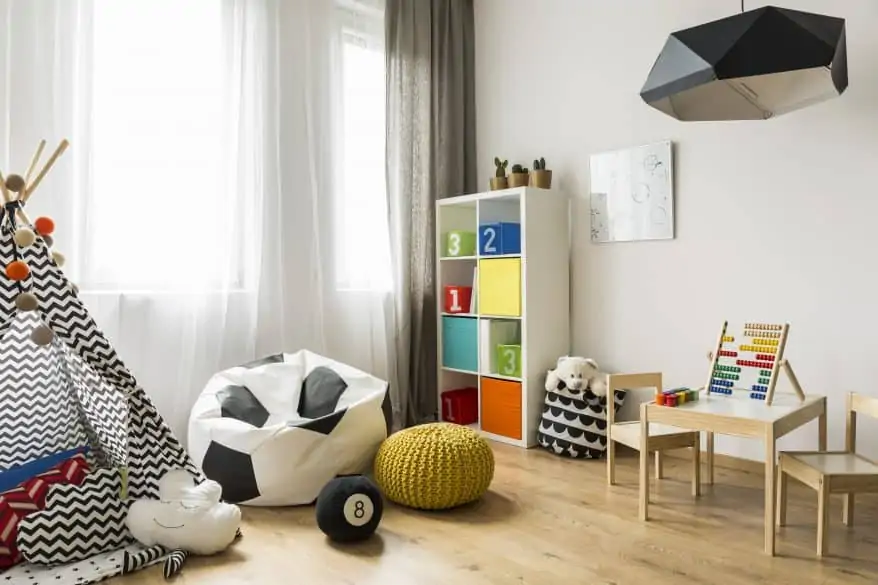
☑ STEP 6 SPECIALTY ROOMS DAY
A specialty room is the laundry room, a toy room, a craft room, home office, or any room with a single purpose. This is the easiest room of them all to declutter! And don’t feel bad if you have very few toys in a toy room. The less toys a kid has to play with, the more they’ll play with the toys that they DO have.
First you MUST remove anything that doesn’t fit the purpose of the room! Take crafts out of the laundry room and take clothes out of the toy room. Once the items are removed, move through the rest of the room to remove any garbage, anything that doesn’t bring joy, and anything that you haven’t used in a year or more. These items might include:
- Anything broken or missing pieces or parts
- Items that belong in another room.
- Old rags
- Empty boxes
- Toys that are no longer enjoyed

☑ STEP 7 BEDROOM DAY
With the person in your household that has domain over each room, go in together and declutter! The declutter advice to remember here is to only save and keep those things that are going to bring you joy!
- The shell collection you thought you’d start and only got one thing.
- Anything broken or with missing parts
- All shelf area!! Knick knacks that don’t bring you joy, can be tossed!
- Small framed pictures? Which of these do you never look at?
- What is under the bed? Under the bed items are notorious for being there for no reason, and not being used in more than 1 year!
- An old alarm clock you don’t use because your phone is your alarm?

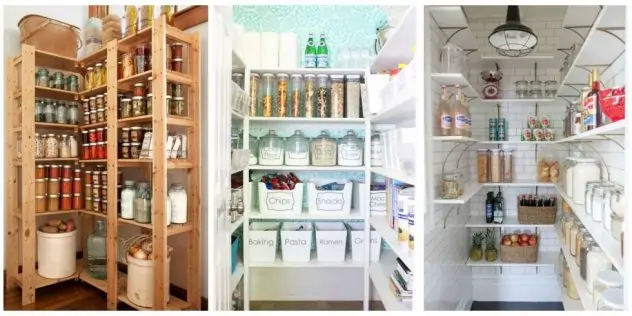
☑ STEP 8 PANTRY DAY
The pantry needed a day all on it’s own! The pantry has a way of getting out of control and impossible to keep clean with all the excess packaging, empty containers, and food you haven’t seen in years! To really get the pantry into tip top shape, you must admit your food preferences. I KNOW you really wanted to like brown rice and that it’s good for you, but if you’ve had the bag of brown rice in the pantry for over a year, and haven’t gotten around to making it yet, it’s time to let it go! A food pantry is great for items that are within their freshness date, so make sure you have a separate box or bag for those. Things you may get rid of in the pantry include:
- Food you haven’t eaten and won’t eat anytime soon
- Anything expired!
- Move things to the front to be used next.
- Get rid of excess packaging (Super Healthy Kids minimalist pantry here!)
- Organize food into like items so you see the popcorn when you are looking for a snack, or the syrup isn’t hiding by the olive oil.

(Pantry organization ideas here)
☑ STEP 9 THE GARAGE OR ATTIC
I don’t know about you, but our garage has a tendency to gather a ton of clutter. It is so easy to put something out of sight and out of mind by sticking it in the garage. There could be boxes of old clothes, decorations you no longer need or use, and so much more. Since the garage is such a large place, you may even need to take a few days to get through the whole thing, but don’t forget to tackle:
- Mementos (do you REALLY need your child’s 3rd grade history project?)
- Old furniture
- Old toys
- Hazardous waste (paint, oil, antifreeze)
- Clothing
9 Days later, your house should be decluttered, clean, bring you joy, and easy to manage and take care of!!
Elizabeth Voyles
Monday 27th of March 2017
I love the idea of getting rid of things that I can replace for less than $5! That was a new tip for me and will make a huge difference!
Amy
Tuesday 28th of March 2017
Thanks Elizabeth!! I use it ALL The time!!